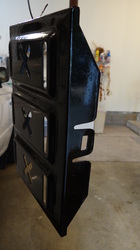
Loading the car
May 28, 2012
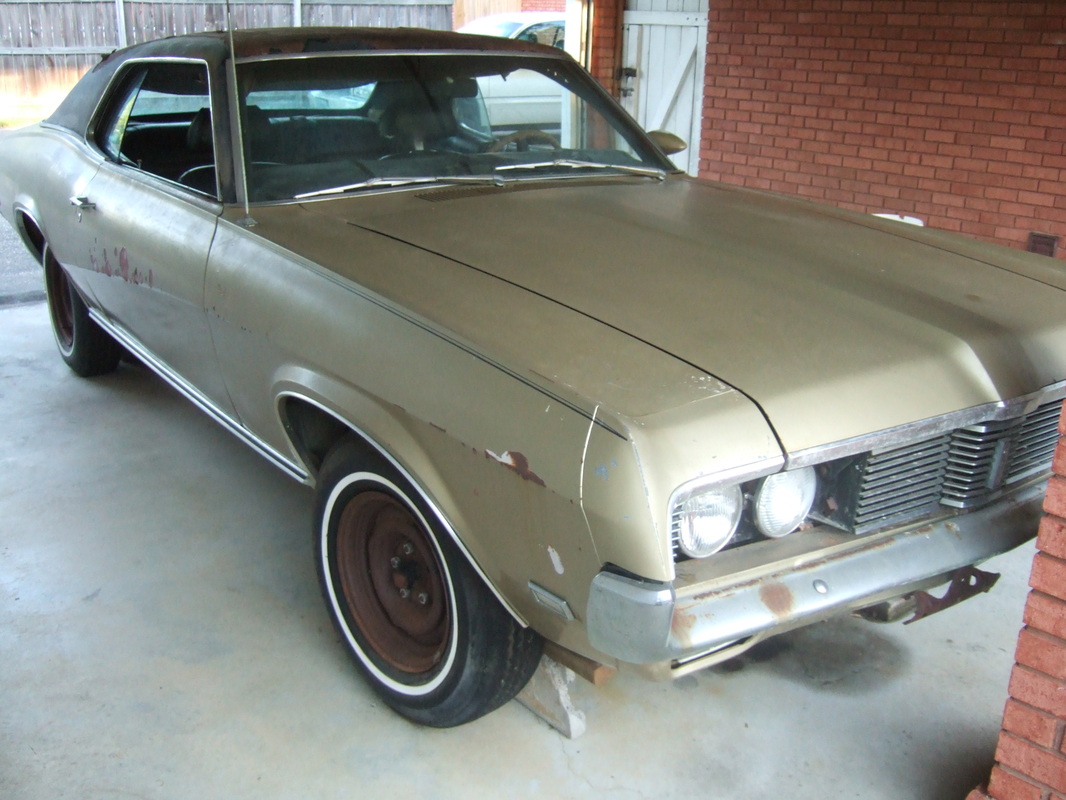
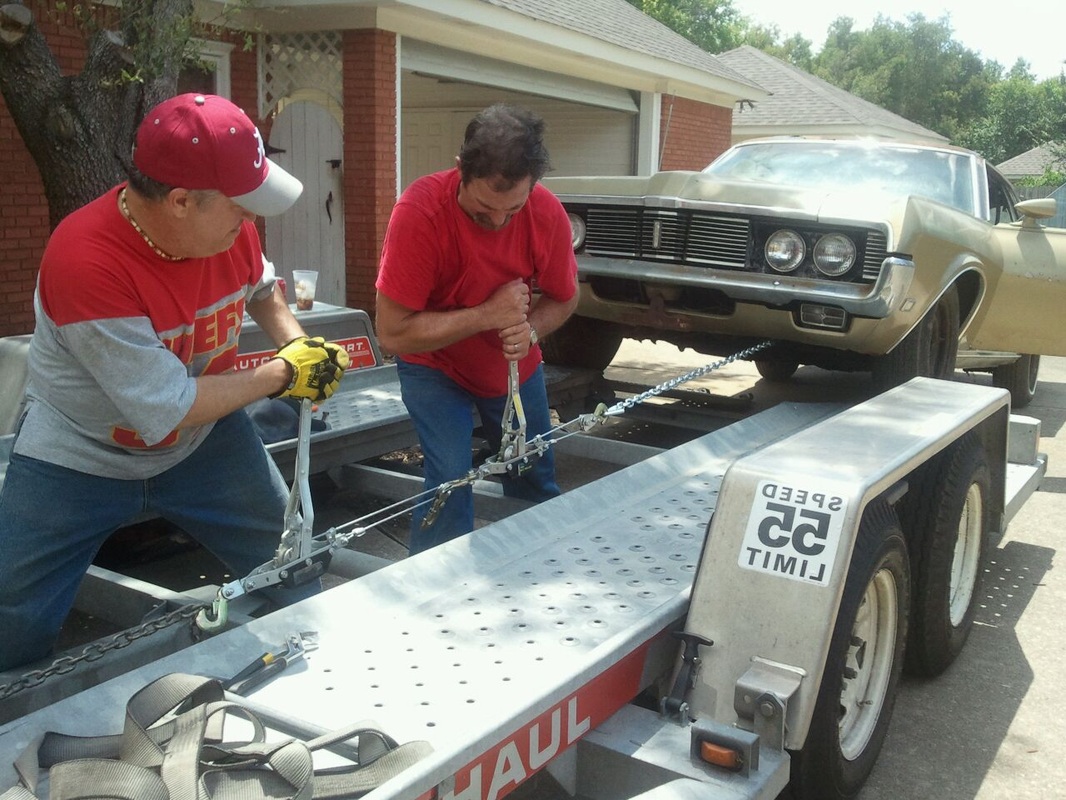
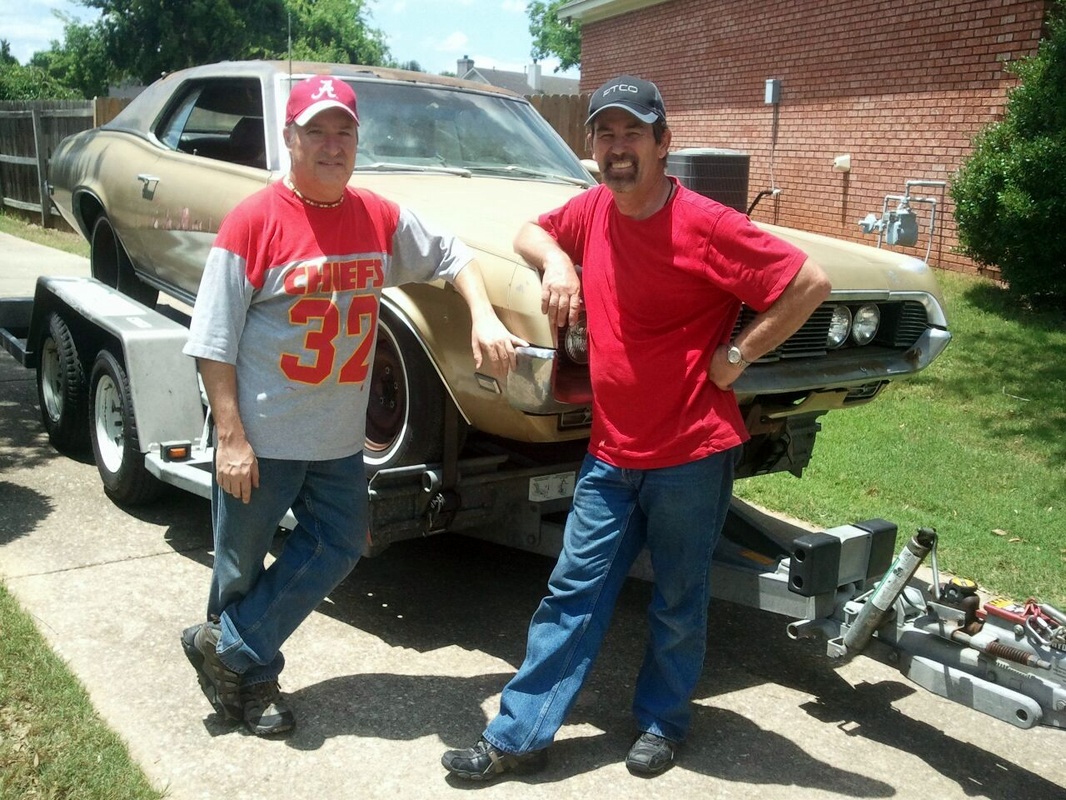
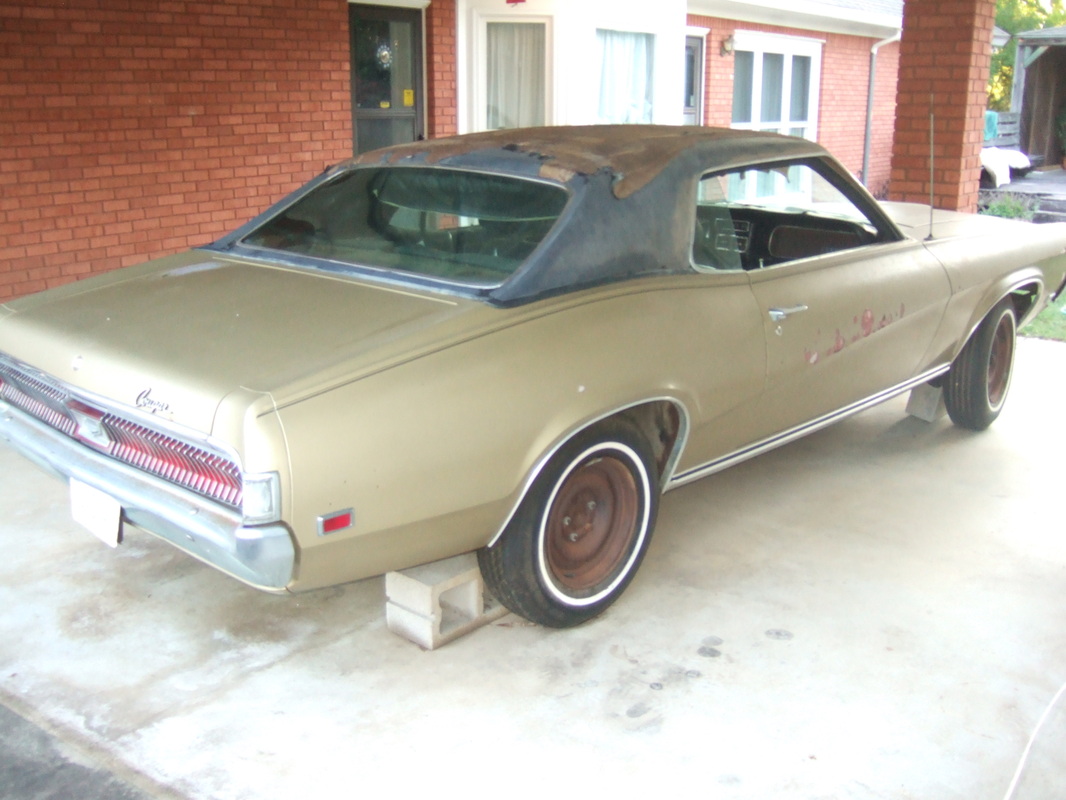
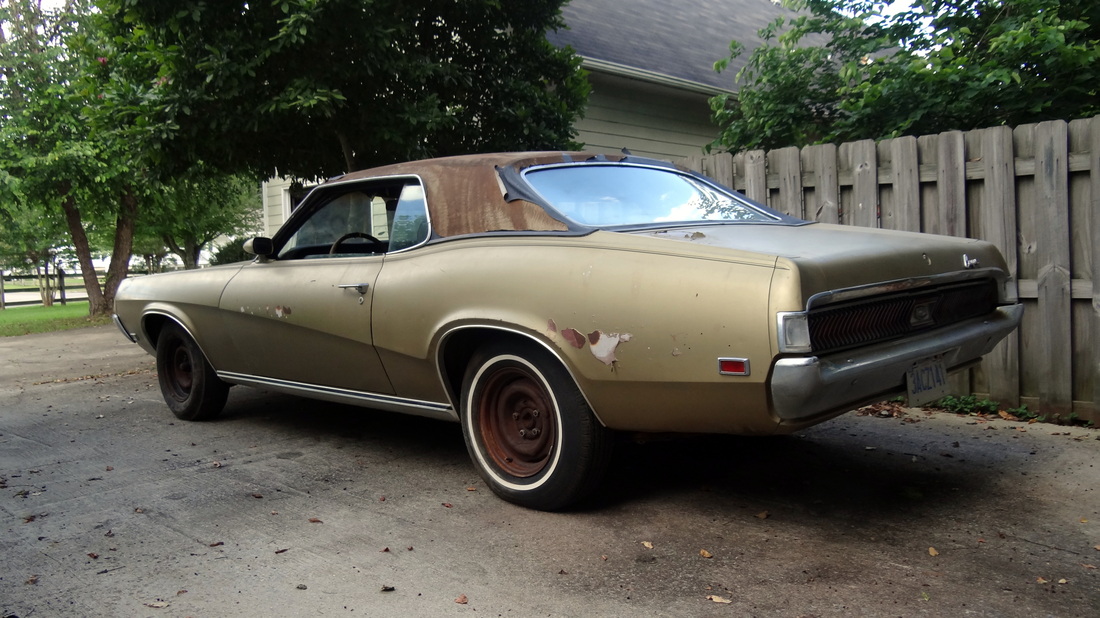
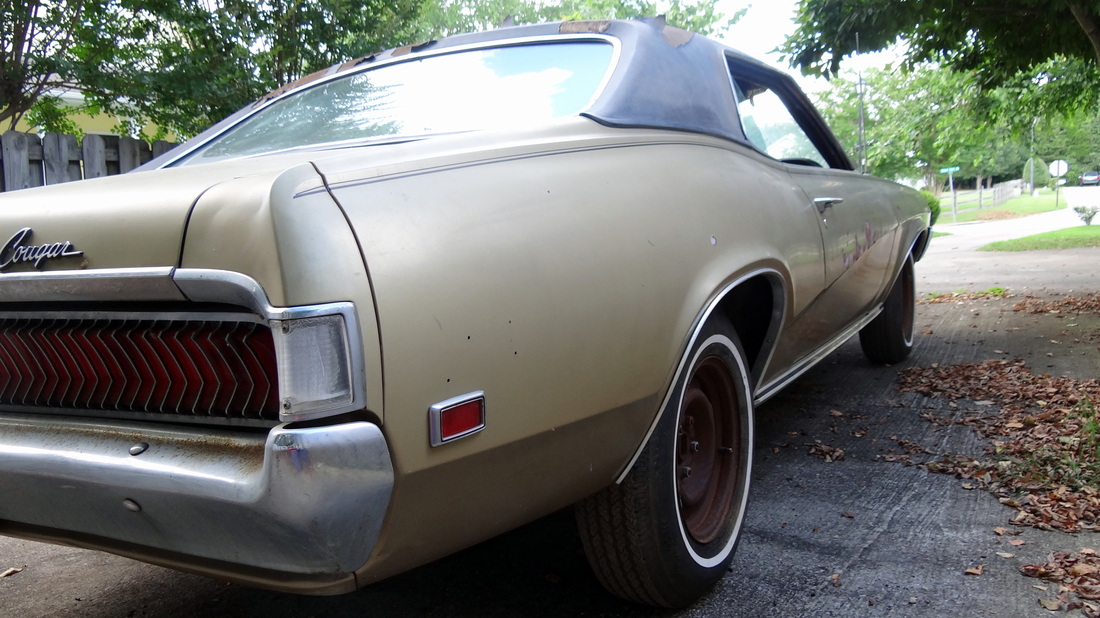
Since I had the day off, it was a perfect time to go to Montgomery, AL and get the 1969 Cougar that I had just bought from a friend. Les Muntz was also off and agreed to come along and help. We rented a box van and car hauler trailer and took tools, chains, an air compressor and a floor jack.
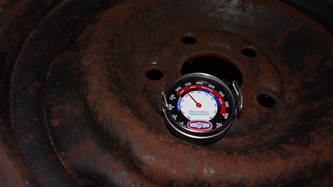
When we got to Montgomery, the tires were flat so our friend John, who sold the car to me, helped us air them up except for one which leaked too quickly. After much pounding we managed to mount the spare which did hold air.
Next...upon trying to move (push) the car toward the trailer, the brakes were frozen, so we used John's riding mower and chains and come-a-longs to wrestle the stubborn Cougar onto the trailer a total of 3 hours later. Four hours later, we managed to drag it off the trailer in only 1 hour!
Since I had the day off, it was a perfect time to go to Montgomery, AL and get the 1969 Cougar that I had just bought from a friend. Les Muntz was also off and agreed to come along and help. We rented a box van and car hauler trailer and took tools, chains, an air compressor and a floor jack.
When we got to Montgomery, the tires were flat so our friend John, who sold the car to me, helped us air them up except for one which leaked too quickly. After much pounding we managed to mount the spare which did hold air.
Next...upon trying to move (push) the car toward the trailer, the brakes were frozen, so we used John's riding mower and chains and come-a-longs to wrestle the stubborn Cougar onto the trailer a total of 3 hours later. Four hours later, we managed to drag it off the trailer in only 1 hour!
First day home with the cougar
May 29, 2012 8:00 a.m.
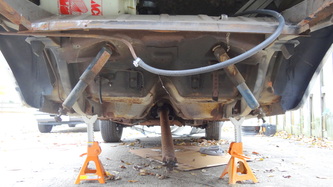
Before going to work, I jacked the Cougar up sprayed WD-40 into the brakes and loosened the adjusters and got the Cougar rolling!
Before going to work, I jacked the Cougar up sprayed WD-40 into the brakes and loosened the adjusters and got the Cougar rolling!


June 14, 2013
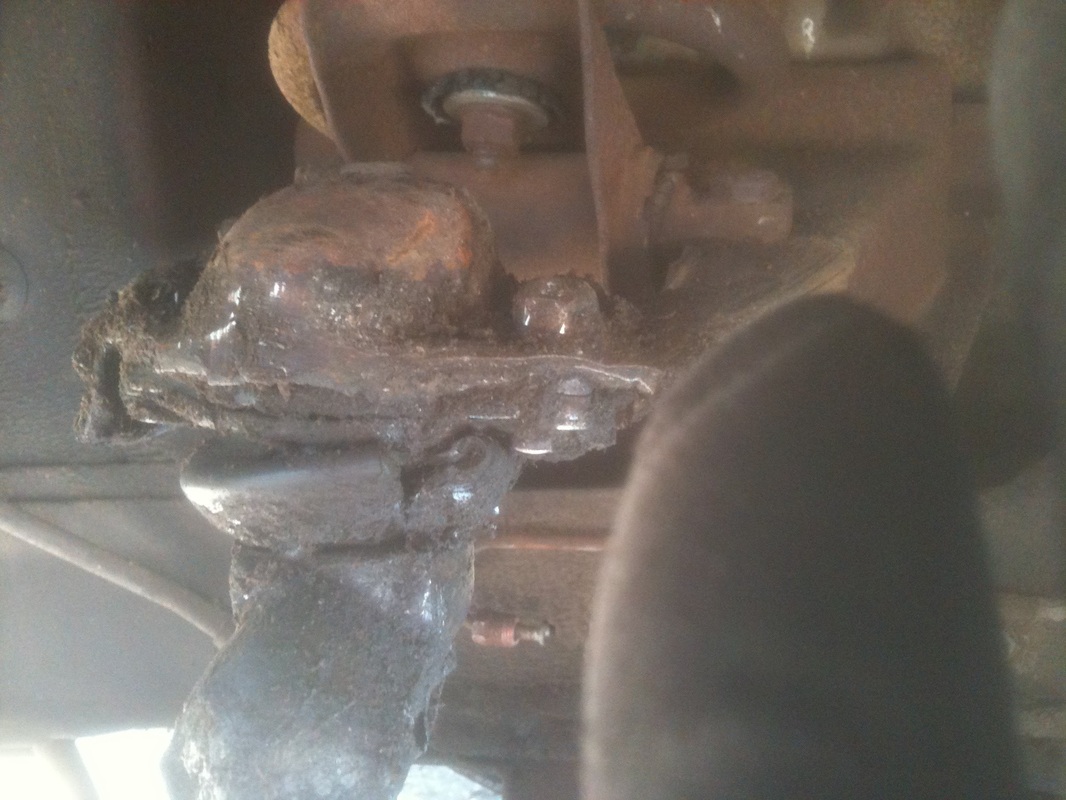
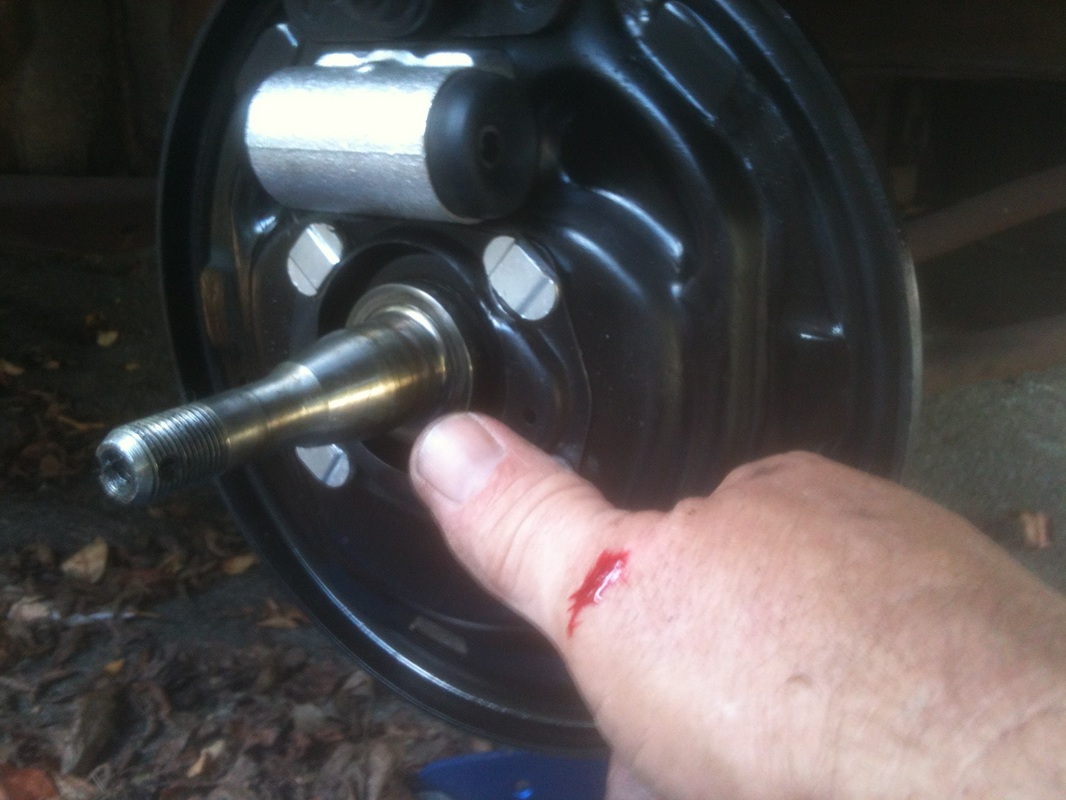
Before going to work I tried to loosen the brake bleeder (right front) and only succeeded in breaking it off.


June 19, 2012
Since I was going to work at 1PM I had time to dismantle the brakes except the backing plates.
june 22, 2012
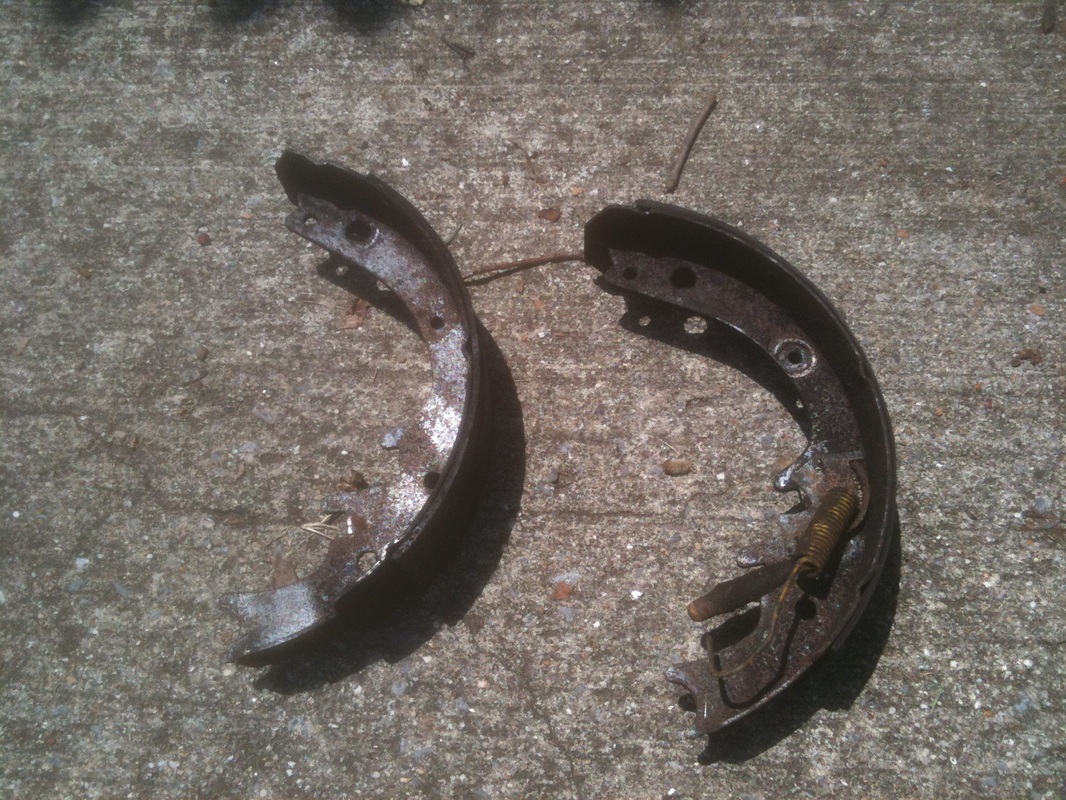
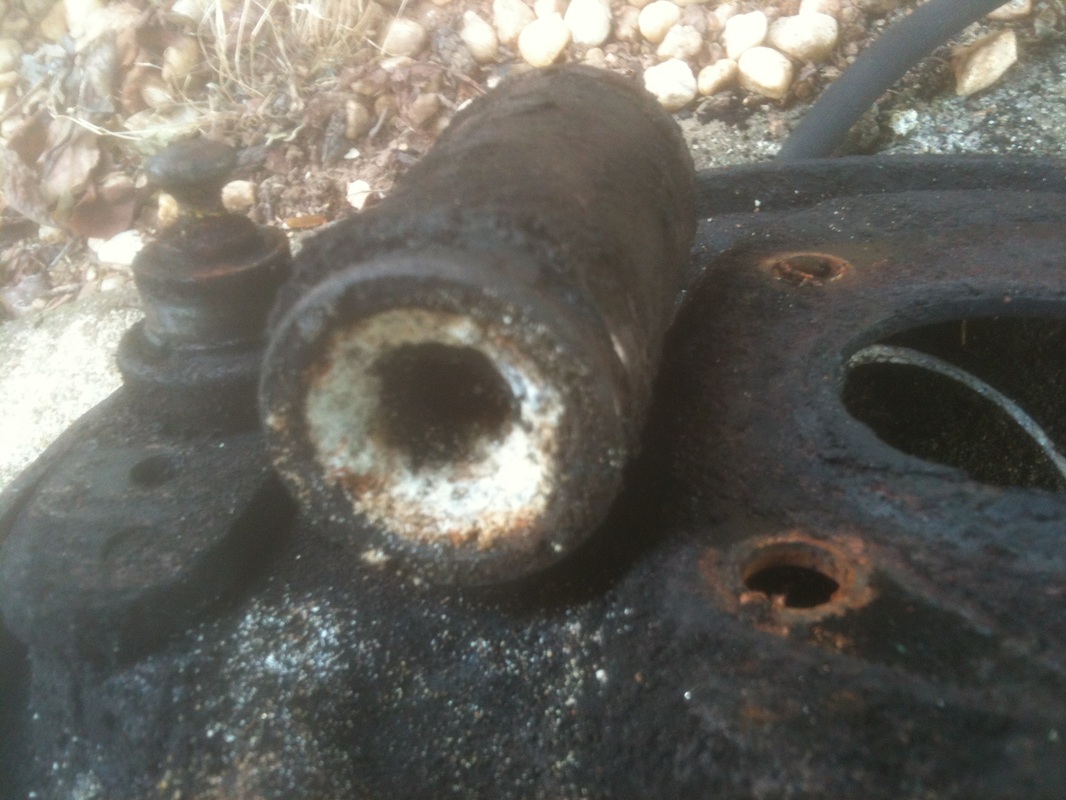
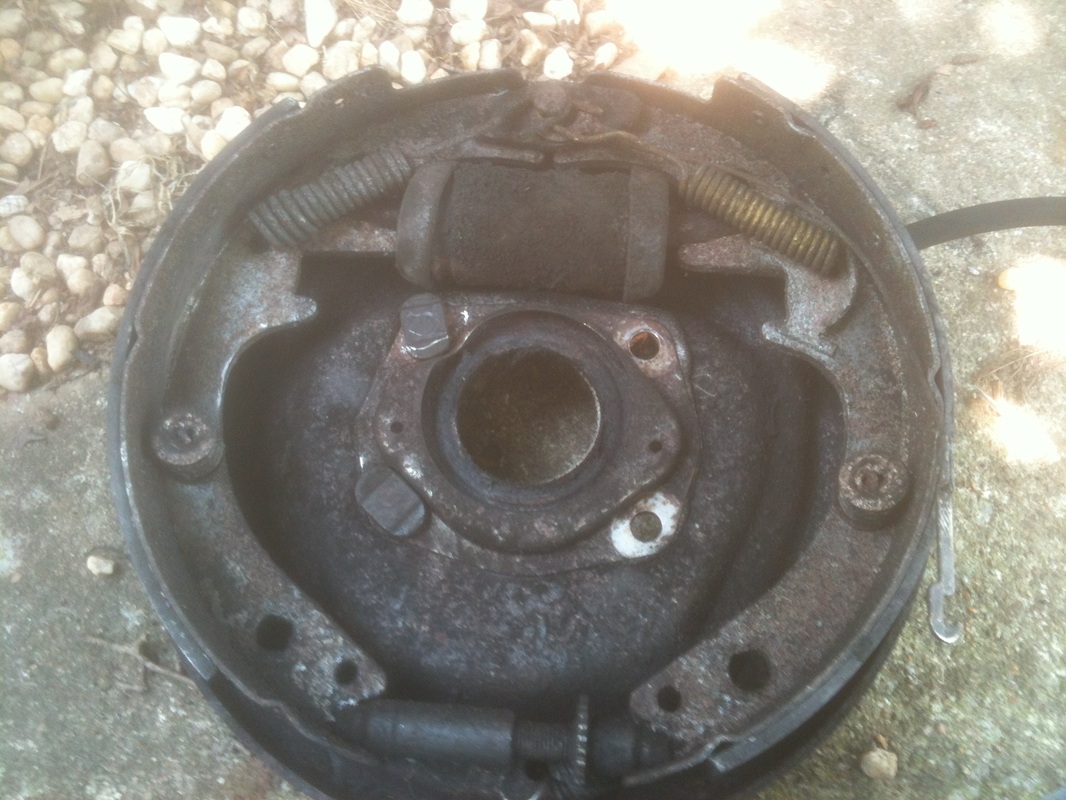
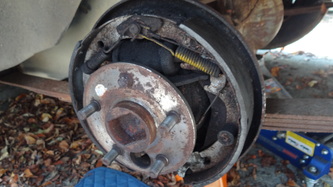
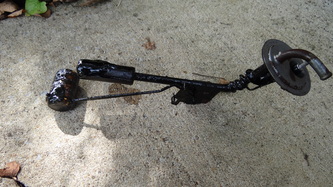
I ordered the brake hardware kit from AutoZone and then went to Tractor Supply and bought 50 lbs of 80-40 Black Diamond blasting media, and a roll of reinforced neoprene hose, both which added to the performance of the sand blaster. I removed the left side brake assembly and backing and blasted and repainted all of it. Discovered the wheel cylinder on the left side was completely frozen and not worth rebuilding. I returned to AutoZone to get the brake hardware and ordered a new left wheel cylinder and 2 new brake hoses. I reassembled the right side brake with new hardware (old shoes.)


June 28, 2012
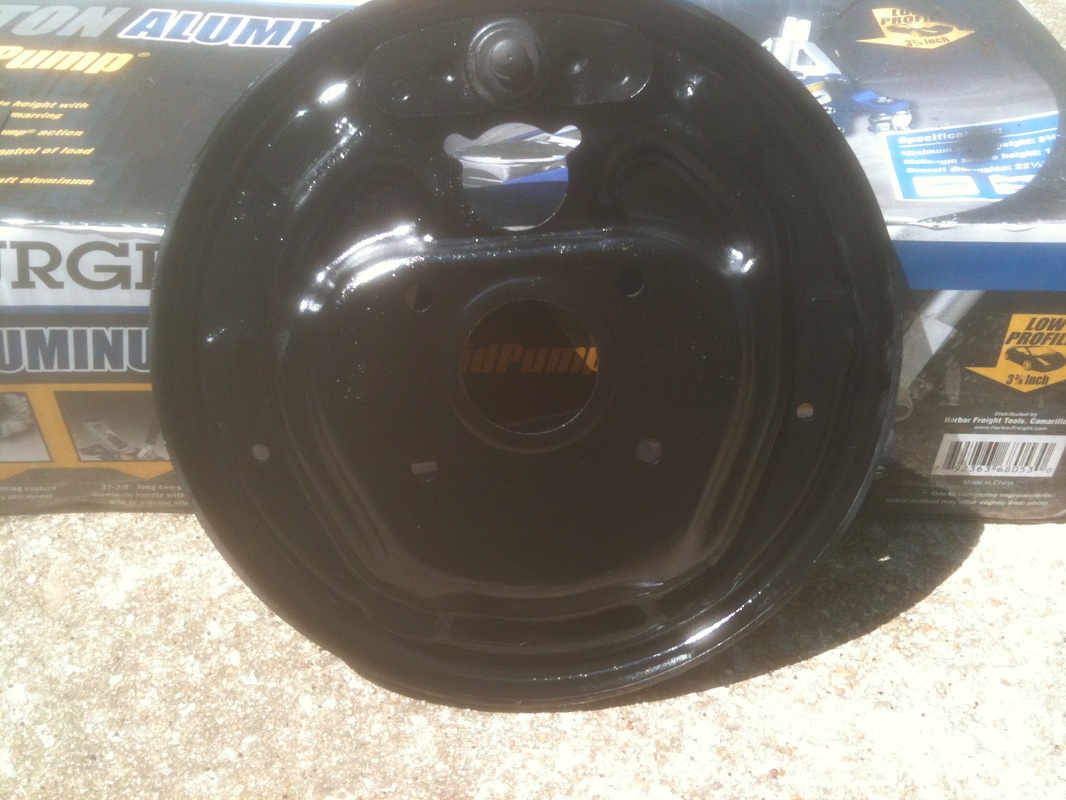
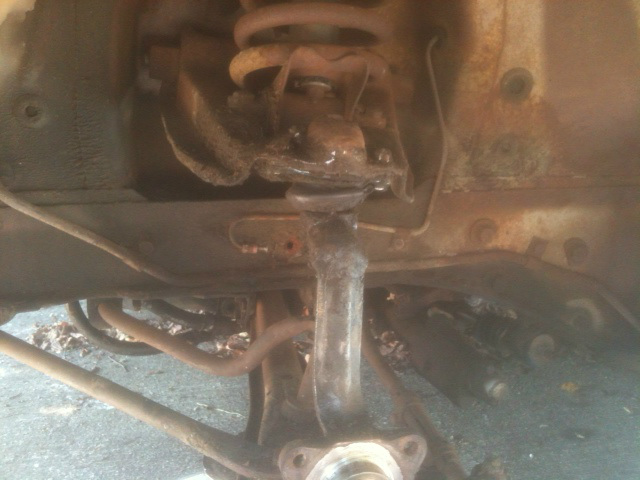
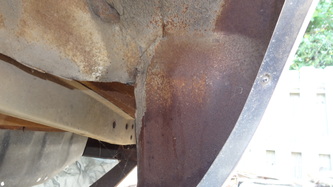
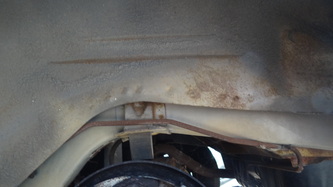
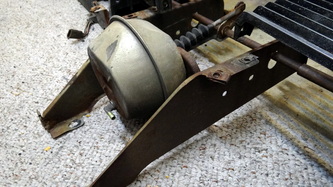
The day after we returned from San Diego vacation..I started by scraping the years of grease and grime off of the upper and lower control arms. Next, I used Gunk engine degreaser on the suspension components and inside the engine bay, followed by the pressure washer on both sides and the engine compartment. After blow drying everything with a leaf blower I used the sand blaster to finish the cleanup. While I was in there I decided to clean up the inner fender well too. I finished it all with Rustoleum Rust Reformer black and then assembled the brakes using new wheel cylinder, hose and hardware. Total time 6 hrs.
July 1, 2012
Removed left side rear brake drum and backing plate...too hot to do anymore work outside (103 degrees)!
July 2, 2012
Another day off, so I blasted and painted the brake parts and wheel well.
July 3, 2012
Finished assembling the left rear brake. It went text book style. One more side and I will be ready to bleed and test the brakes and THEN, I can prepare for it's first drive in many years.


July 06, 2012
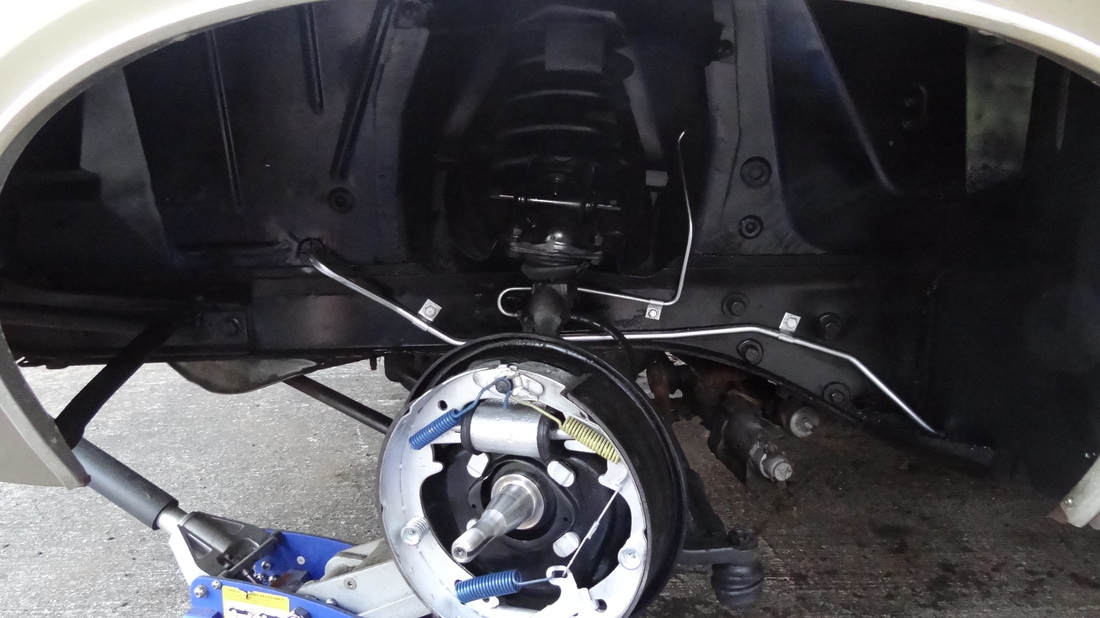
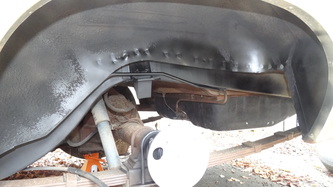
Today I sandblasted and painted inside the wheel well, I also left the brake backing and e-brake cable intack on this side as I will eventually remove and blast the entire rear end. I installed the last wheel cylinder and l adjusted the shoes and with just a little bleeding was able to get a suitable pedal to test drive it. No pics this time...just hold the computer up to a mirror and look at the above pic. :) Four hours today. I will try to fire and drive it Sunday or Monday.
July 09, 2012
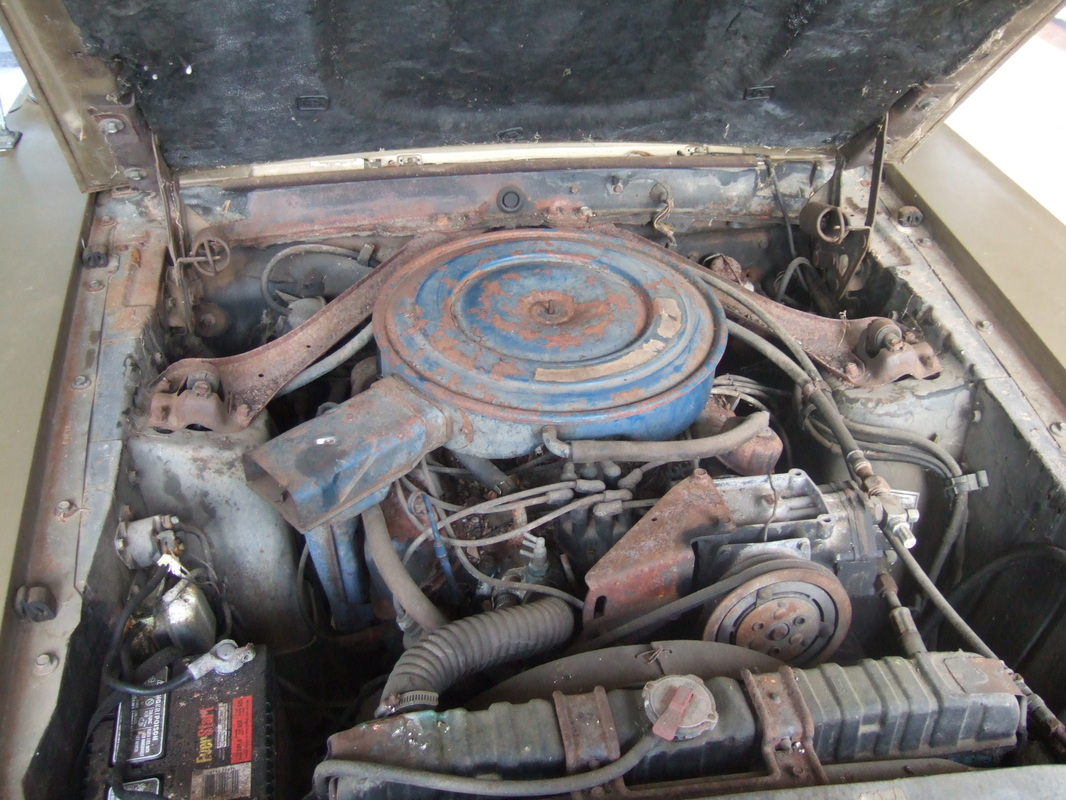
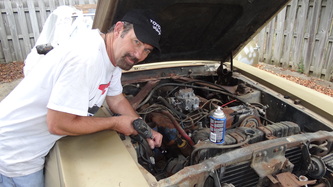
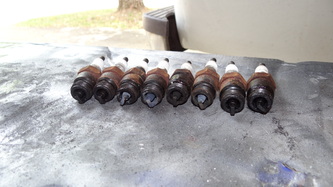
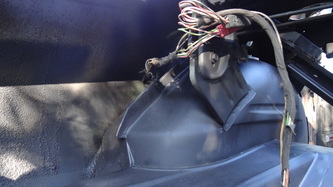
Today I replaced the spark plugs, all but two were really badly carboned up. The new impact drivers I have made it much easier to do them. I had to put a small piece of rubber fuel line in between the carb and fuel line. I also sprayed some lubricant into each cylinder to help with the initial startup. After checking the oil (good) and the tranny fluid (like NEW) and adding a couple gals of gas and filling the radiator, I tried several times to get it running, but all it would do is burn off the teaspoon of gas I used to prime it. I pulled the fuel line off and not a drop there so...I'm going to have to see what's up. Below is a video of the start up.

July 12, 2012
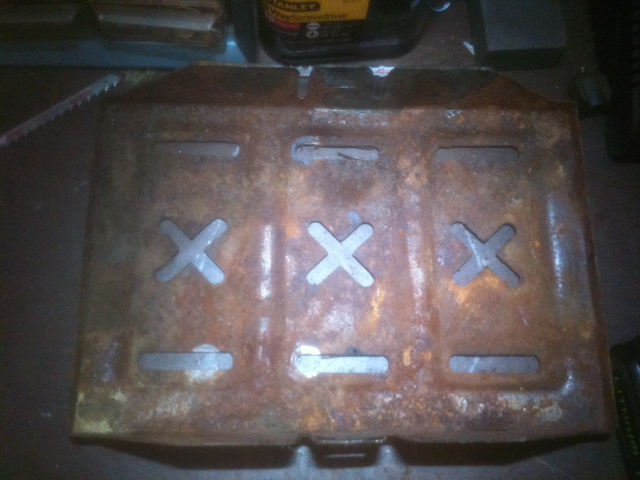
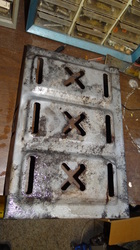
Removed battery tray and sand blasted it and coated it with POR-15.

July 15, 2012
Today I removed the sending unit from the gas tank and found exactly what I suspected...a big gooey mess!
Next I will remove the tank and try to flush it out and replace the sending unit.
Next I will remove the tank and try to flush it out and replace the sending unit.

jULY 16, 2012
Another day off..after a little lawnmower repair for "Mom" I cleaned the sending unit with carb cleaner but discovered that the float has several holes in it. Next, I removed the gas tank and found not only that it was really gunked up and rusty inside..It has huge holes in one corner...BUMMER! Well at least I won't have to clean it.
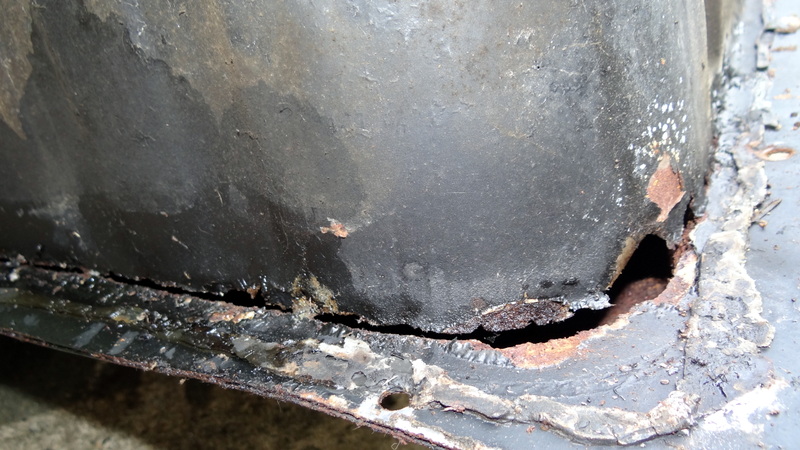
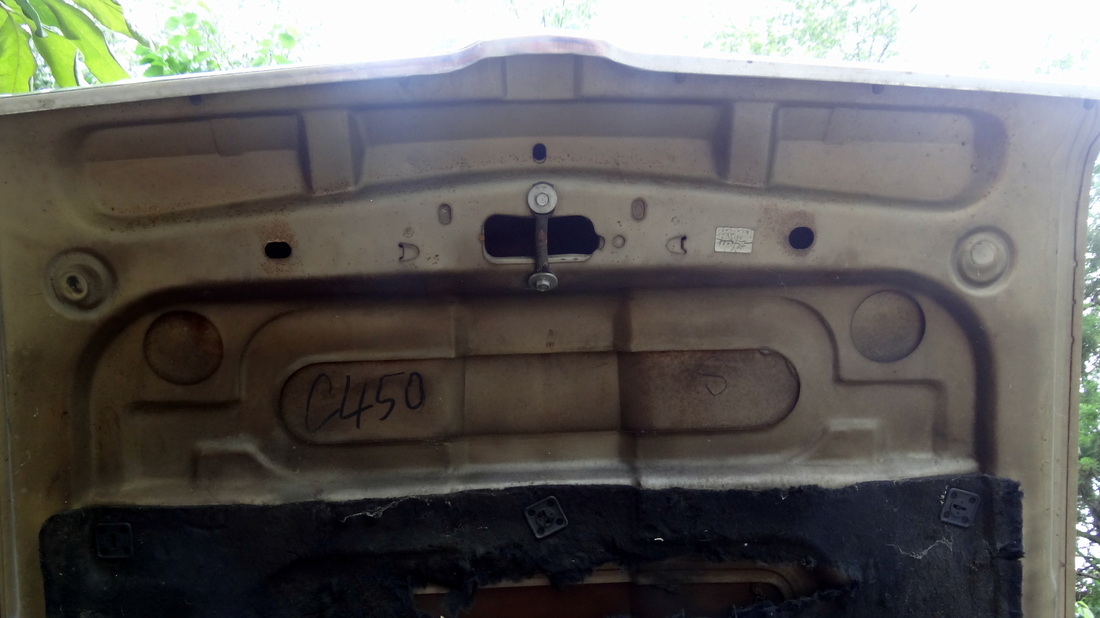
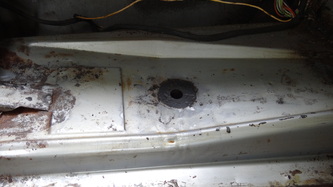
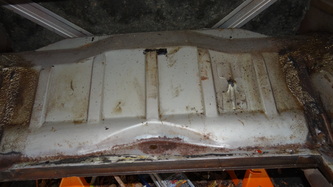
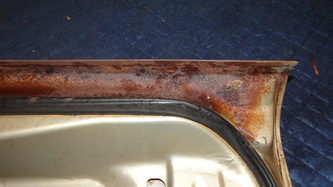
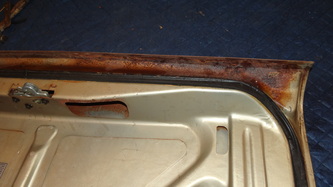
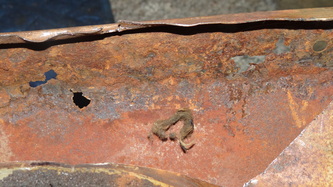
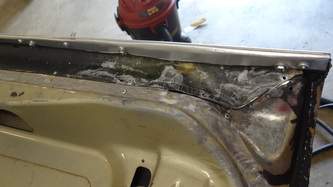
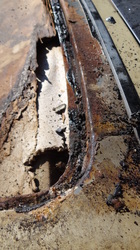
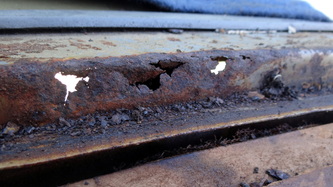
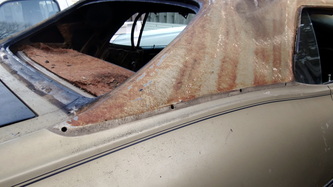
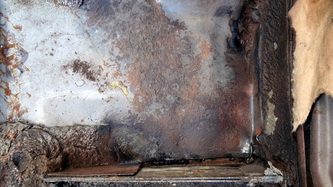
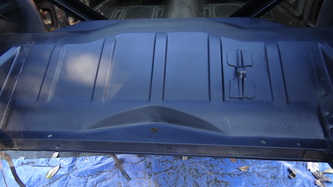
These next pics are of the trunk floor before and after a light cleanup with a wire cup brush and a rusty spot on the right corner of the trunk lid.


jULY 20, 2012
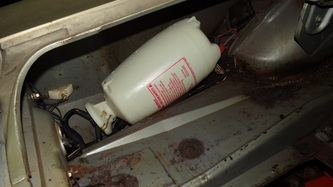
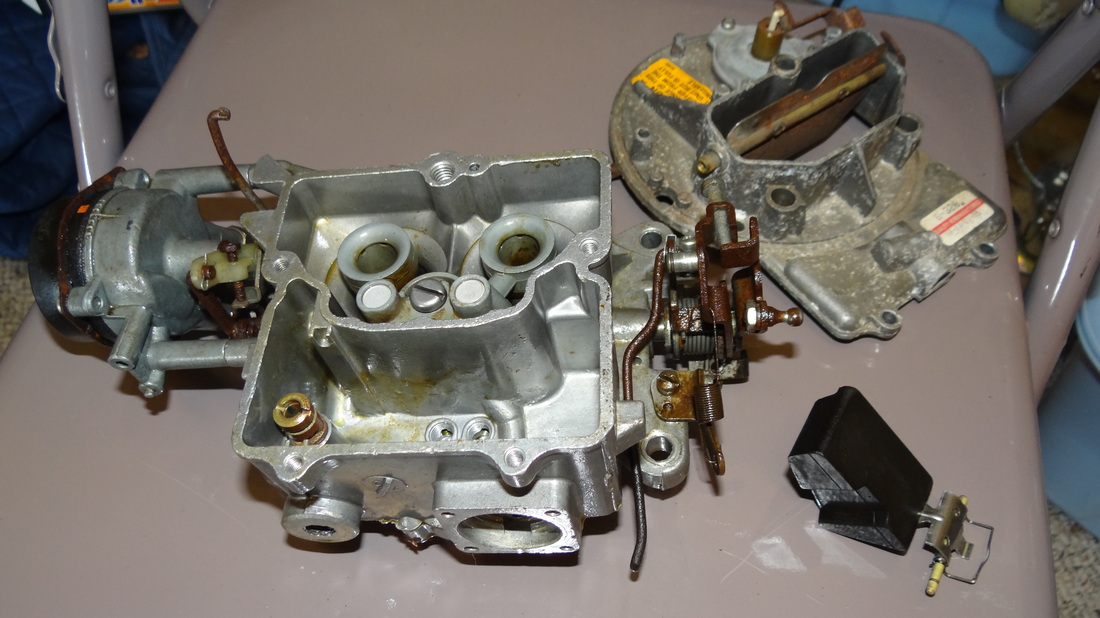
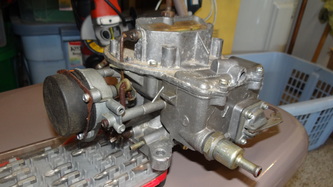
Yesterday I tried to start the Cougar by rigging up a temp gas tank made out of a sprayer tank..it worked well but the carb was so messed up it wouldn't stay running. Today I pulled the carb and installed a rebuild kit. The carb was a newly rebuilt unit (ten years ago), but was full of varnish. I REALLY think it will run now!

jULY 22, 2012
Yesterday I tried to start the Cougar by rigging up a temp gas tank made out of a sprayer tank..it worked well but the carb was so messed up it wouldn't stay running. Today I pulled the carb and installed a rebuild kit. The carb was a newly rebuilt unit (ten years ago), but was full of varnish. I REALLY think it will run now!
FIRST TIME RUNNING IN 18 YEARS!
FIRST TIME DRIVING!
OFF WE GO!
jULY 29, 2012
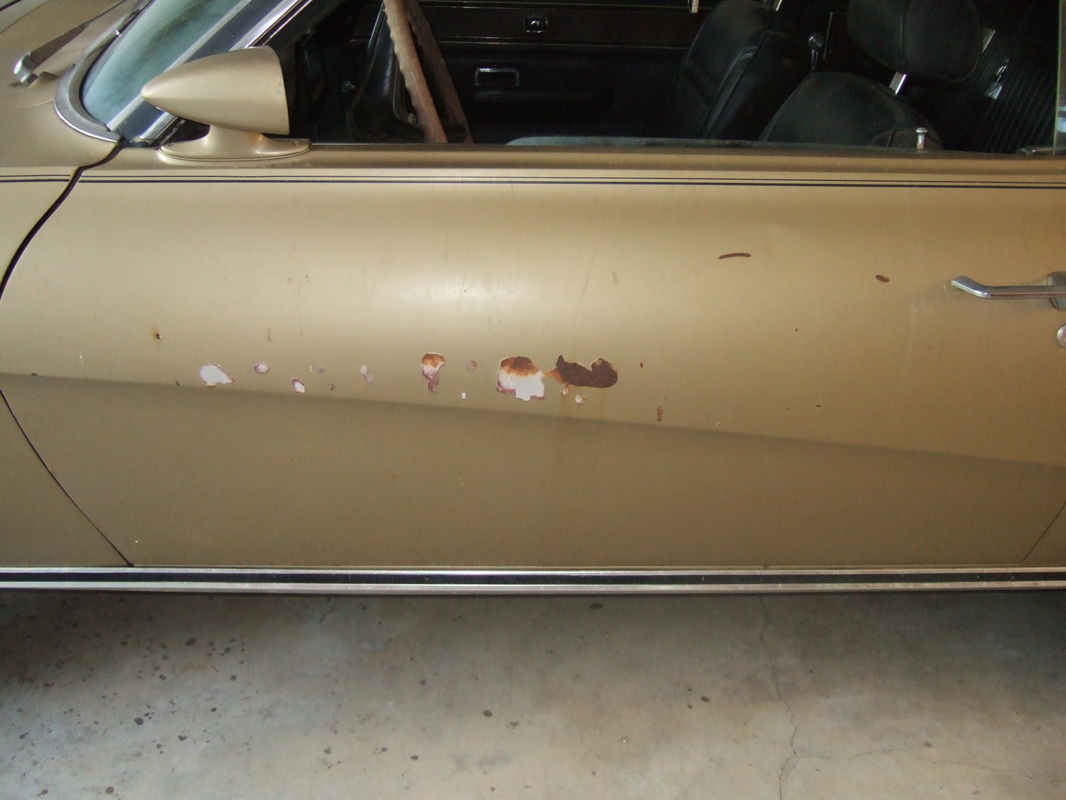
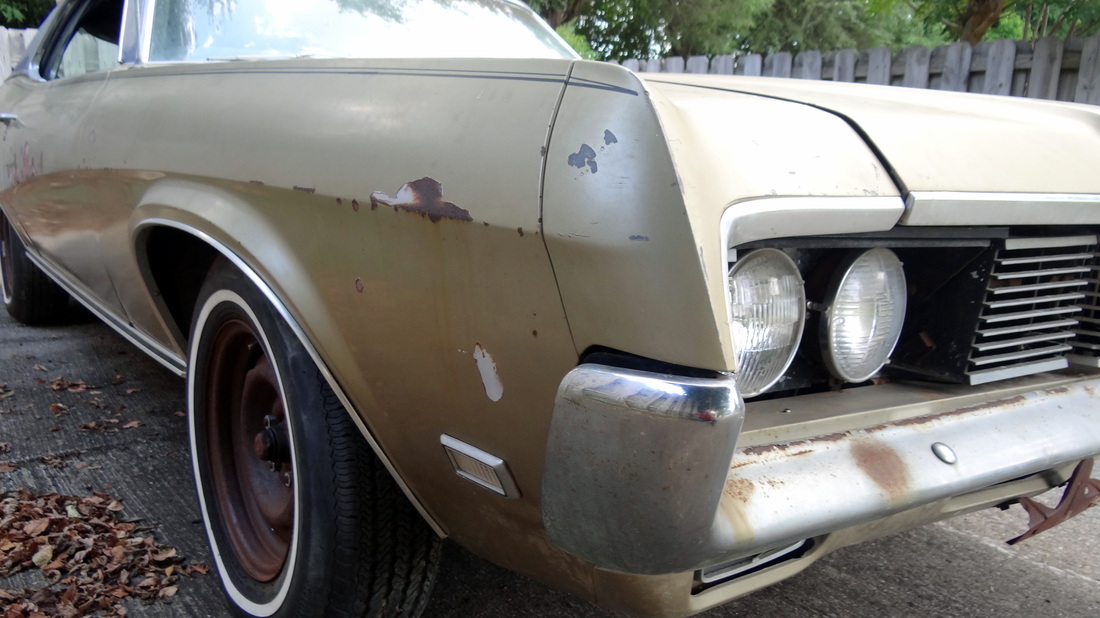
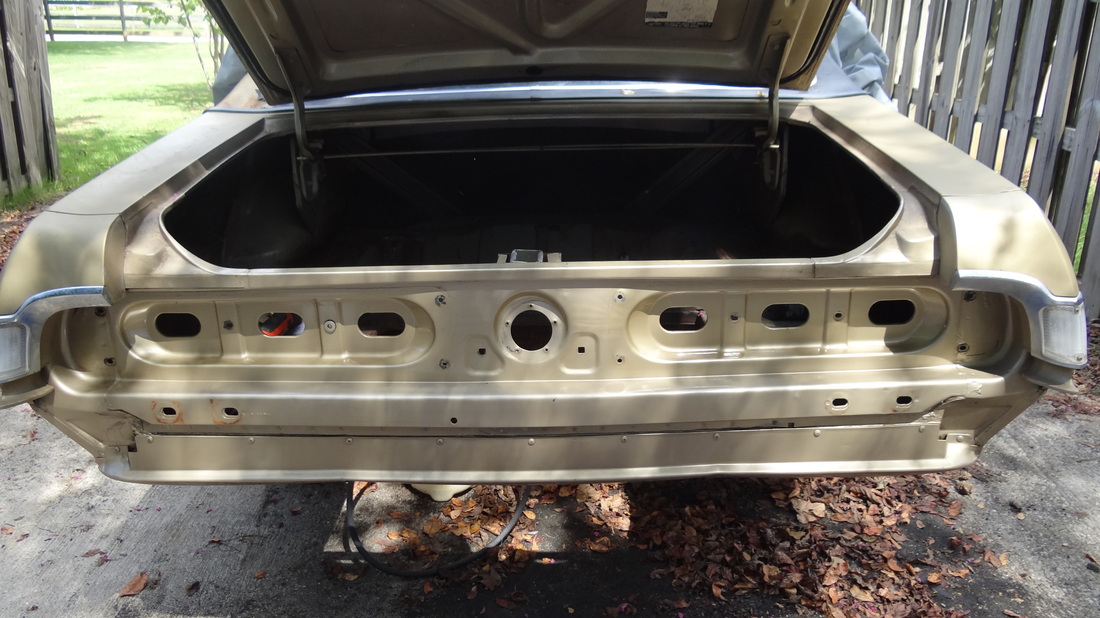
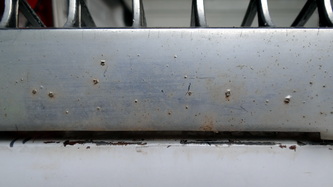
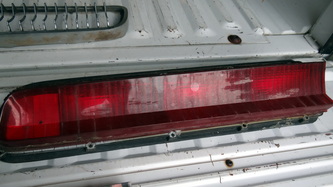
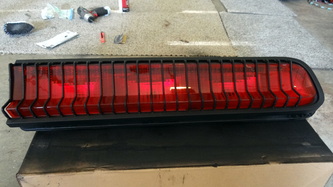
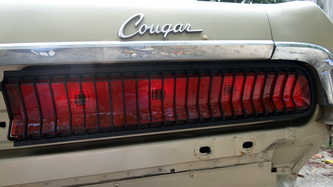
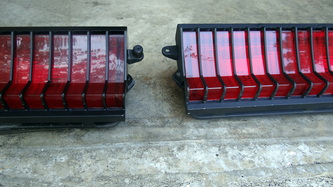
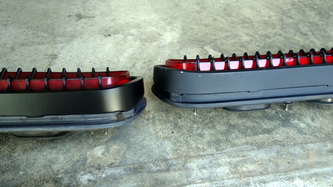
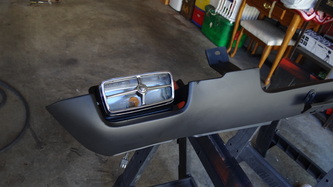
Today I removed the bumper and tail lights and found a big surprise...perfect paint without a hint of rust!
jULY 30, 2012
I decided to tackle some of the minor rust issues in the trunk today...concentrating on the right side in the fender well cavity in the trunk. I removed all the body seam filler and loose rust with a scraper, then hit it with the cup wire wheel and finally blasted it. Then I coated it and a few other little areas with POR 15. 3 hrs


jULY 31, 2012
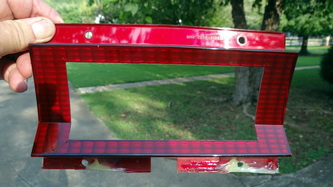
A couple days ago I started restoring the gas filler door and lens. The bottom flange was broken at both ends and had a crack at the corner. I glued and epoxied the flange back together and polished the rest. I think it will do fine for the mean time. Here are some before and after pics.


aUGUST 2, 2012
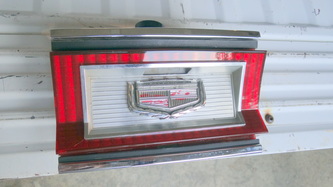
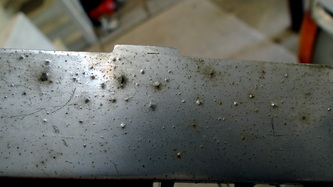
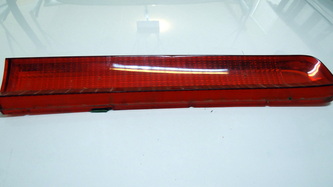
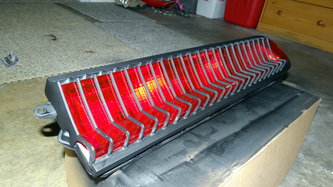
Sanded and filled corrosion pock marks on tail light grill still working on them but it looks like it will come out good. I also polished out the tail light lens.


August 3, 2012
Today I finished sanding and painted the right side tail light grill. I polished the lens and reassembled them.

August 08, 2012
Building a powder coating oven from a store display stand and a double burner hot plate..I hope its not a waste of time and money

August 09, 2012
Insulated oven this morning, hopefully that will get the temperature up to 375 degrees, yesterday could only get to 325. Well..it WORKS!! got to 405 in about 45 mins. I removed the upper radiator support bracket and blasted it and powder coated it. The cheapie Harbor Freight powder coater worked as well as could be expected, baked part for about 10 mins.


August 14, 2012
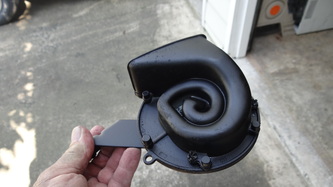
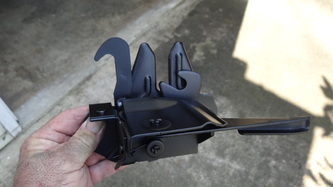
Today, I removed the hood latch and bracket and both horns. I blasted them and powder coated them.
August 14, 2012
Recieved my epoxy primer from Eastwood, shot some on the left tail light grill...came out fantastic! I will now strip and repaint the right one.
august 20, 2012
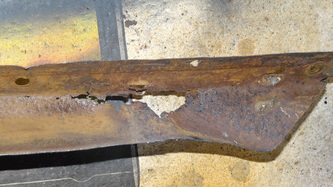
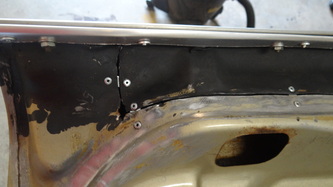
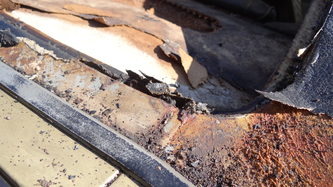
Yesterday I started tearing into the trunk lid rust issue. This may be a little unorthodox approach but since I can't use a welder any longer this is what I came up with..I just hope it turns out like I want.


august 22, 2012
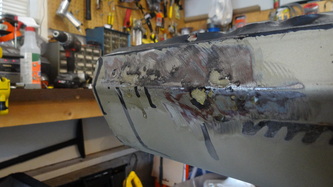
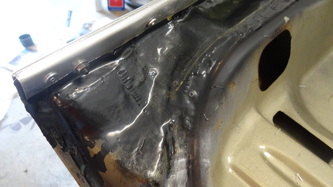
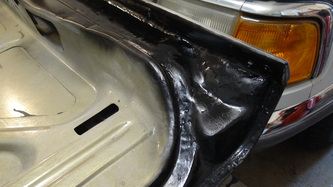
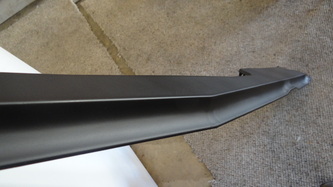
Well..yesterday after riveting the panel back in, I attempted to fold the outer lower lip of the trunk back into place, only to end up breaking it off due to metal fatigue. So, my solution was to fabricate a new lip out of .025" aluminum sheet and rivet it into place. I went to the metal supermarket and ordered two pieces both 2"X 55" and had them put a 90 degree bend in one. Best part was they didn't charge me anything for the two pieces! I wasn't sure if the 90 degree piece would be the best option but I tried it first. I first riveted the outside edge down to the lid and then bent the inner lip around the lid edge. But now I couldn't make it flat because of the rivets sticking out of the inside. So...I drilled the rivets out and then drilled holes though both sides and riveted it all down and installed the chrome molding which hides the new piece from the outside. Once painted I don't think you will be able to see ANY difference from the outside and just the rivets on the inside. Next I have to do some fiberglass patching and some bondo here and there and then prime it. About 8 hrs so far on this one. I spent an additional 8 hrs glassing and smoothing it all out, with all the time I've spent on this so far, even at $10 an hr I could have bought a new one. I still have to flip it over and sand and prime the other side!


august 27, 2012
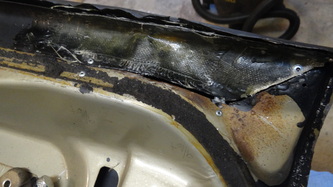
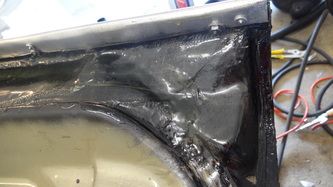
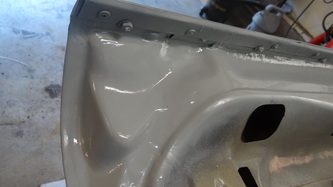
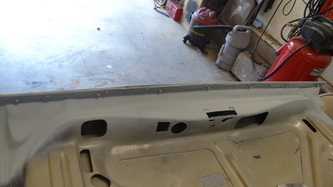
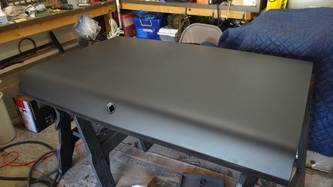
Today, I stripped the outer skin down to bare metal with a orbital and 80 grit in about 2 hrs. Then I sprayed it with black urethane primer from Eastwood, then flipped it over and did the inside too. I love this paint! Finally finished with this panel!

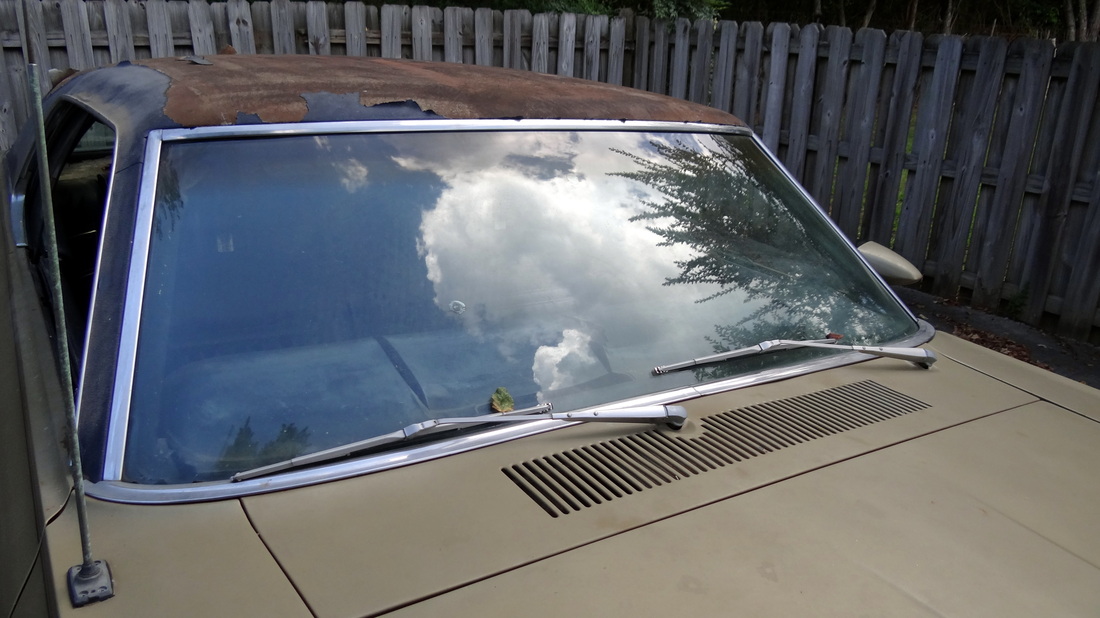
Oct 11, 2012
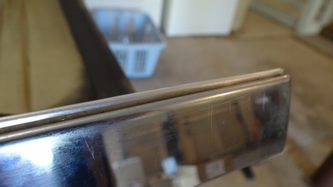
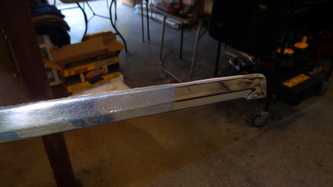
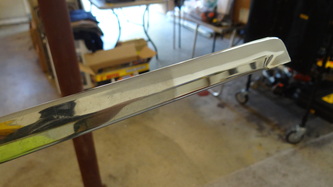
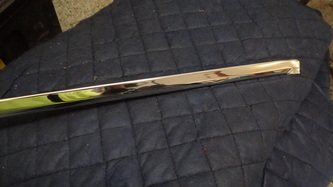
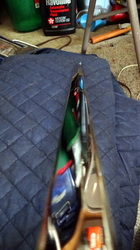
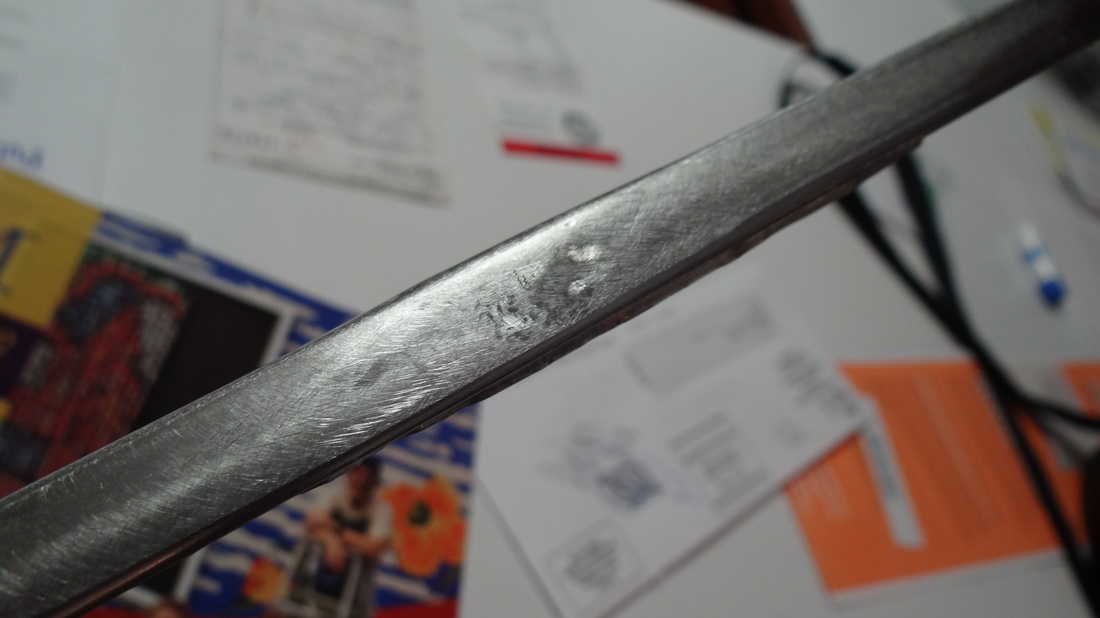
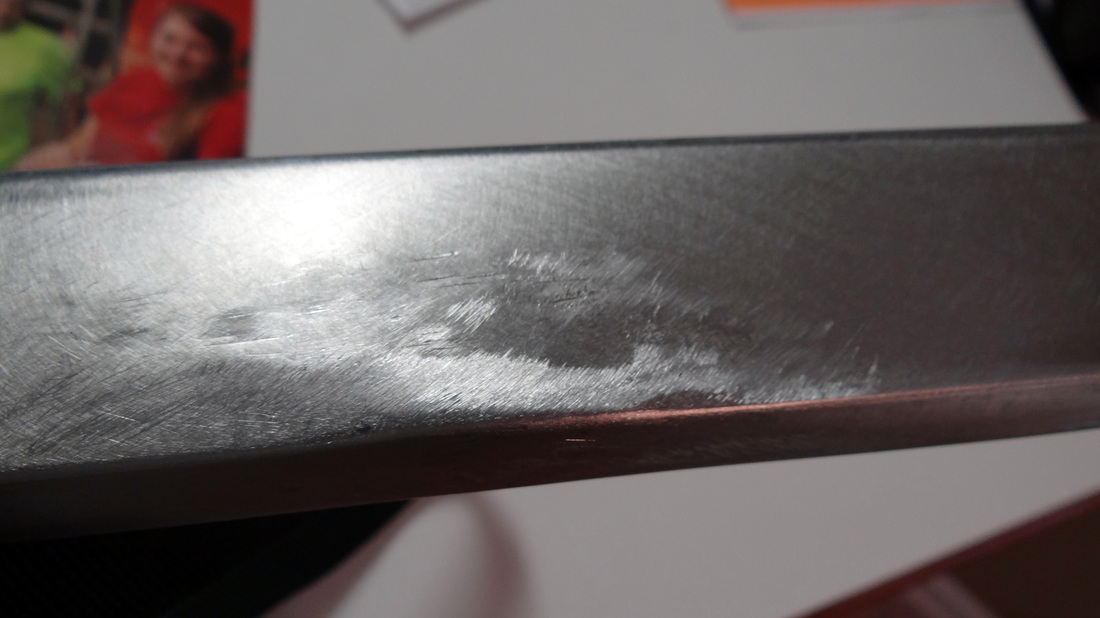
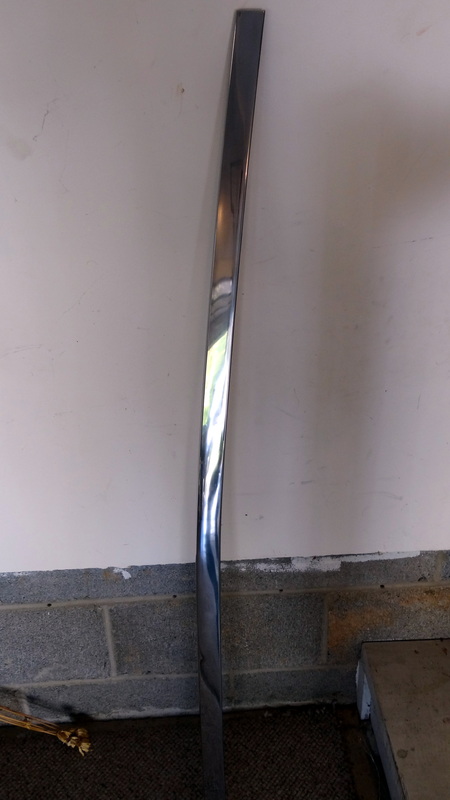
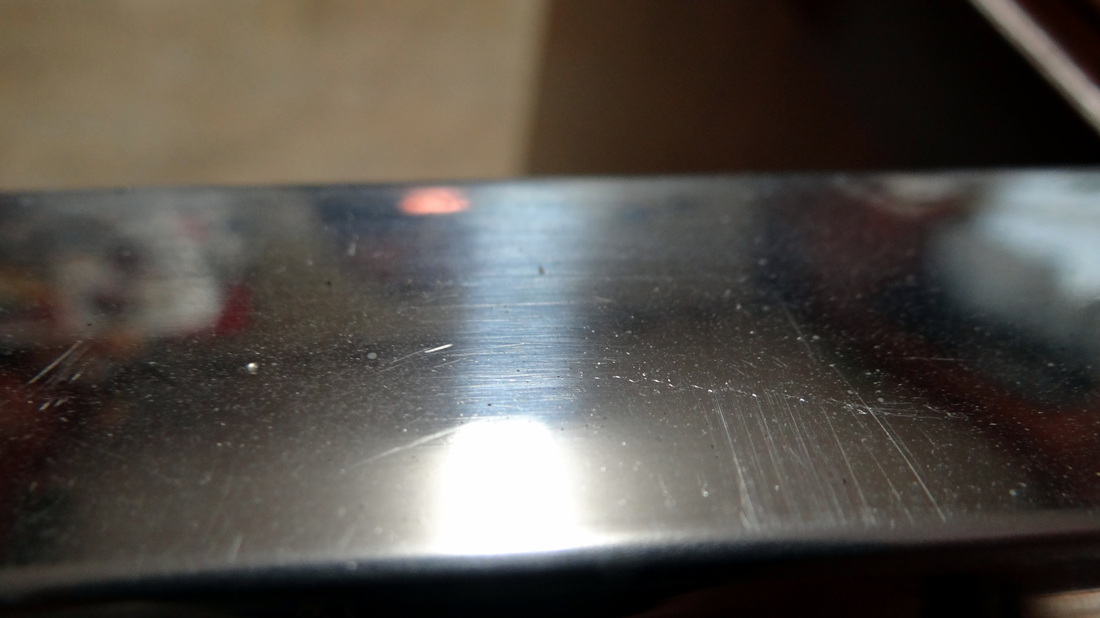
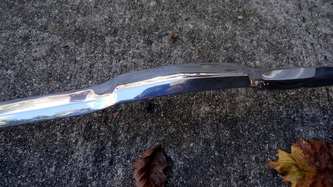
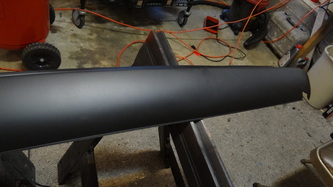
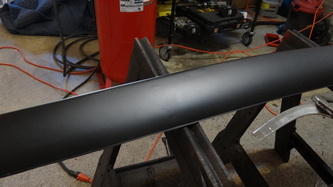
It's been a while since I have done anything on here as I have been very busy lately. This weekend I bought a bench polisher/buffer and couldn't wait to get started. The first piece is the right side windshield molding. The first pic is before, second one shows about 6" on the end buffed and the last two are finished shots.
Oct 13, 2012
Today, I continued working on the trunk lid molding which had a good sized dent right in the edge of the bend. I didn't take a good close up of it before starting to pound on it, but I cropped a view of it from a rear pic. This was a VERY difficult and trying project! Now I know why trim restorers charge SO much! My modest skills and equipment afforded me an "acceptable" finish after only about 10 hrs of labor.

oct 15, 2012
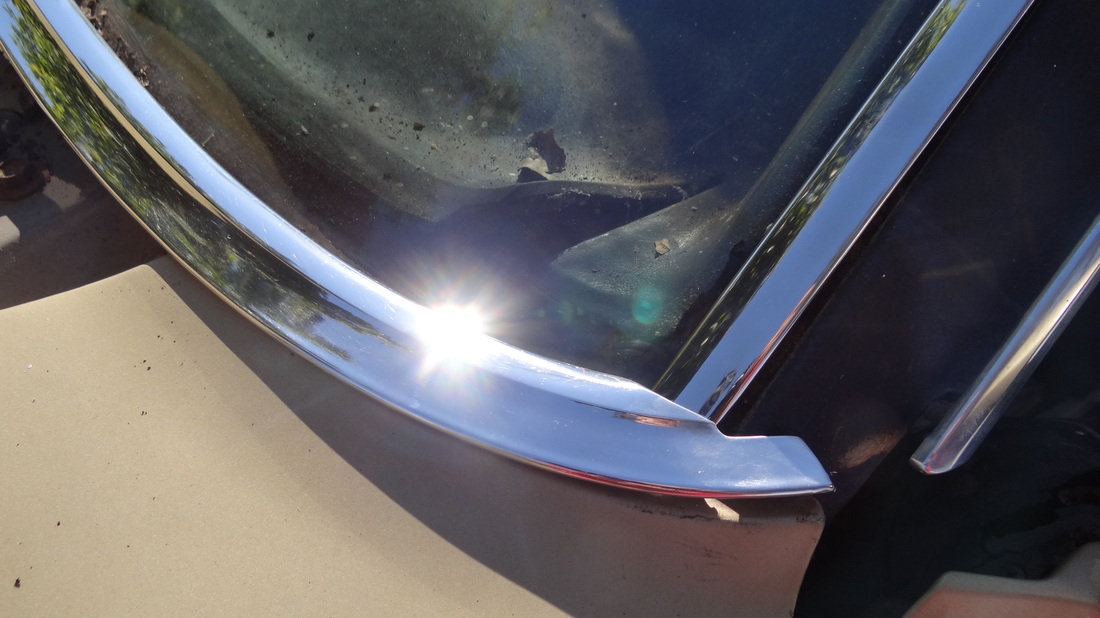
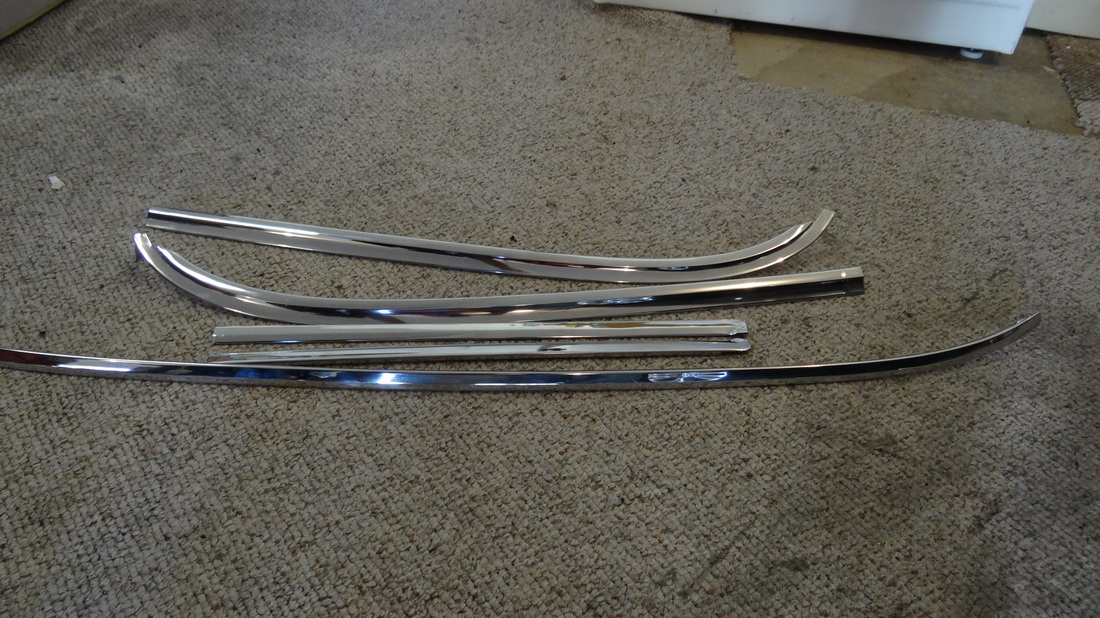
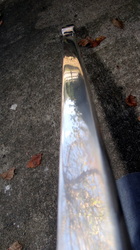
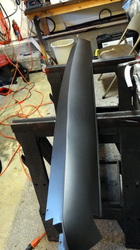
Well, today I popped off the remaining windshield moldings and polished them all. I only had to sand a couple of small scratches out with 600 grit wet or dry. Total time about 3 hrs.
oct 17, 2012
I worked on the windshield cowl today. It only needed a couple of rock chips filled and light sanding before shooting it with the black epoxy primer.

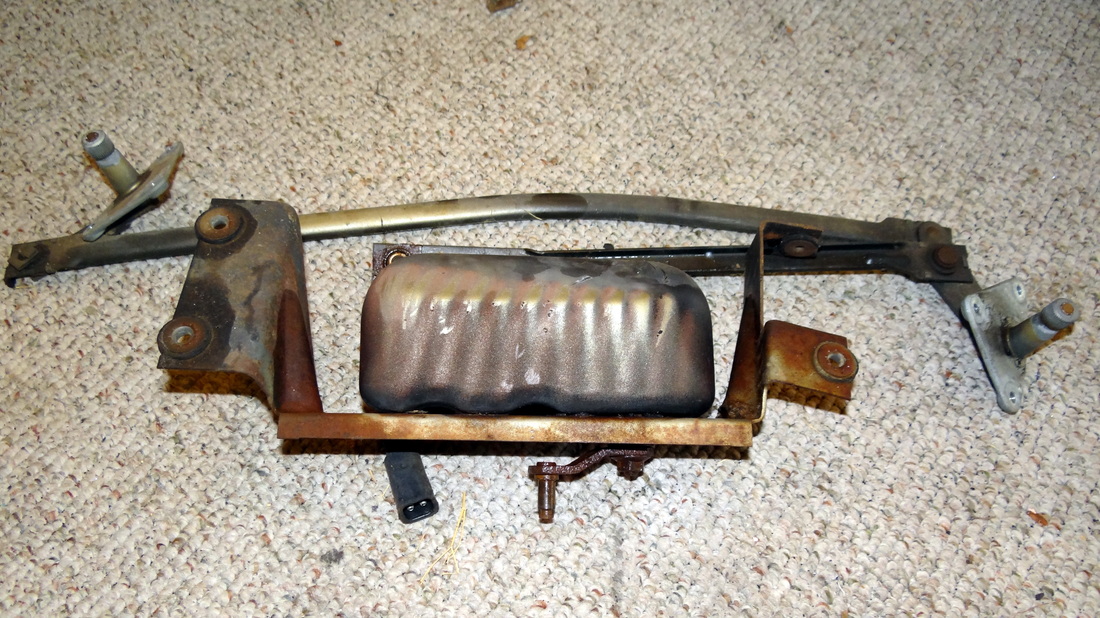
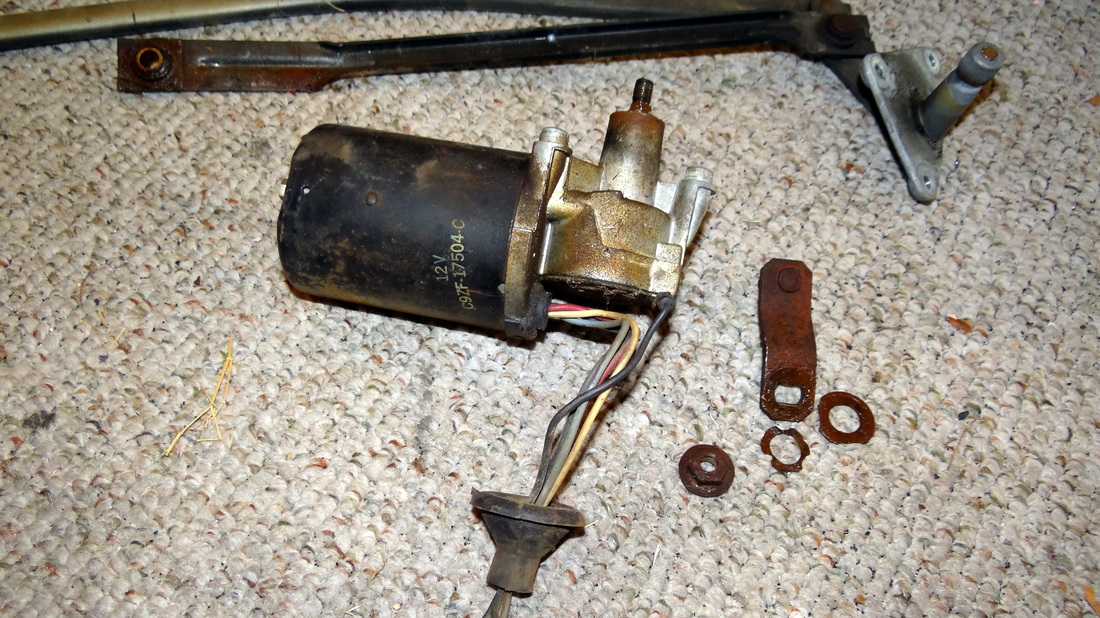
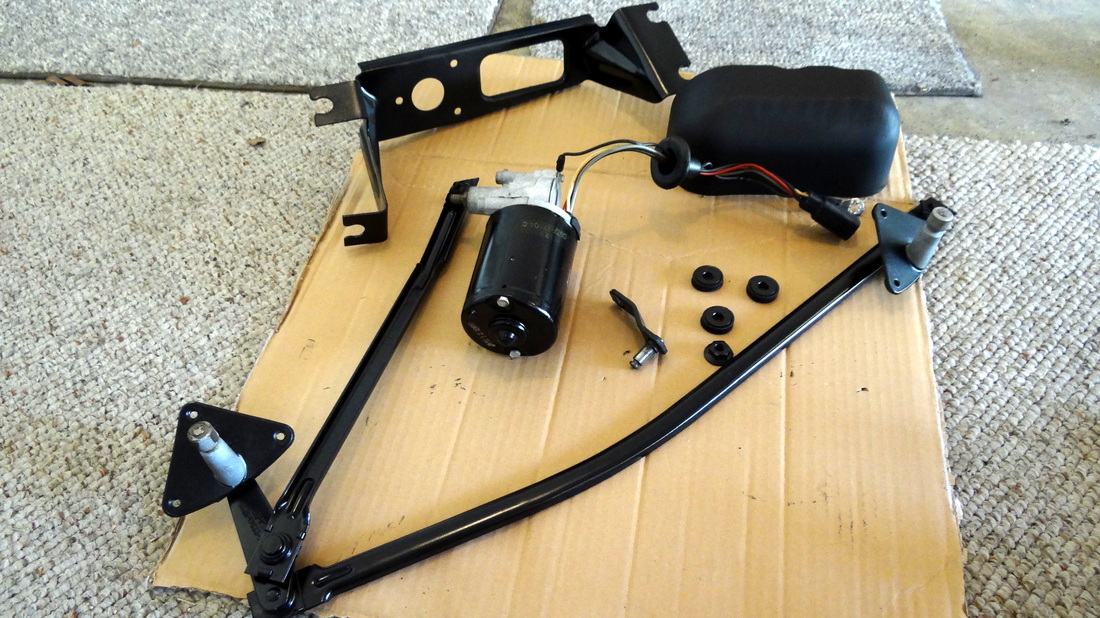
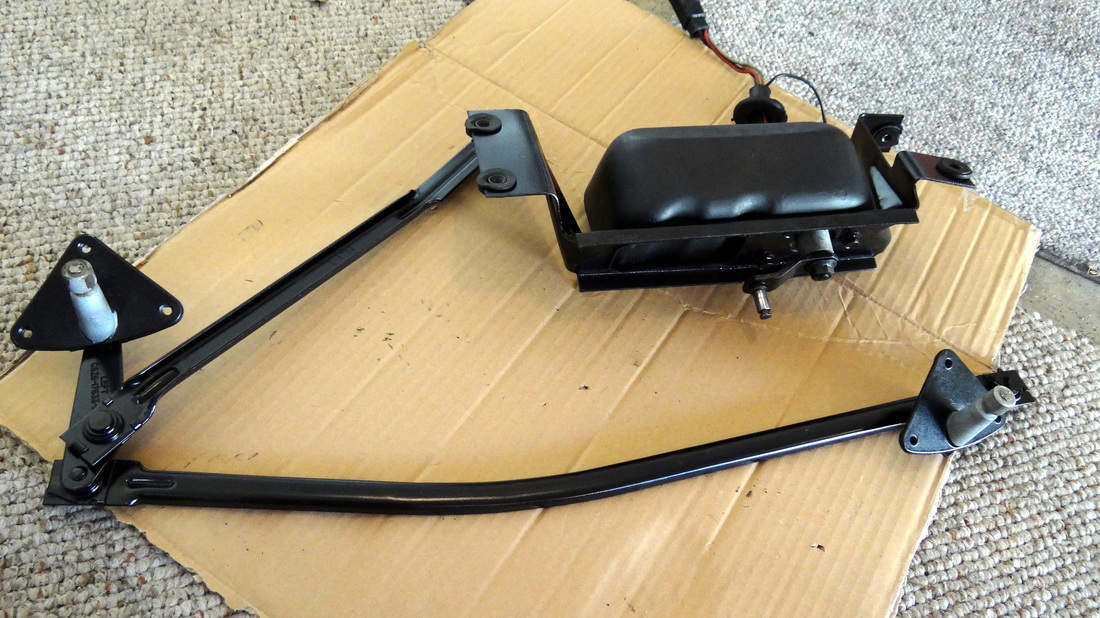
oct 18, 2012
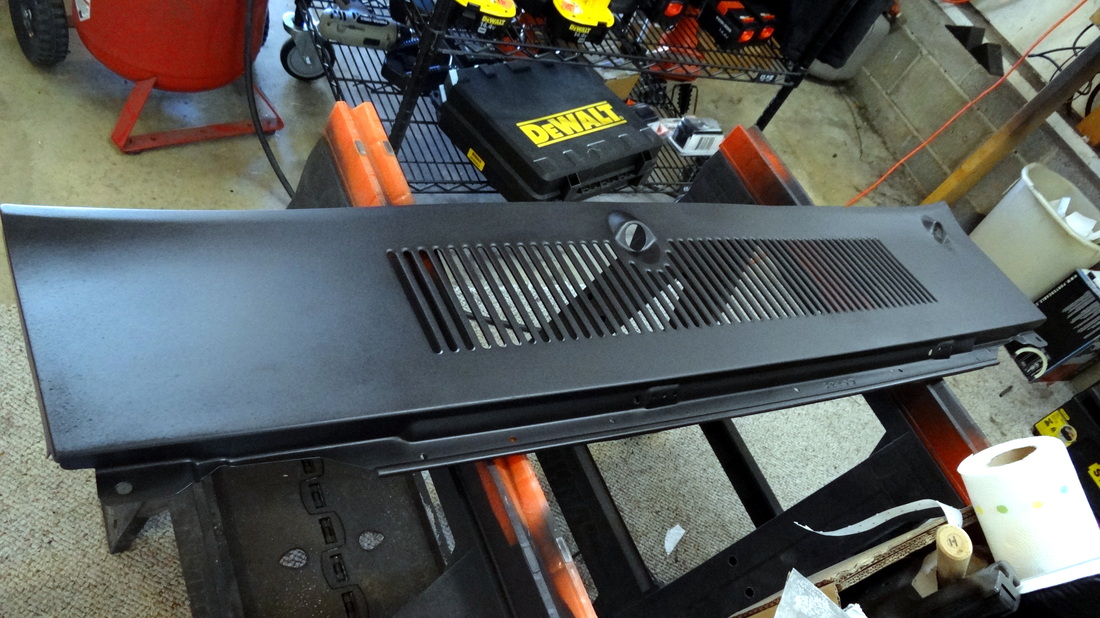
Getting back into the swing of things now..two days in a row working on the Cougar. Today, removed, blasted, painted and powder coated the entire wiper assembly. 4 hrs

oct 19, 2012
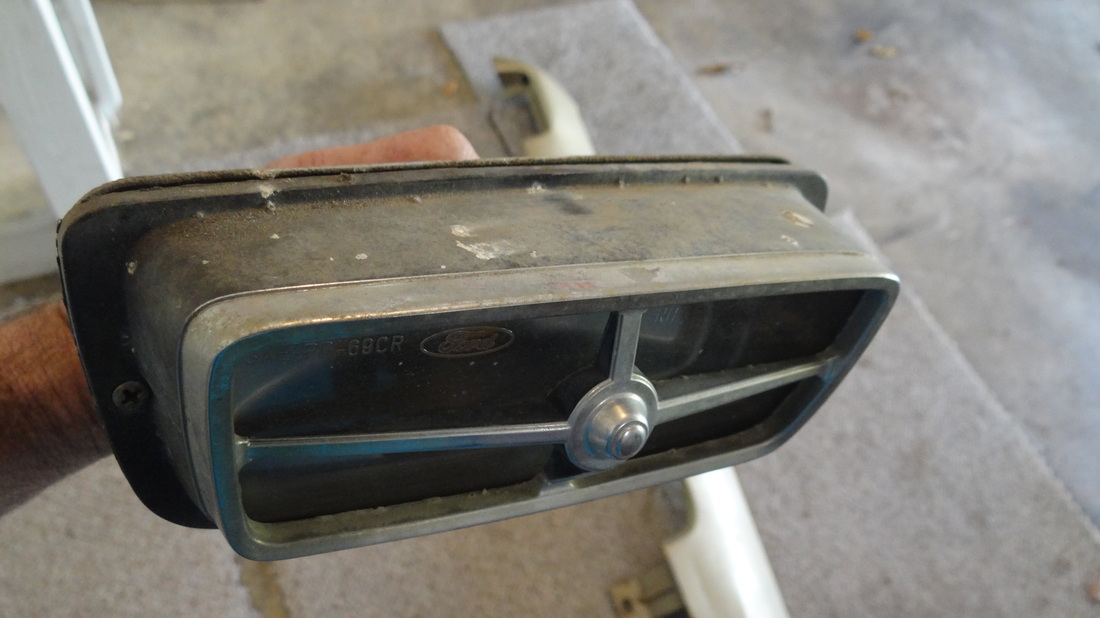
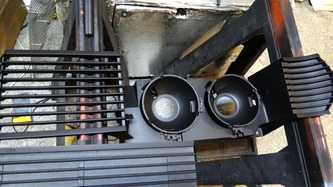
Spent most of the day removing the hood trim and valance. Started stripping the trim and got one of the fog lights cleaned up and painted..doesn't sound like much, huh?


Oct 22, 2012
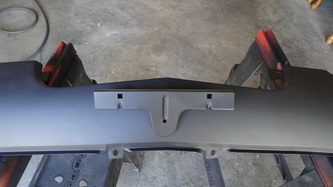
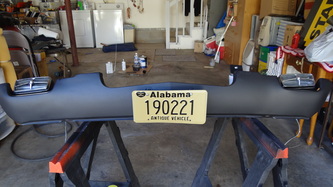
This morning I finished beating out little dents and sanding the lower valance, then painted it along with the other turn signal and the licence plate bracket..that's it! Only about 4 hrs.


Oct 24, 2012
Yesterday I continued working out some small dents in the valance and then continued working on polishing the hood trim. Worked about 6 hrs.

Finished the hood trim finally! 12hrs


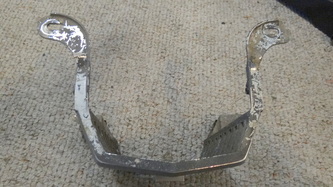
Later this afternoon I went outside and pulled the front bumper, upper valance, and assembly. It was easier than I expected.
Oct 25, 2012
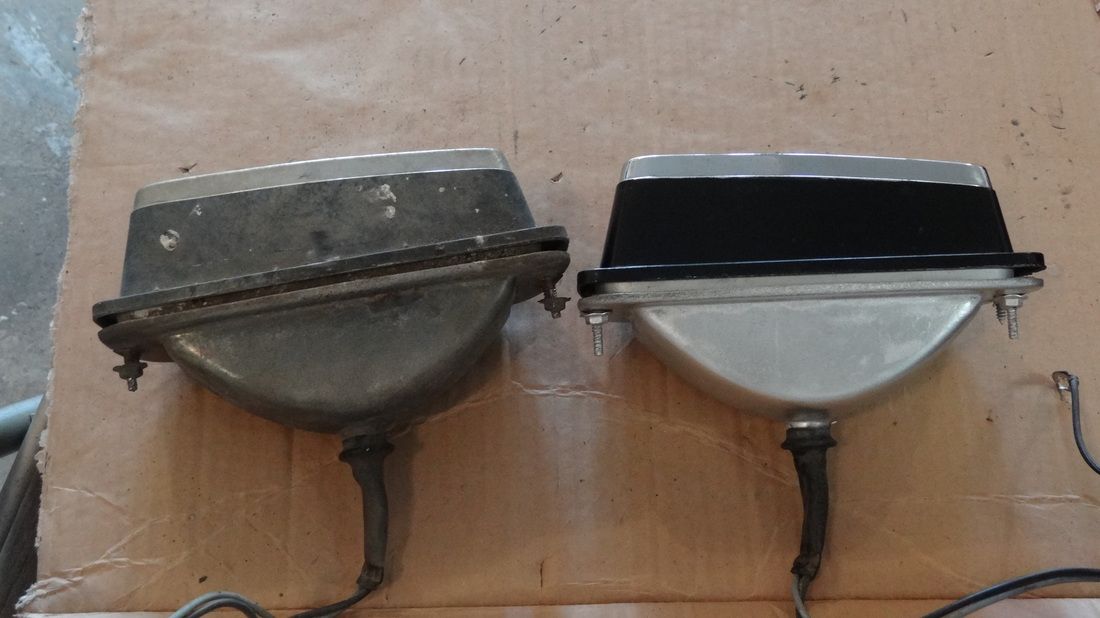
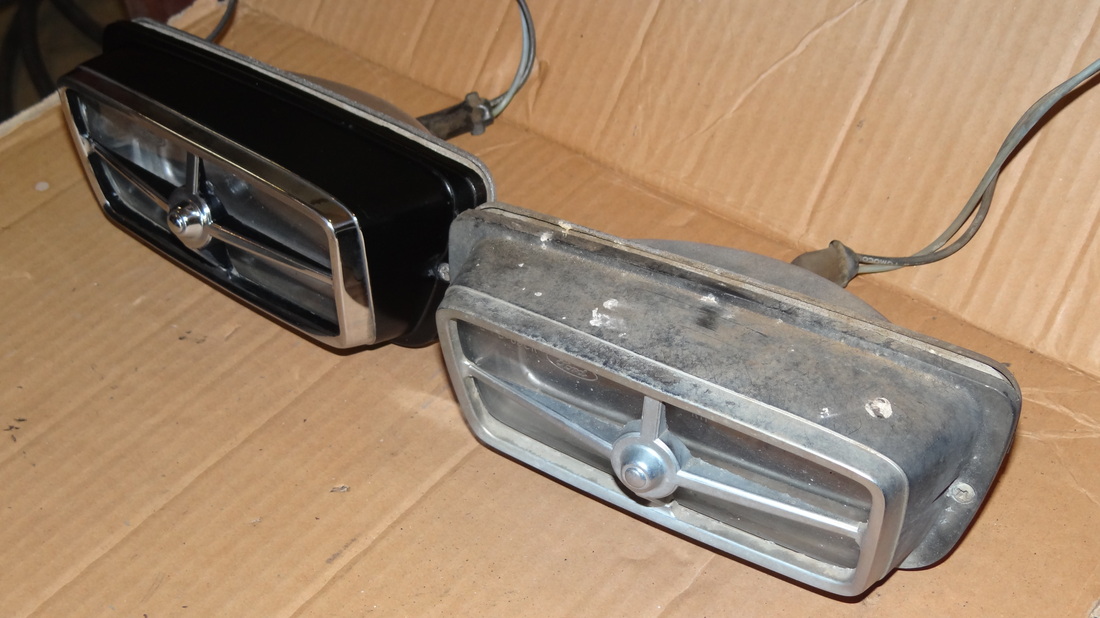
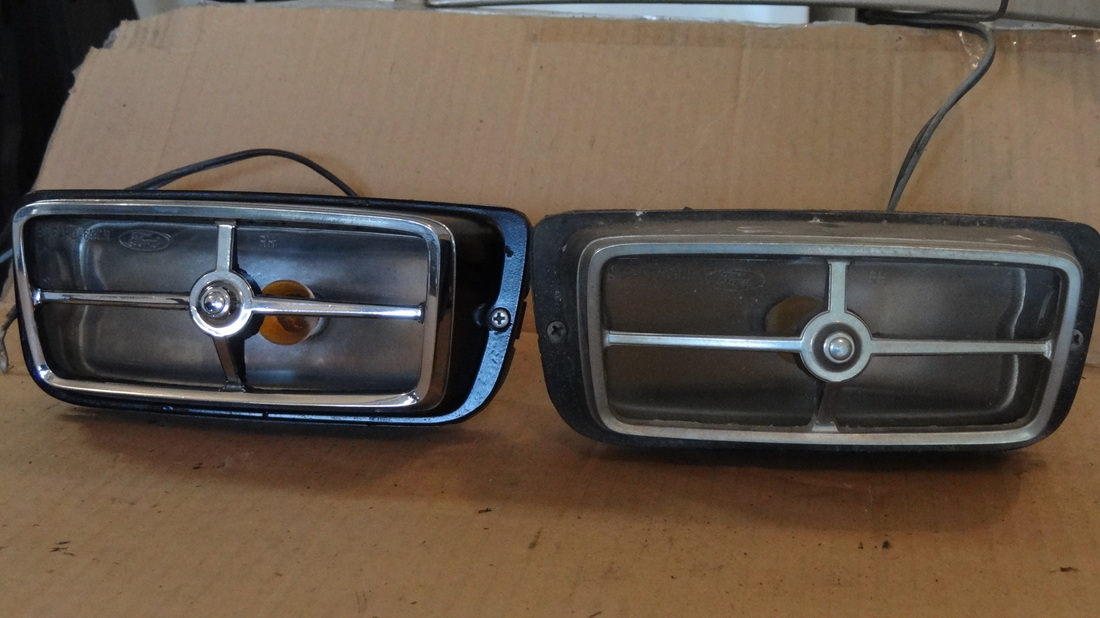
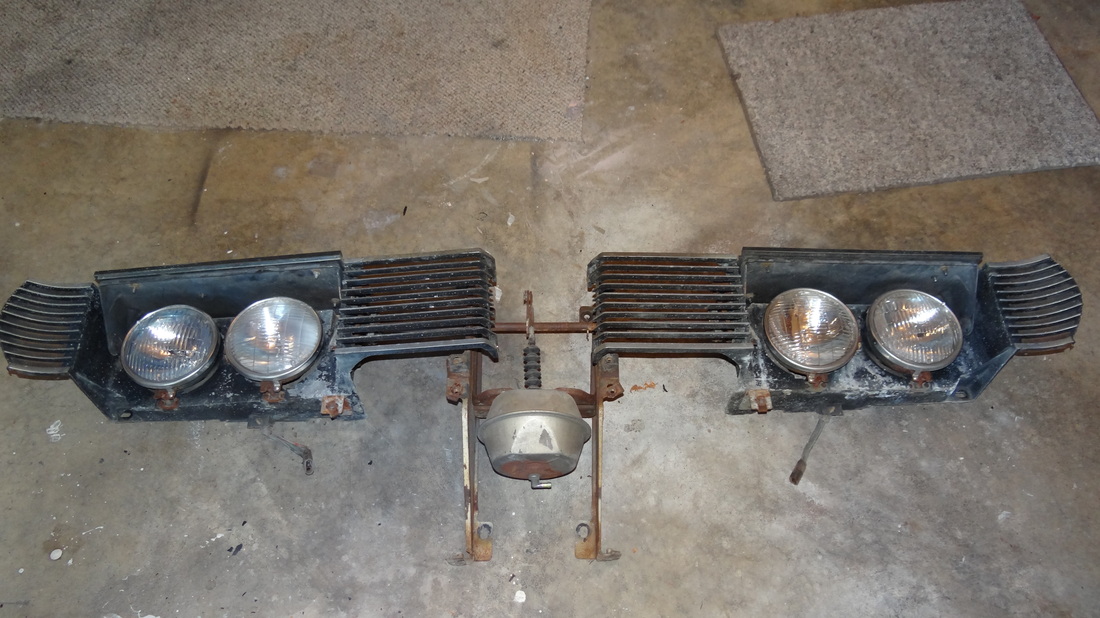
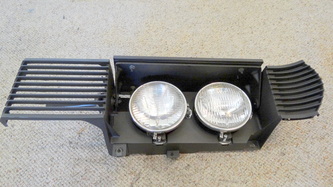
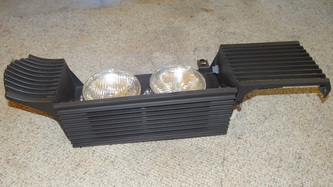
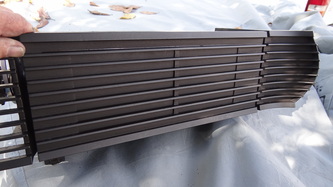
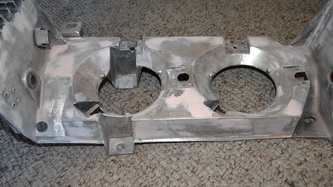
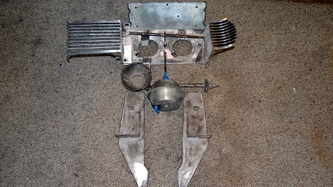
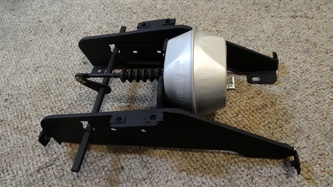
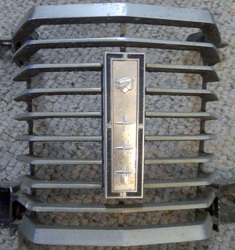
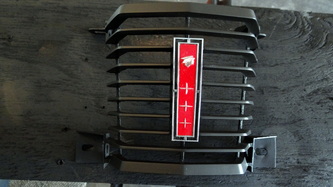
Three days in a row! Well, I disassembled the left side grill and blasted and ground on it for 8 hrs today then painted it.
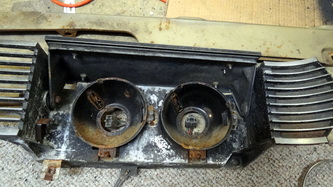
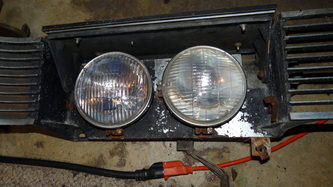

Oct 26, 2012
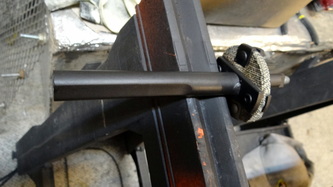
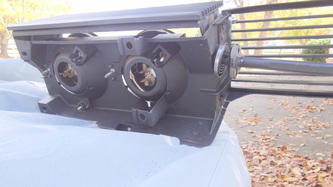
Ok...finished assembling the headlight. 2 hrs

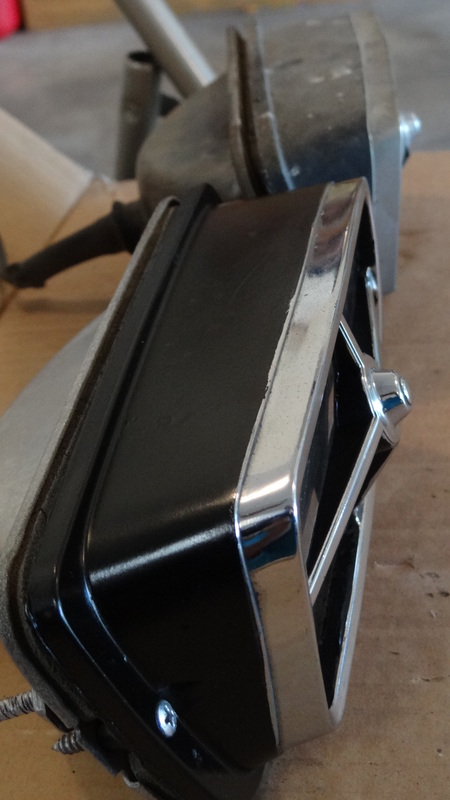
RESTORING THE HEADLIGHT GRILL
Here is a short video of me using a small die grinder to remove corrosion from the headlight grill.
Oct 27, 2012
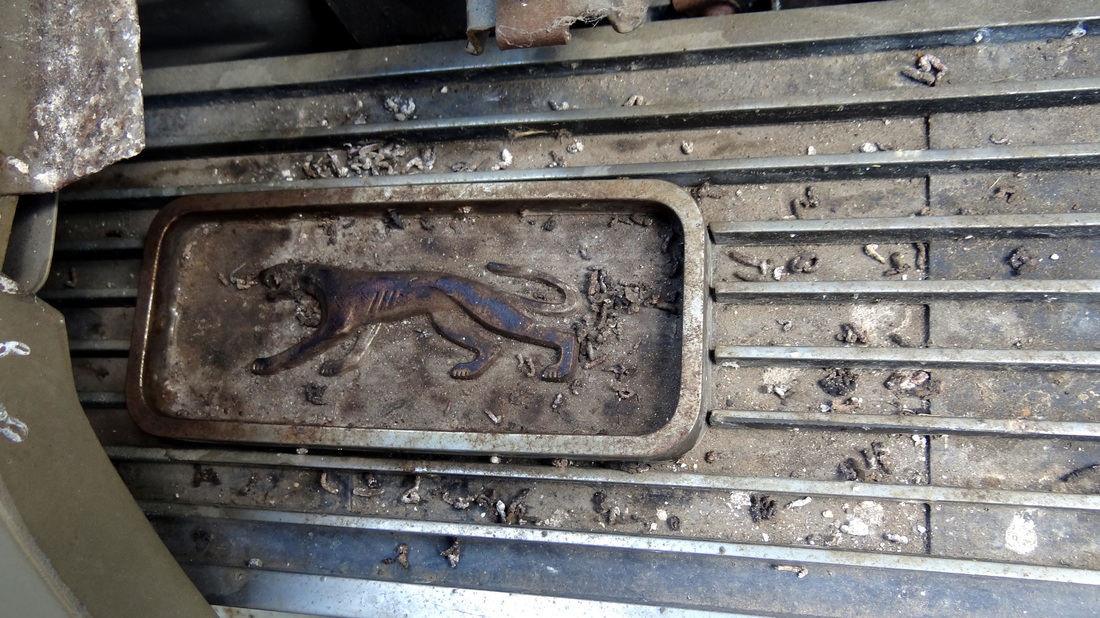
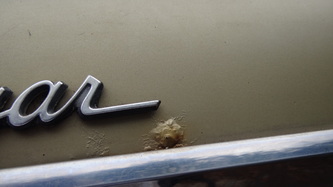
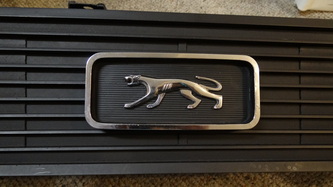
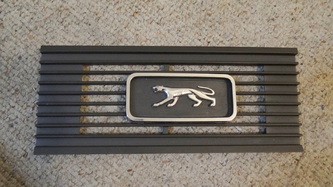
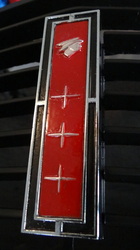
Here is a comparison of the headlight door cougar emblem restoration, and yes...that IS rat poop!

Oct 29, 2012
More of the same old thing..grinding, sandblasting, and bodywork on the headlight/grill assembly. Sometimes I question my sanity..when I spend countless hours smoothing out minor bumps and stuff on areas that will never be seen.
Oct 30, 2012
Well, today I finally finished filling all the spots on the main body and got everything painted!

Halloween 2012
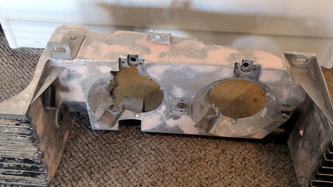
Got up at 5am today and started working on the car after breakfast..finished assembling the right headlight assembly and then ground and sanded on the grill nose piece and the upper valance. Then restored the Mercury center emblem on the grill and then painted all the rest. Quiet a day! 8hrs total

Nov 5, 2012
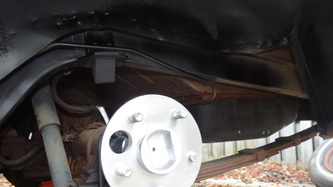
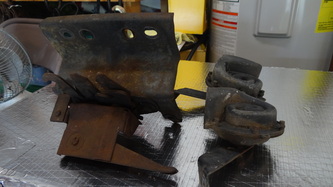
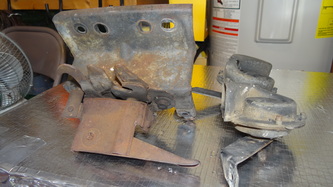
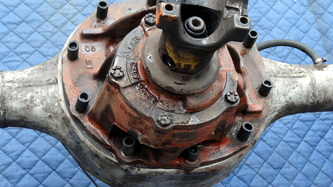
Back to work on the Coug..I pulled the exhaust system and removed the entire rear end assembly. I sand
blasted it. I'm not quiet done with it, so no paint yet. Maybe tomorrow. 6hrs
blasted it. I'm not quiet done with it, so no paint yet. Maybe tomorrow. 6hrs

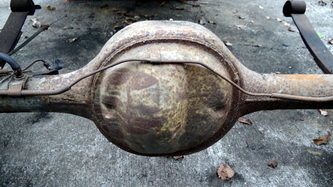

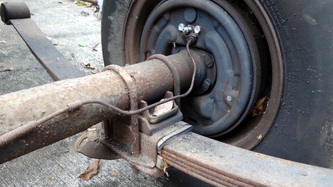
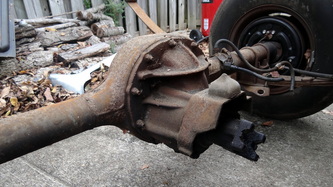
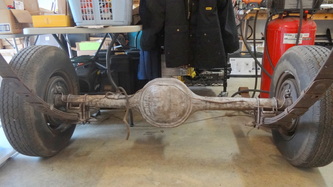
Nov 6, 2012
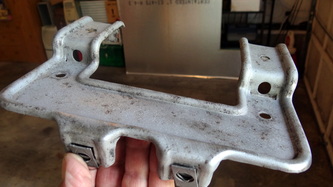
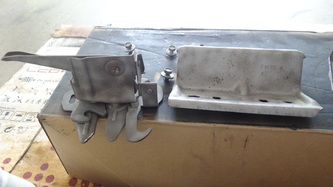
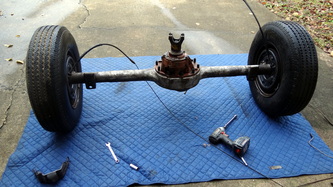
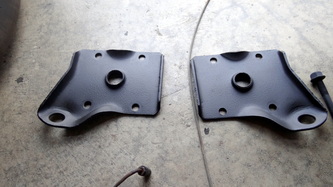
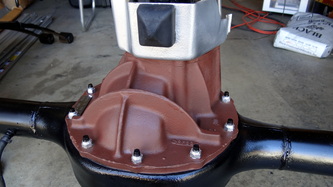
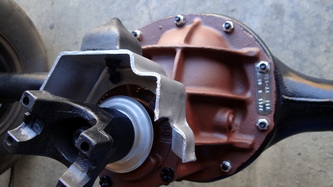
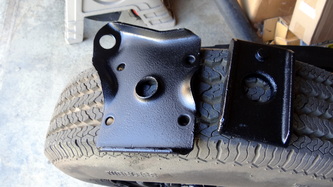
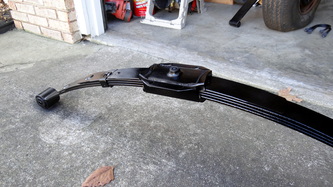
Got up early and started back to work on the rear end. First, I disassembled everything and then finished blasting it. Then, I powder coated the lower plates/shock mounts and the leaf spring u-bolts and painted the springs and housing...oh, and for you purists, I used red primer on the 3rd member, but didn't add the paint marks to it or the springs.


nov 7, 2012
I'm supposed to be taking it easy today, and I am..but I did finish some detail work and assembled a few things. 2hrs

nov 8, 2012
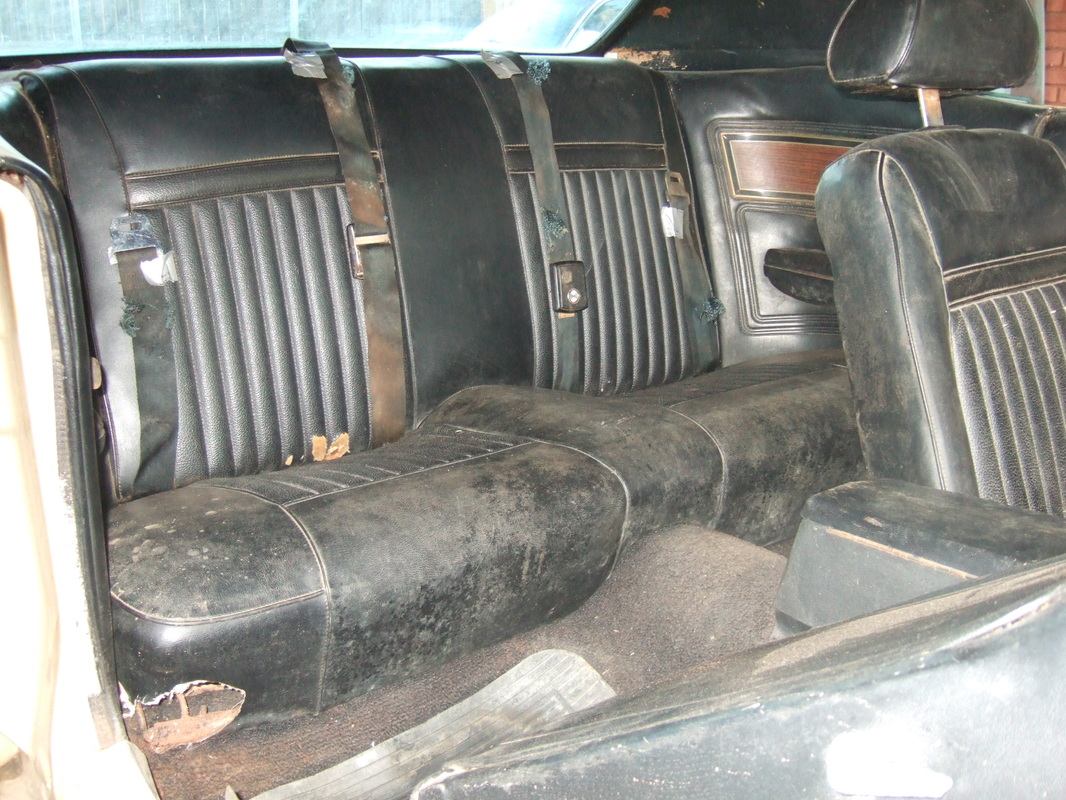
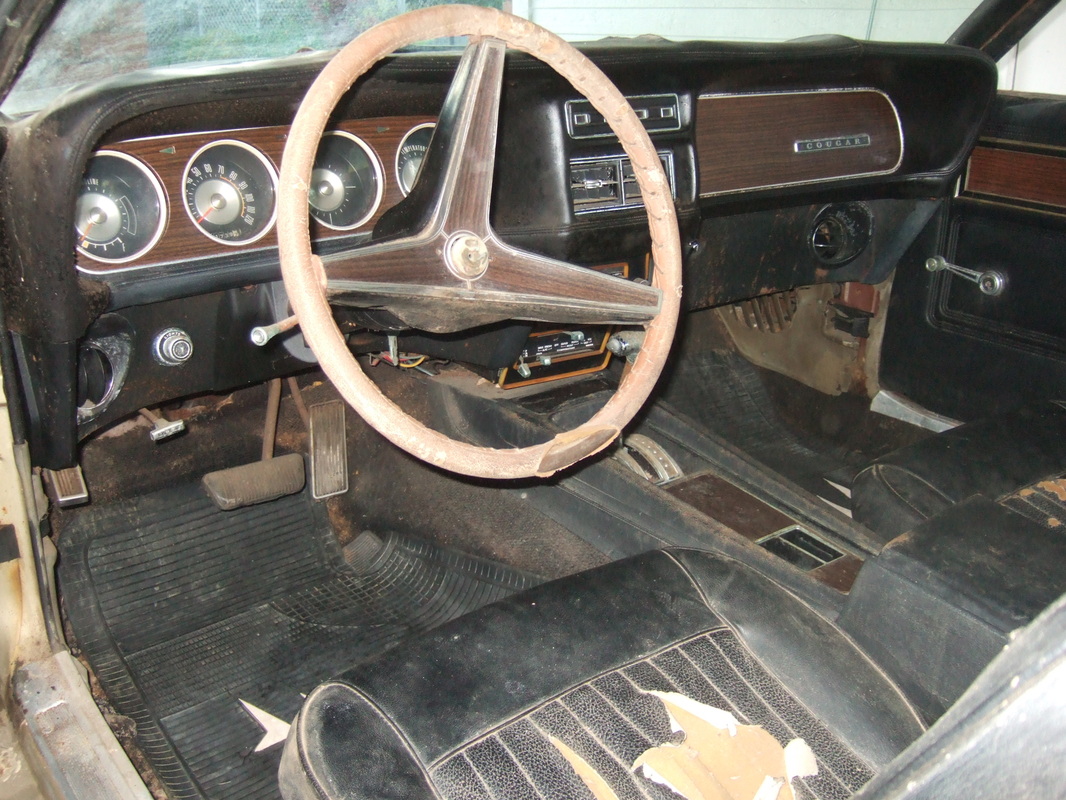
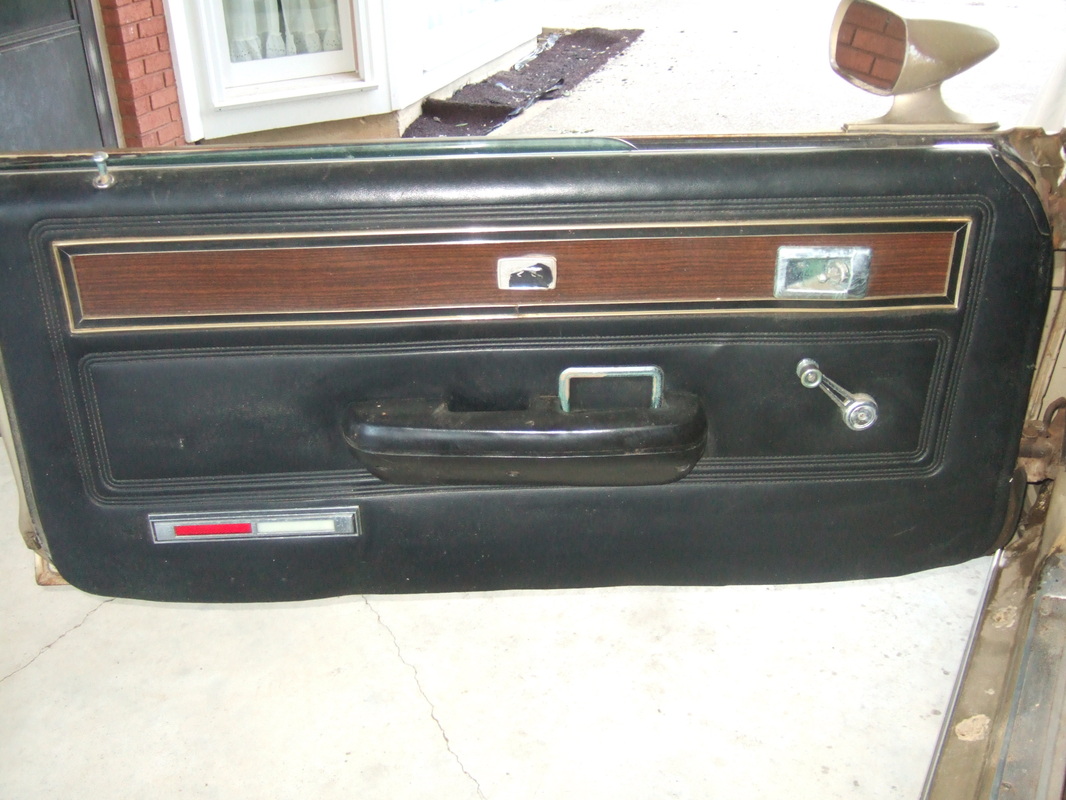
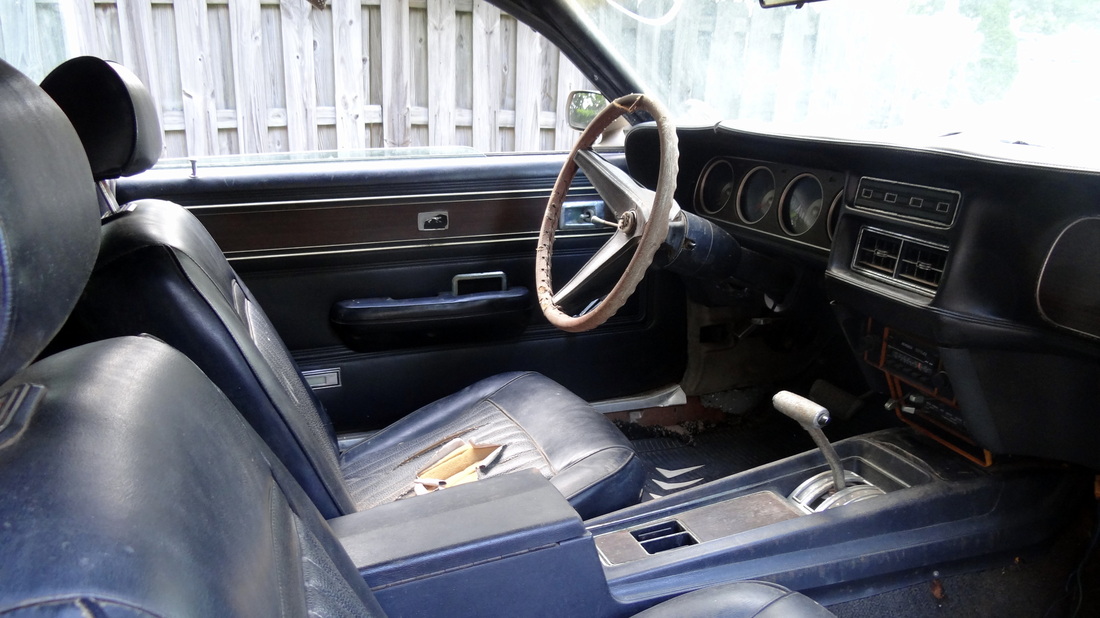
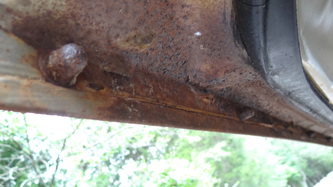
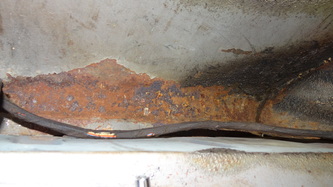
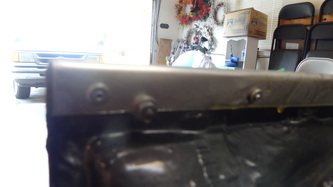
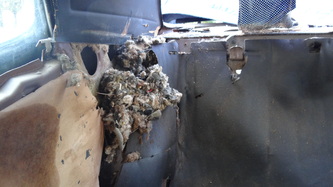
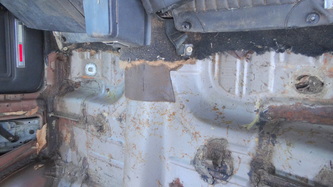
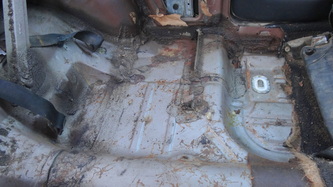
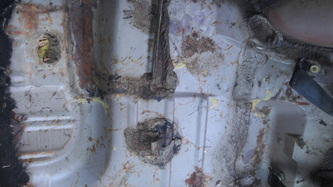
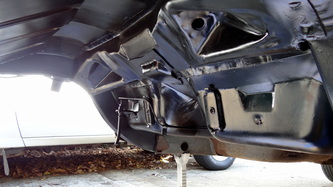
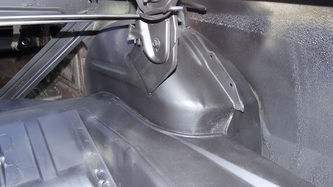
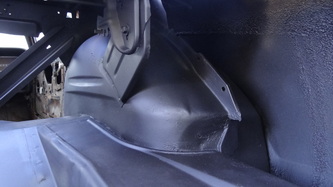
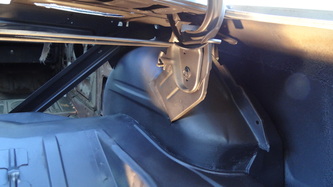
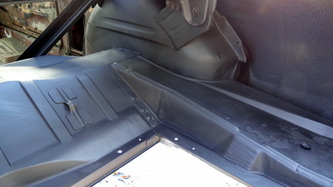
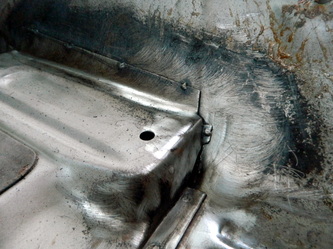
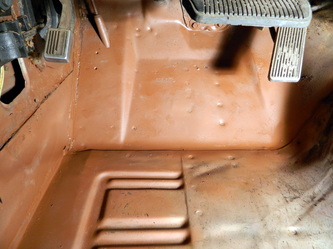
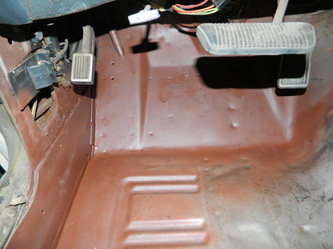
Started today with removing the rear window trim and then the window. Wasn't too hard; good ole Harbor Freight trim and glass removing tools worked out well. Next was the vinyl top trim. Then cleaned up the glass channel and primed it for now. I have three rust spots to address, I will start on them tomorrow. The last thing I did was pull the rear seats, and all the trim and carpet and clean everything to inspect for rust.
Found only a small amount of surface rust in one of the footwells.
Found only a small amount of surface rust in one of the footwells.


nov 9, 2012
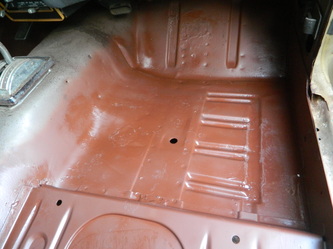
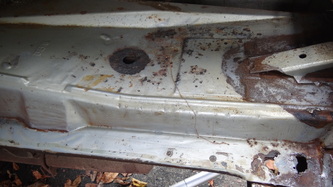
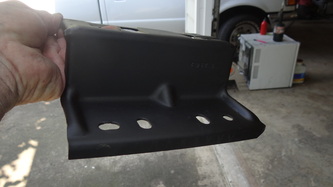
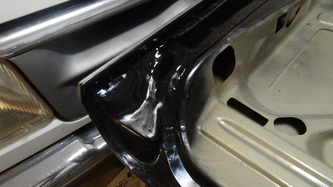
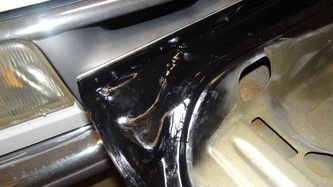
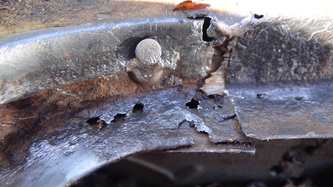
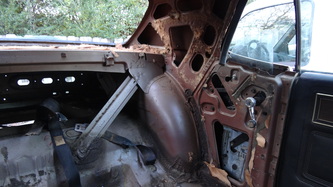
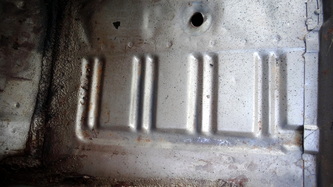
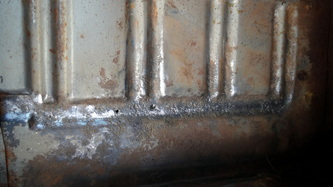
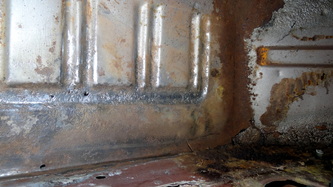
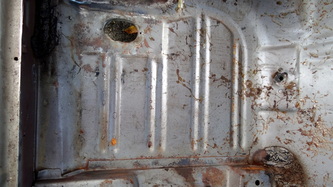
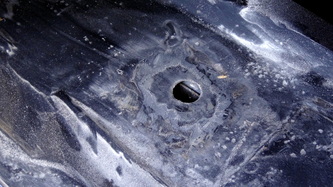
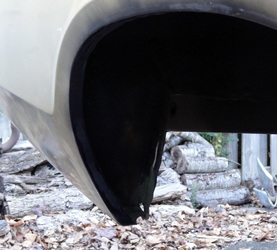
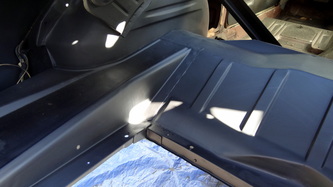
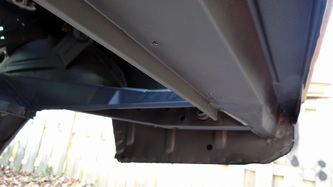
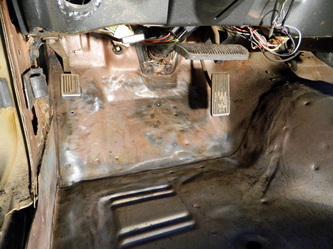
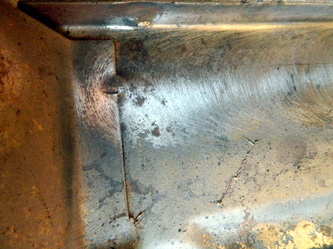
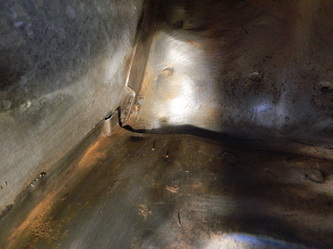
Today started with removing the entire interior. Next took the right door window assembly out as the window is broken and will need new glass. Then, I removed the rear valance and started massaging two creased dents out using a hammer and dolly. I got them smooth enough to finish them with a thin coat of bondo. The pics are mostly of the floor pans showing rust or the lack of..the front passenger side is the worst with about 3 BB sized holes. 8 hrs today


nov 10, 2012
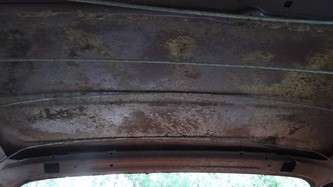
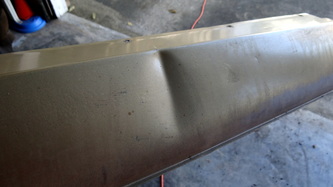
Today, I finished the rear valance, it was pretty hard to get it just like I wanted with just a paper thin coat of bondo. here are the before and afters. 4 hours

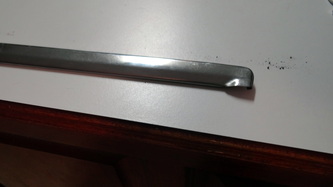
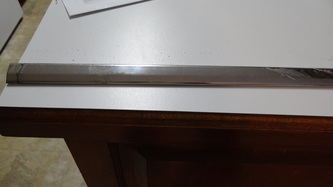
nov 12, 2012
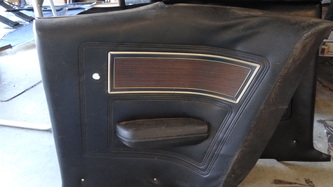
Didn't do too much today..just polished the four pieces of rear window trim. Since there only a couple of scratches and no dents, it only took 2hrs. No pics today..I think you know what polished trim looks like.
nov 15, 2012
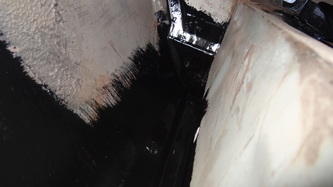
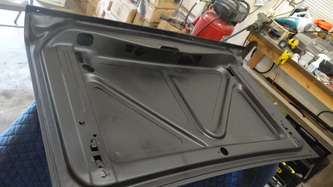
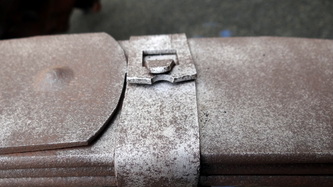
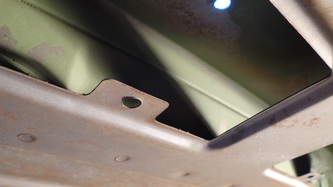
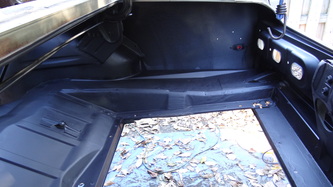
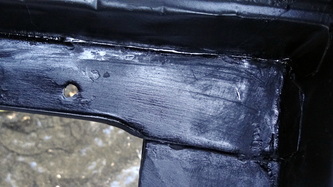
Yesterday, I began blasting the chassis. I did the bottom of the trunk from the tail lights to the driveshaft tunnel. Then painted most of it, running out of time and paint I stopped and continued today blasting the inside of the trunk and drop offs and under the package tray. I hope to paint all of it later today.

nov 16, 2012
Today, I finished media blasting the trunk area, and then used Eastwood's internal frame primer, which is just a zinc based self eching primer with a long nozzle to reach tight spaces, to prime body seams and tack welds. Then I sprayed 2K epoxy primer over it. I also worked on one of the rear seat side panels, it turned out ok, good enough to start with, may want to get better ones later.


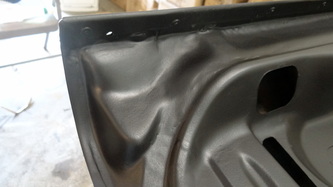
nov 20, 2012
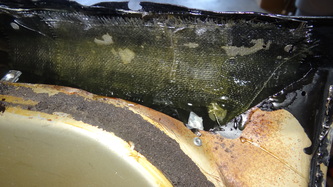
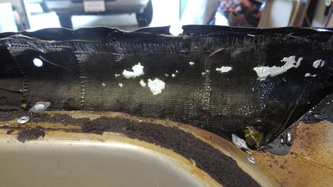
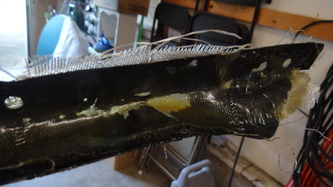
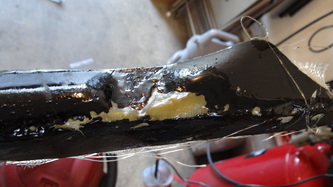
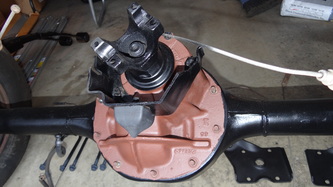
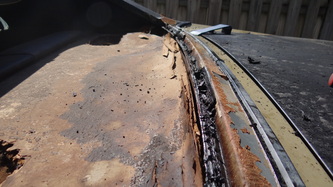
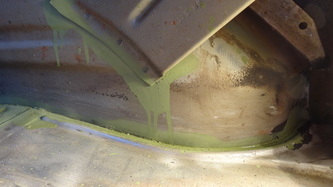
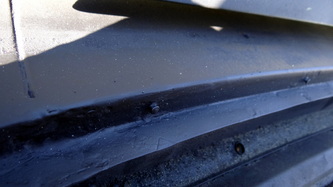
Did a little reworking on the trunk area, and patched a big hole with fiberglass. I also removed the rear wheel lip moldings and straightened and filled the edge on the left rear opening, as I'm not going to use them. I still have a little to do in the trunk before a final primer, and then hang the rear end back in there.


nov 21, 2012
Well, today was a continuation of yesterday..after a little spot filling and sanding, I shot the trunk area top and bottom. (3 hours) Now I can get ready to install the rear end back in.

nov 29, 2012
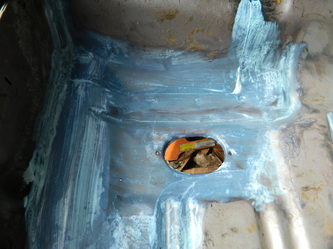
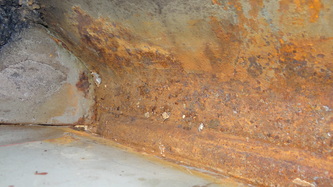
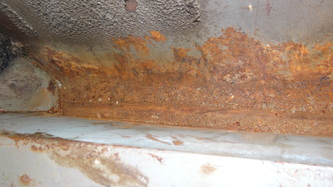
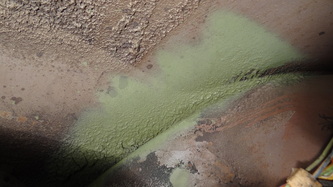
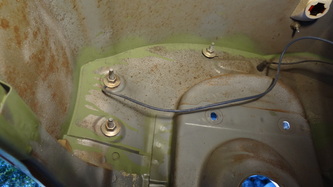
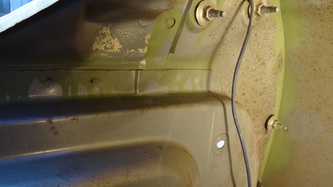
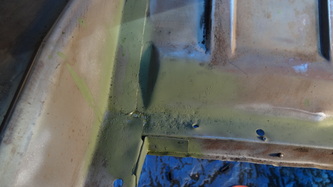
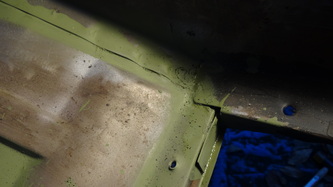
It's been a while since I posted as my daughter came home to visit for a few days from college. Today I scraped 90% of the seam sealer off inside the interior. I was happy to see very little rust at the seams I exposed. The driver side is almost totally rust free, the passenger has some minor spots. I wire wheel brushed the driver side and then gave it a quick red oxide primer coat just to seal it off for the meantime. spent 3hrs

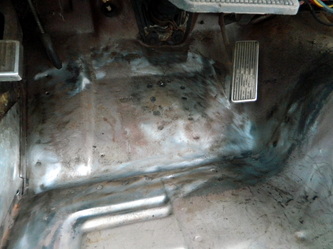

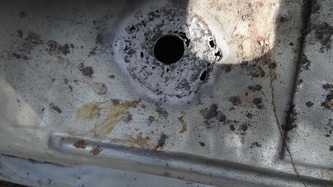
nov 30, 2012
Today I worked on the passenger side floor pans. I patched four different holes, the biggest was the size of a BB. I did the same scrapping and wire wheel routine but this time, I coated the pitted portions with rust converter, then covered the holes top and bottom with two layers of fiberglass. I know you purists are cringing at this, but I did this before and after ten years when I sold that car the patch was still intact and rust free.