Feb 18, 2015
Just made a new page..sorry for the long 2014 page.
Feb 24, 2015
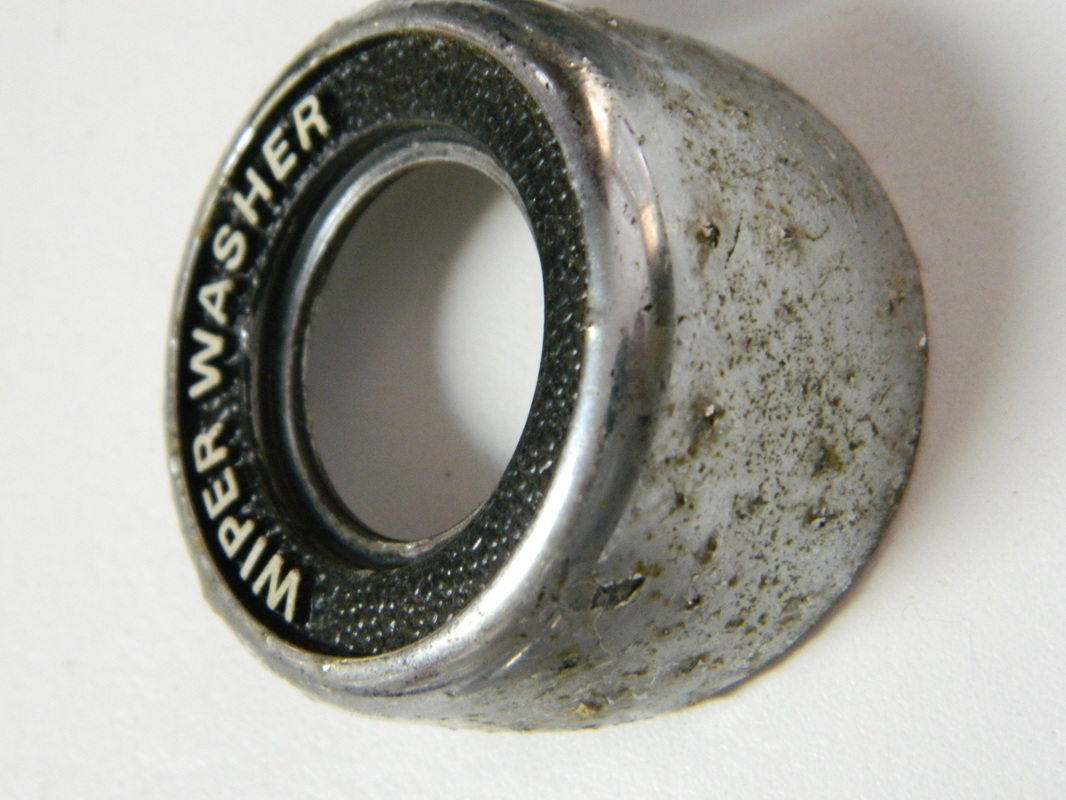
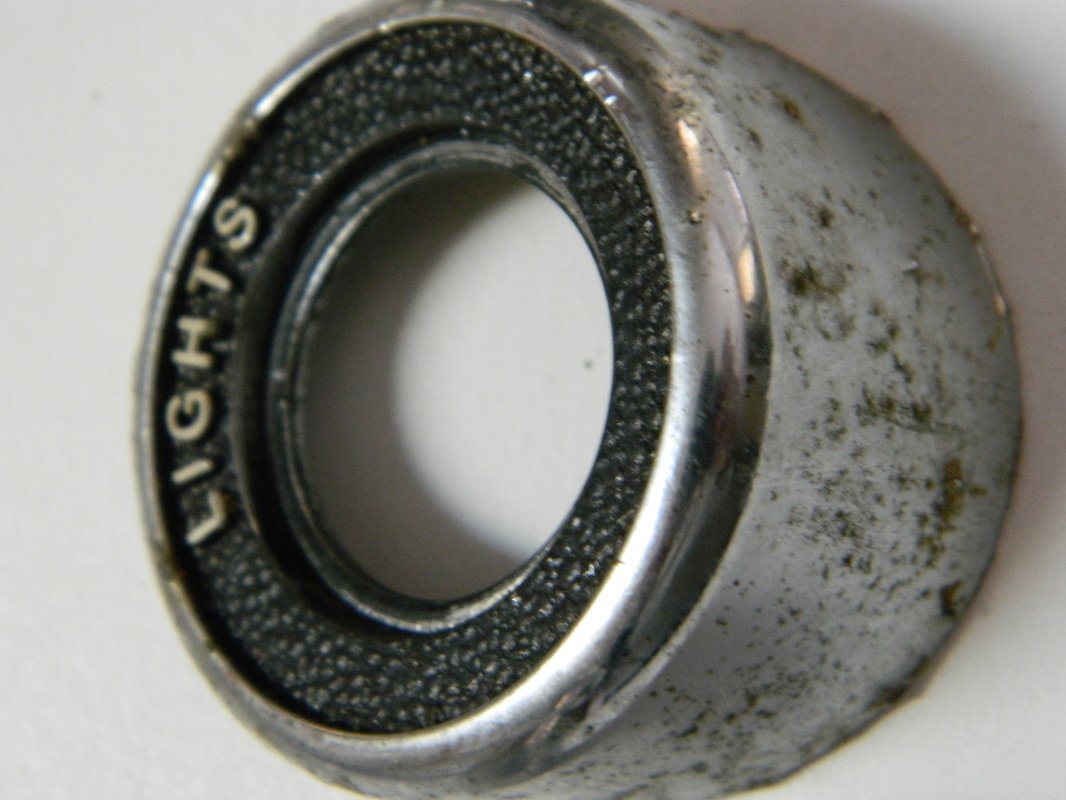
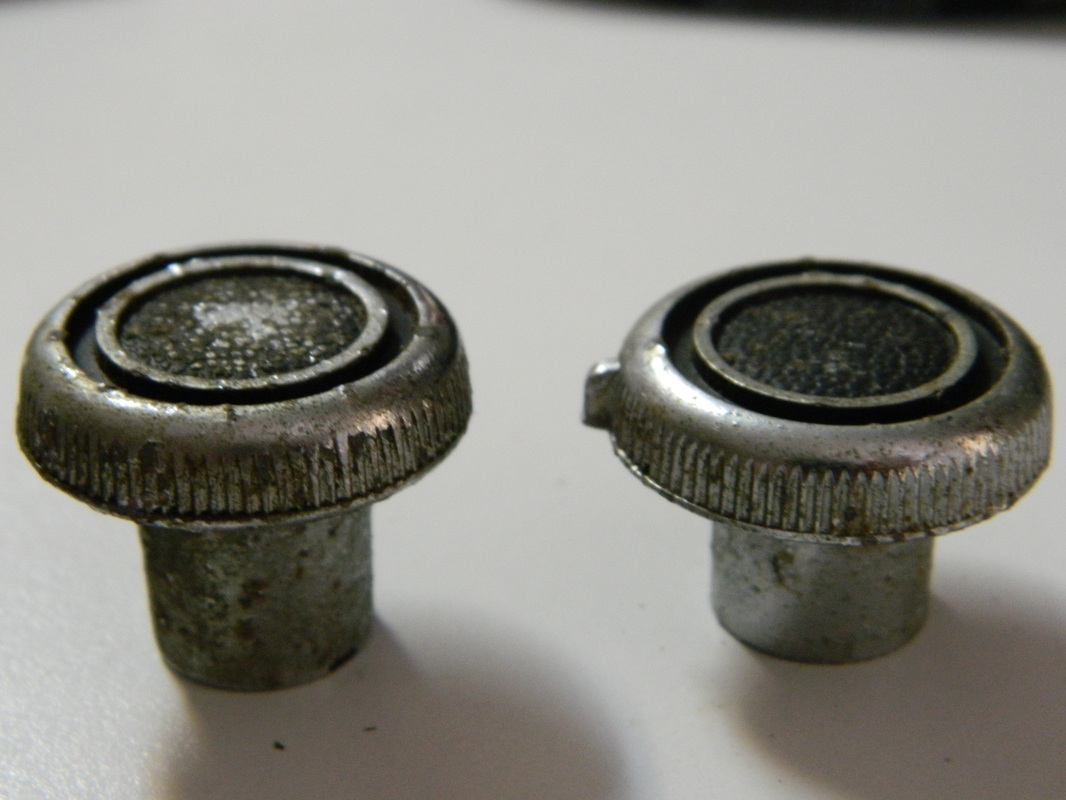
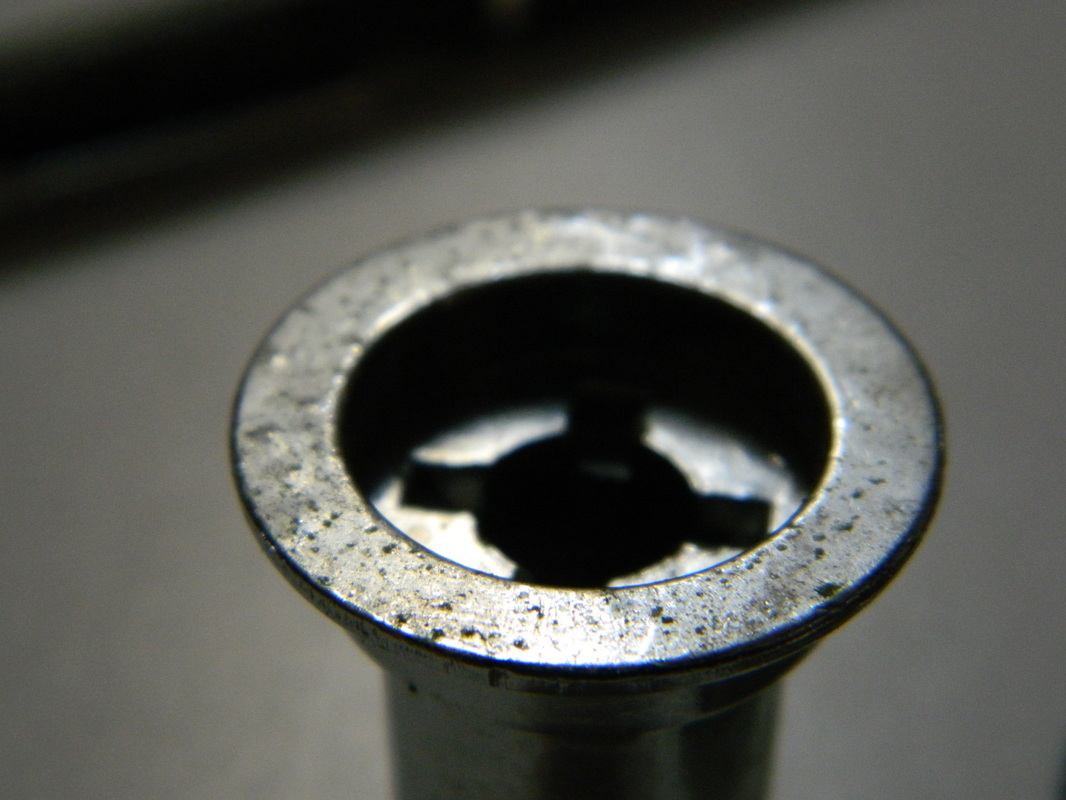
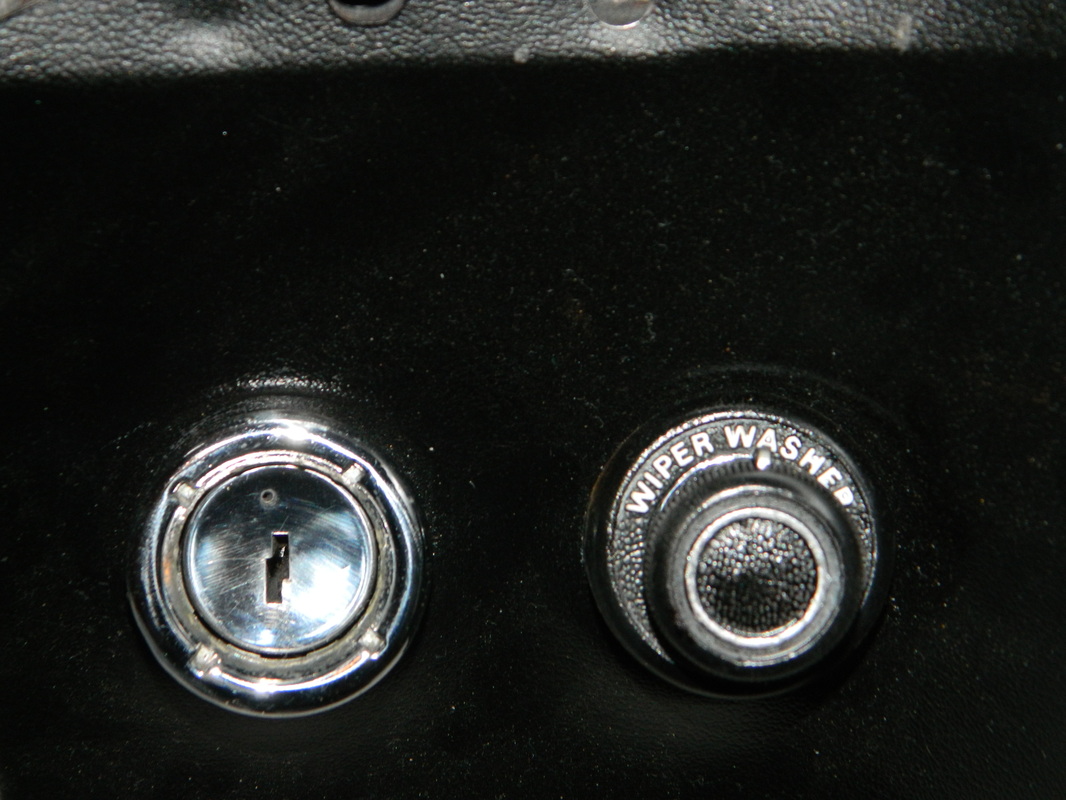
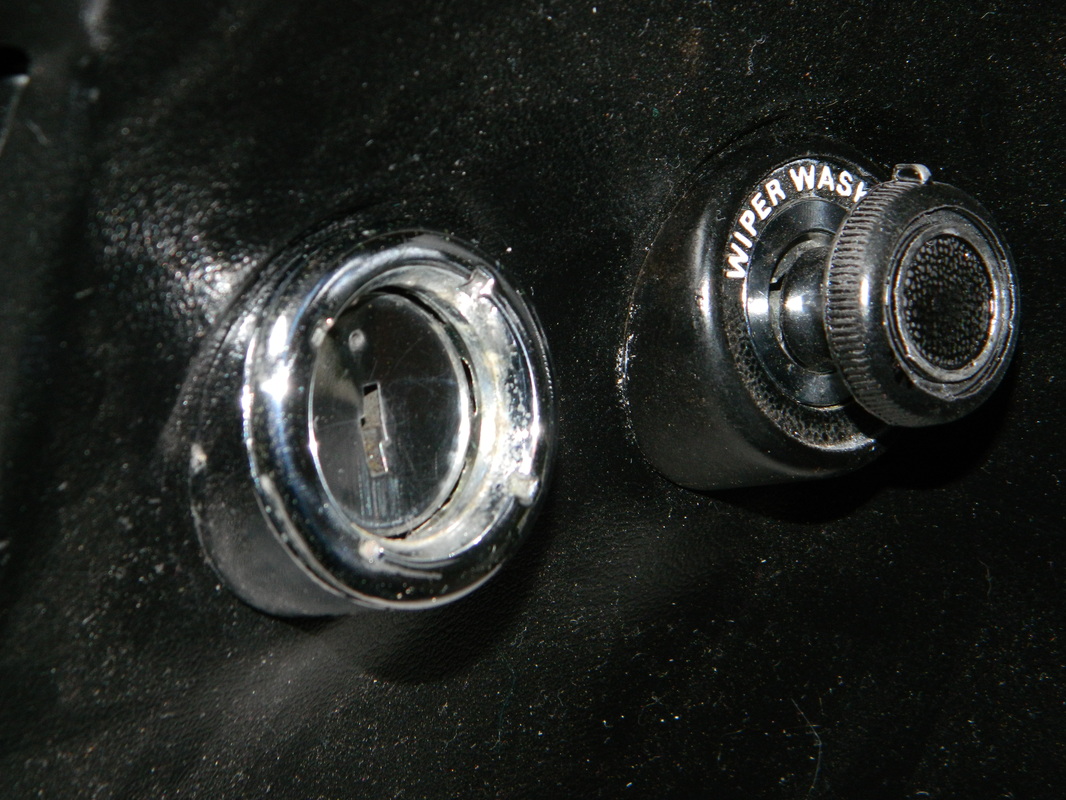
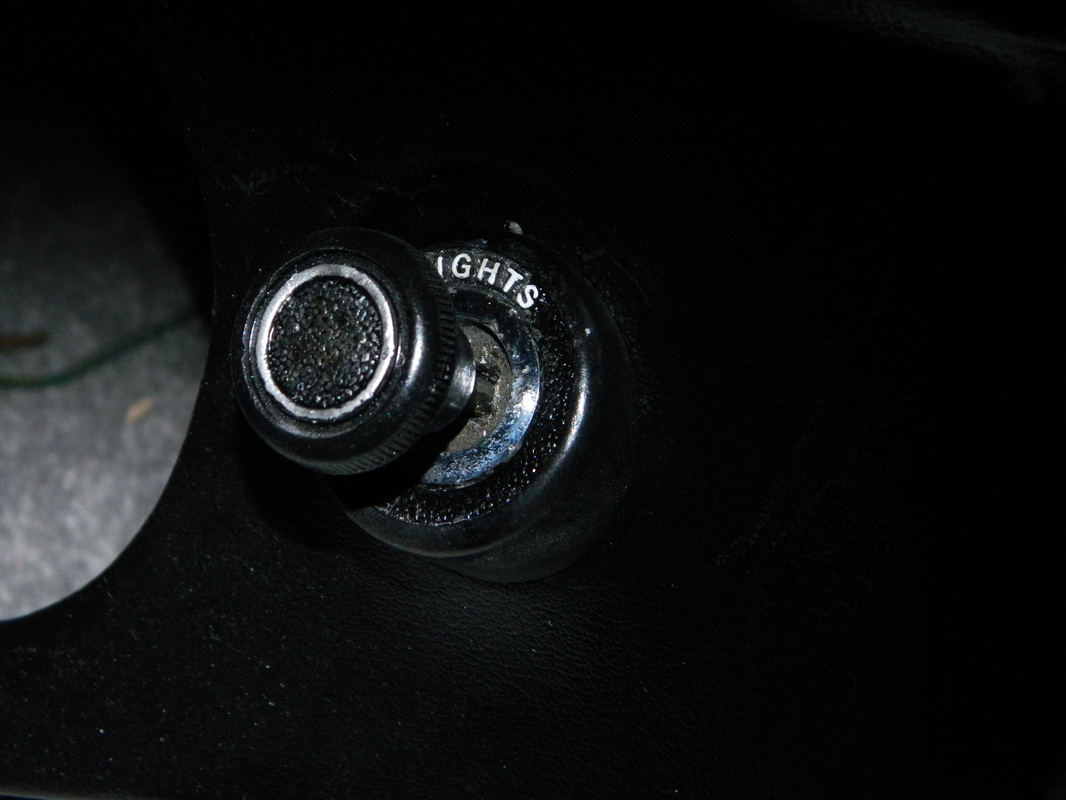
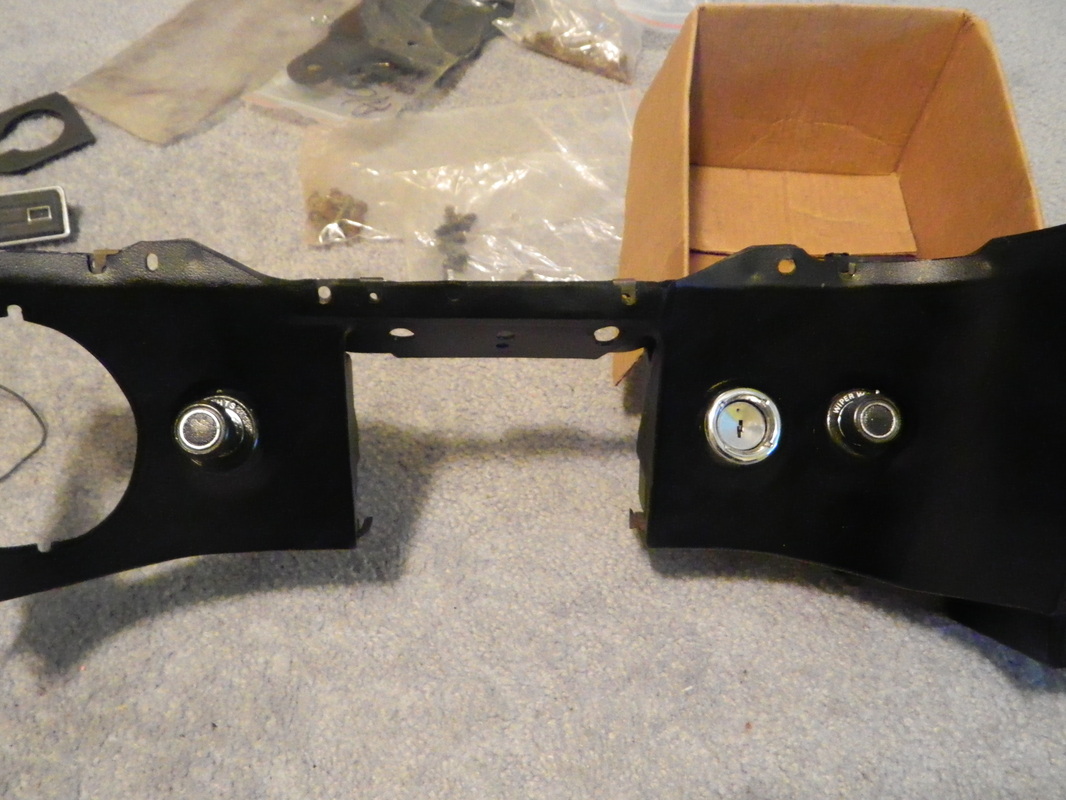
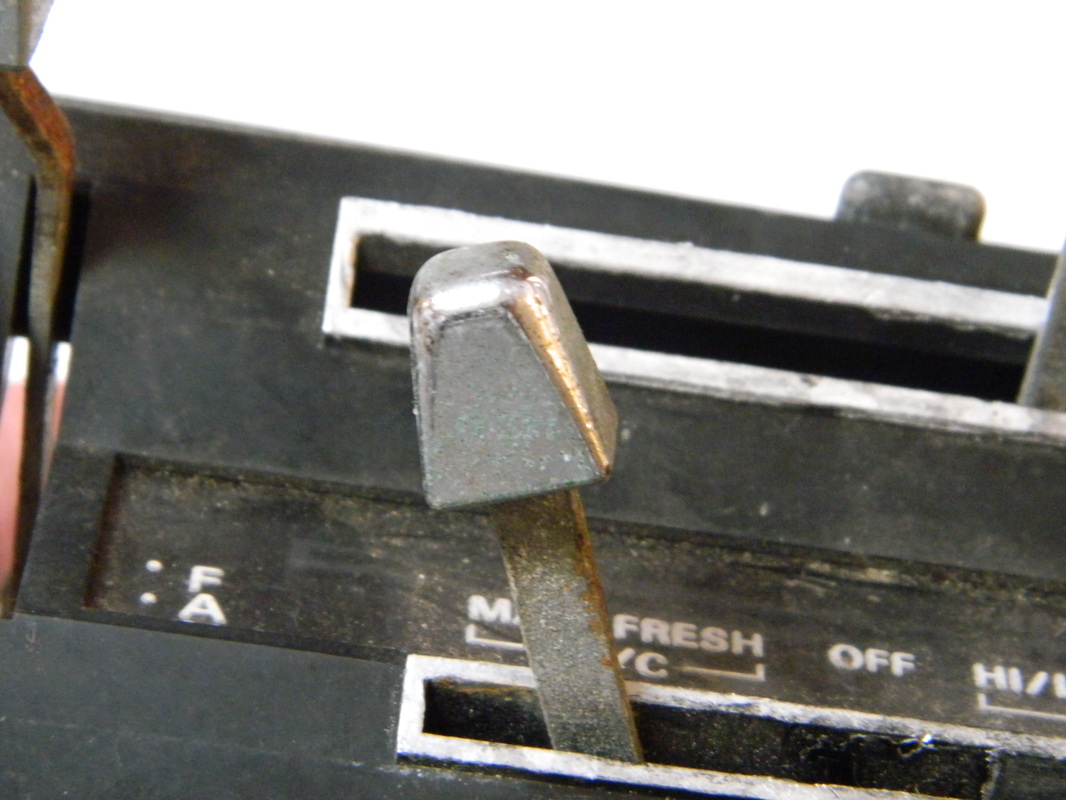
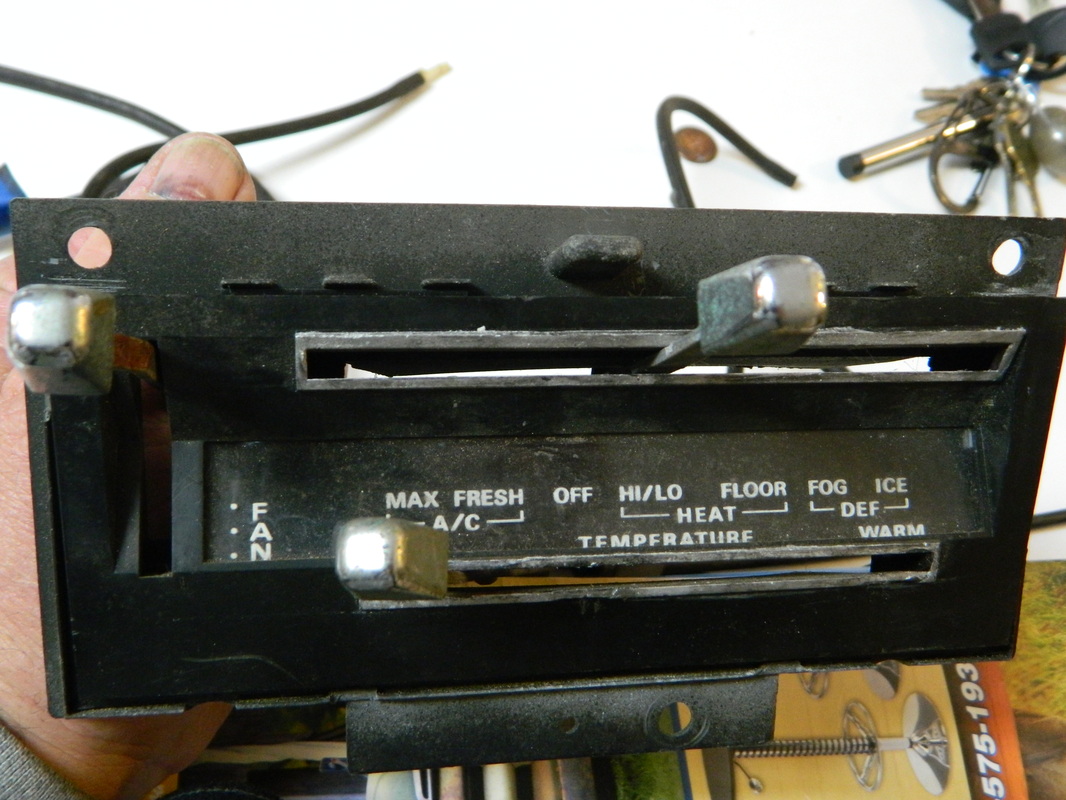
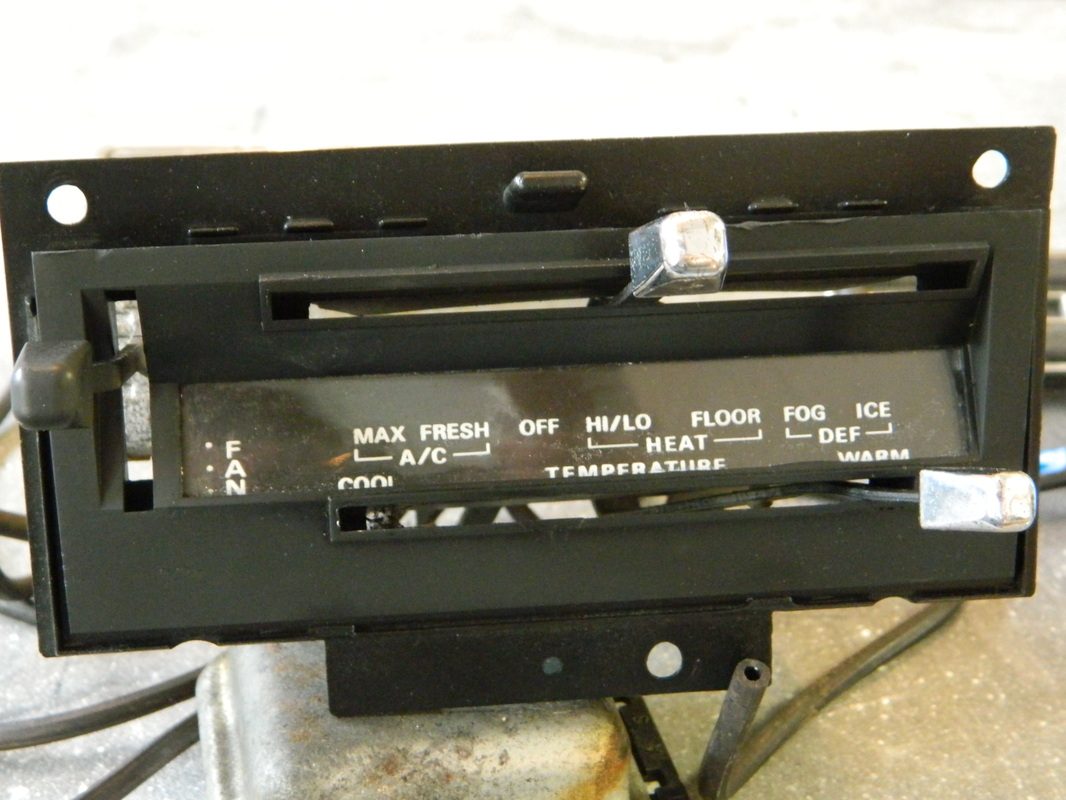
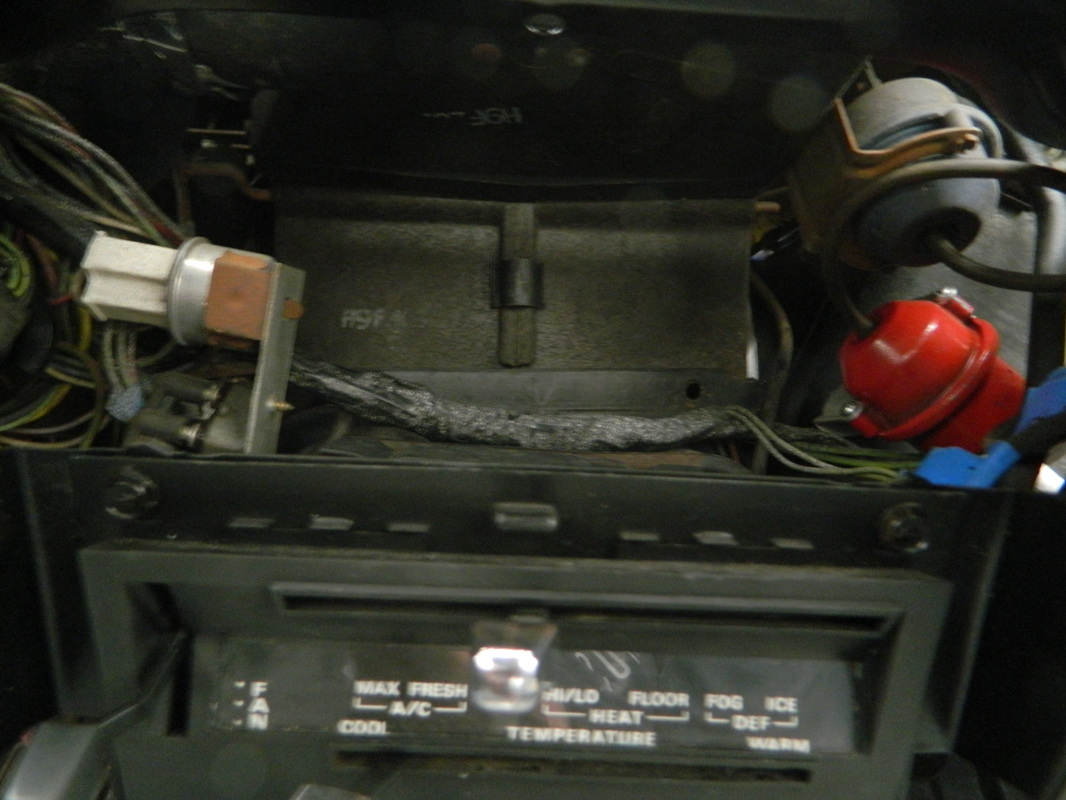
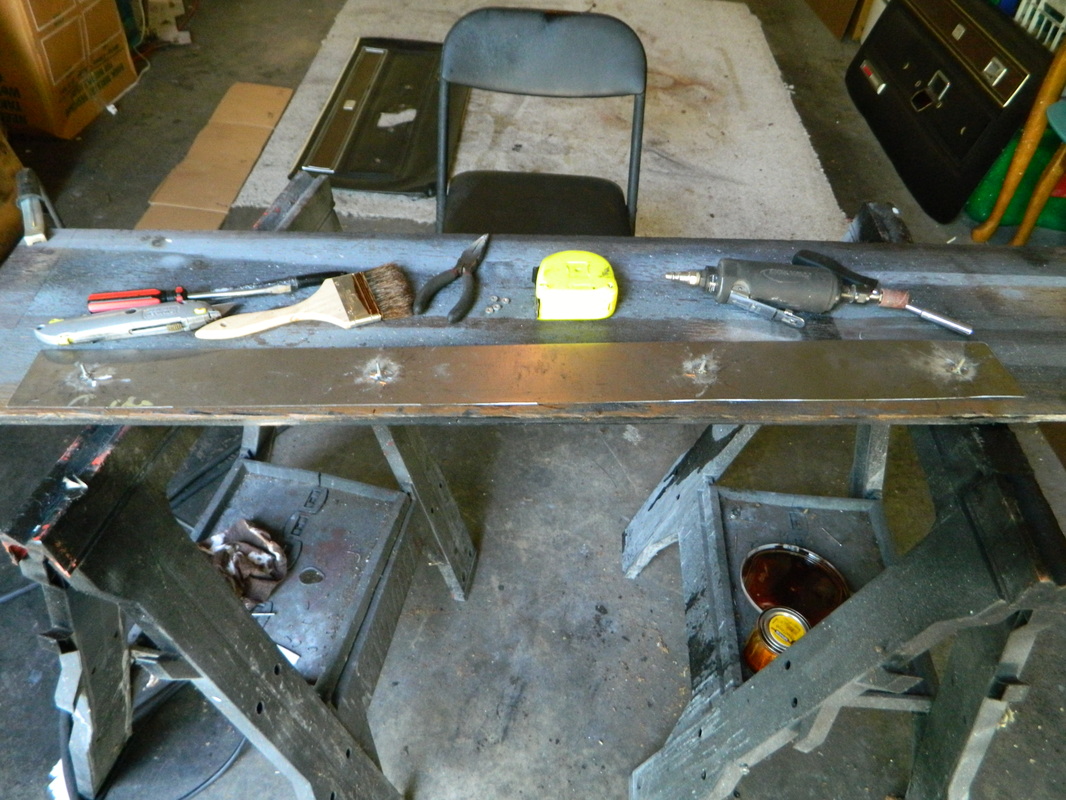
Finally got some free time and decent weather! At first, I was going to smooth out the cancerous corrosion pits on the chrome trims and knobs and then powder coat them with a chrome powder. However, that didn't work, as the pot metal is just impossible to coat. It blows out little bubbles where the chrome is missing. So, since all of the pieces cost between $20-25 totaling almost $200 I decided, for now, to just paint them satin black, except the ignition switch which I was able to just polish out. I also had to epoxy the wiper switch back together. Then installed them on the lower dash. 4hrs

Feb 26, 2015
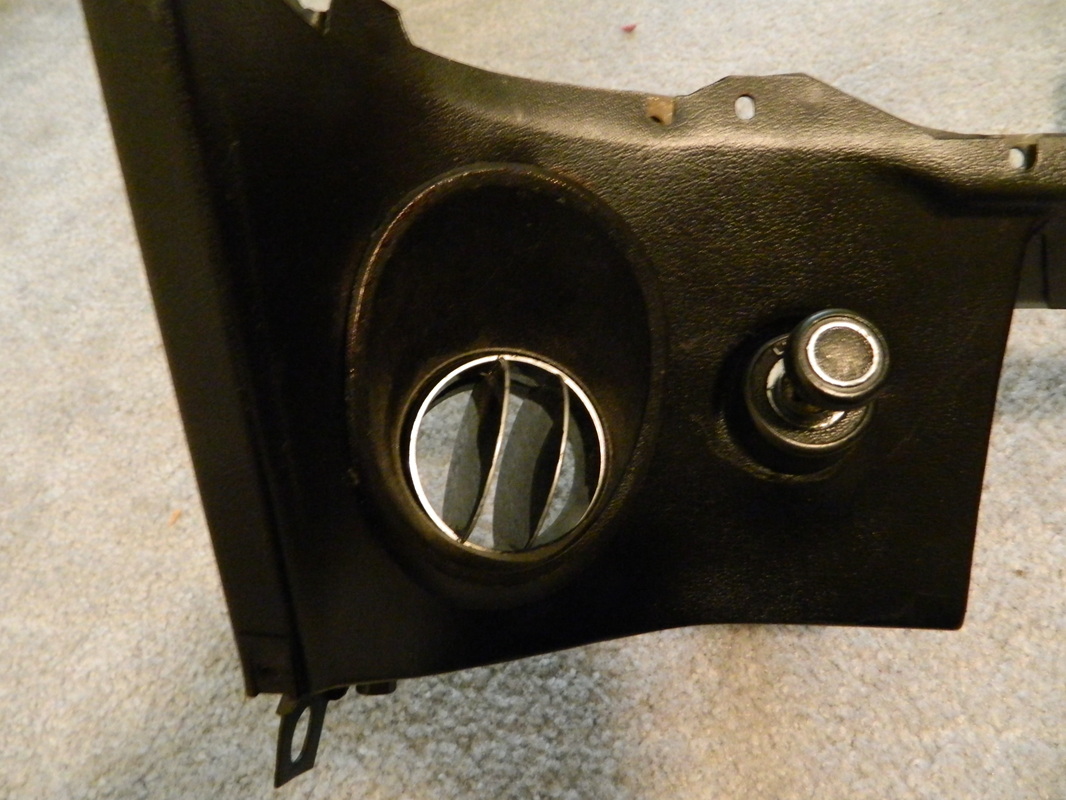
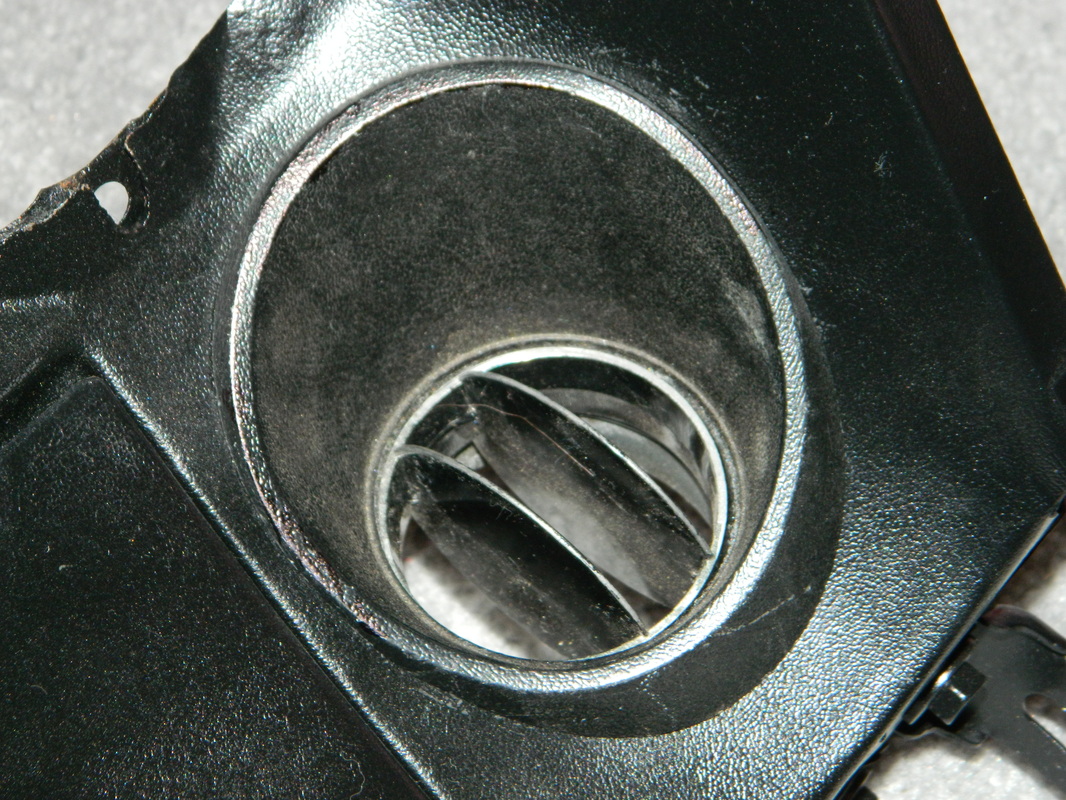
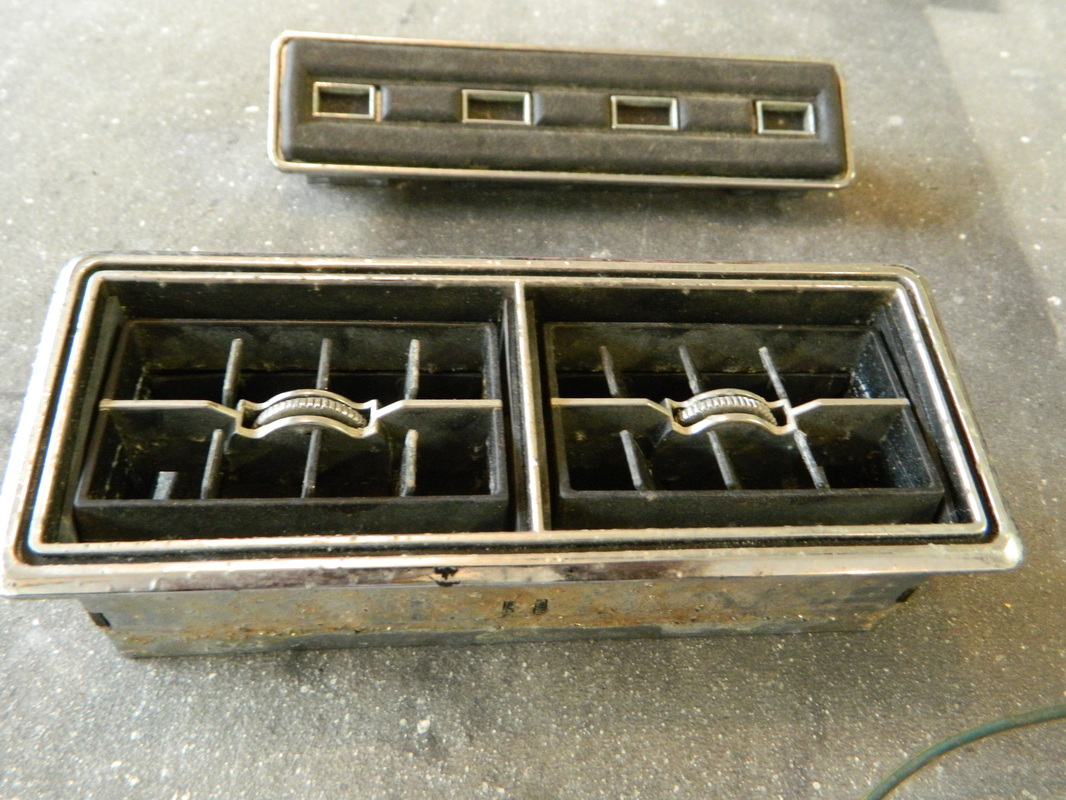
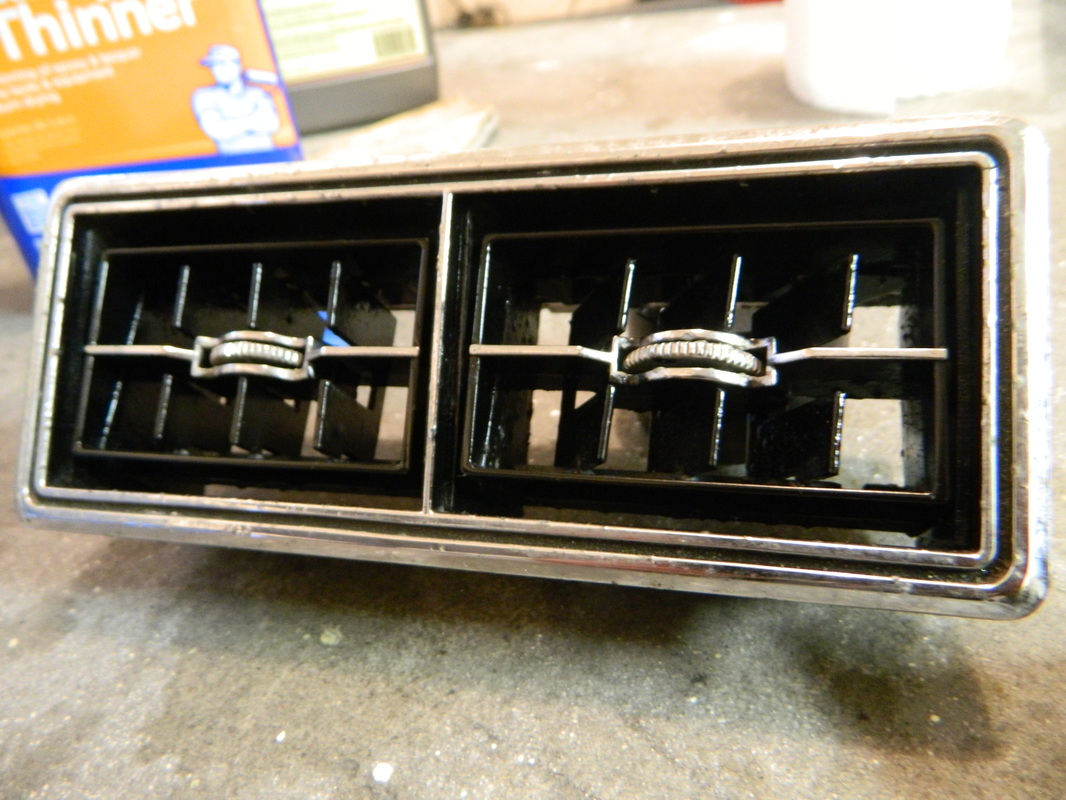
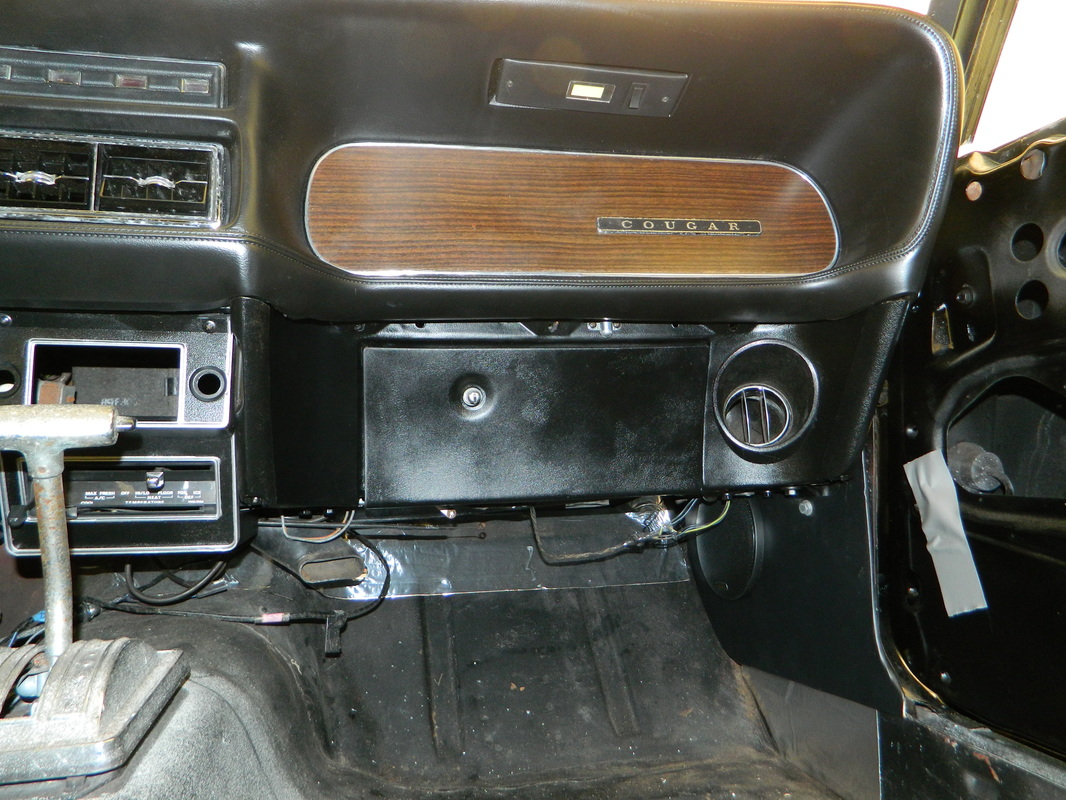
I have been looking for the A/C vent registers for several days...finally found them and installed them in the lower dash panel. So much for organization skills. I plan to install the A/C plenum and lower dash sometime in the next week. I have been dreading this part of the build since I ripped it apart 2 1/2 years ago. 1 hr
Feb 27, 2015
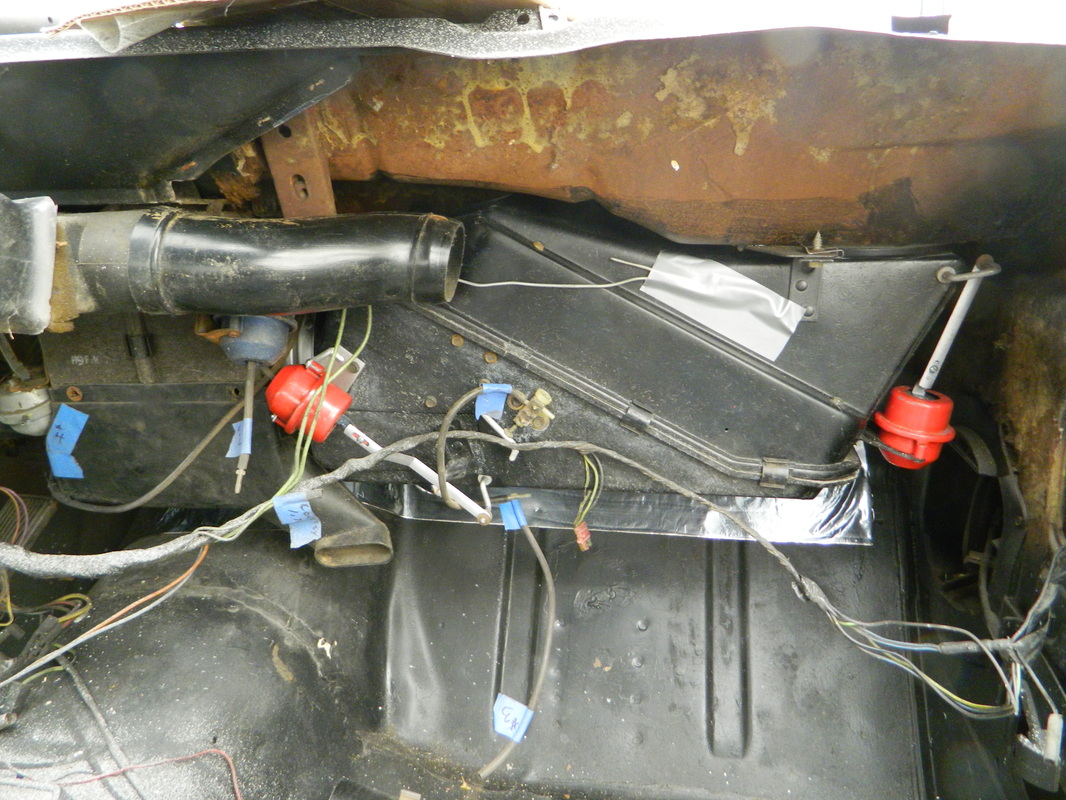
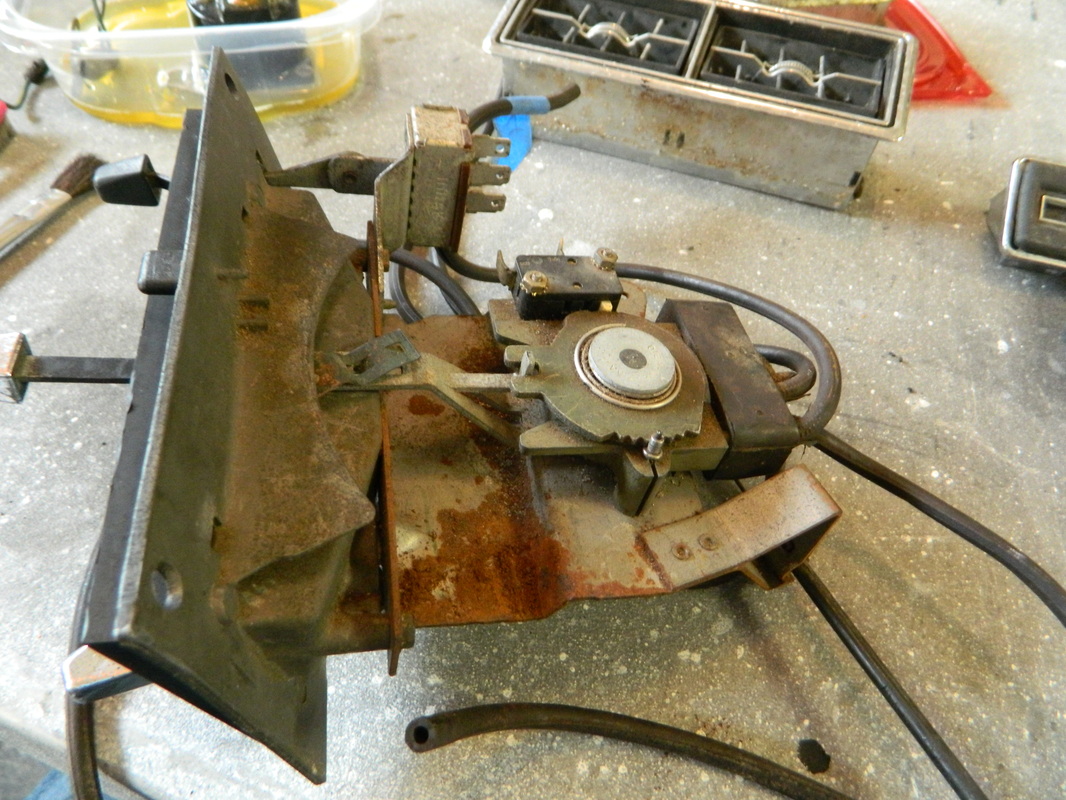
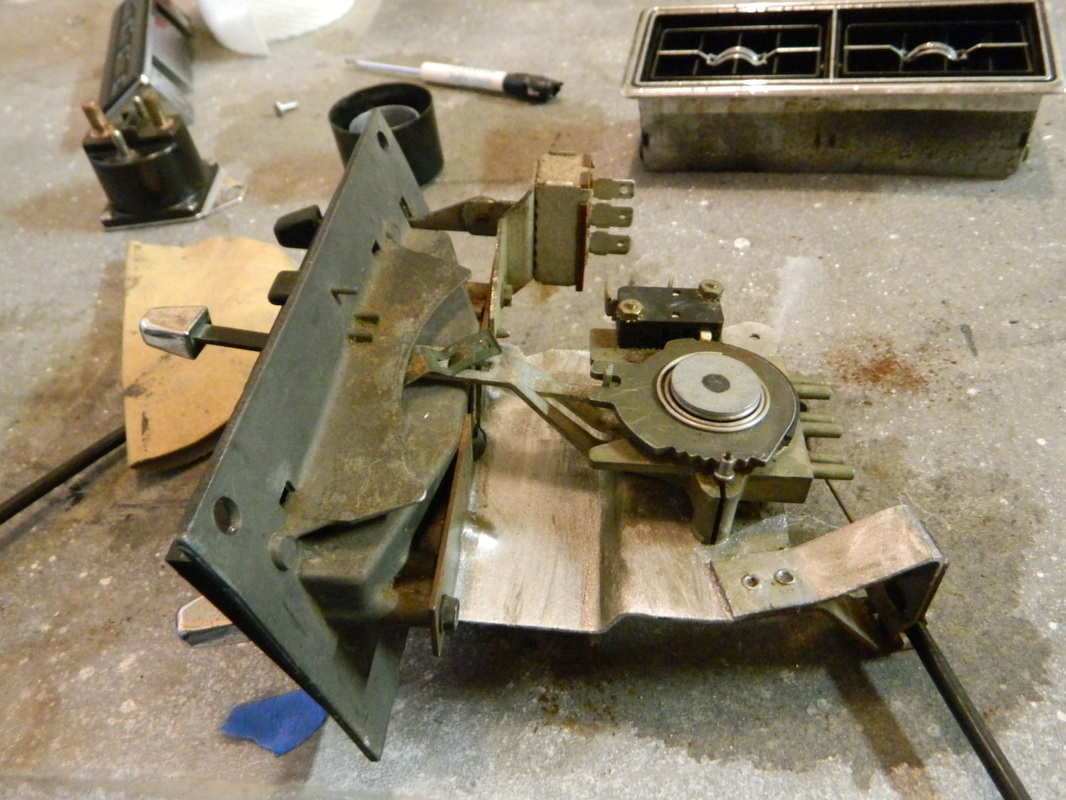
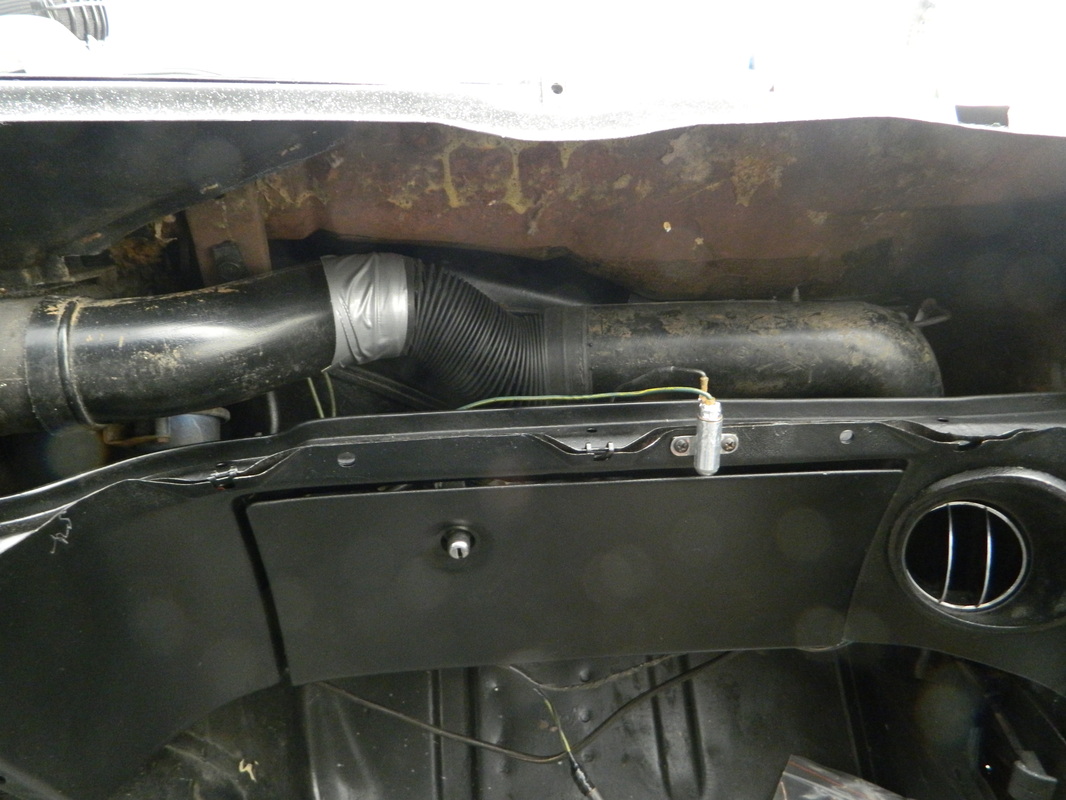
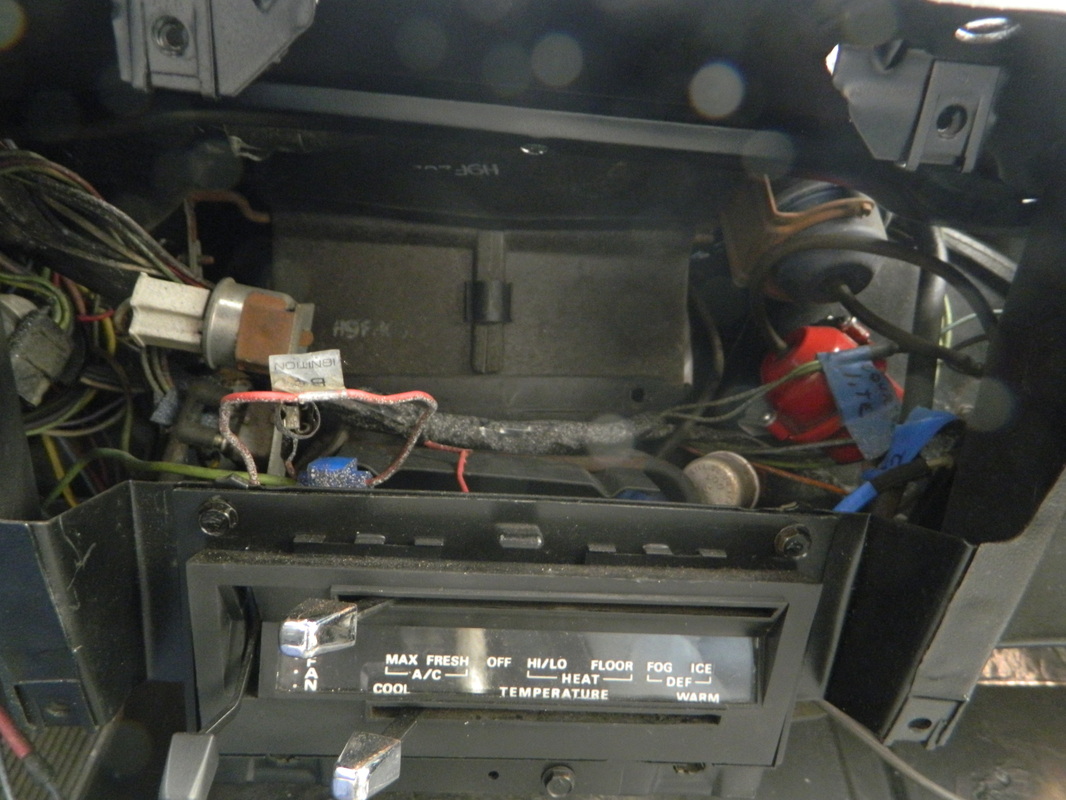
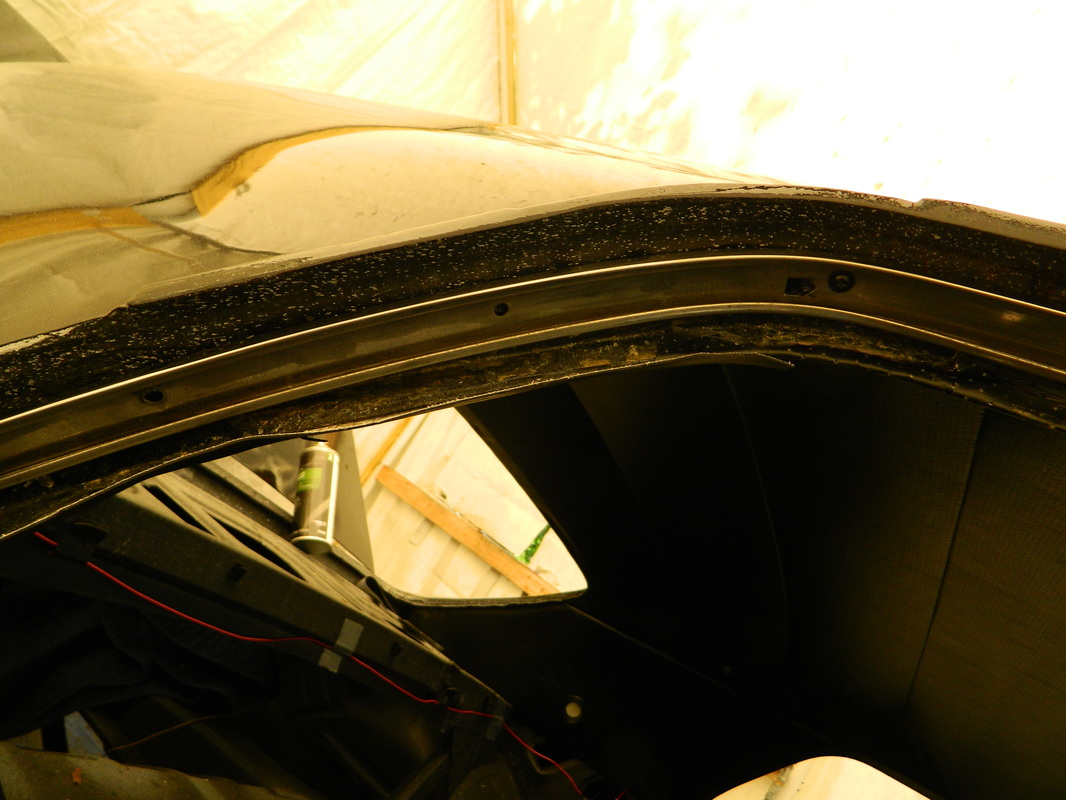
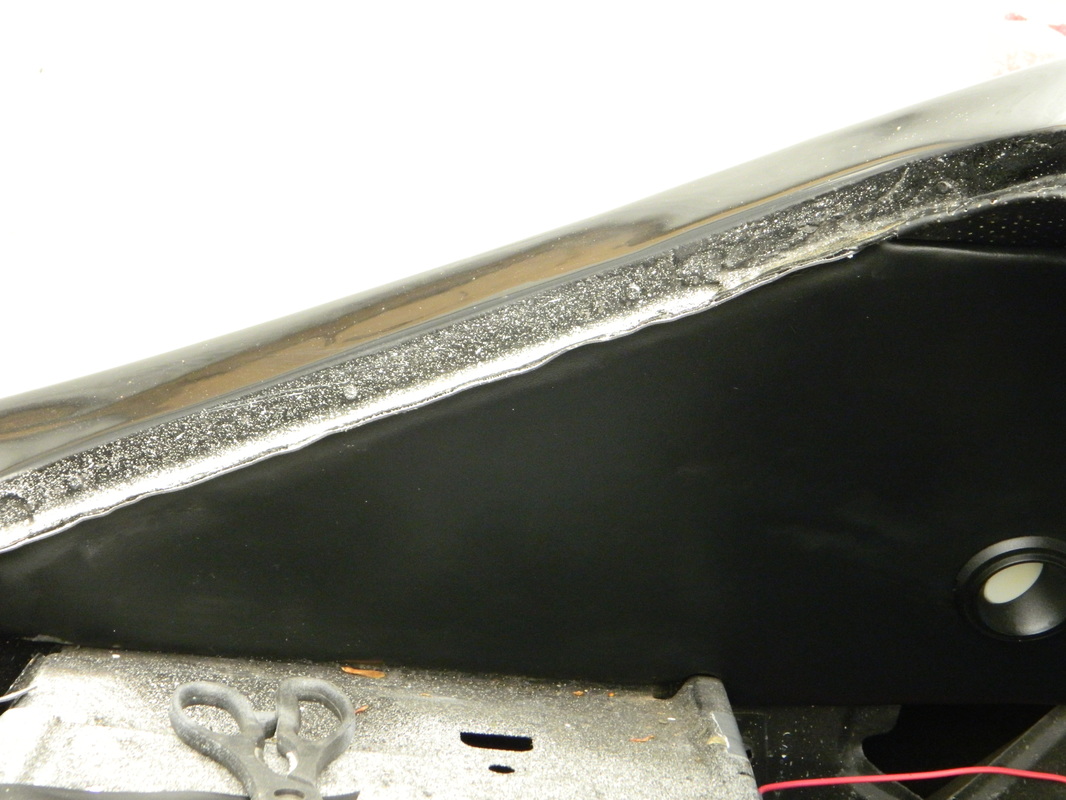
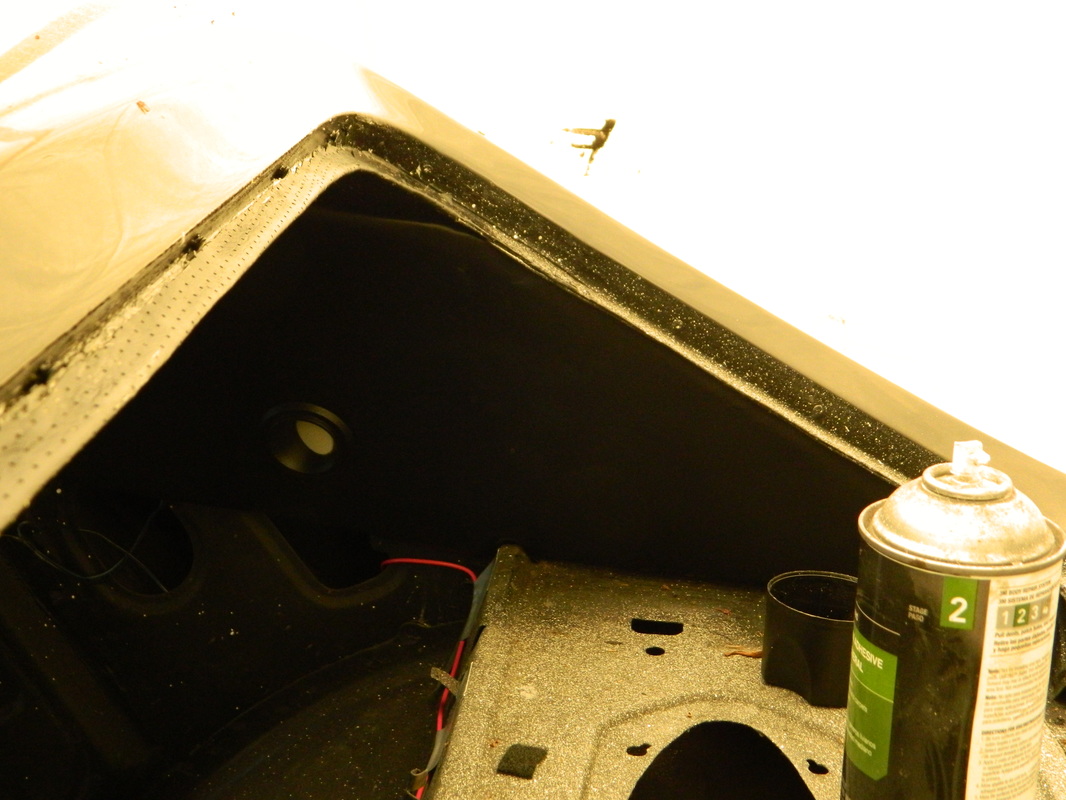
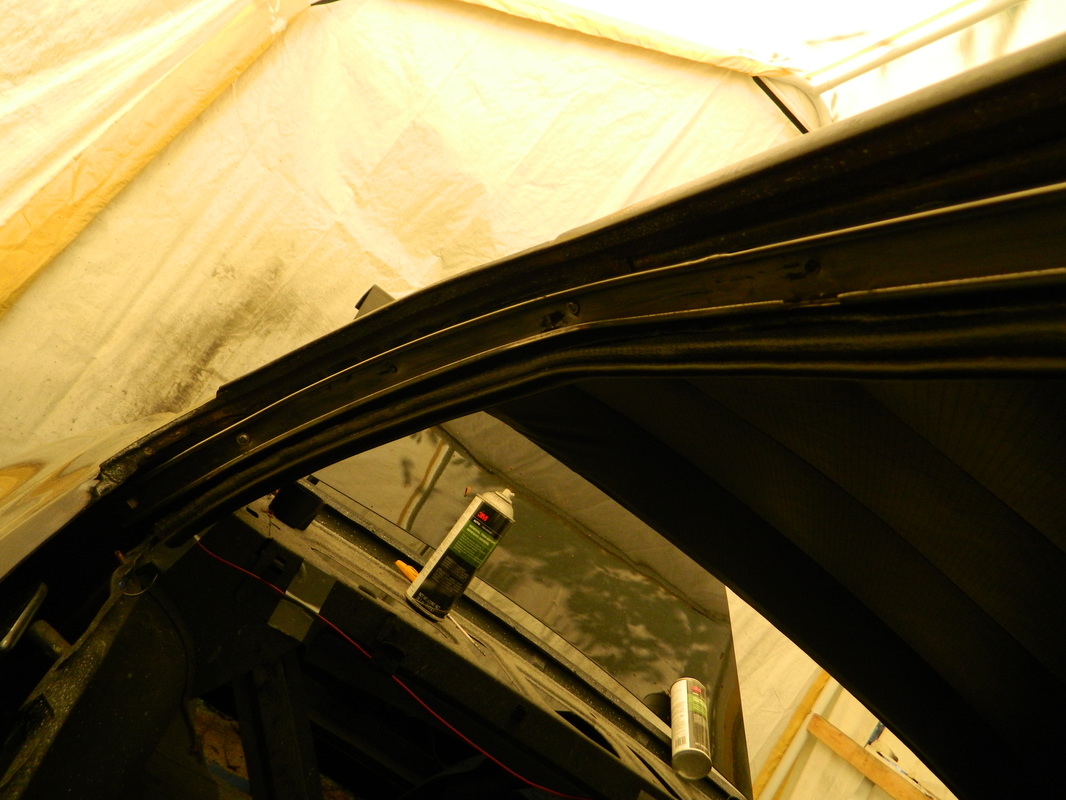
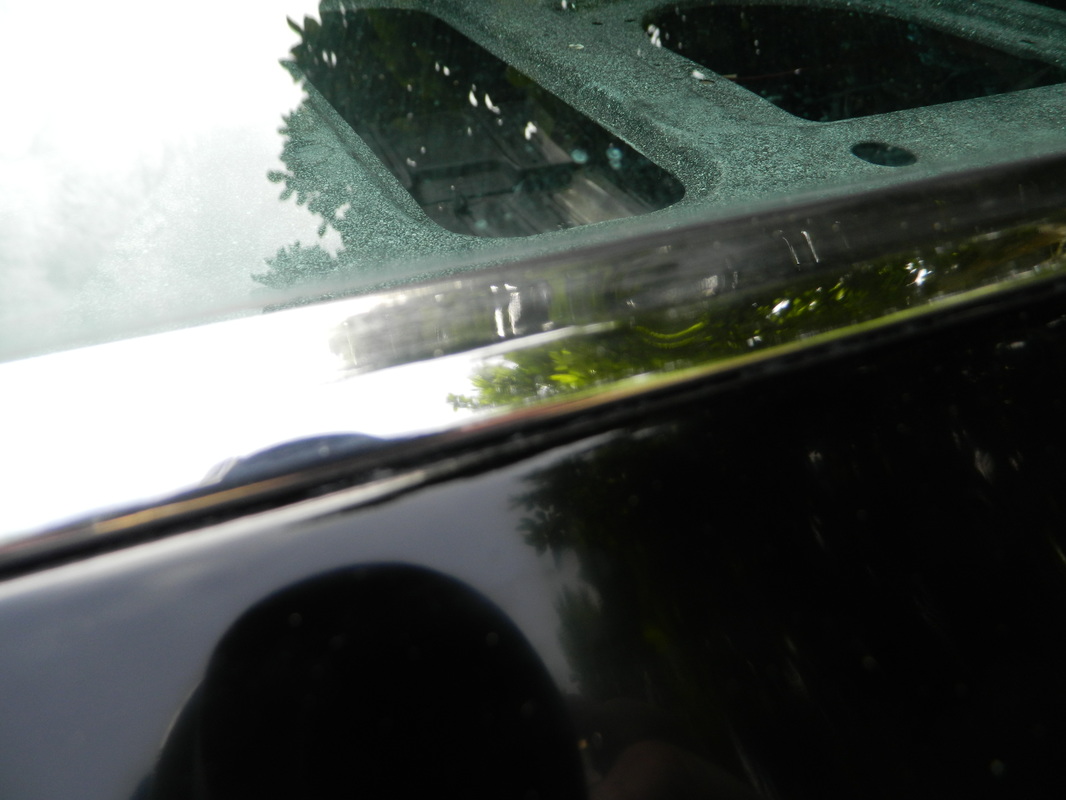
Installed the A/C plenum under the dash. It went fairly easy, but now the hard part hooking up the vacuum lines, wiring and the vent registers. I thought I numbered all the connections, but now they all seem to be missing or wrong. Next step will be purchasing the Ford Assembly Manual which shows every nut and screw, vacuum line and wire and where they route to. I knew this was going to be the worst part of the restoration. 3hrs

Mar 3, 2015
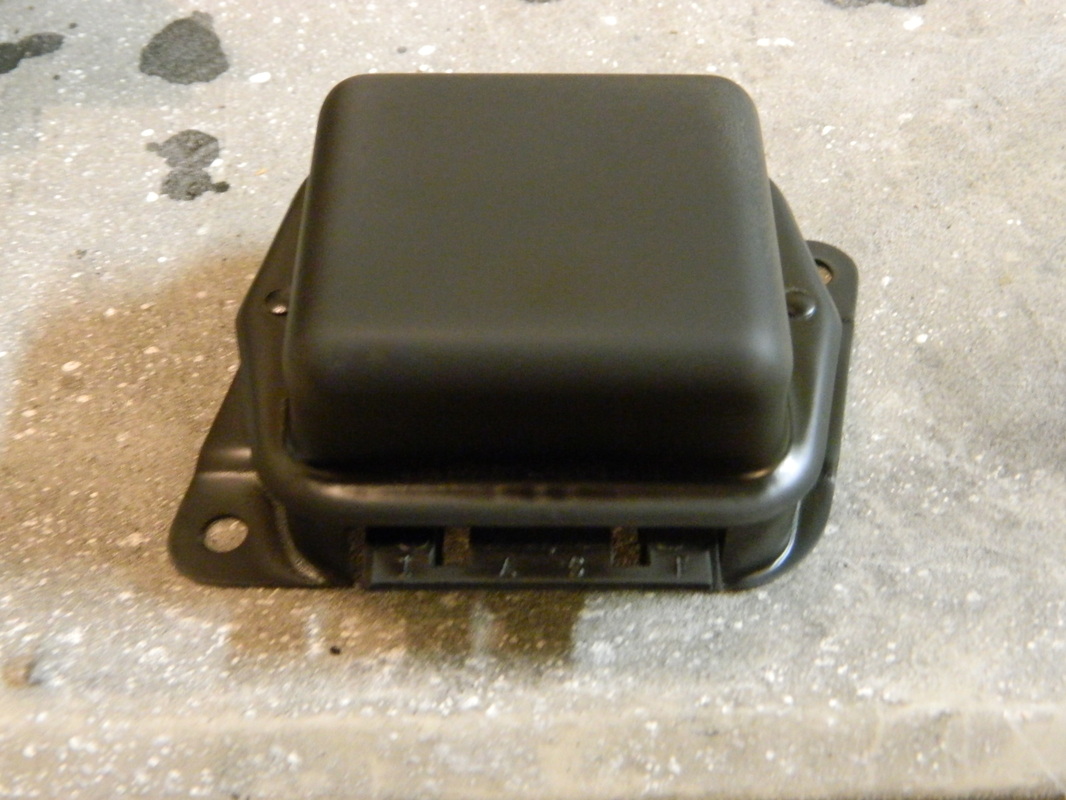
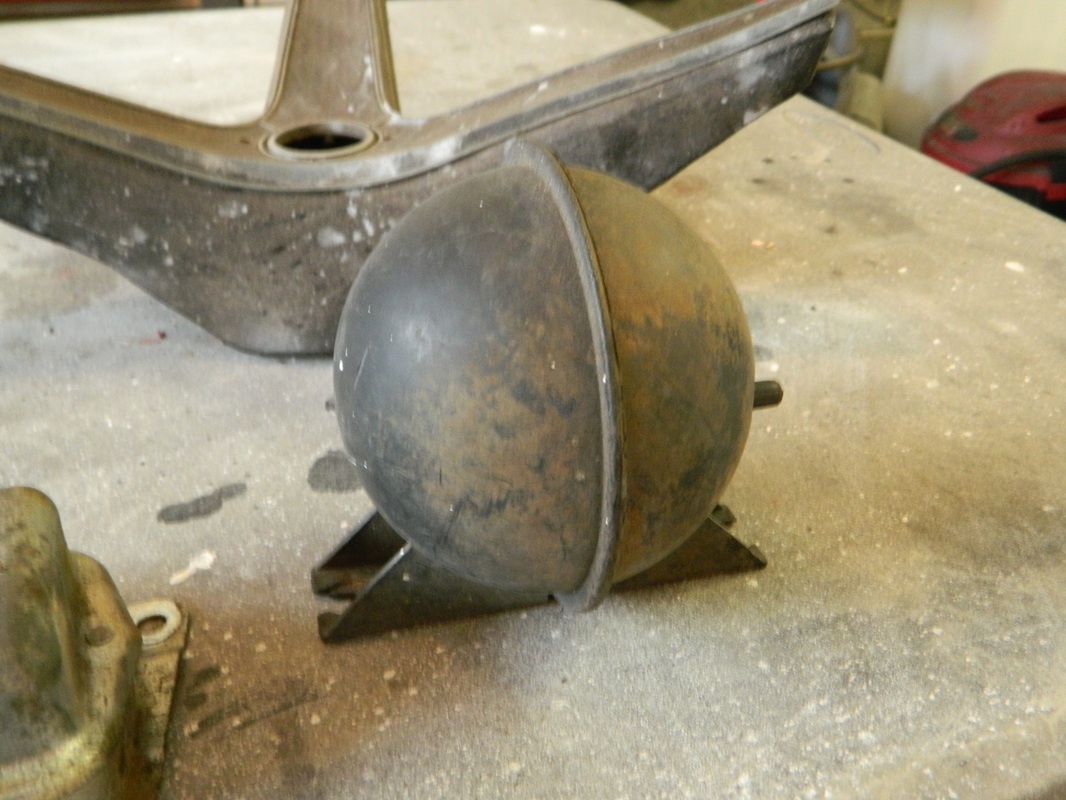
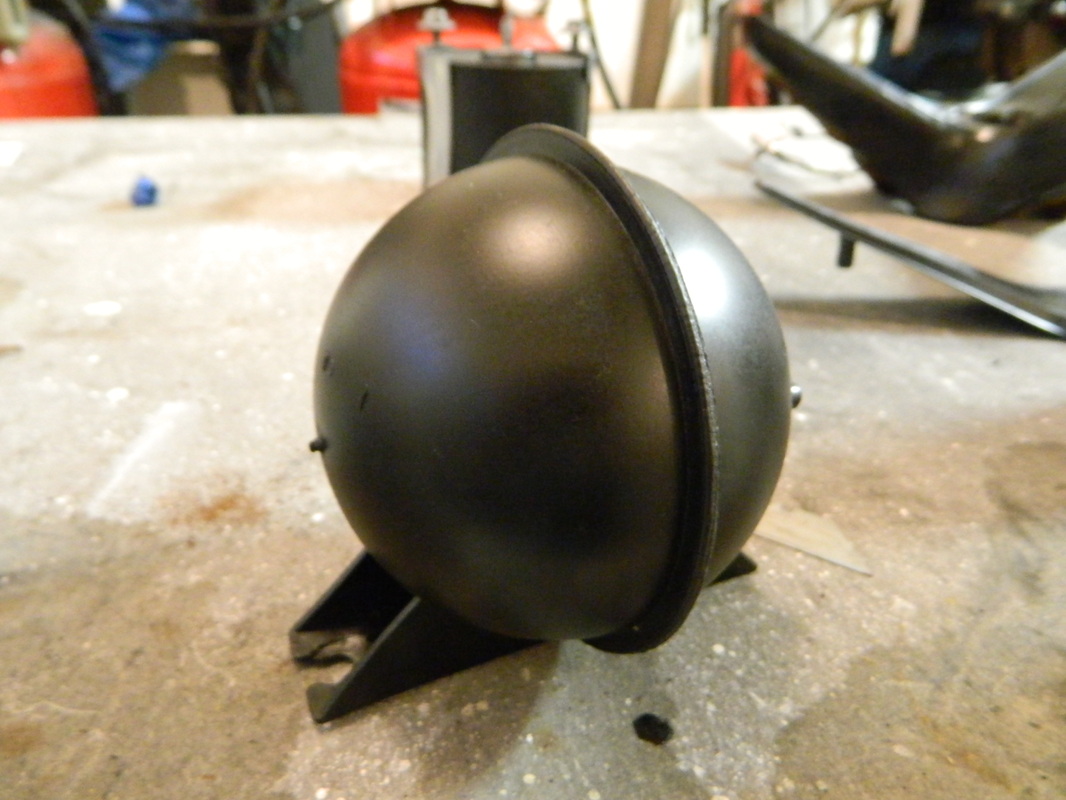
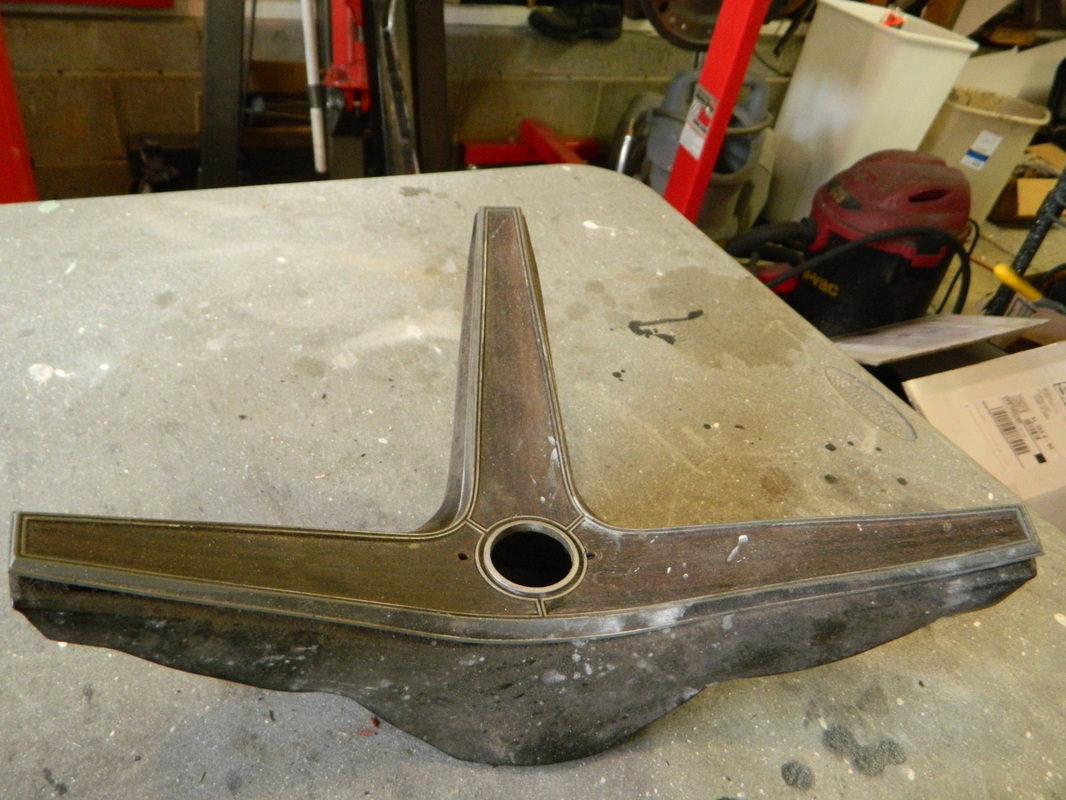
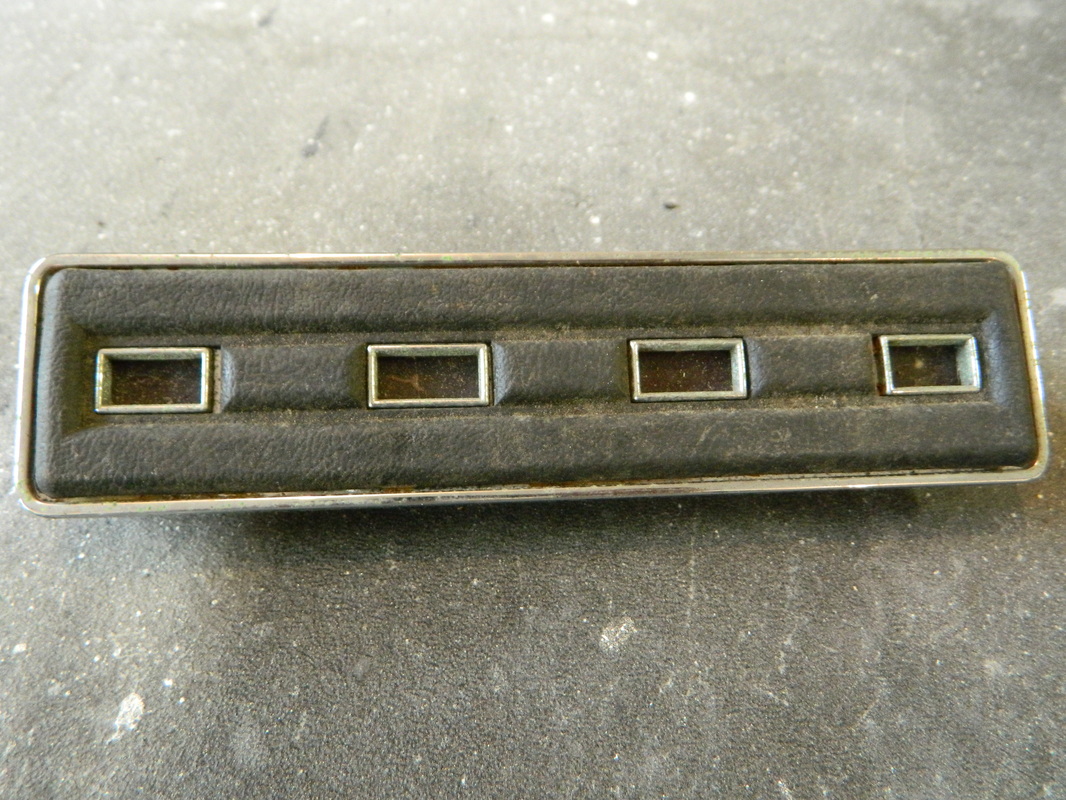
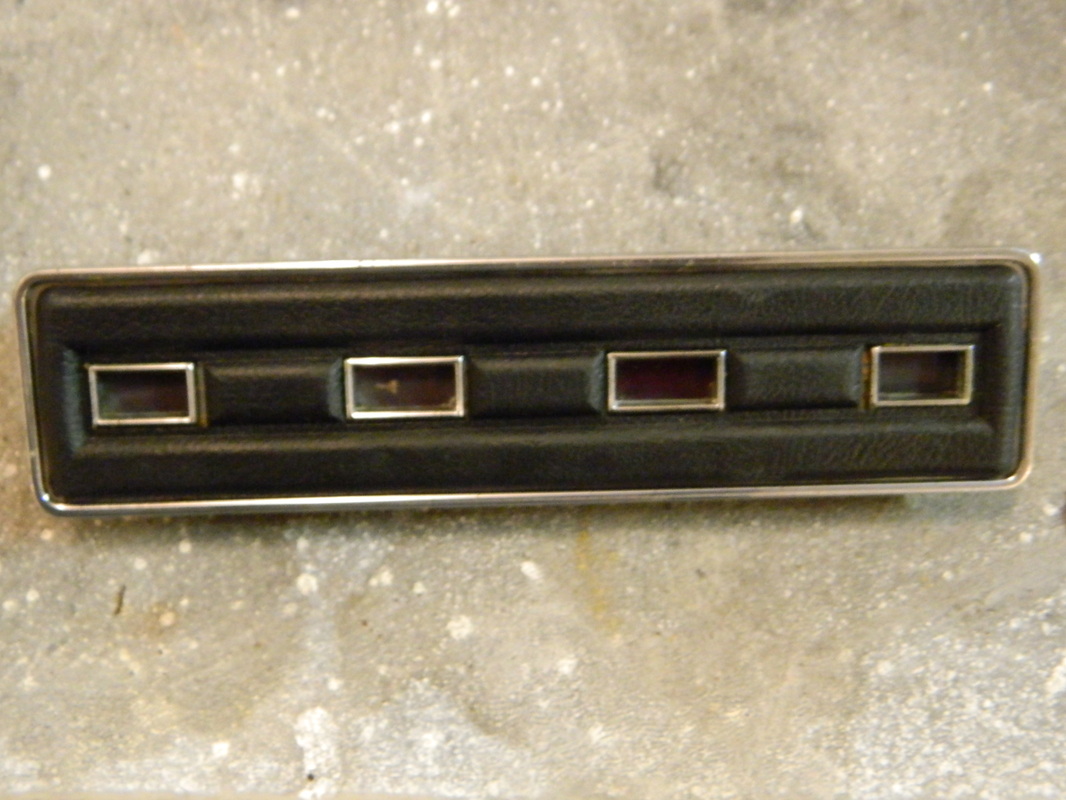
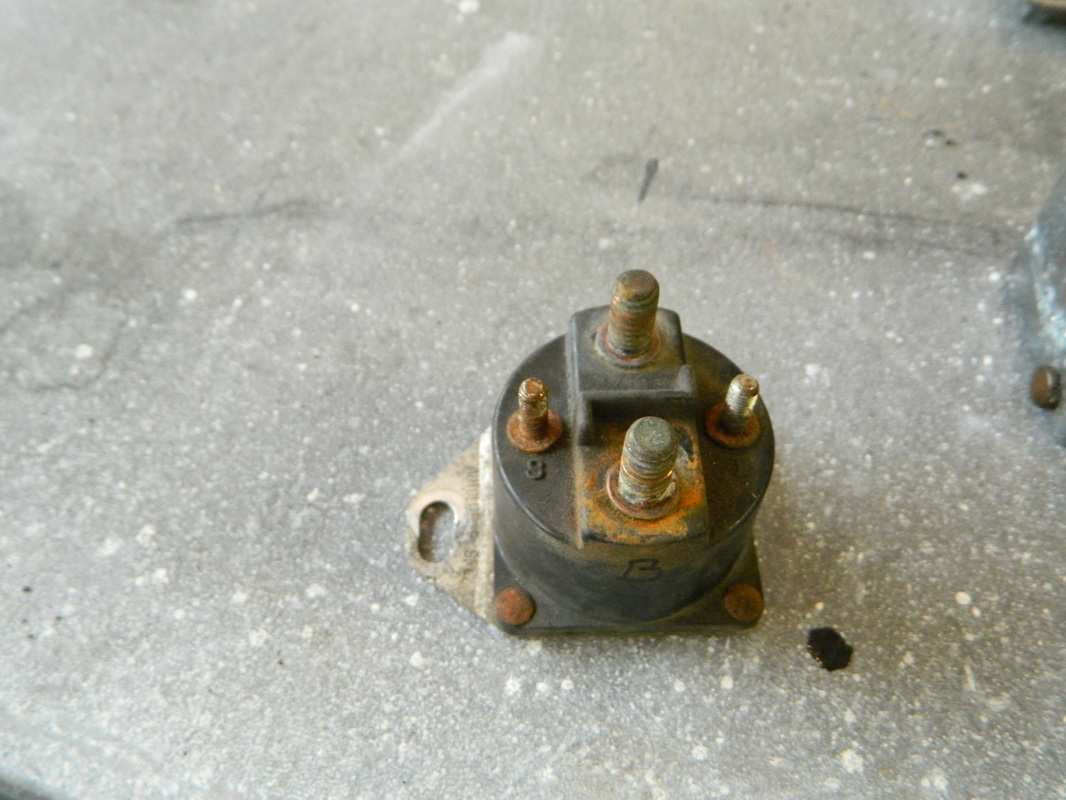
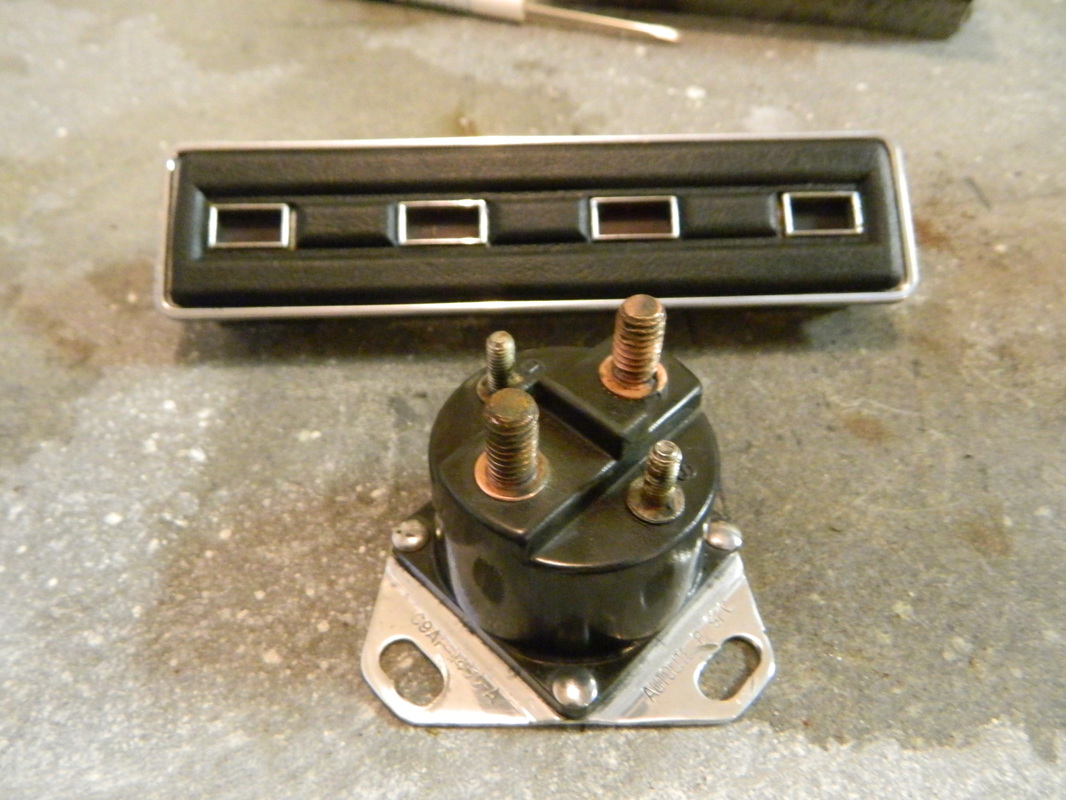
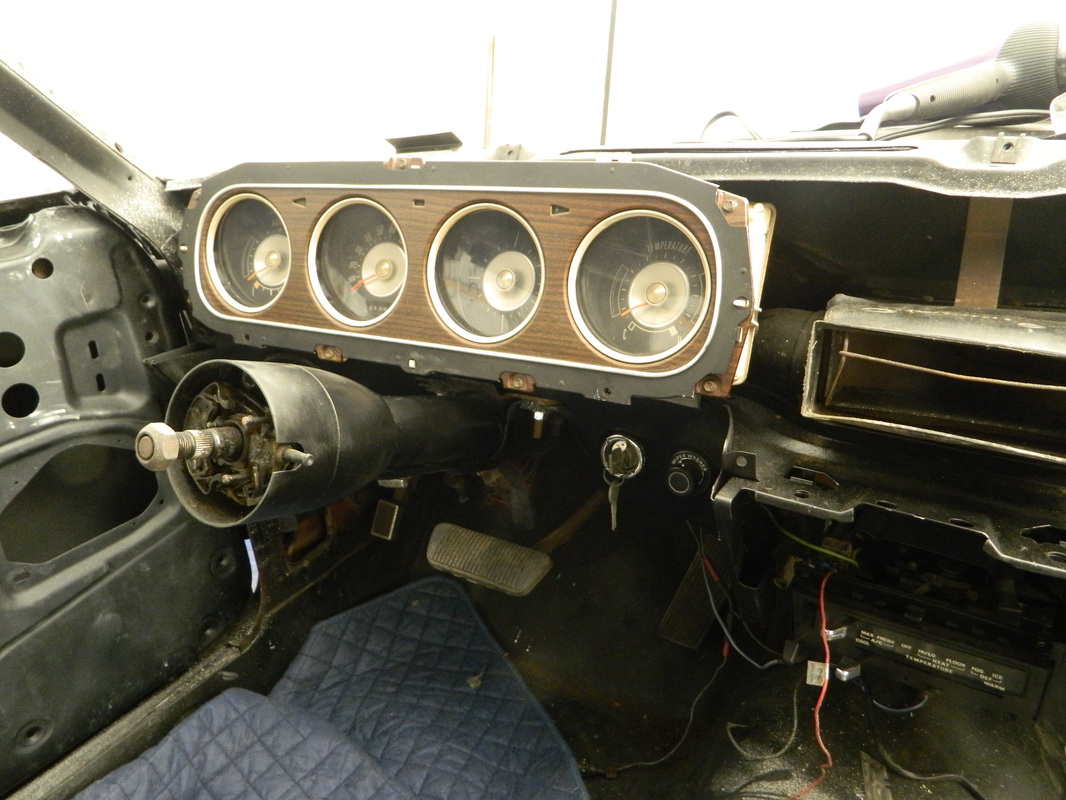
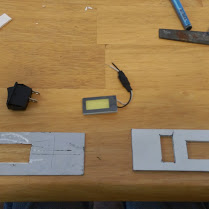
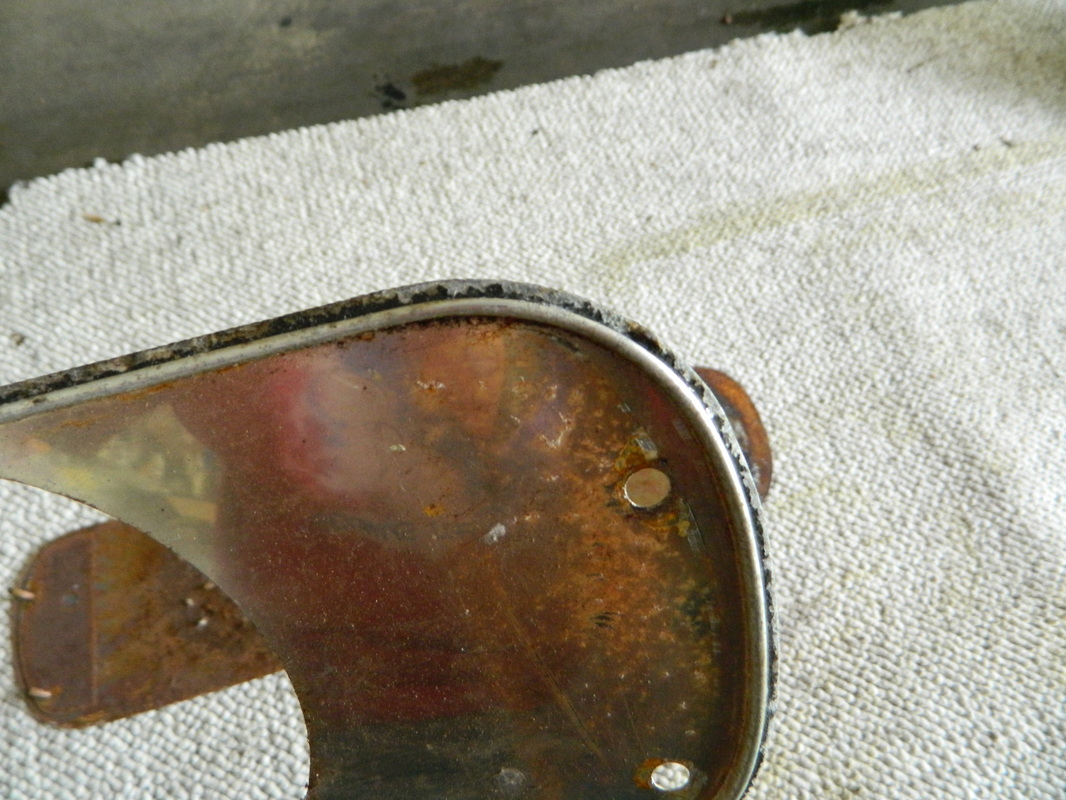
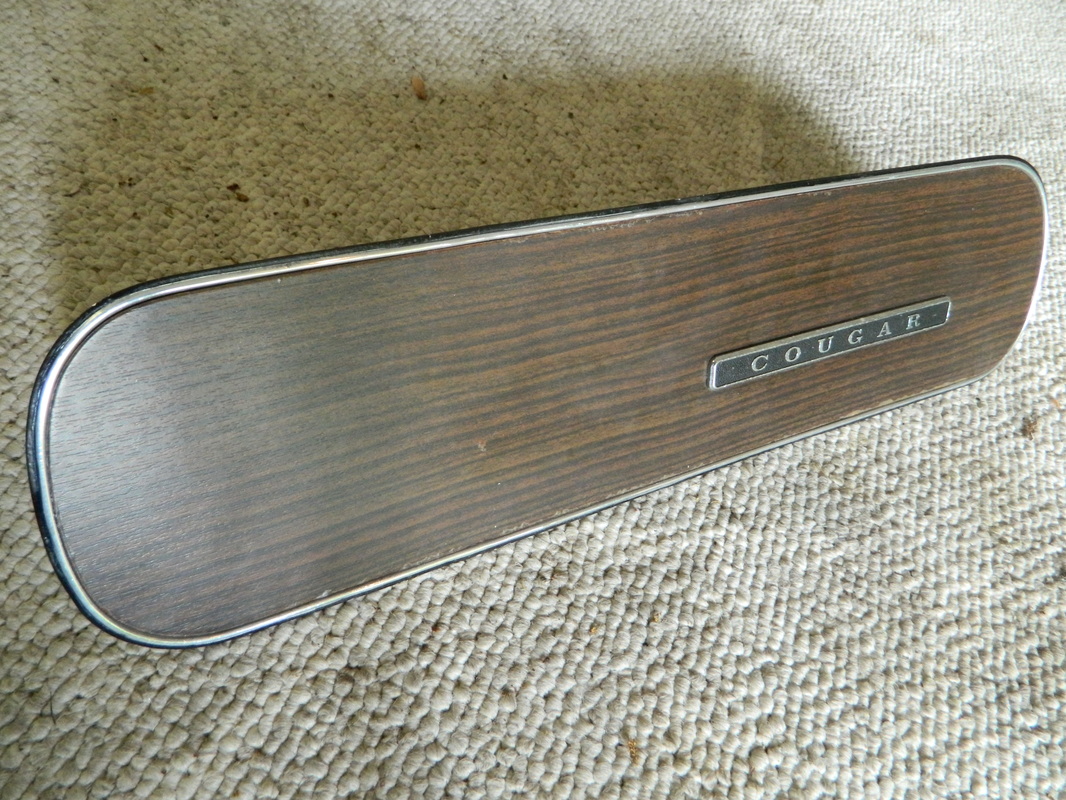
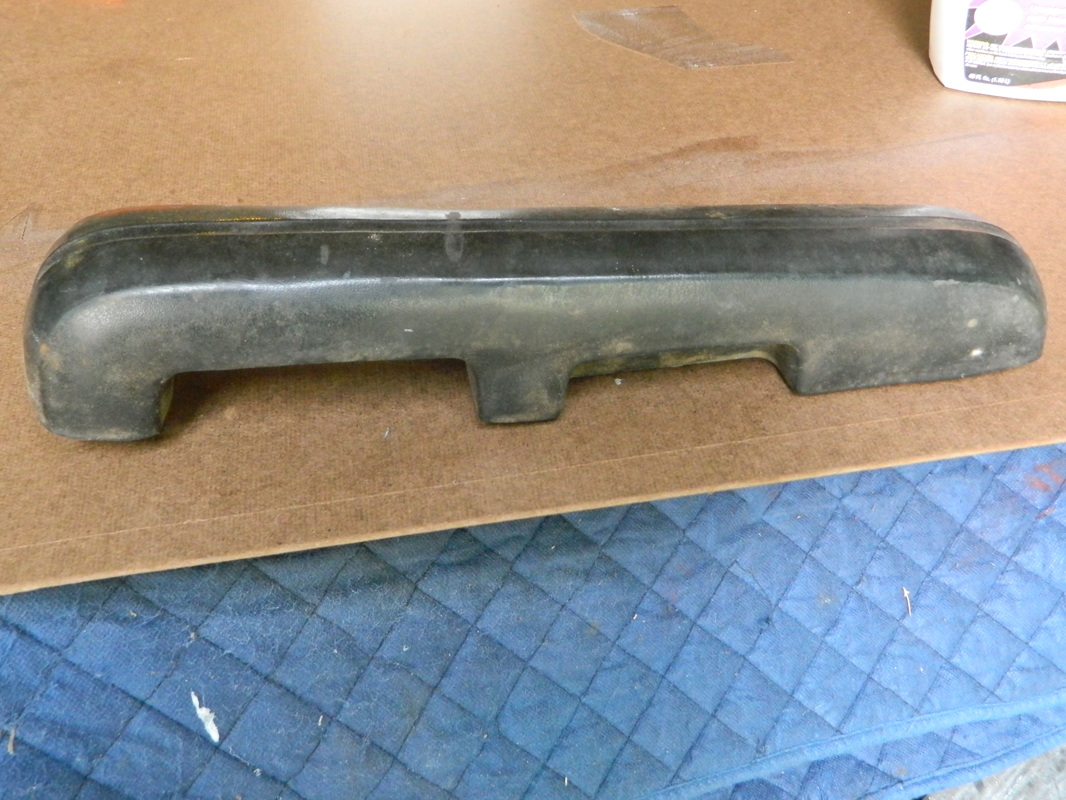
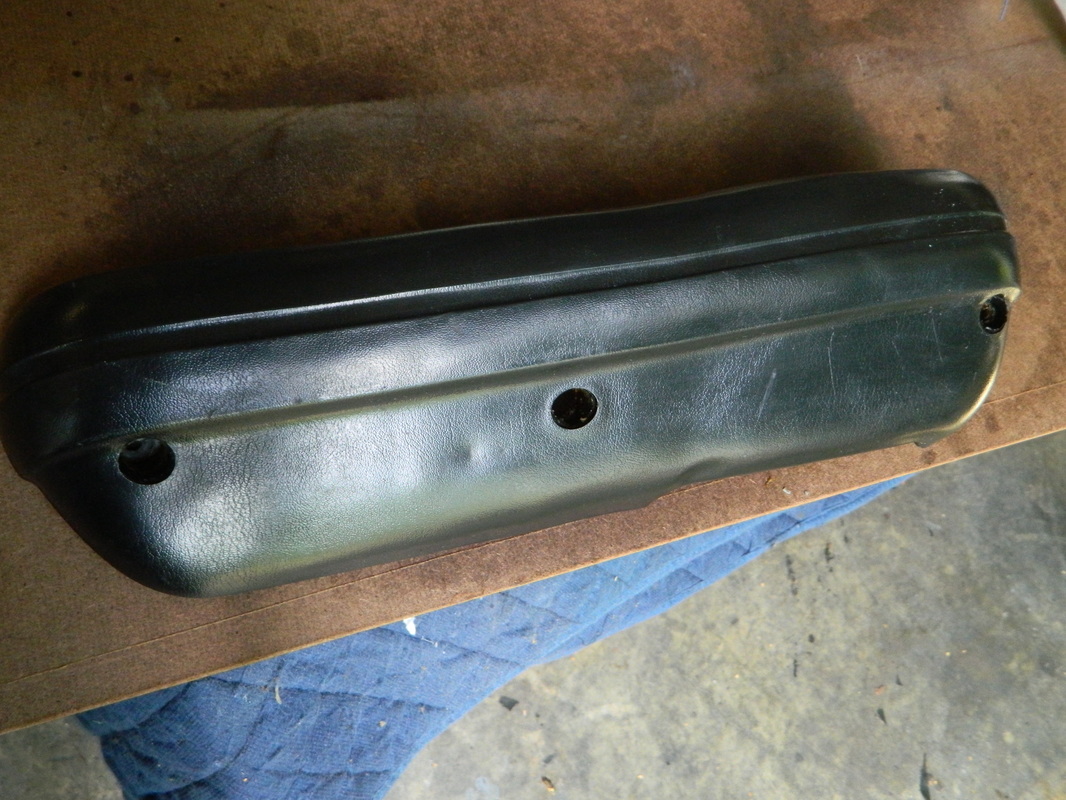
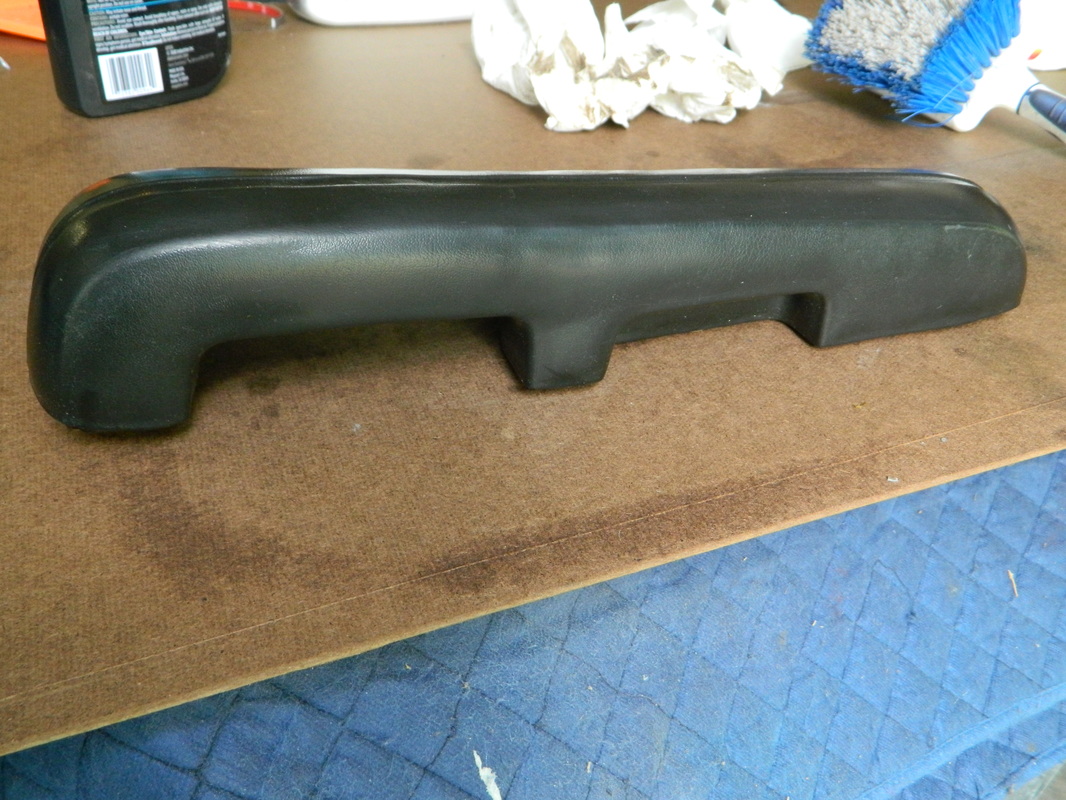
I cleaned up several small pieces today, including the voltage regulator, starter solenoid, a/c control, a/c center register, vacuum ball canister, steering wheel center pad and trim, convenience warning light pod, and glove box light. I took a before and after pic on each item. 4 hrs


Mar 4, 2015
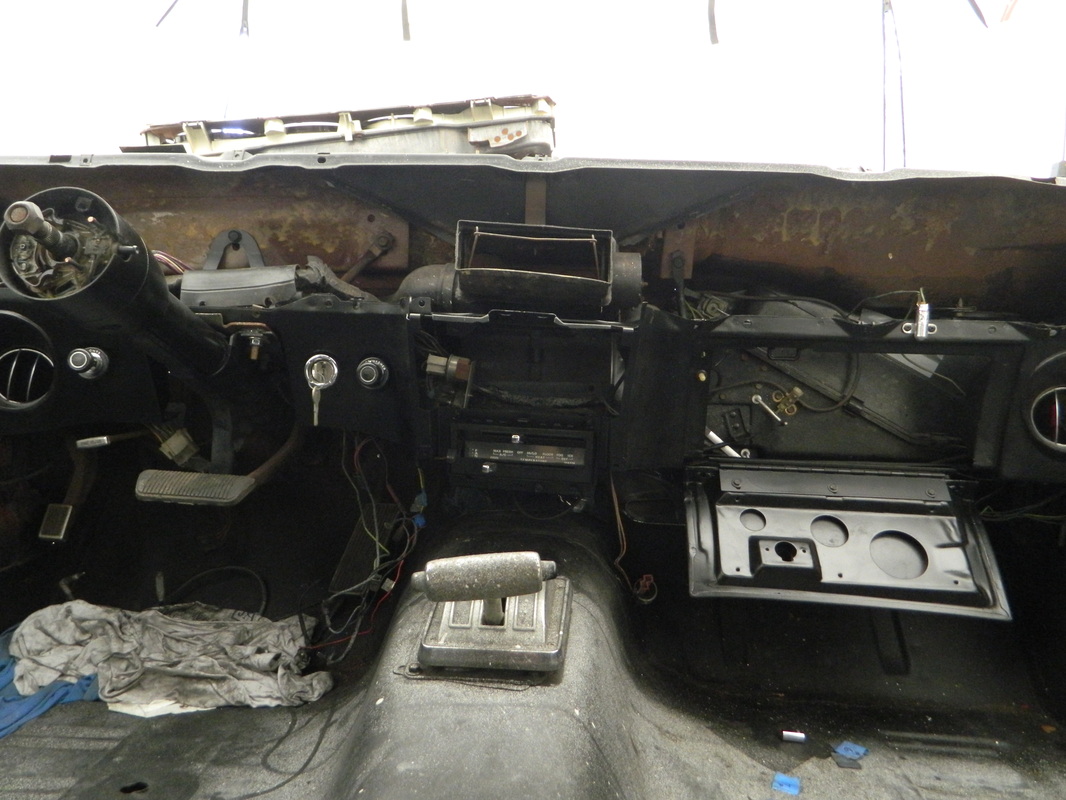
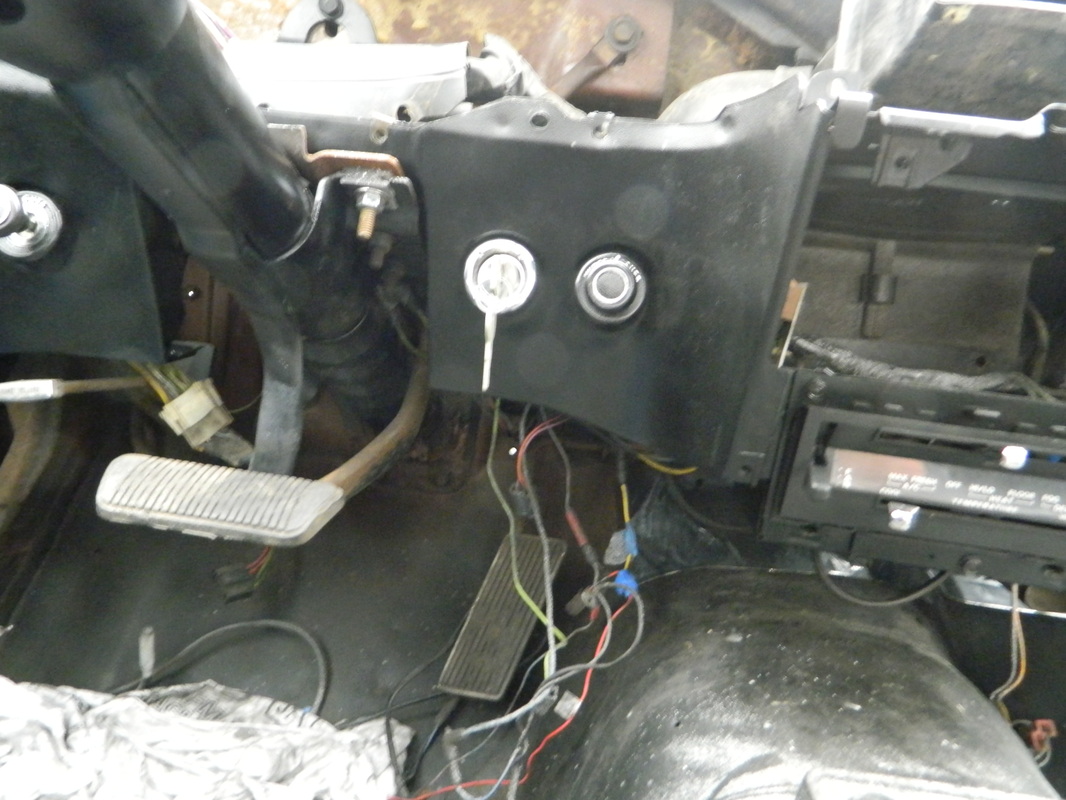
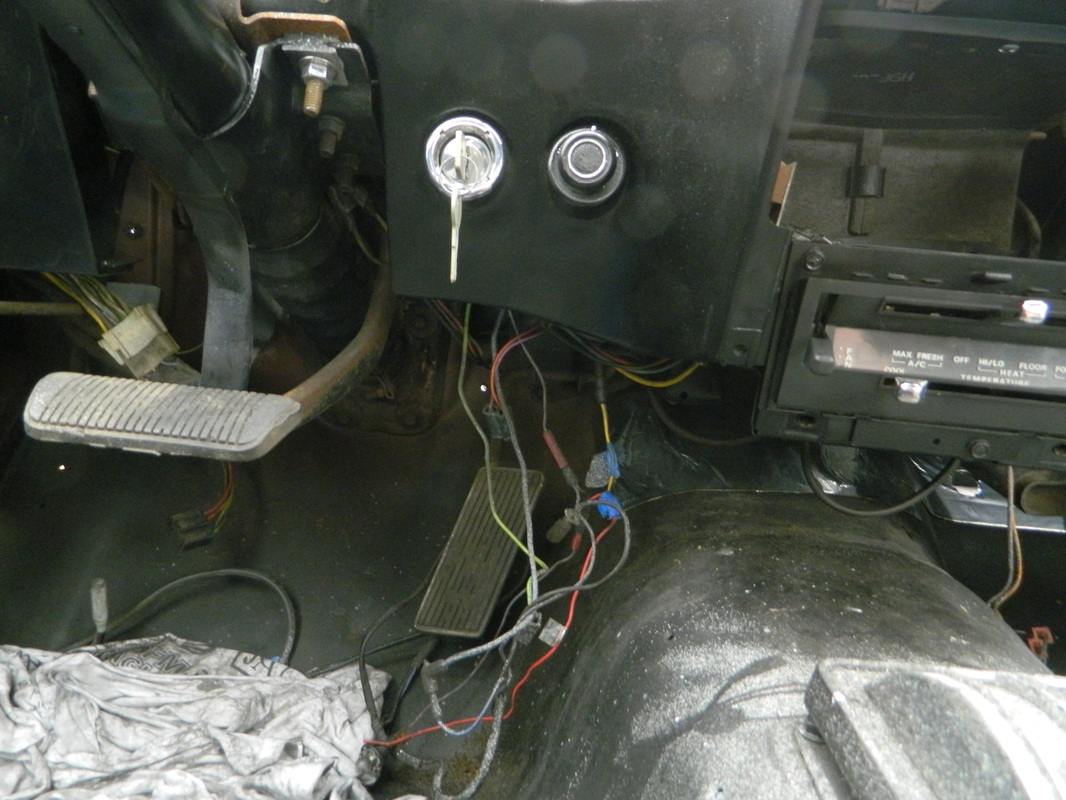
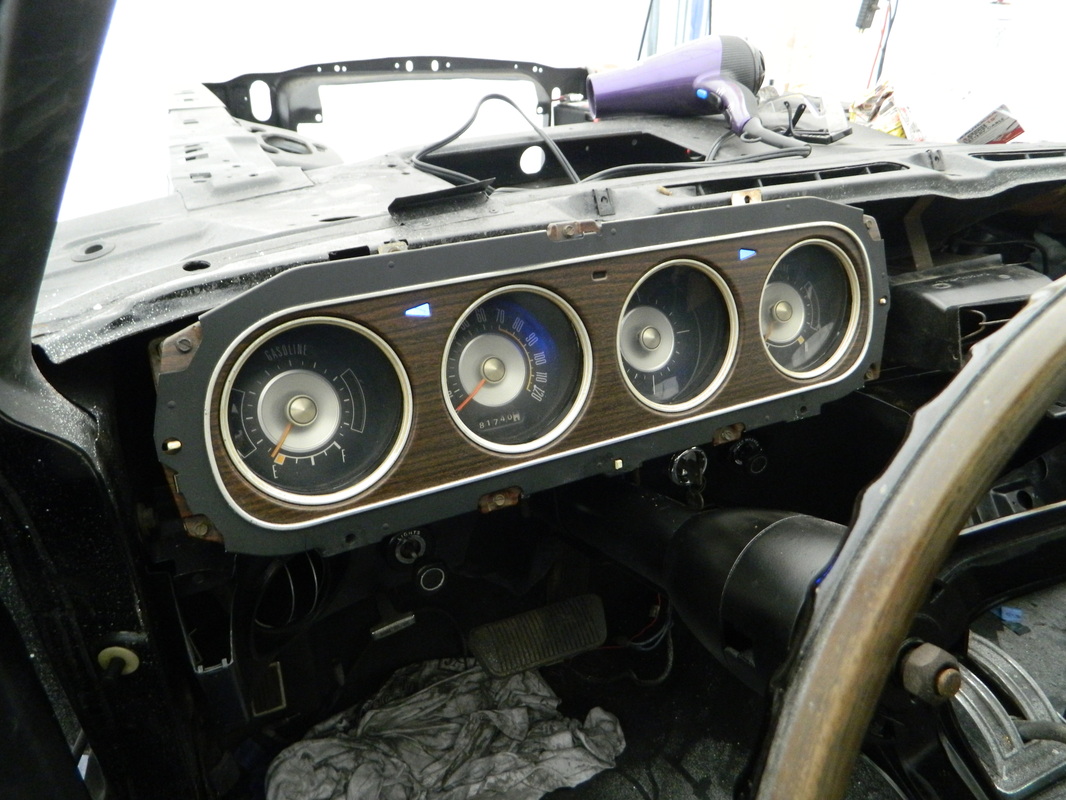
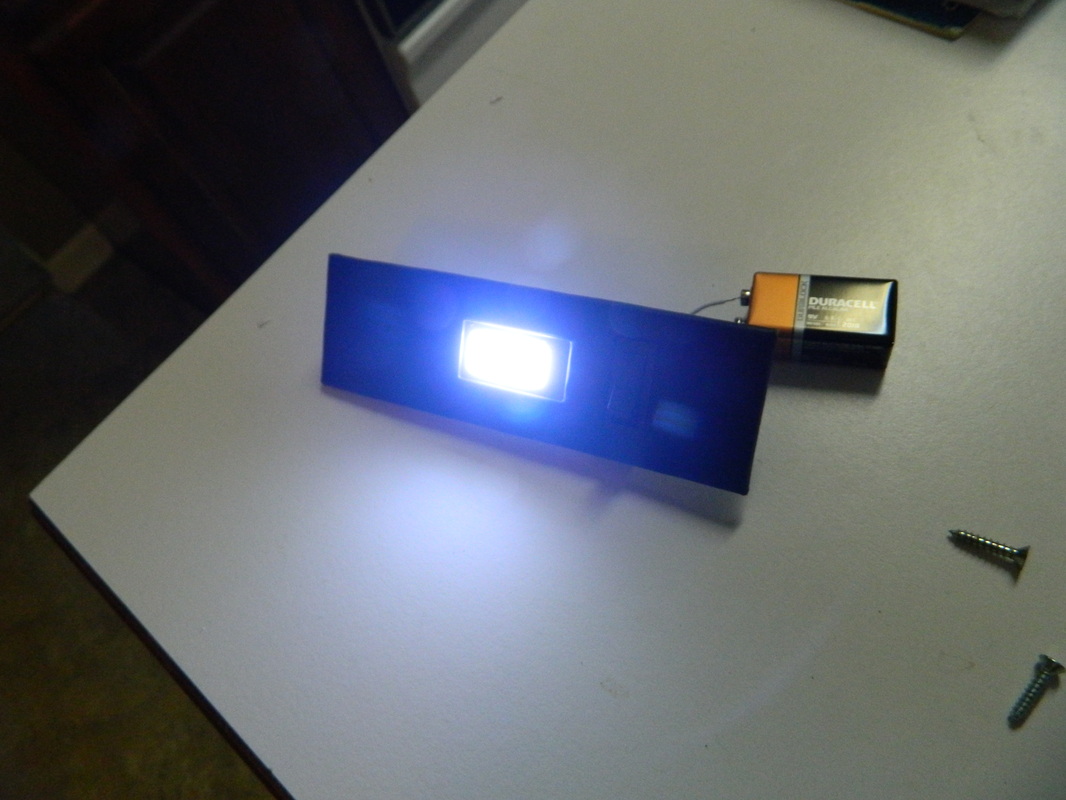
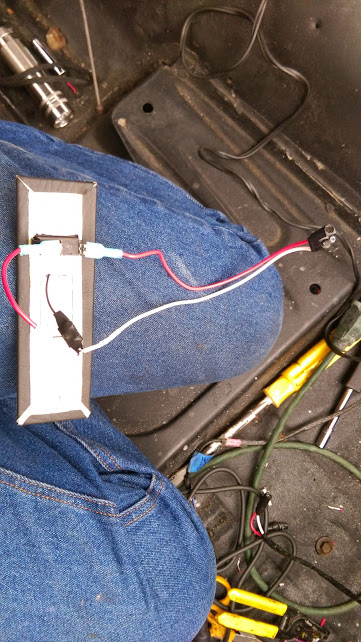
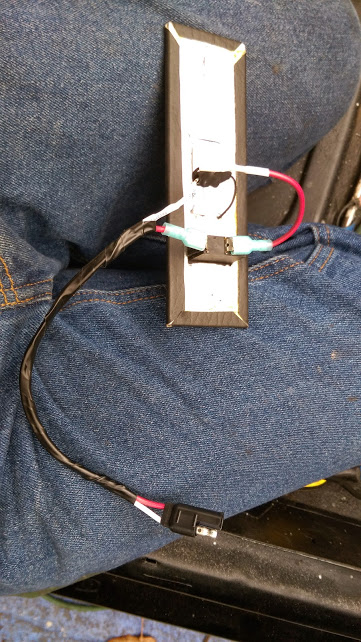
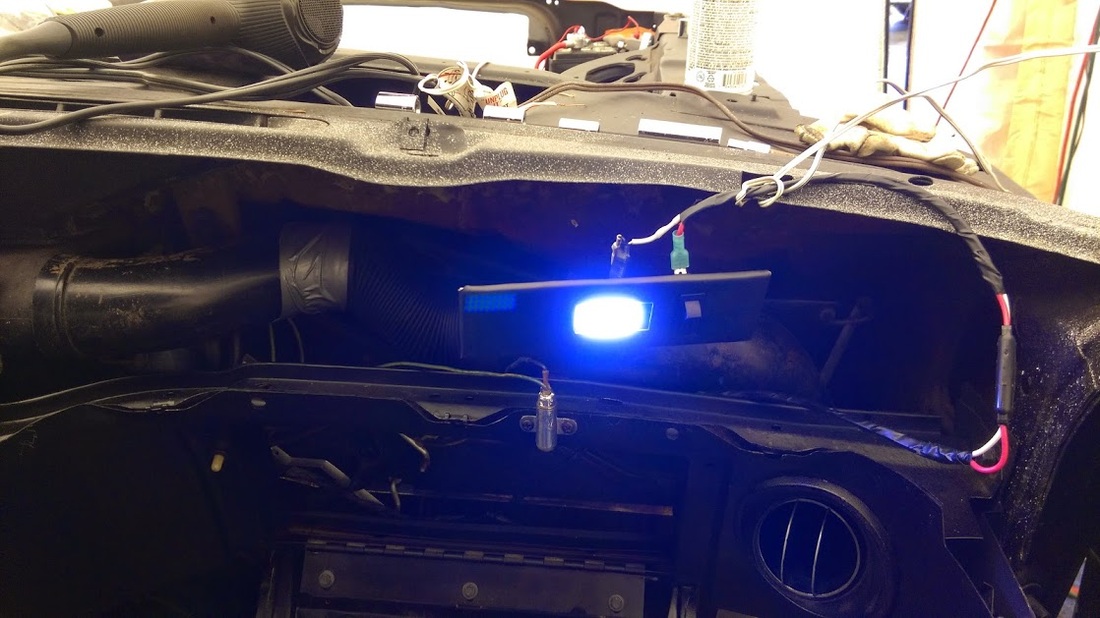
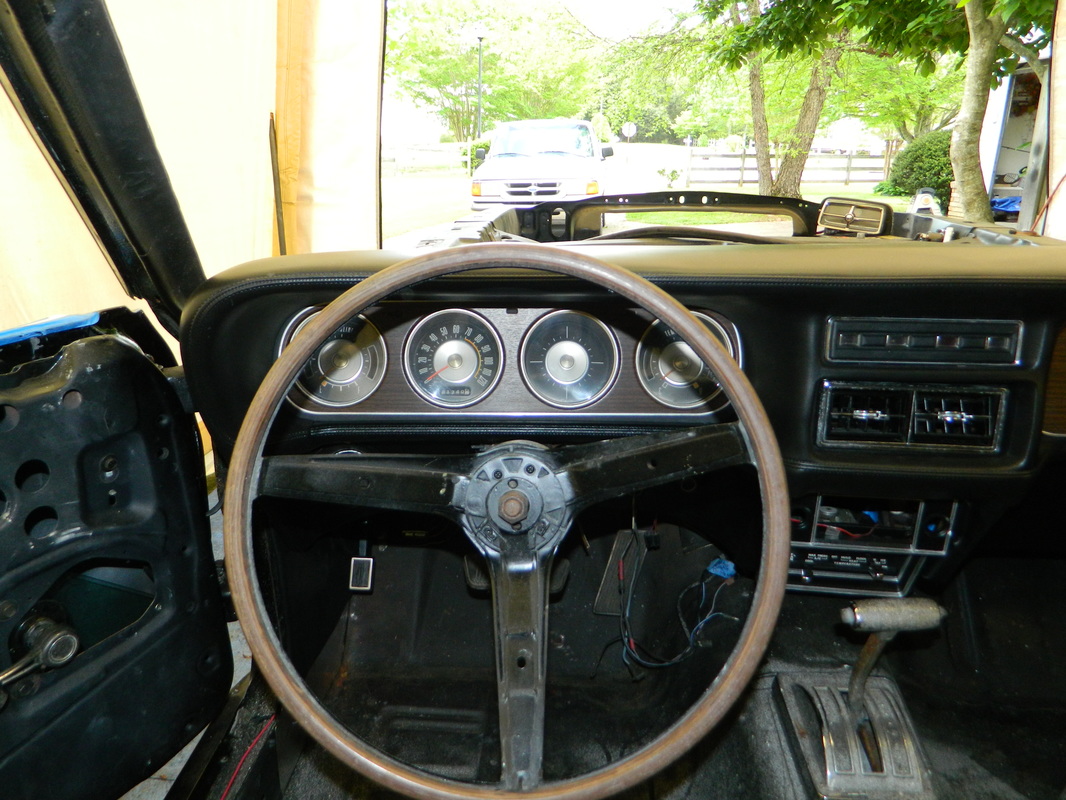
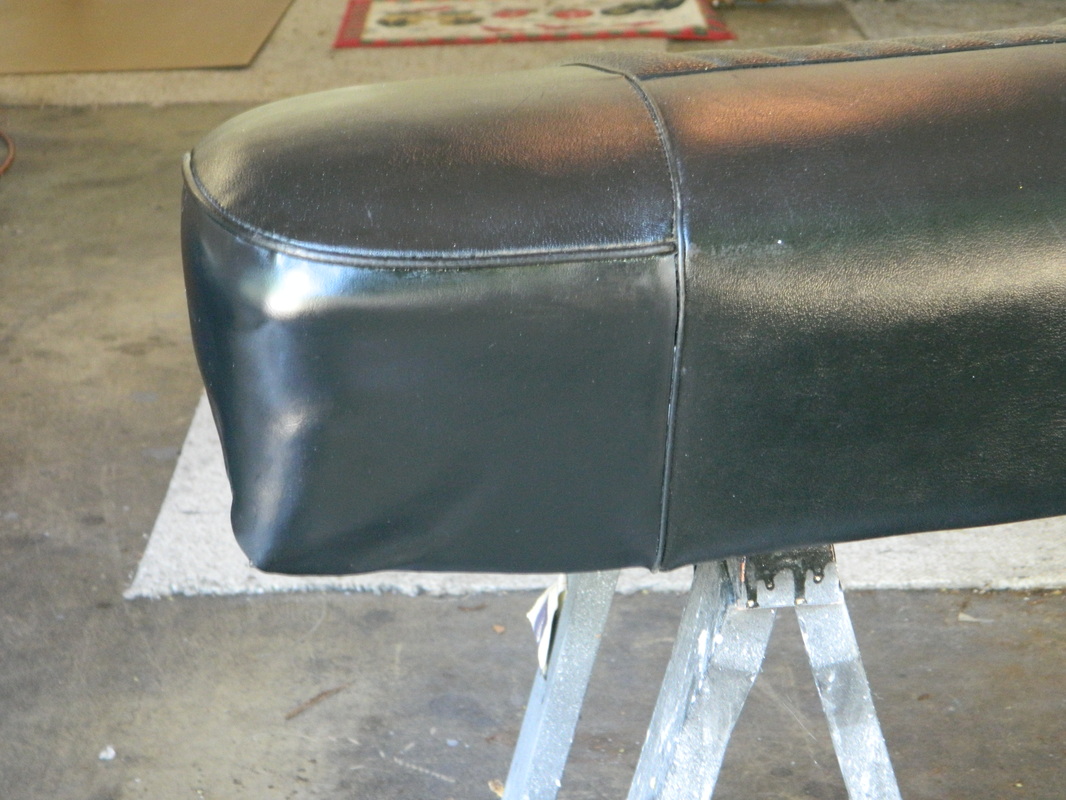
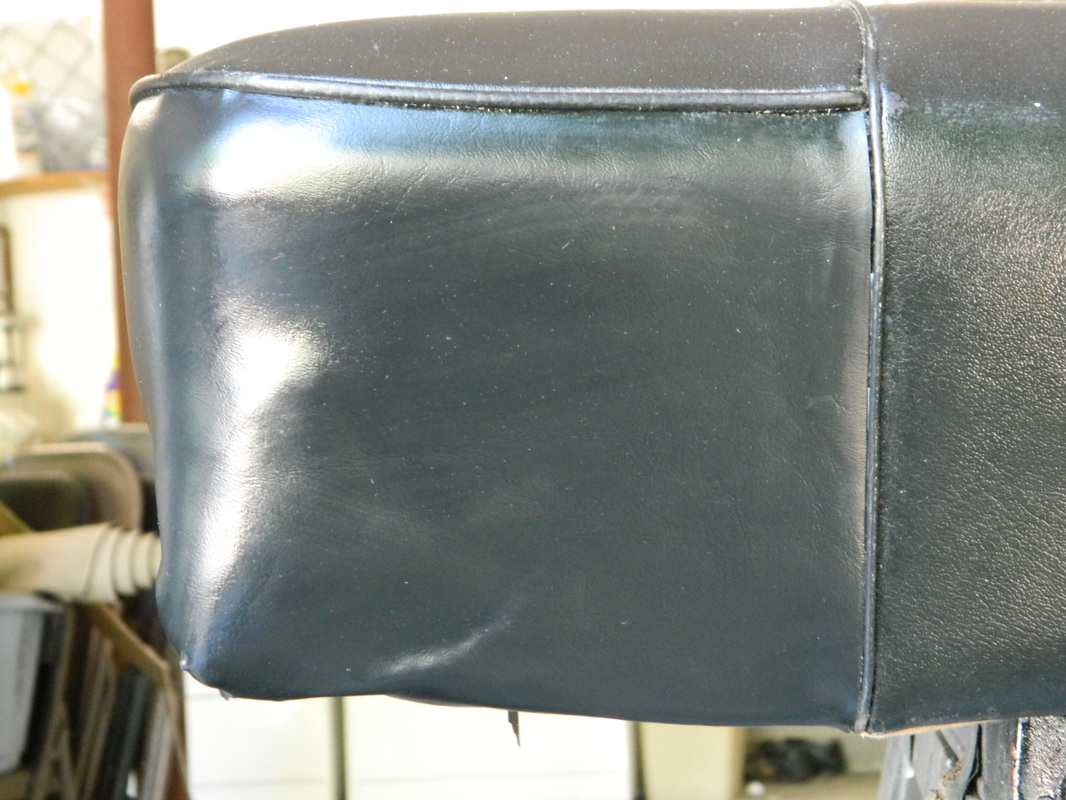
What a day! It was almost 80 today! I started out installing some stuff on the lower dash panel and then decided to see if I could get it installed. Well, I got it almost installed, just a few electrical connections to finish. Did all of the A/C vacuum hoses. I hope I can find and complete all of the electrical connections without back tracking and taking the dash out or loose. A couple of them were real buggers to get to, and I gave up some blood in the process. My LED dash lights came in from Superbrightleds and I fired one up and it was pretty bright. Hope to be able to finish the electrical and then hook up the battery and see if anything works. Oh..and I couldn't resist throwing in the dash pad just to see how it would fit and look. I didn't screw it down, but it really looks nice. I will screw it down later after all the testing. I'm tired! 8hrs


Mar 5, 2015
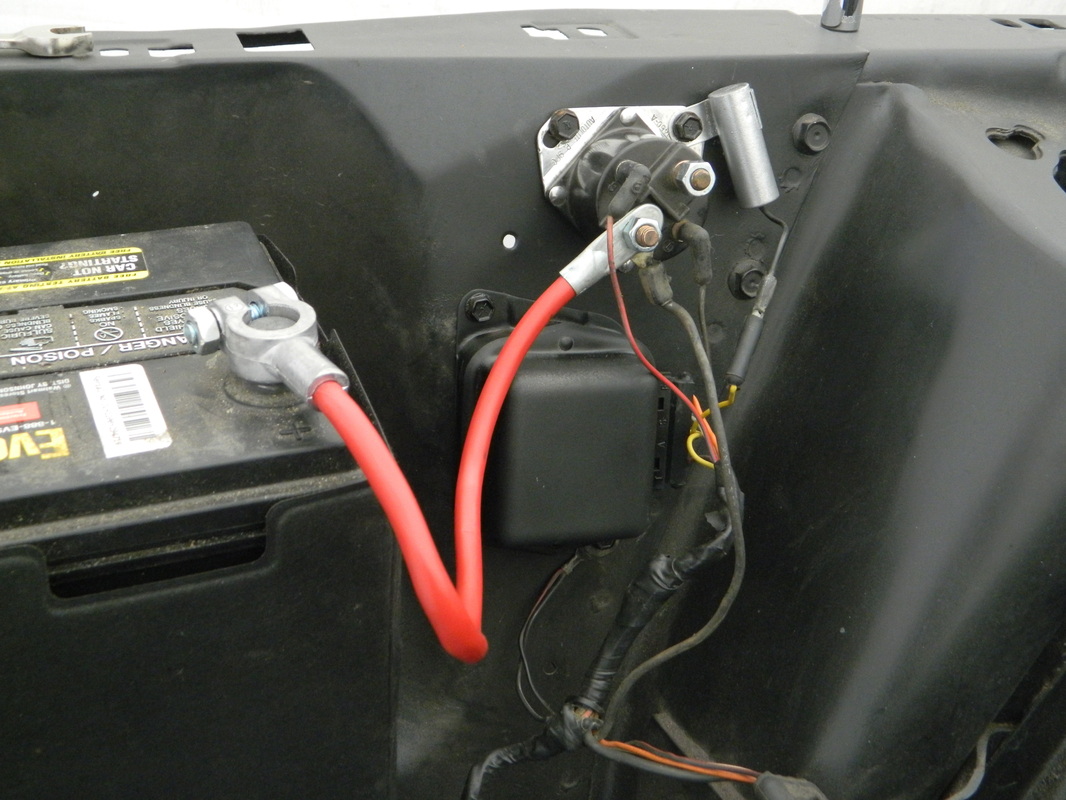
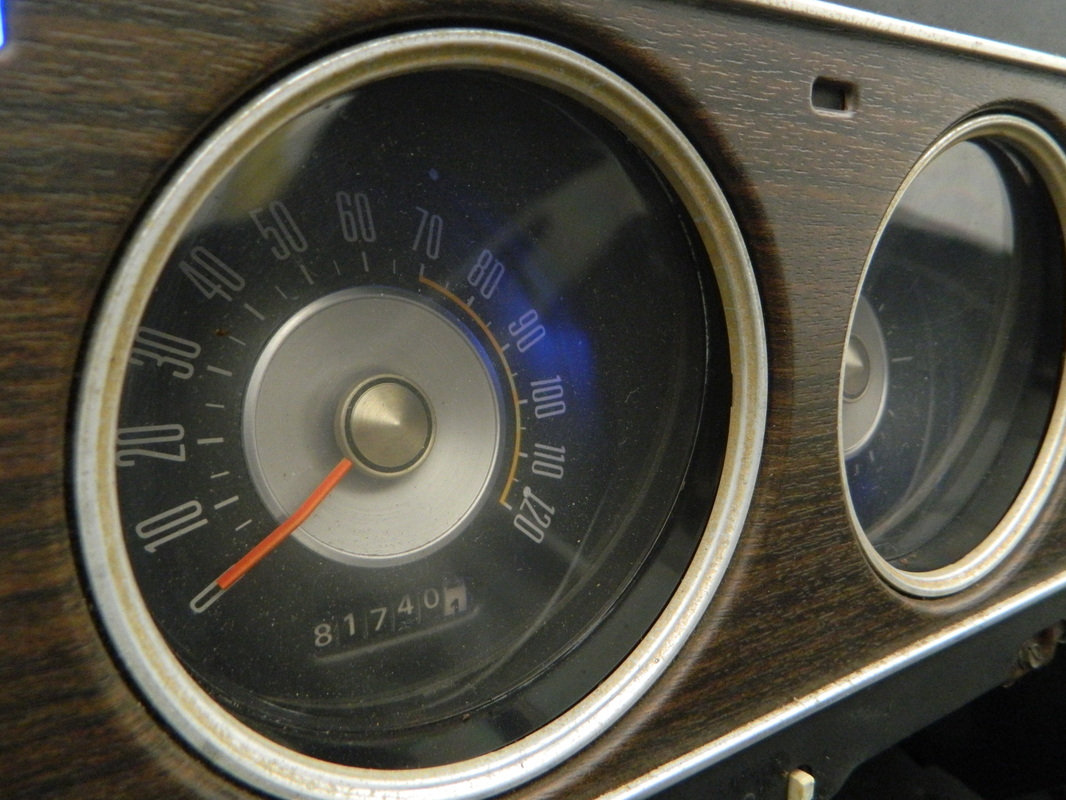
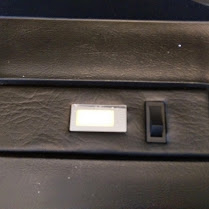
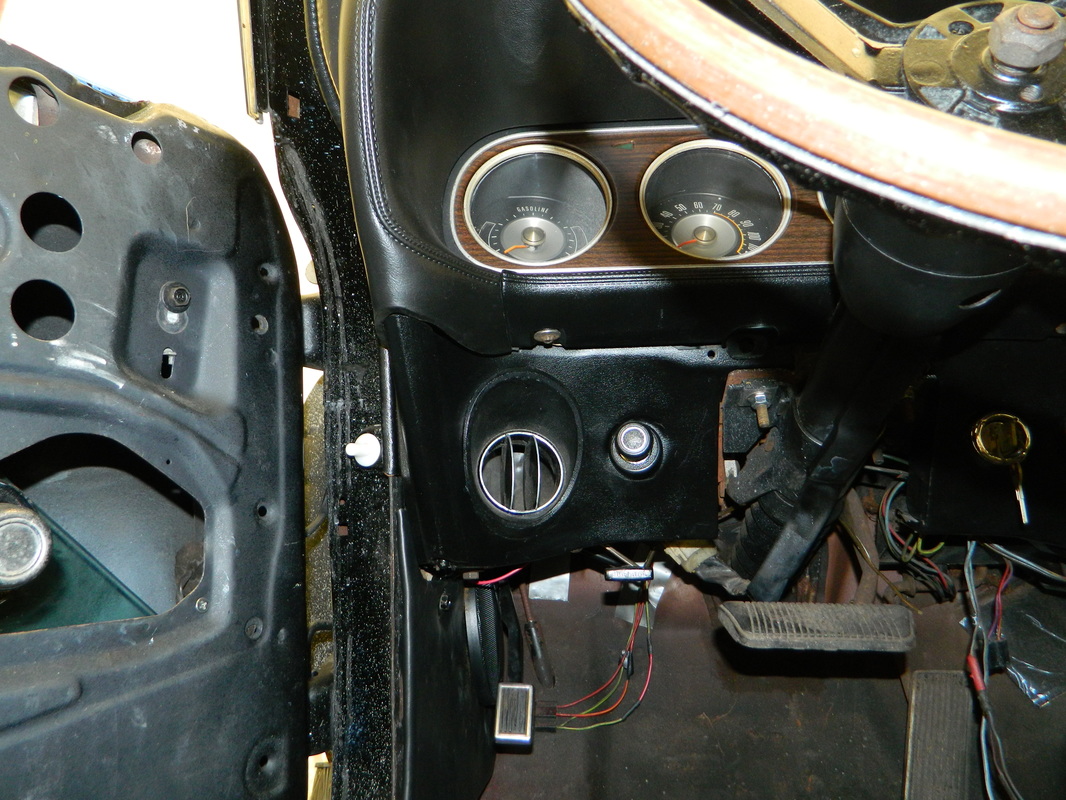
Even though it is sleeting outside I went out into the tent garage and finished up a few things to start testing the electrical system. I mounted the solenoid, voltage regulator, and wiring harness. I also temporarily mounted the gauge pod. There are a couple of connectors not plugged in, but some are just not used. I will have to determine which are which. With the battery connected I know these are working..passenger under dash courtesy light, blue led instrument lights, and head lights. It got too cold to do anymore testing today. 2hrs
Mar 7, 2015
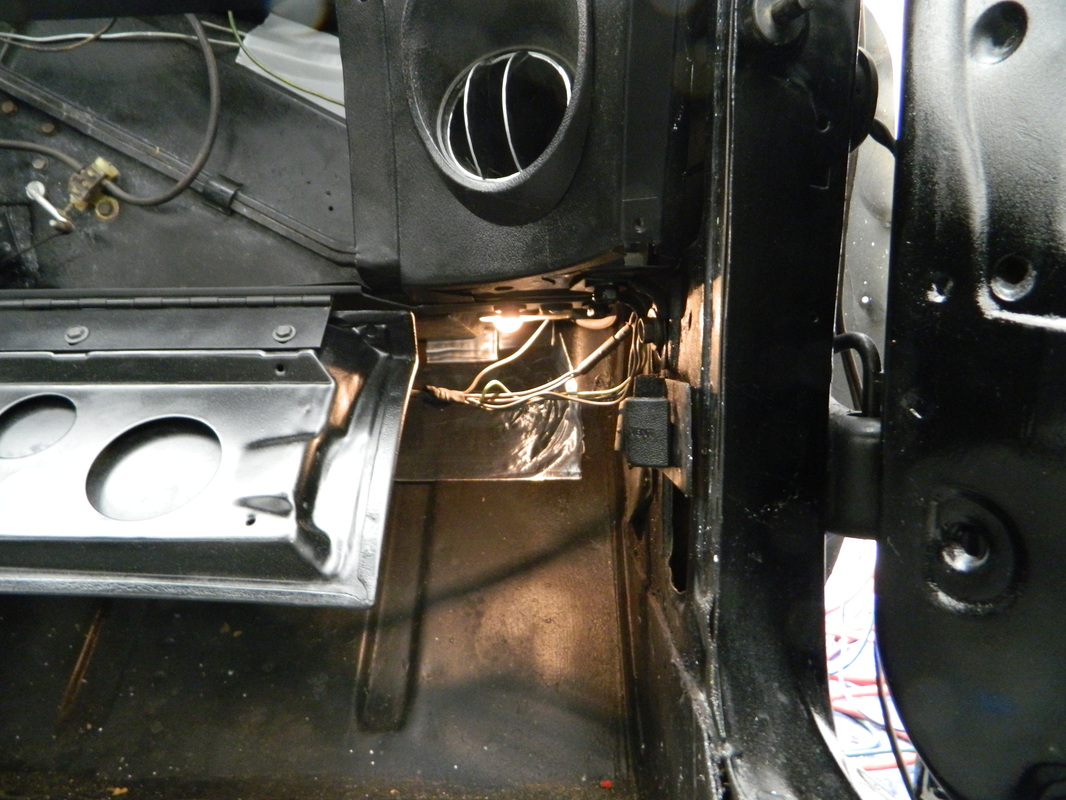
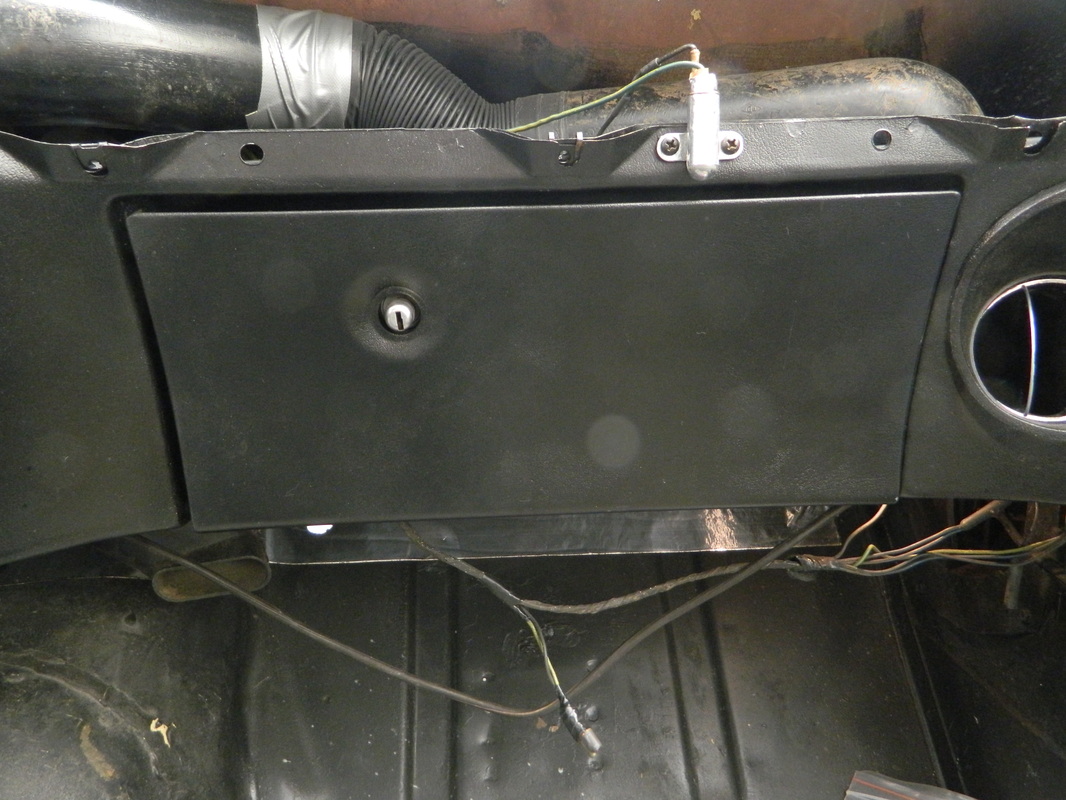
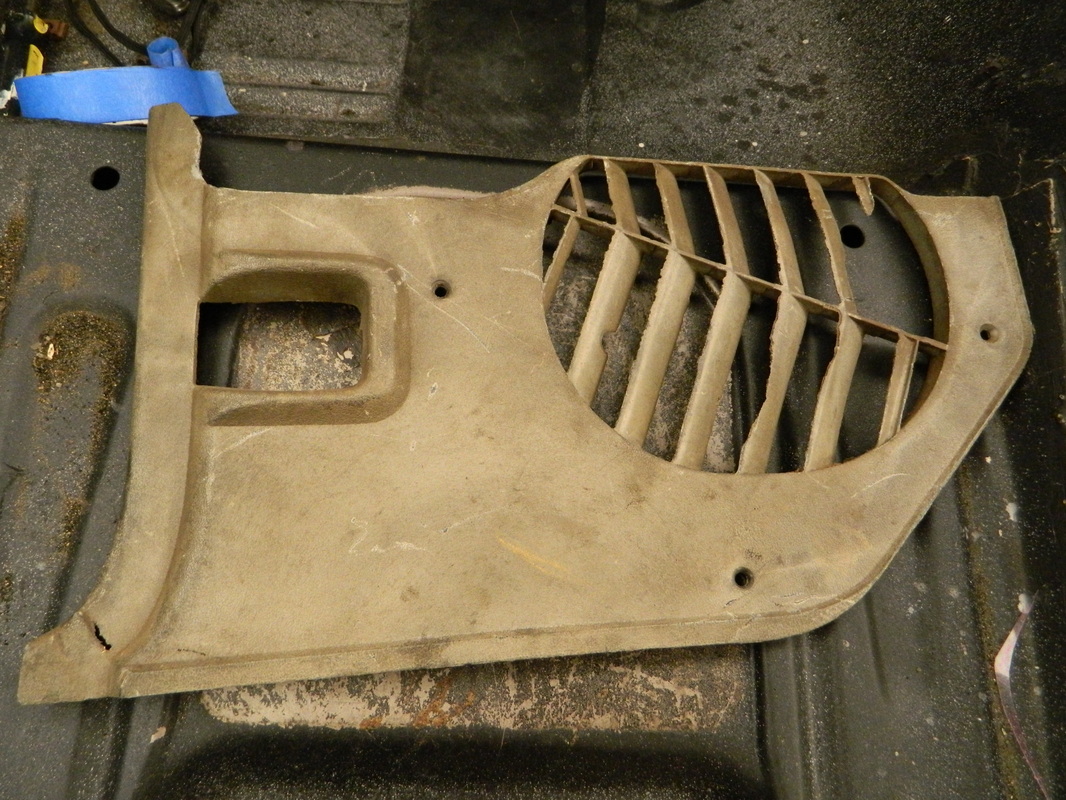
Still working on the wiring. It's going pretty well. I'm missing one wire, so far, it's the hot wire to the A/C compressor. Also, haven't completed testing every electric component, only about half. I think i'm going to have to install all the turn signal and tail light bulbs, before I can test those circuits. Today I repair a couple of harnesses that the mice/rats chewed into. First was the headlight dimmer switch harness and then the map light harness. I think I may have to break down and buy the $15 wiring diagram book, so I can put this project to rest and permanently install the dash pad. I also installed the new A/C duct on the right side and the glove box light and latch/lock. 2hrs
Mar 9, 2015
Today, I made a map light for the dash pad to save having to buy an original one for $75. It cost me $15 and about 2 hrs

Mar 11, 2015
What I did today was mostly testing lights and circuits, and I'm just about done with it all. I tested the head and tail lights and turn signals and hazard flasher and running lights and brake lights. Everything looks good except that pesky sequential box and the license plate light..oh and the high beam indicator light. I made a harness for the map light and installed it in the dash pad and put the pad in the car..maybe for good? 4 hrs


Mar 17, 2015
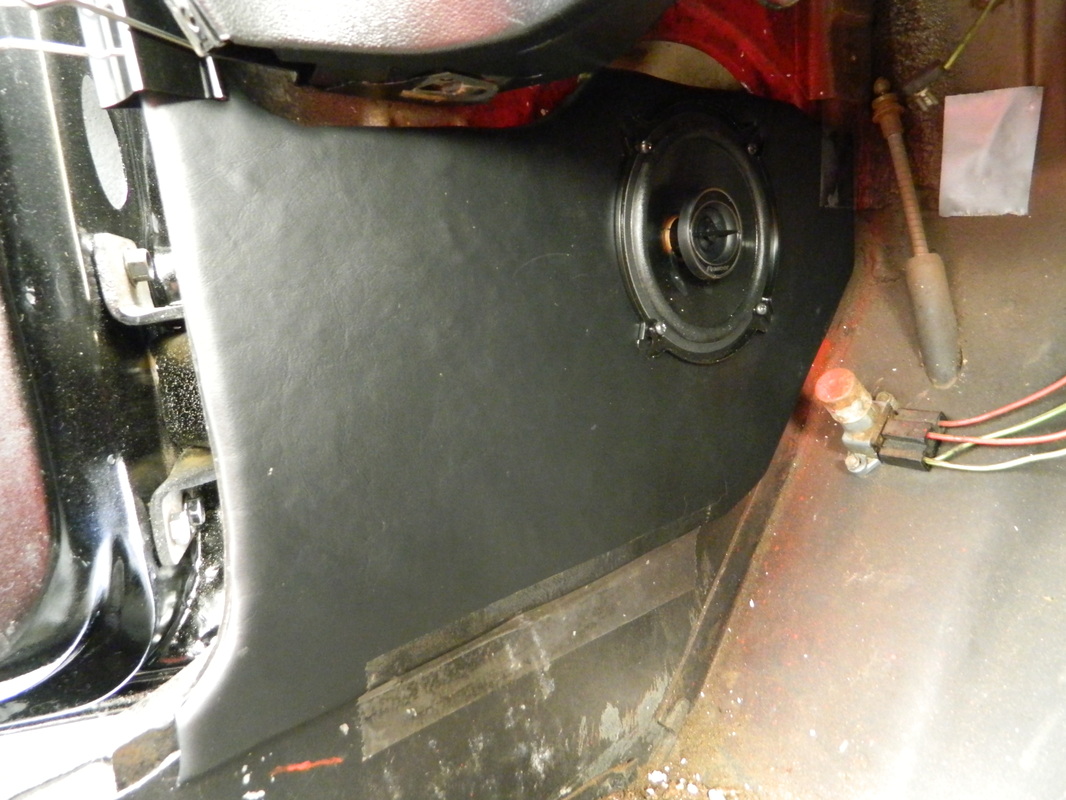
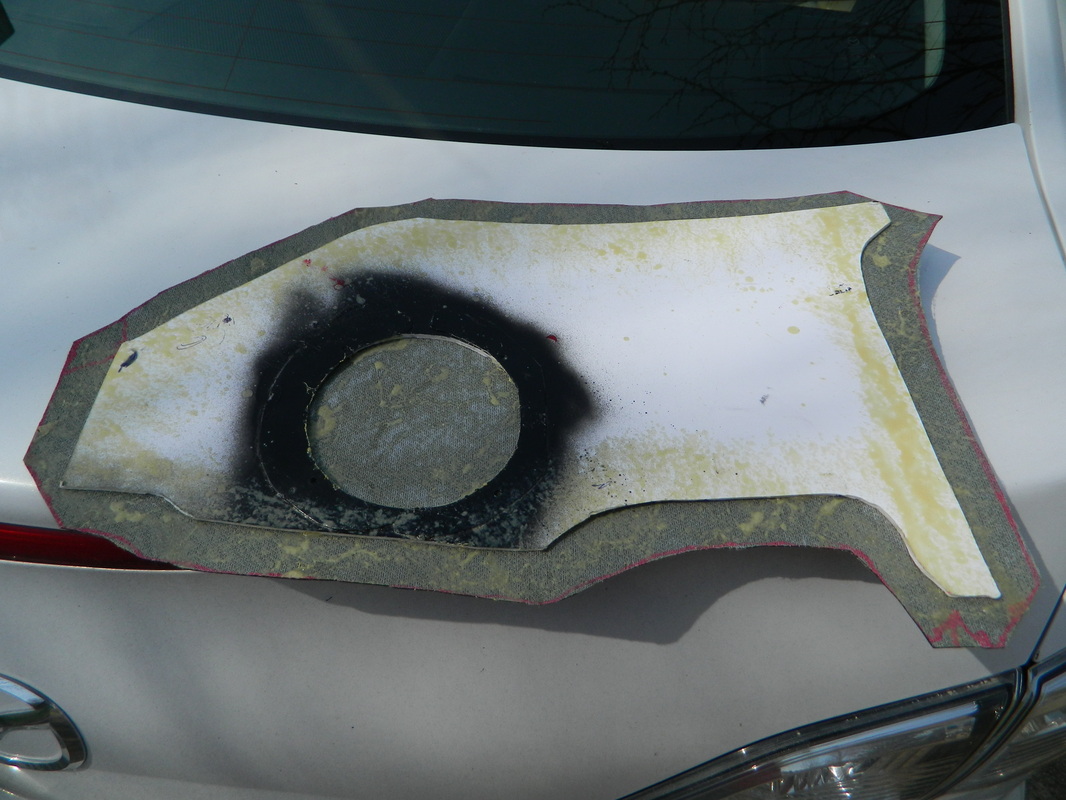
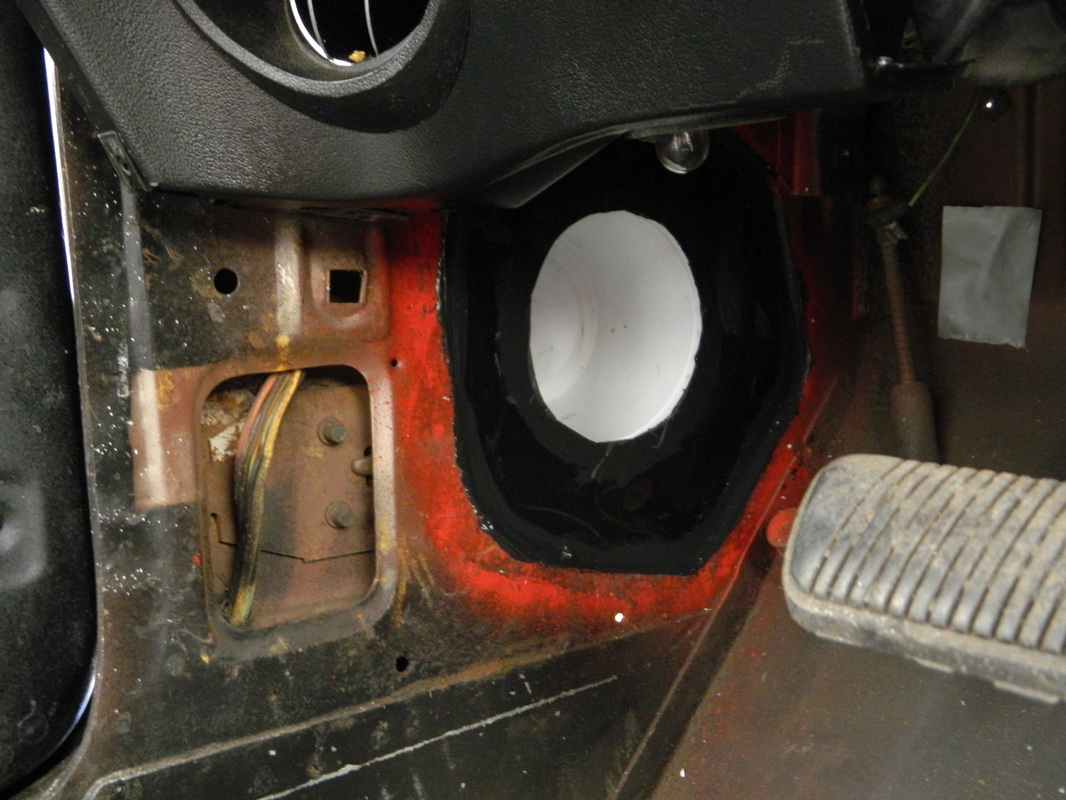
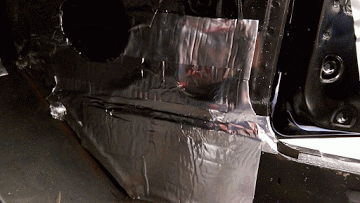
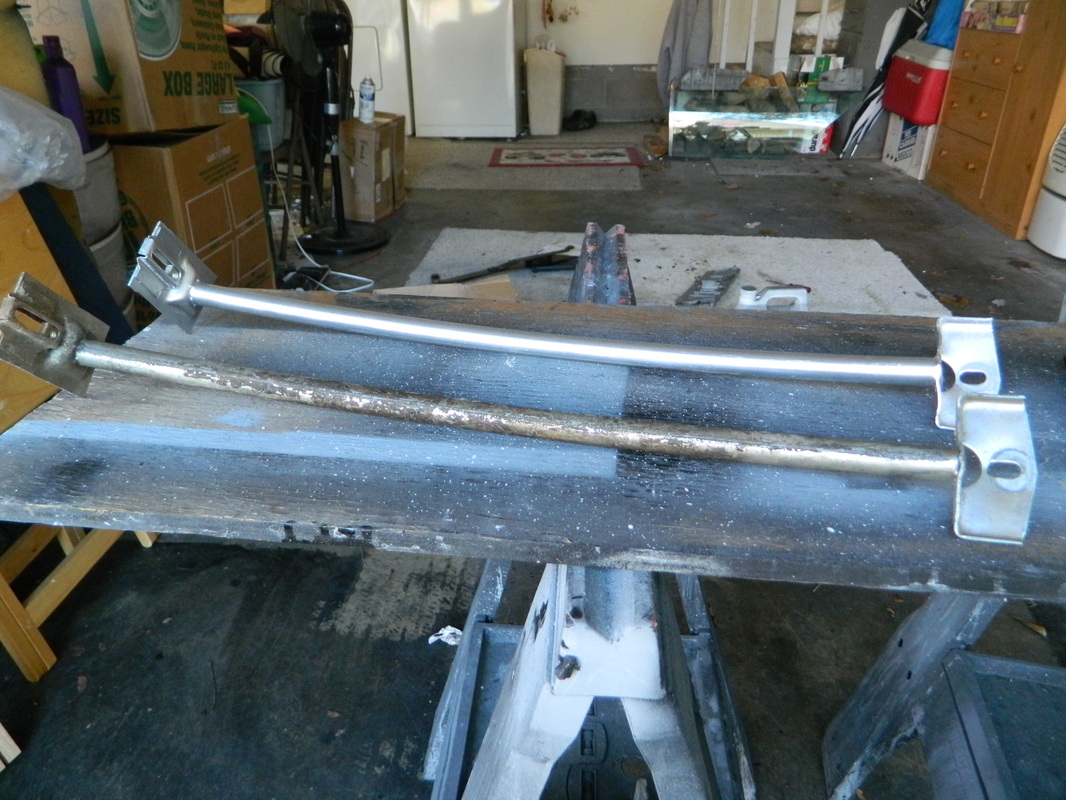
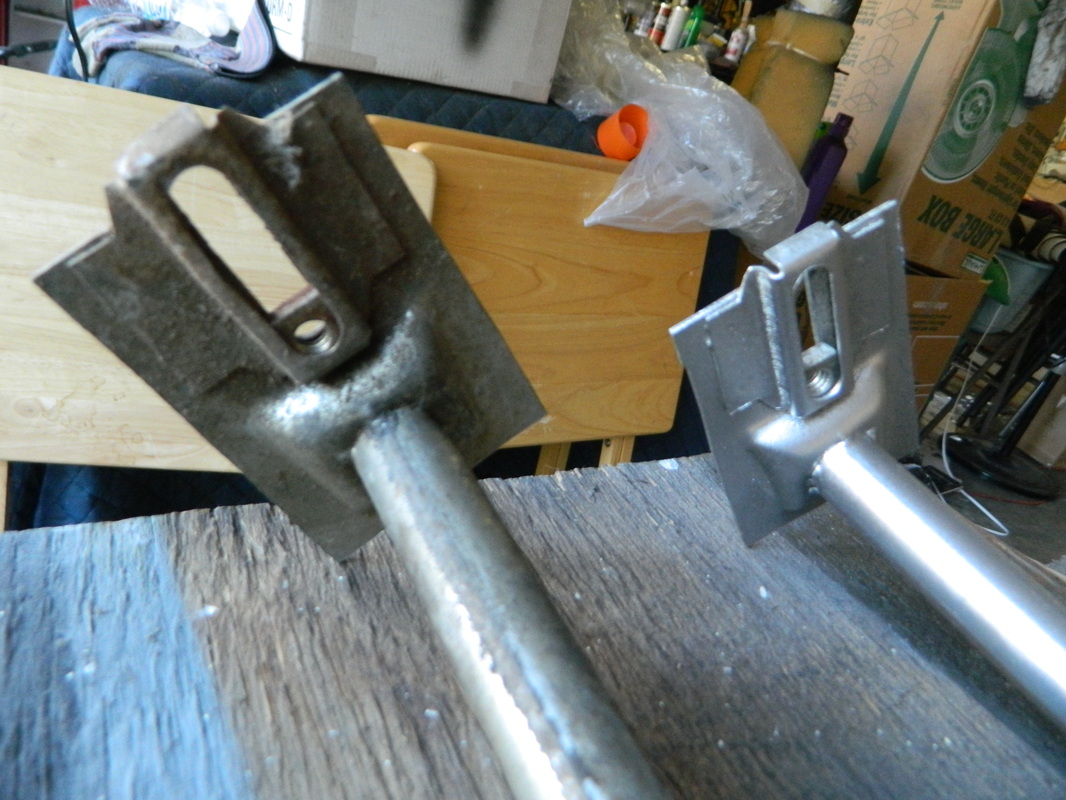
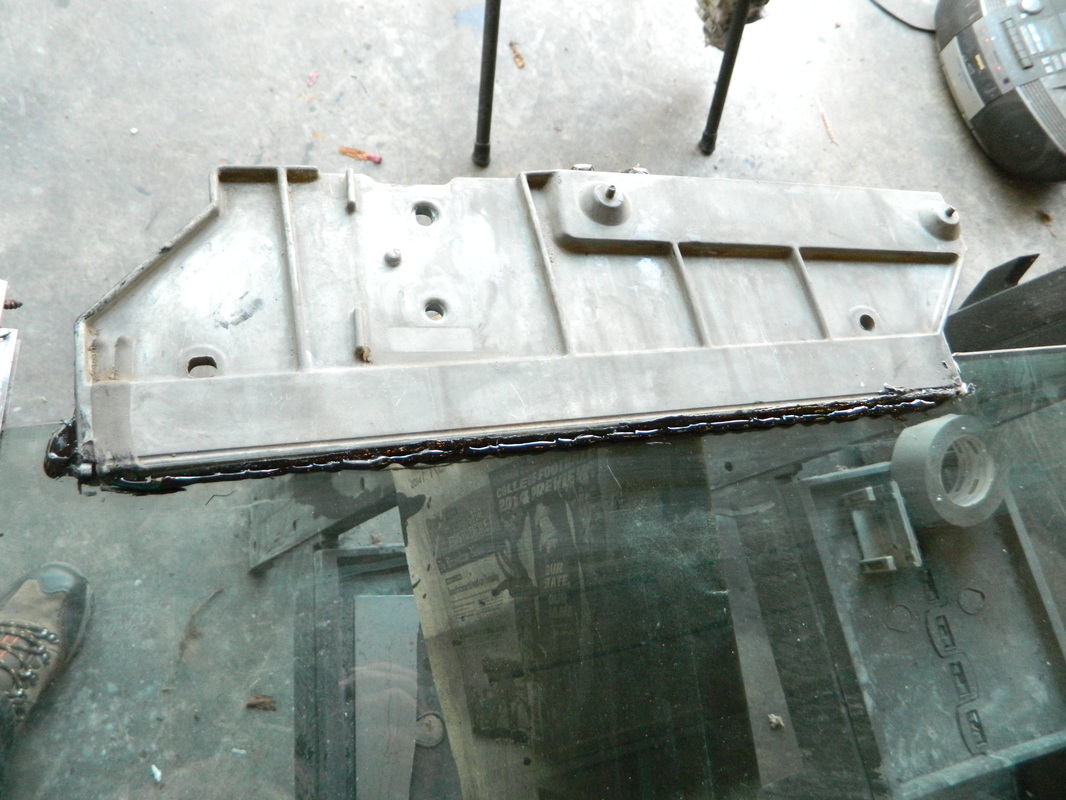
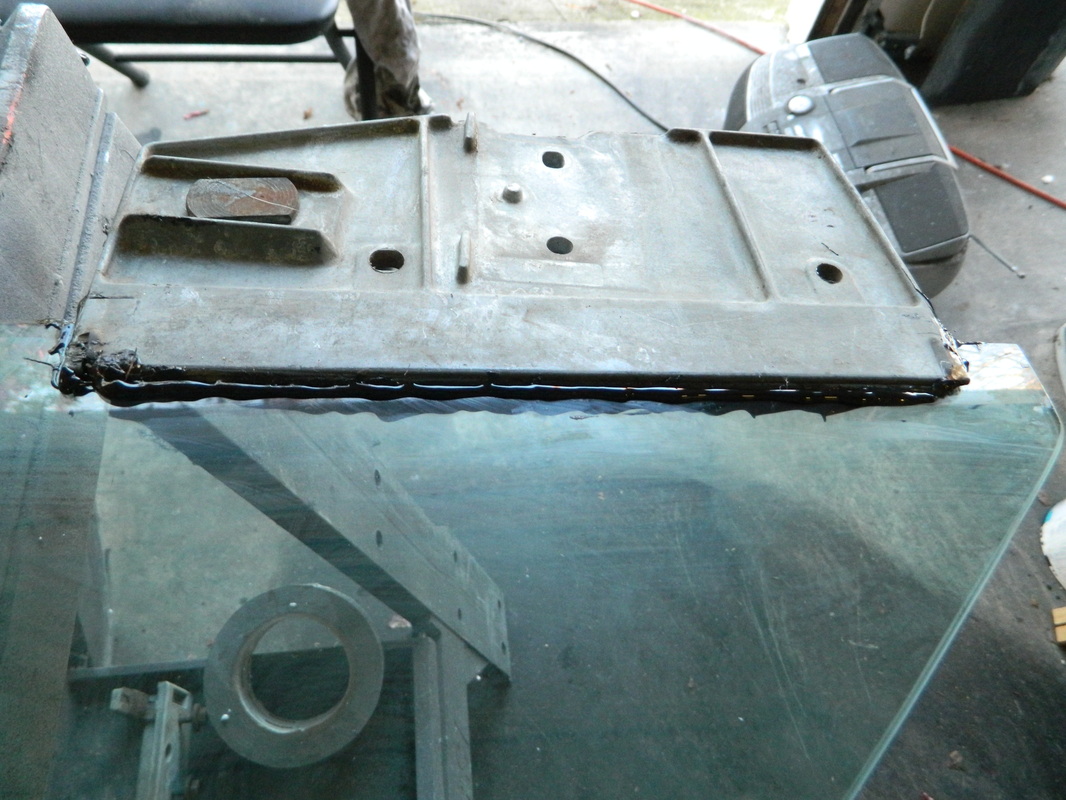
Well, today is so hot! Almost 80 degrees! I have been planning and making new kick panels to replace my rat eaten fresh air vent/kick panel. After a couple of failures, I was able to make one that will work. I also made a water proof enclosure for the backside to protect the rear of the speaker from the elements. 4 hrs and that's just for one! The second will go much quicker.

Mar 18, 2015
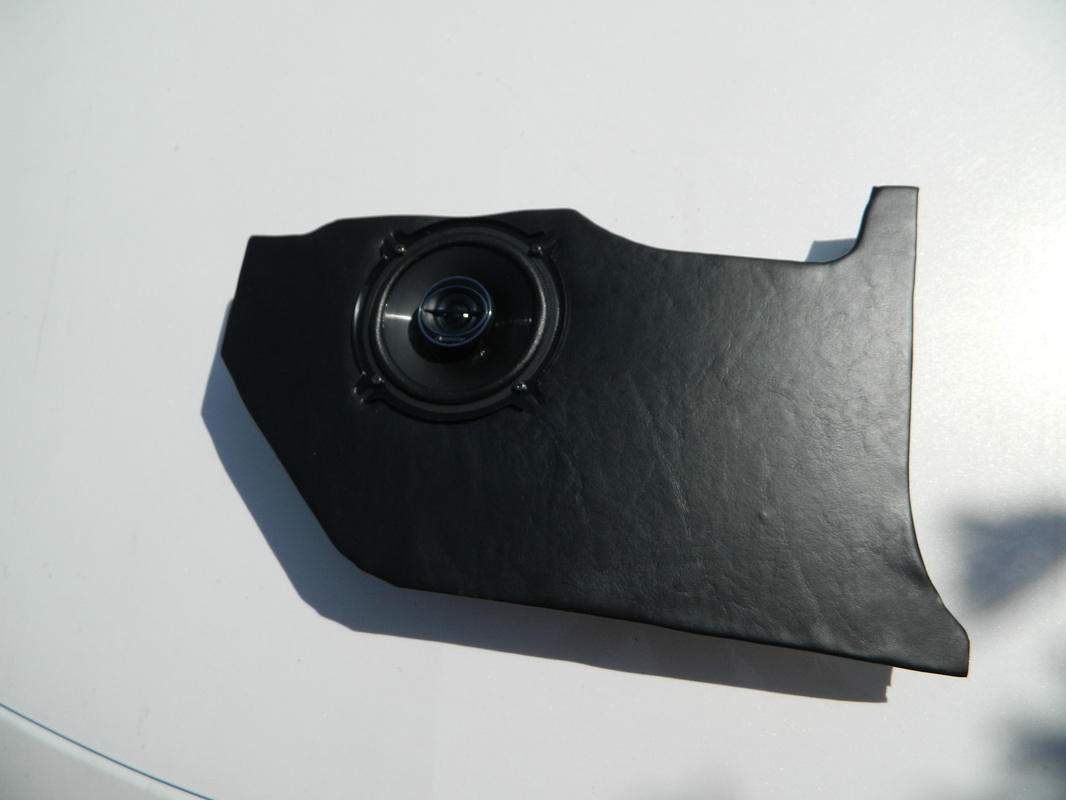
Today I made the other kick panel, and it was twice as easy. I also finished the vent covers and glued them in with seam sealer. By the way, the covers were made of clear plastic sheets and the cups are two sour cream containers. 3 hrs

Mar 23, 2015
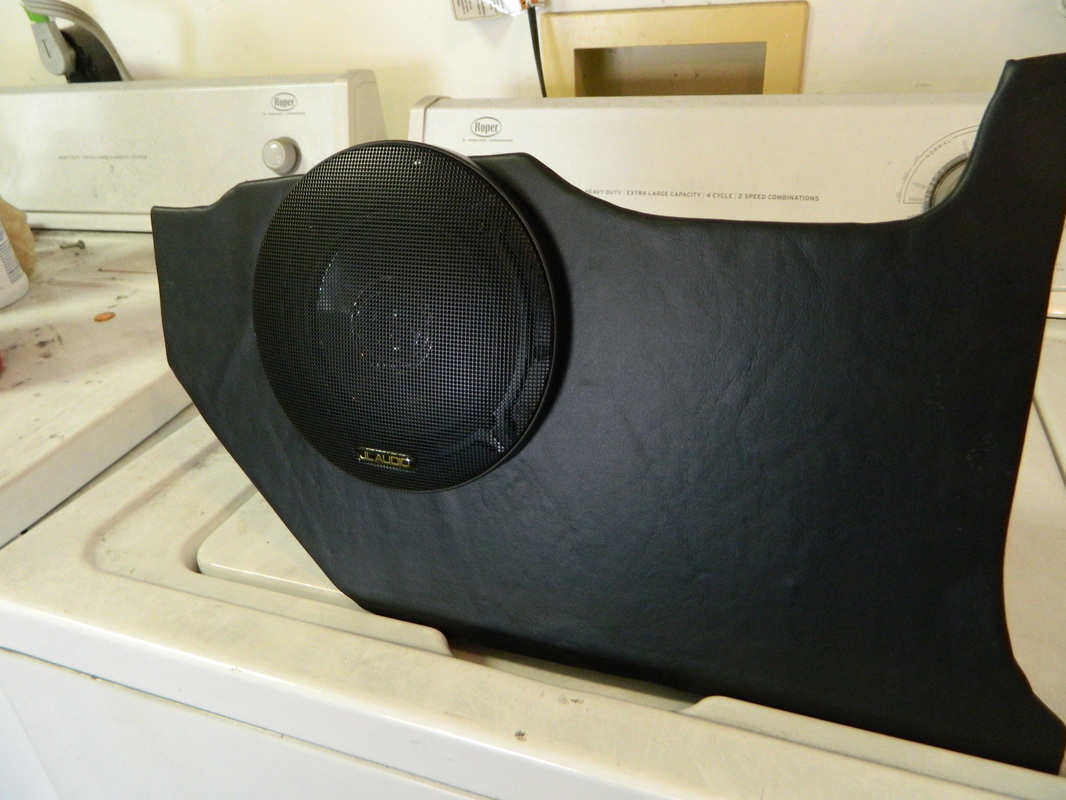
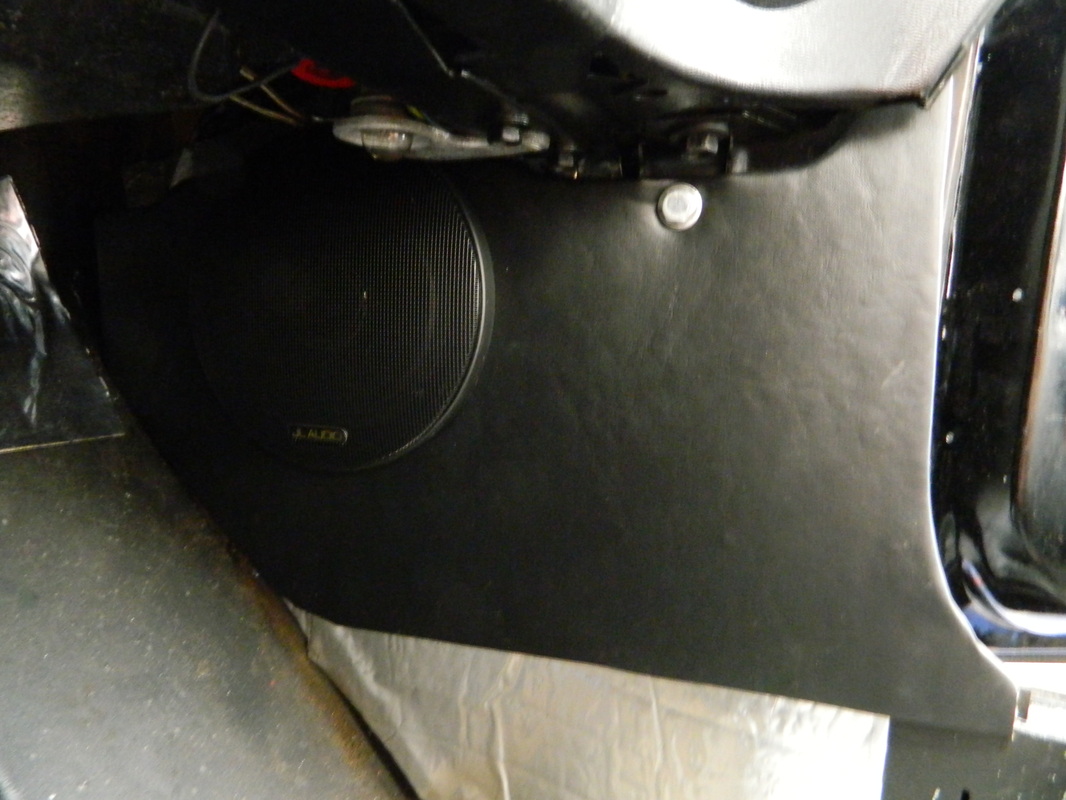
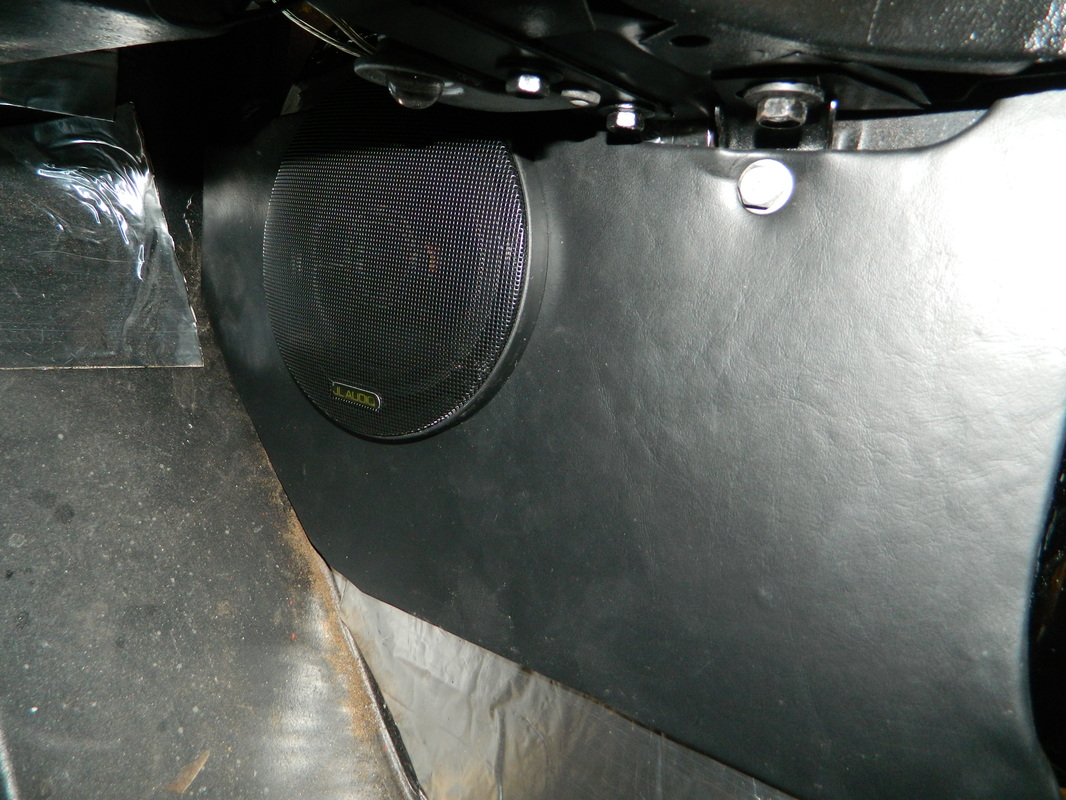
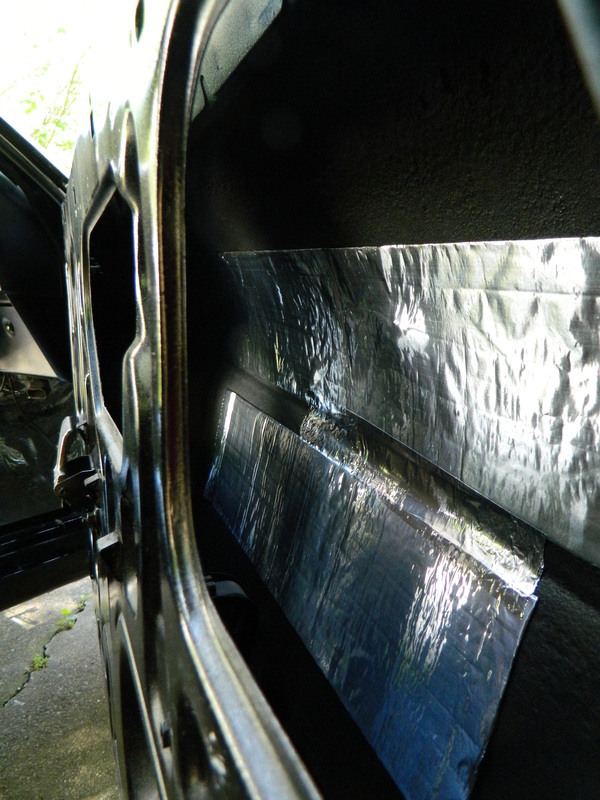
Had a nice little vacation at the beach with my wife and daughter, and now back to Cougar work. I got my speaker grills, so I installed them and then wired up one and temporarily mounted it to test it out before the final install. The lower dash bolt is all that's holding it right now, I plan on putting a couple of large velcro strips on the front corners to secure it. I also put some sound deadener/heat shield behind it. 3hrs
Mar 24, 2015
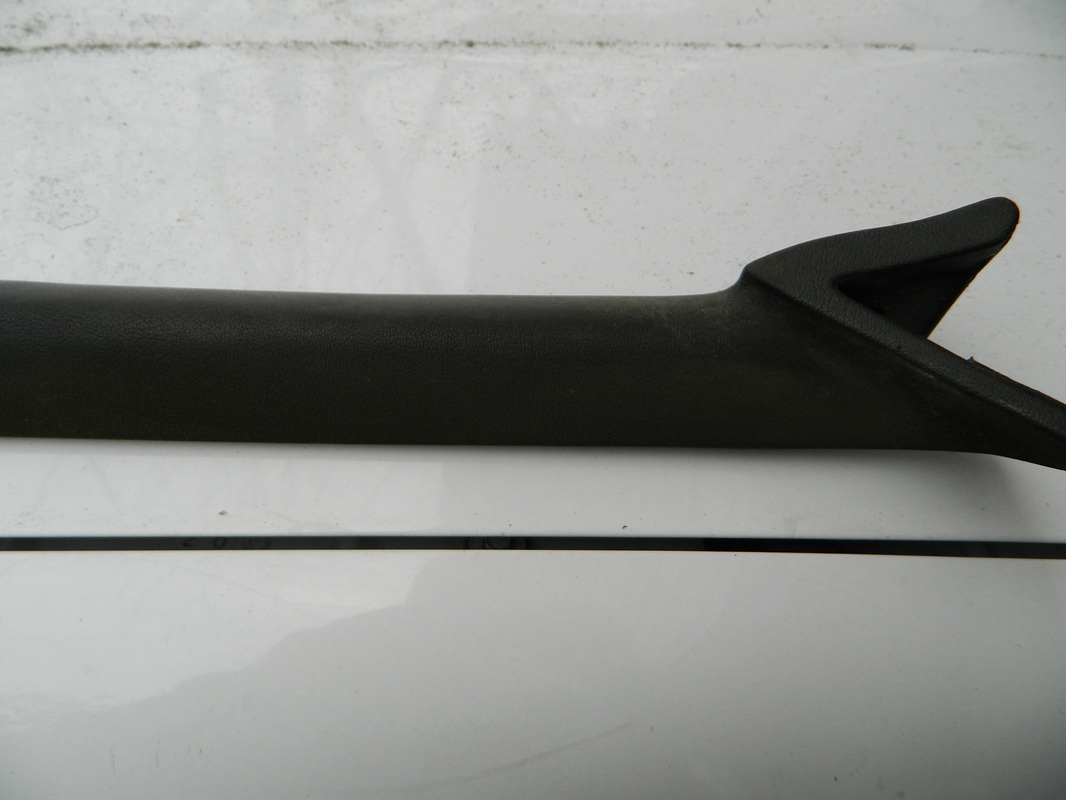
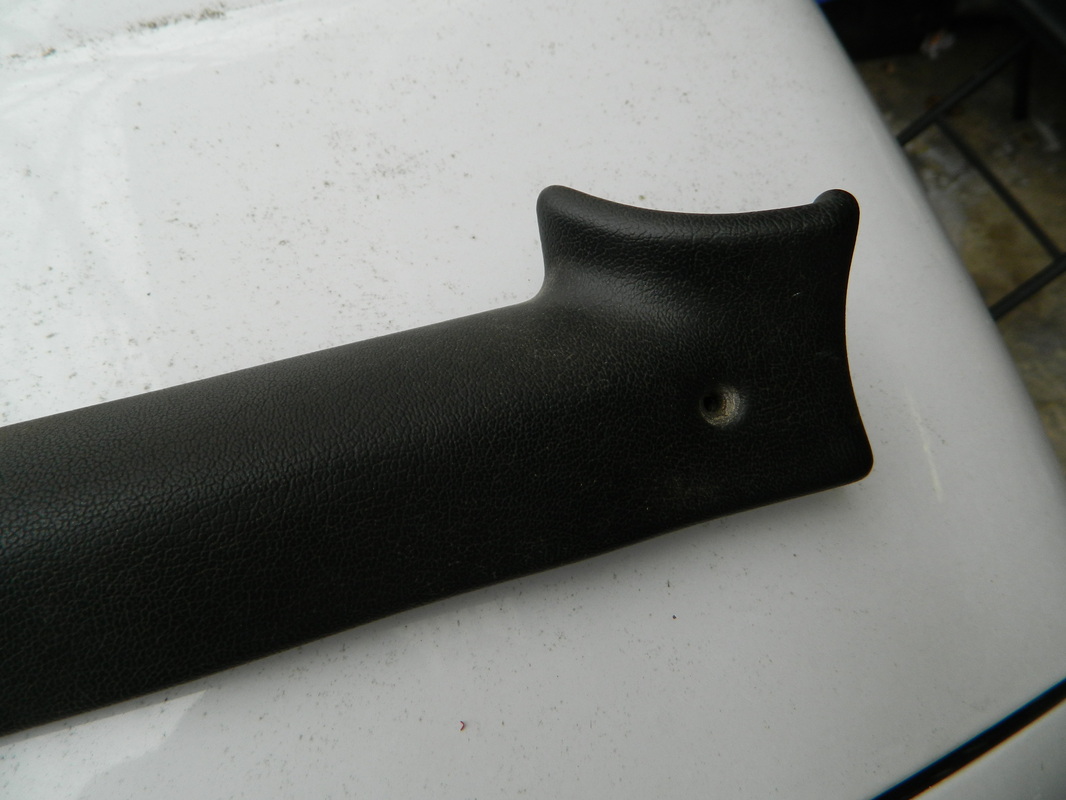
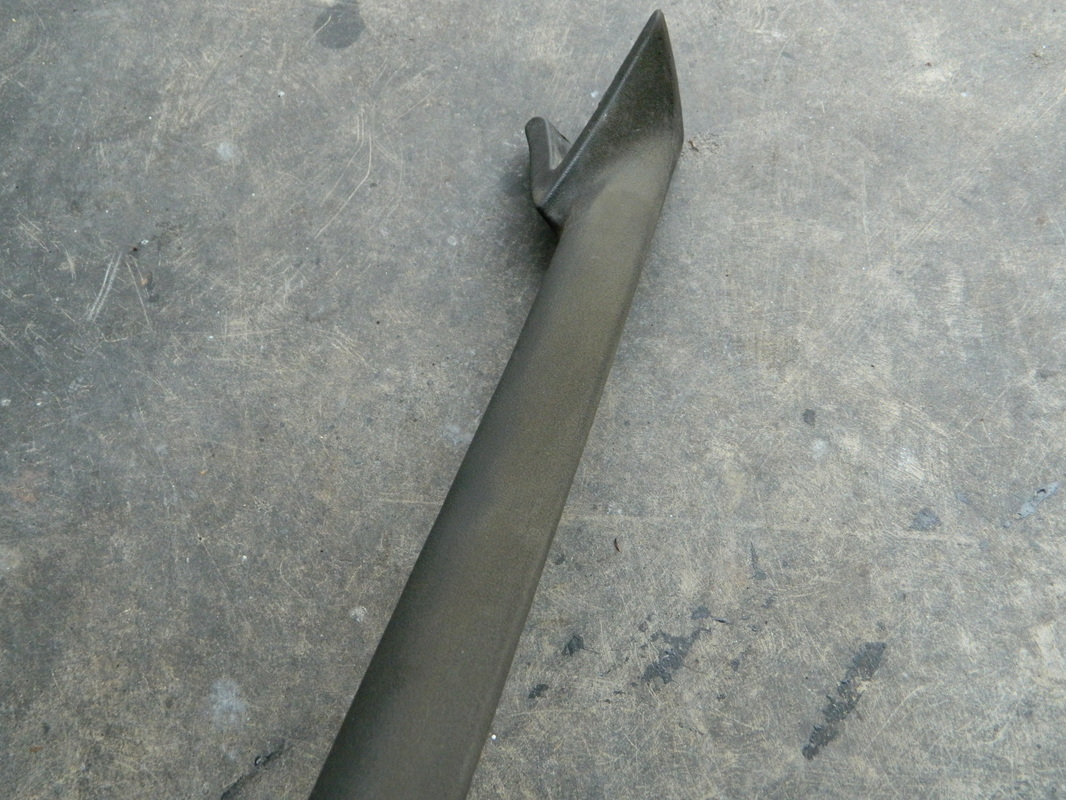
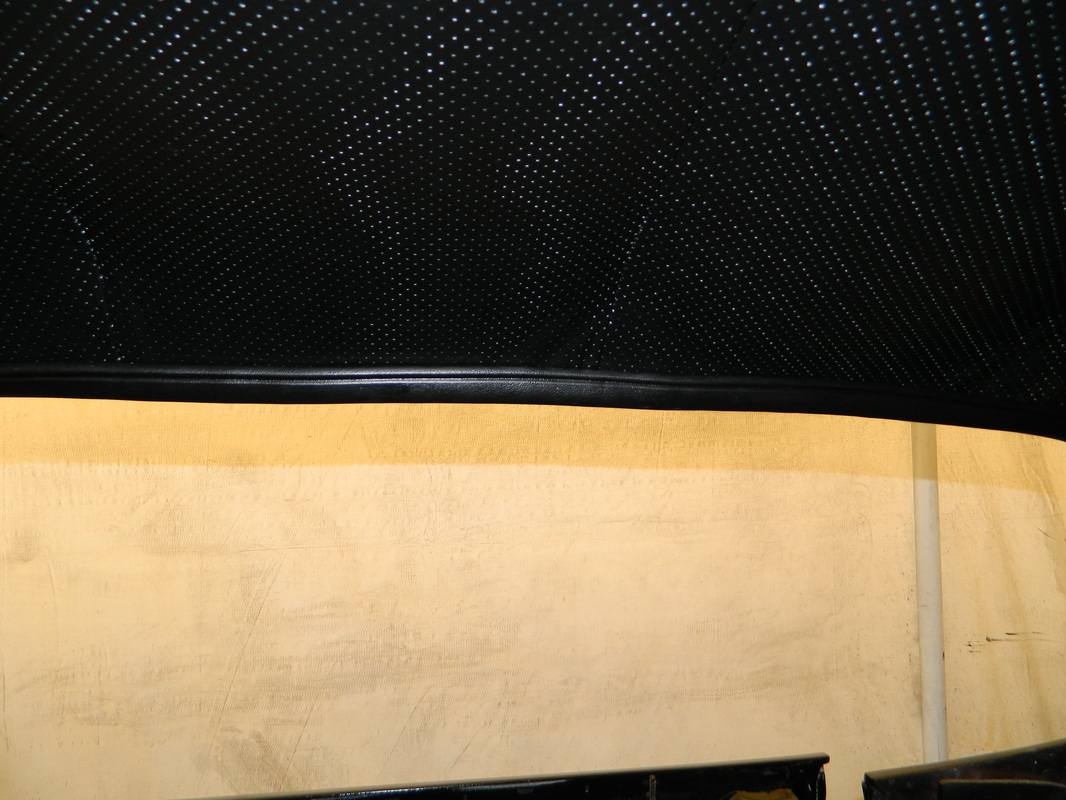
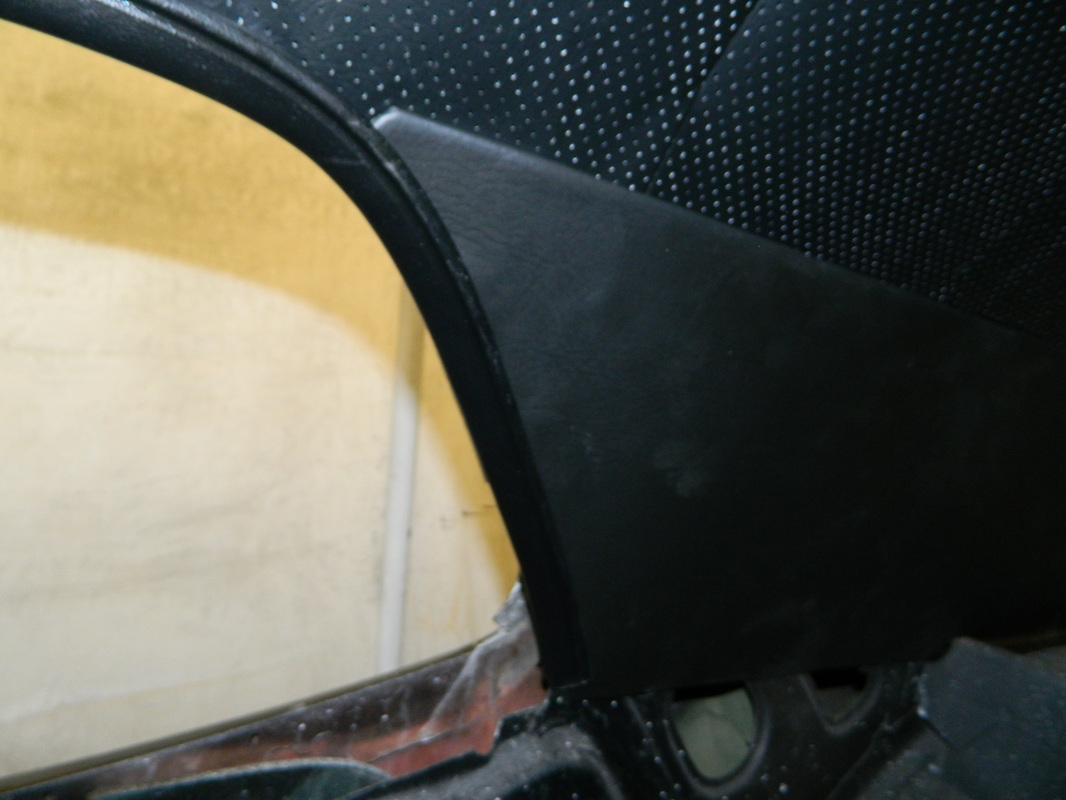
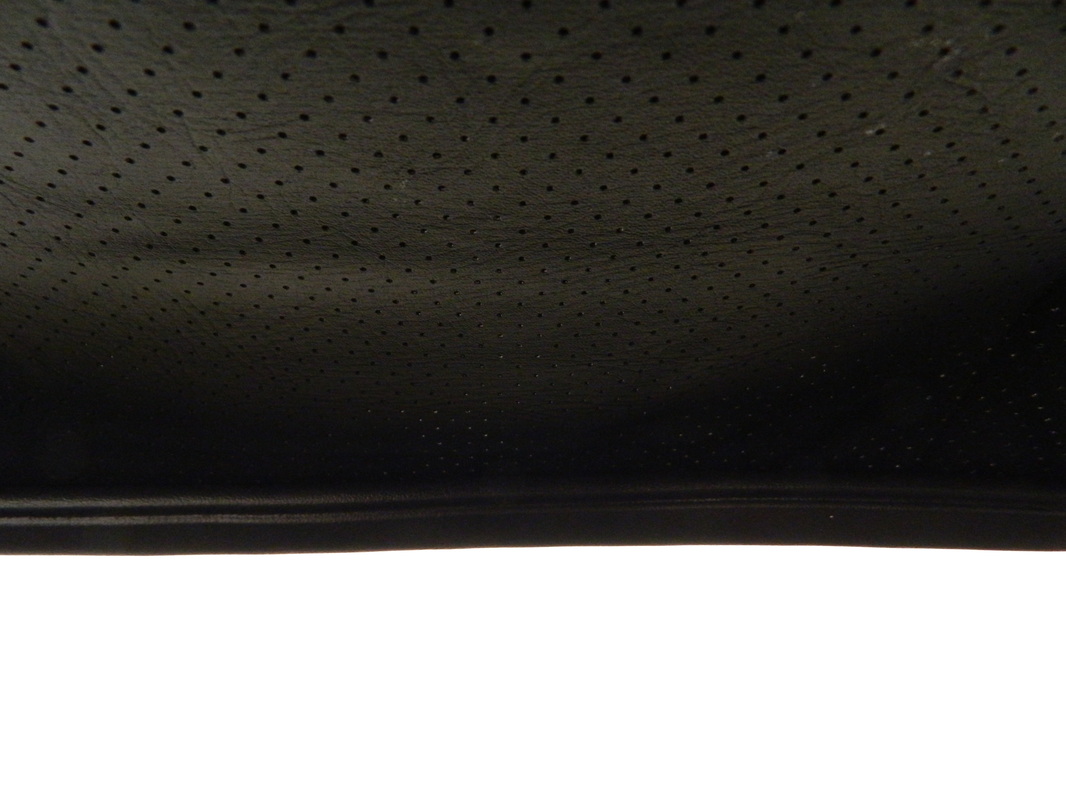
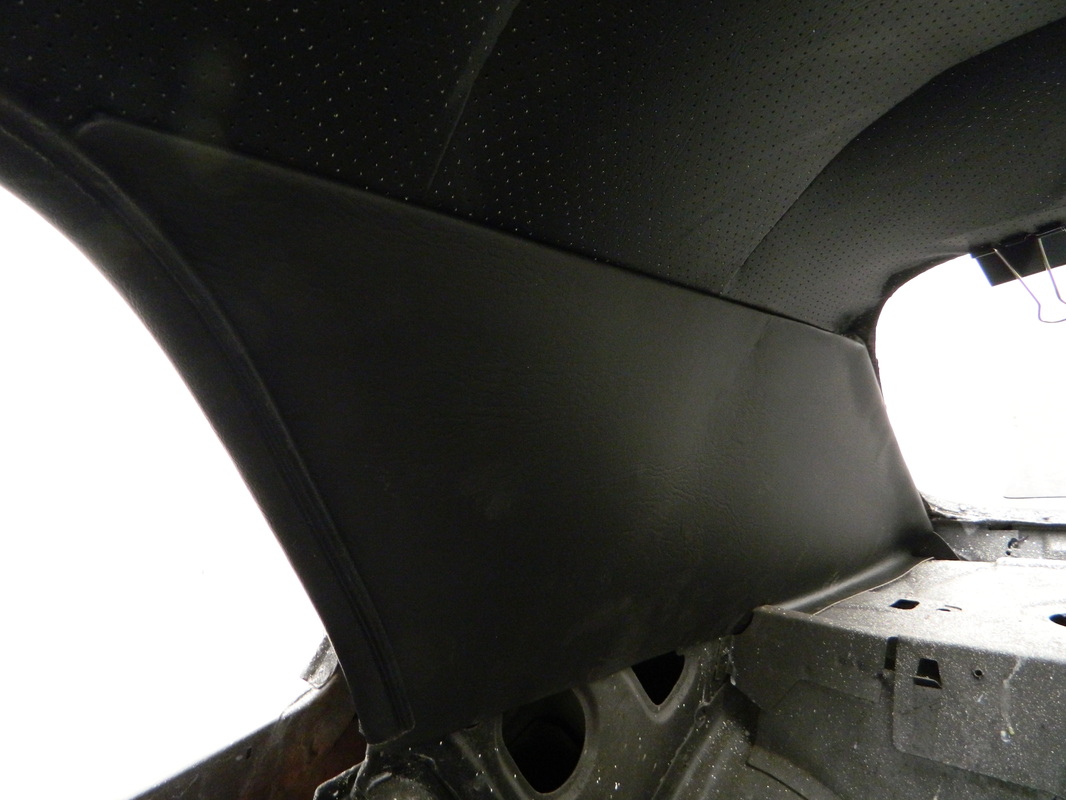
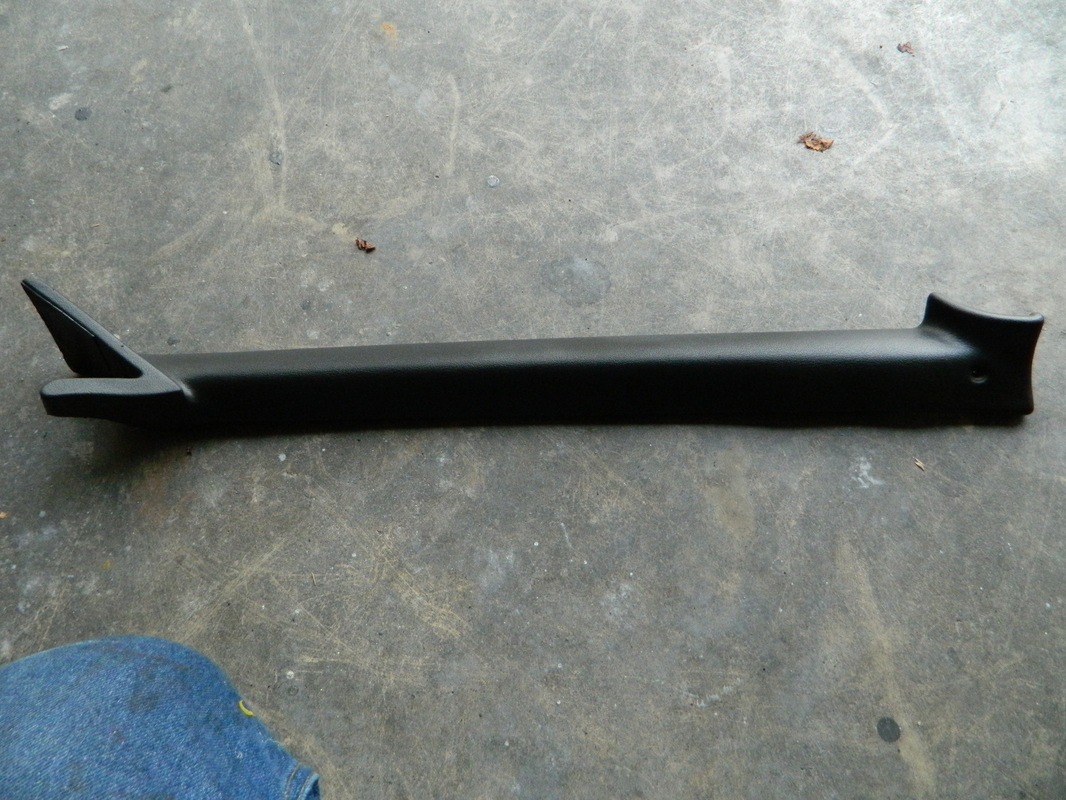
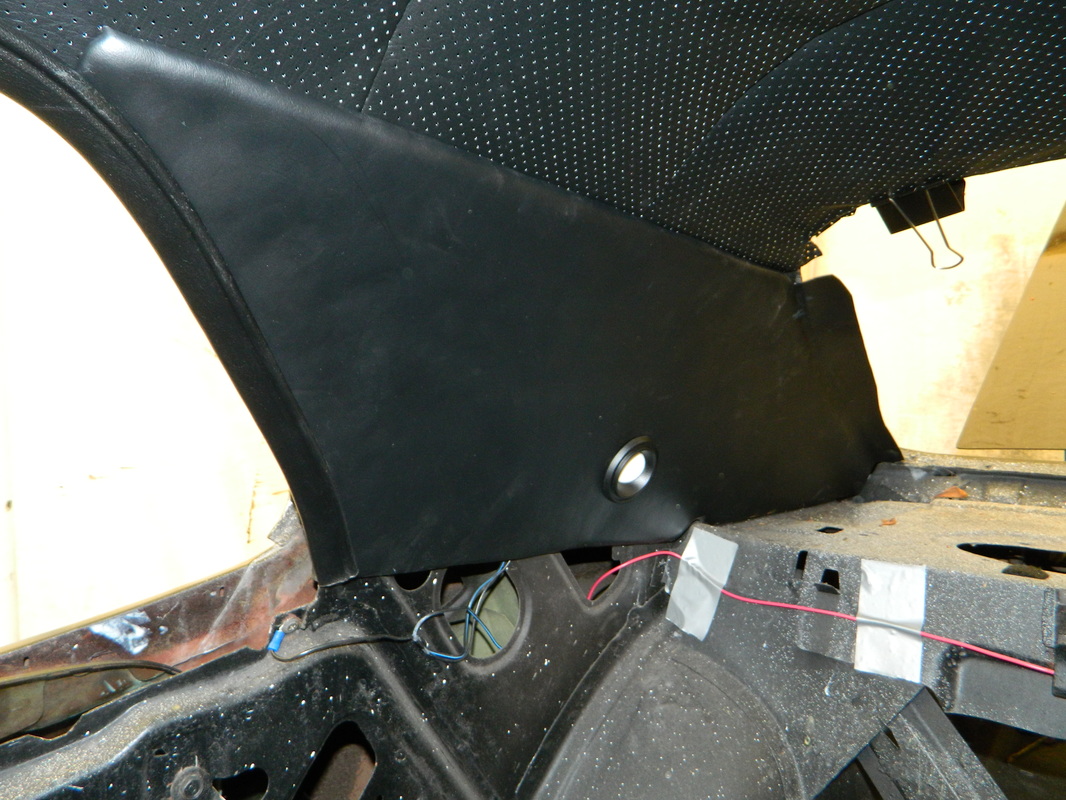
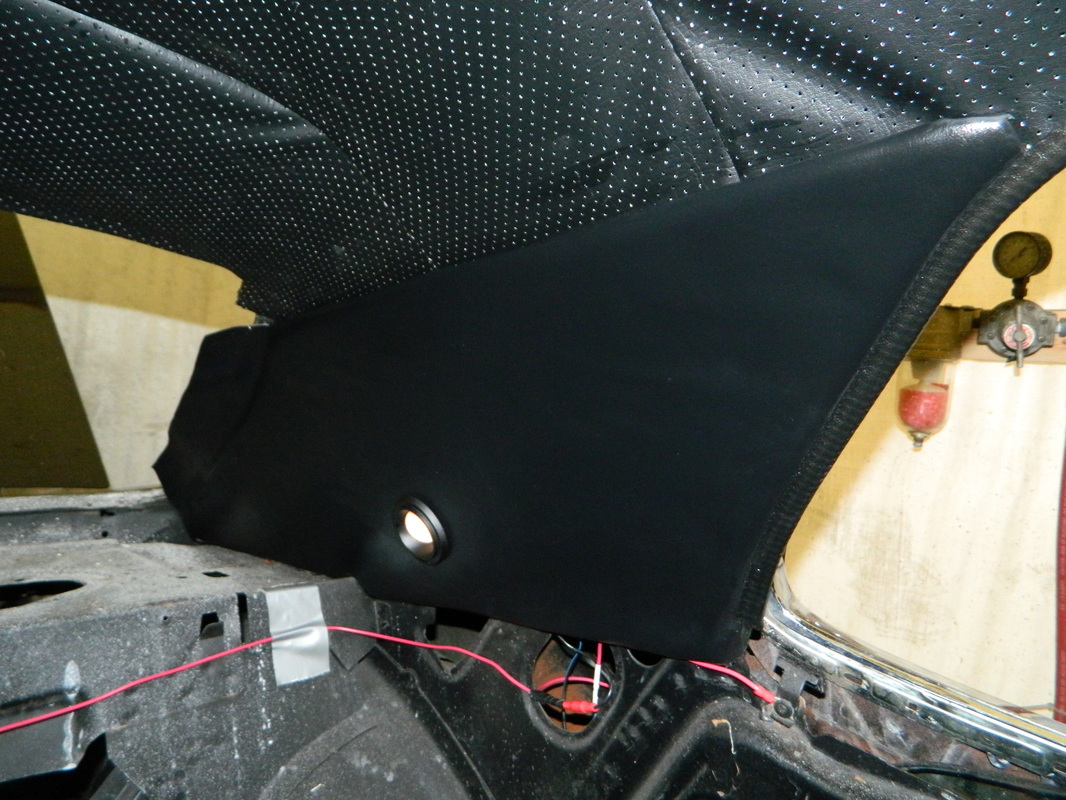
today I did the same thing as yesterday, only on the driver side and then cleaned up the headliner windlace molding and installed the passenger side one. Then, I cleaned and painted the padded A pillar pieces. And, that's about it for today. 4hrs


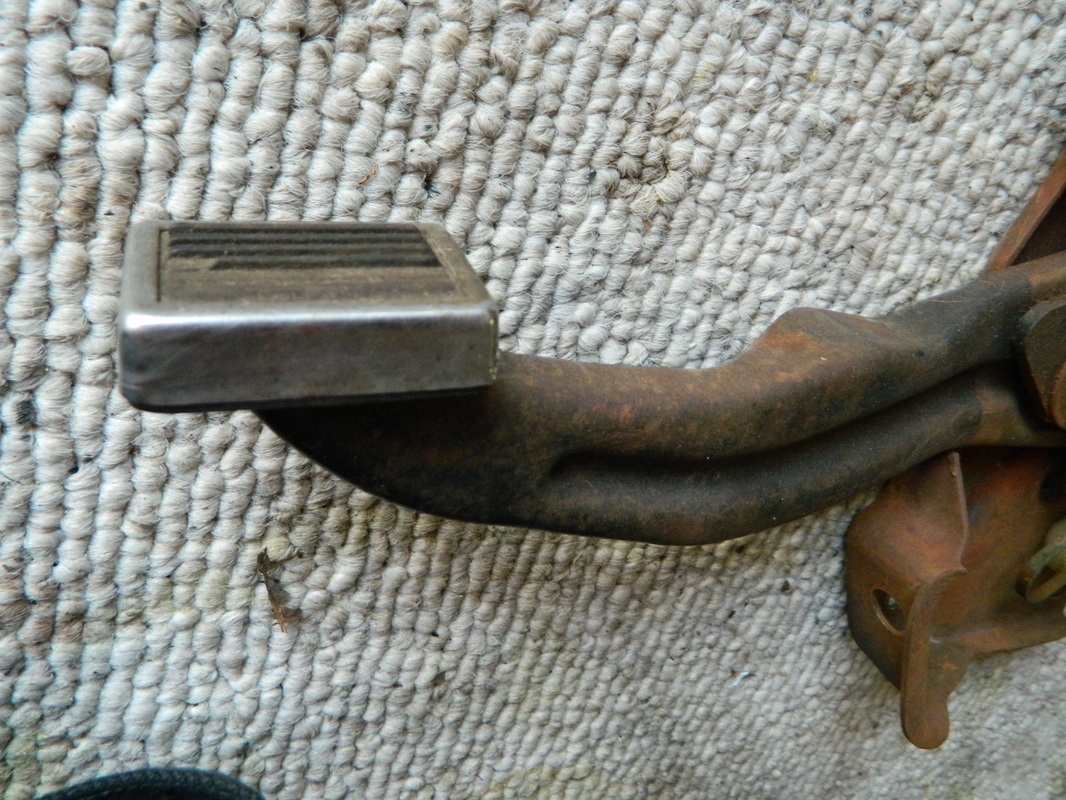
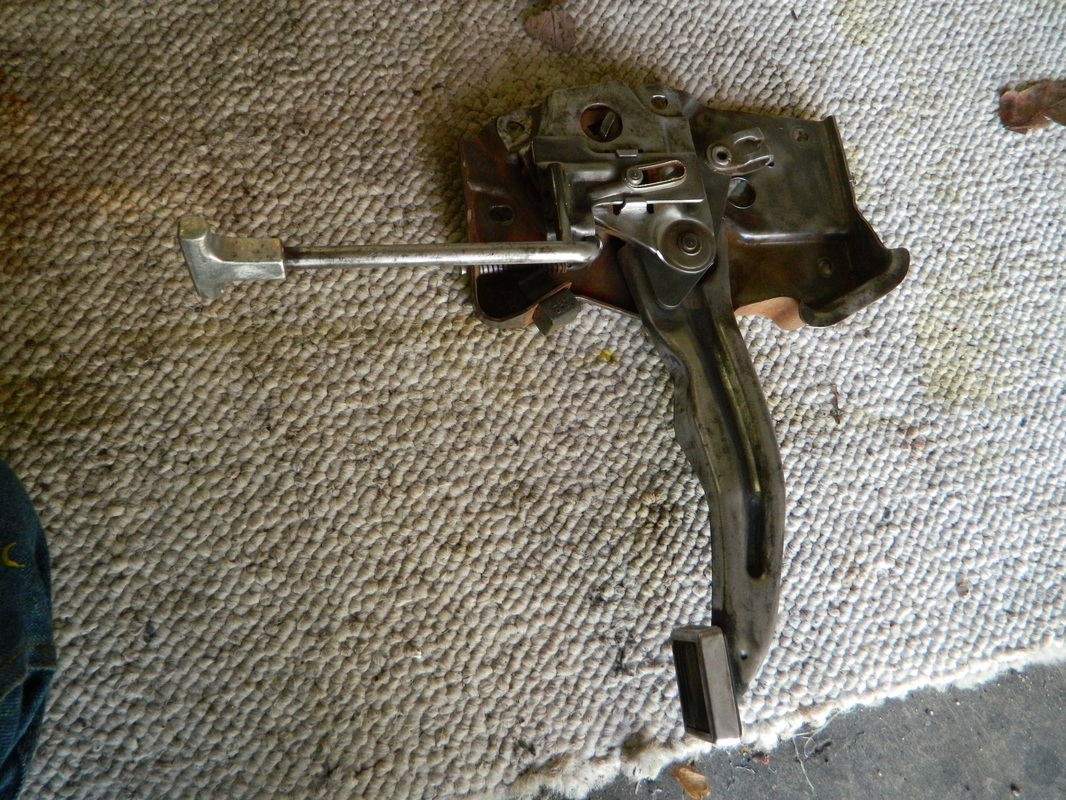
Mar 25, 2015
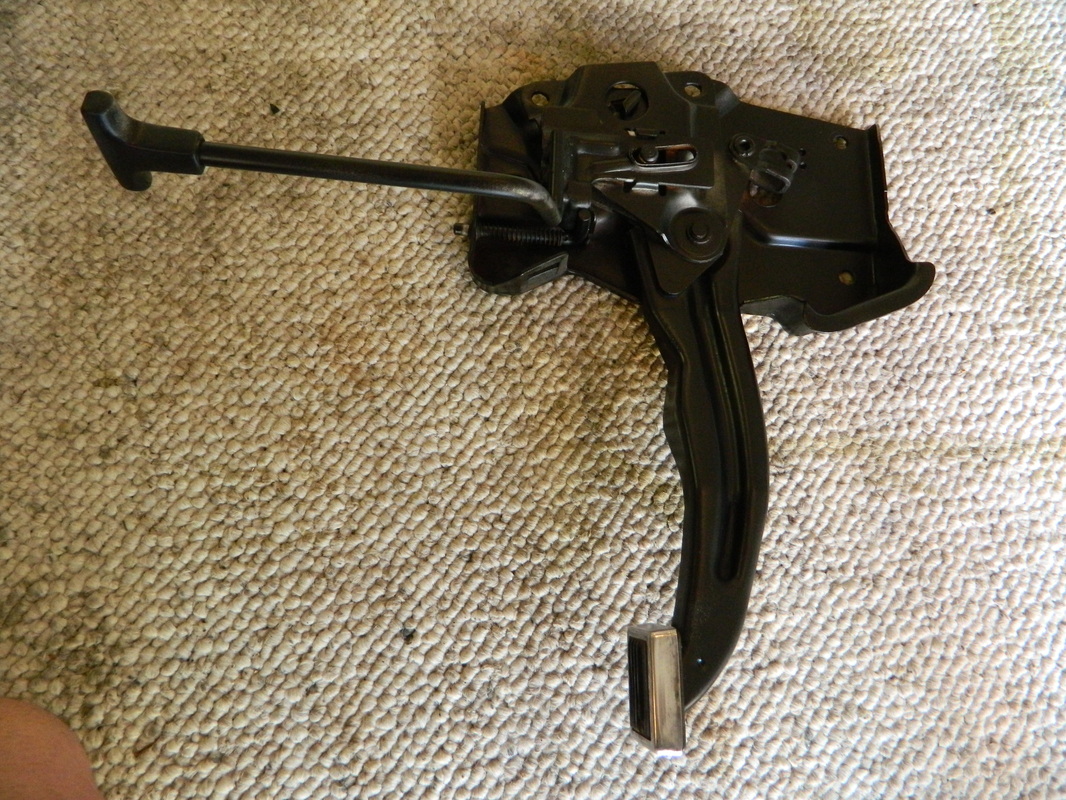
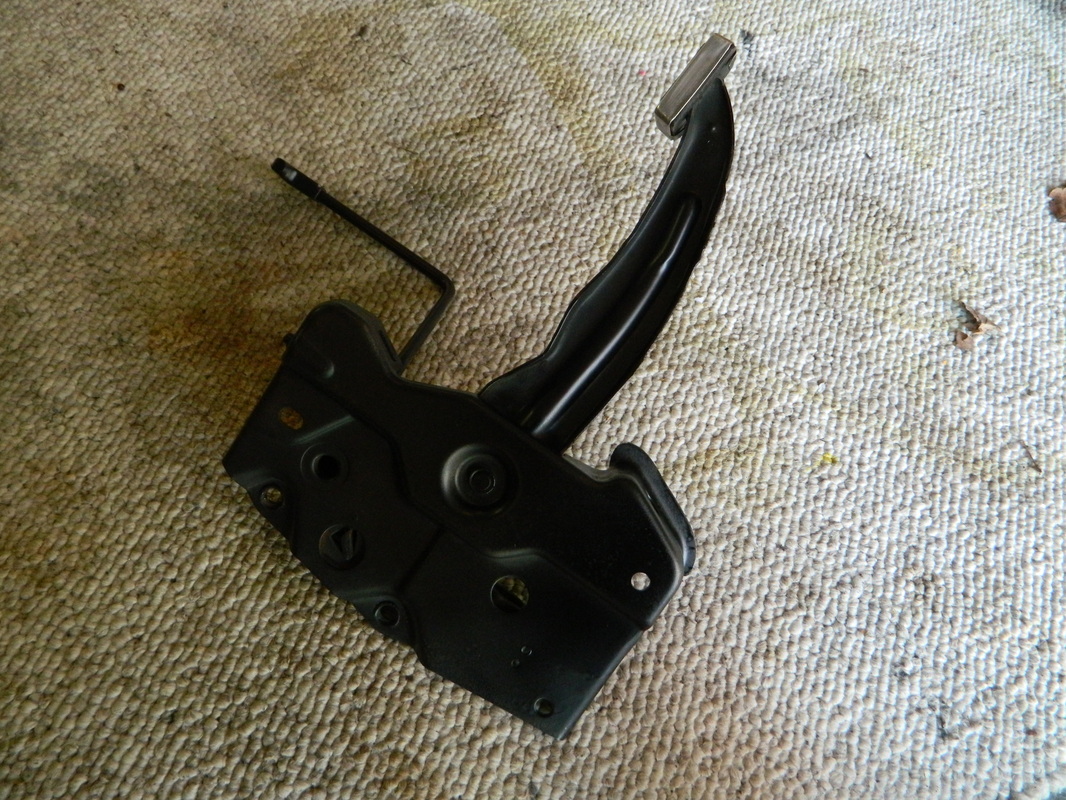
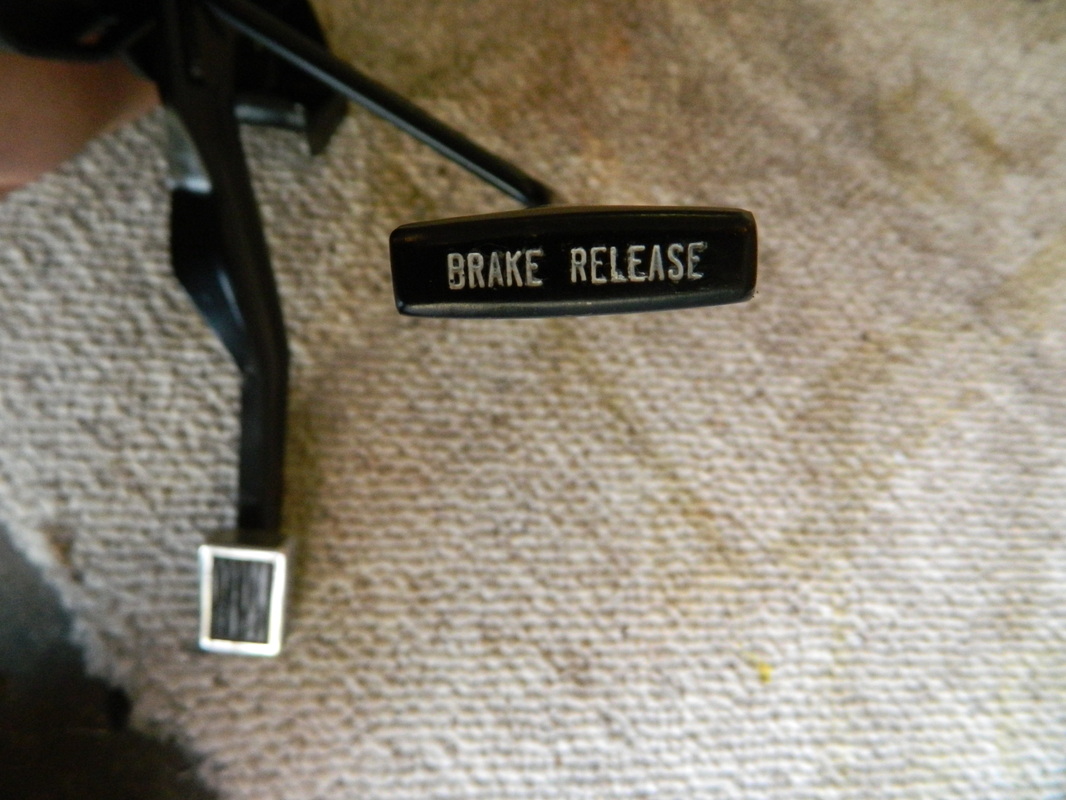
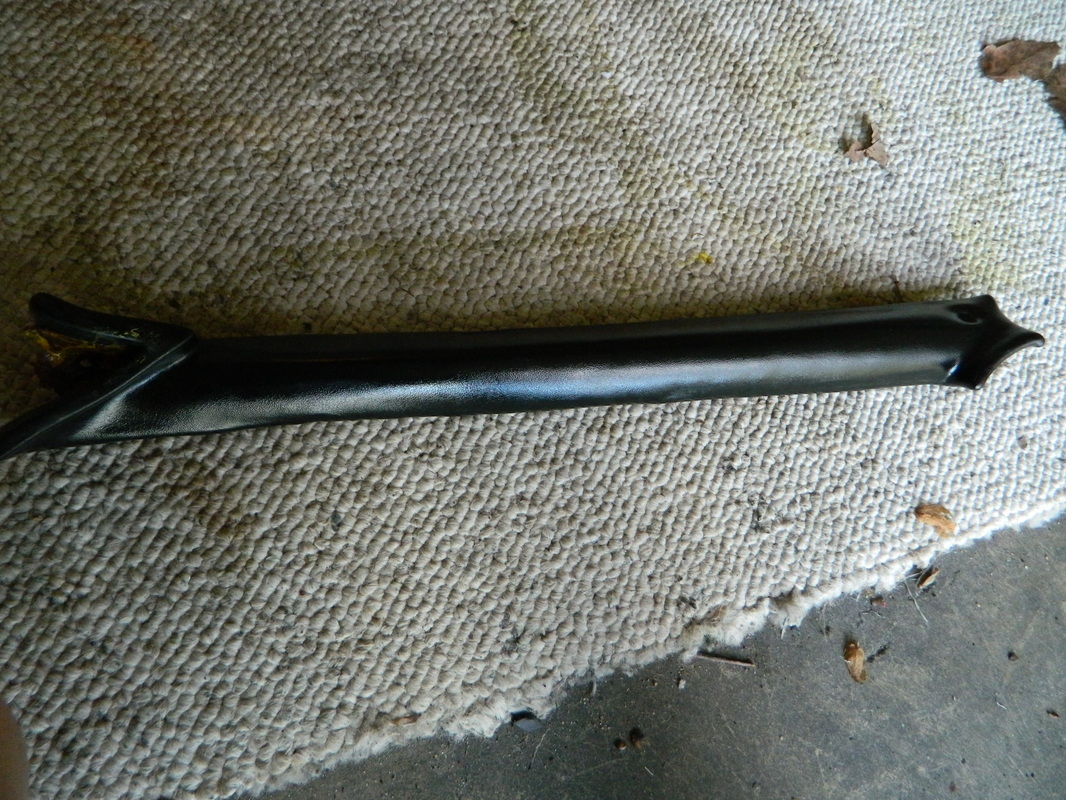
Today I tackled the emergency brake petal mechanism, stripping and painting it. Also cleaned up the other A pillar pad. 3 hrs.


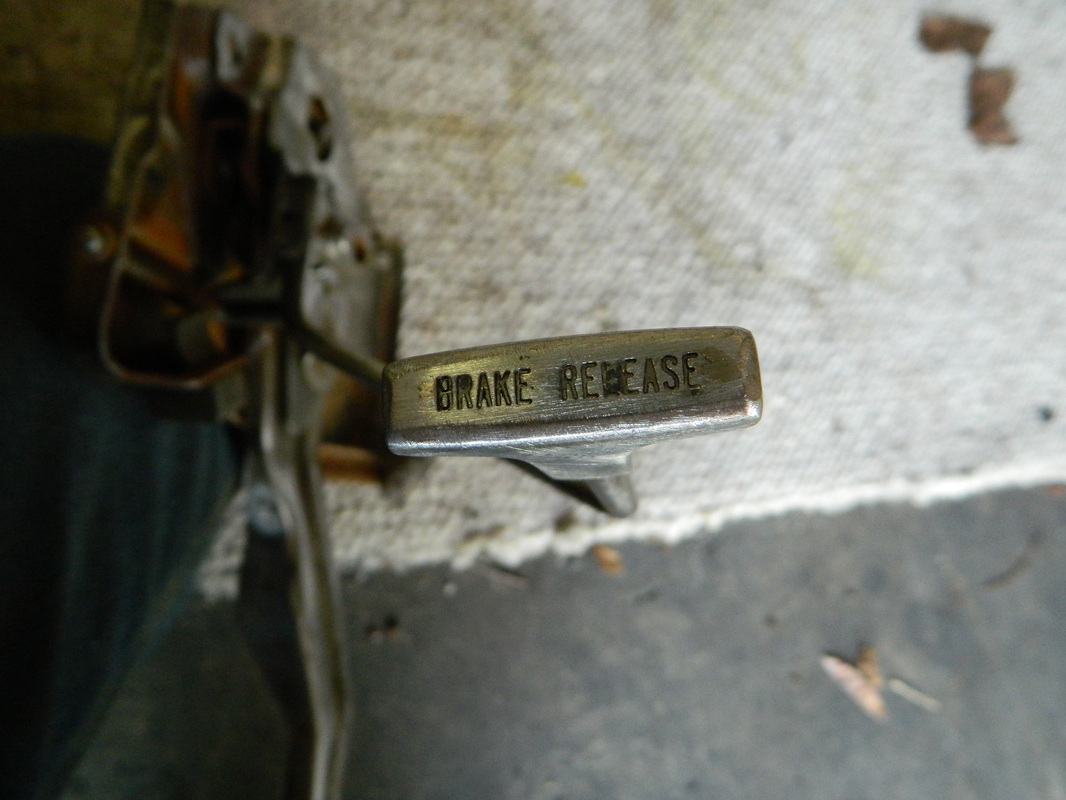
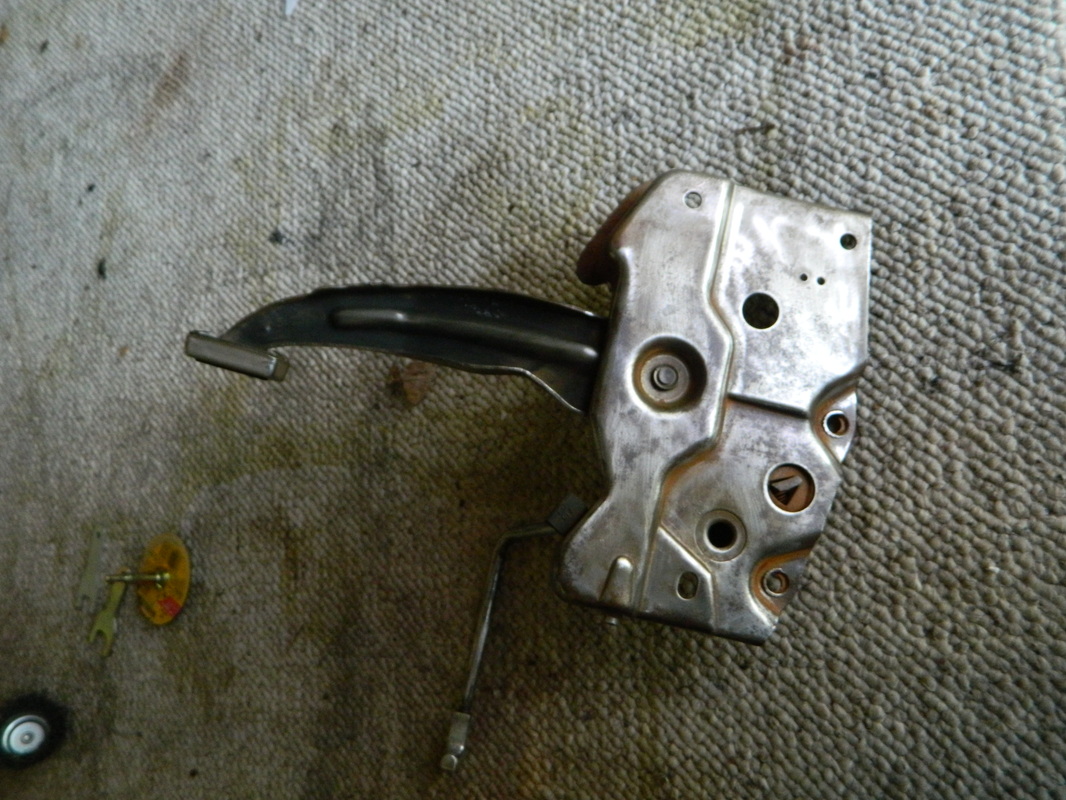
Mar 25, 2015
Part II...I installed the emergency brake.

Mar 30, 2015
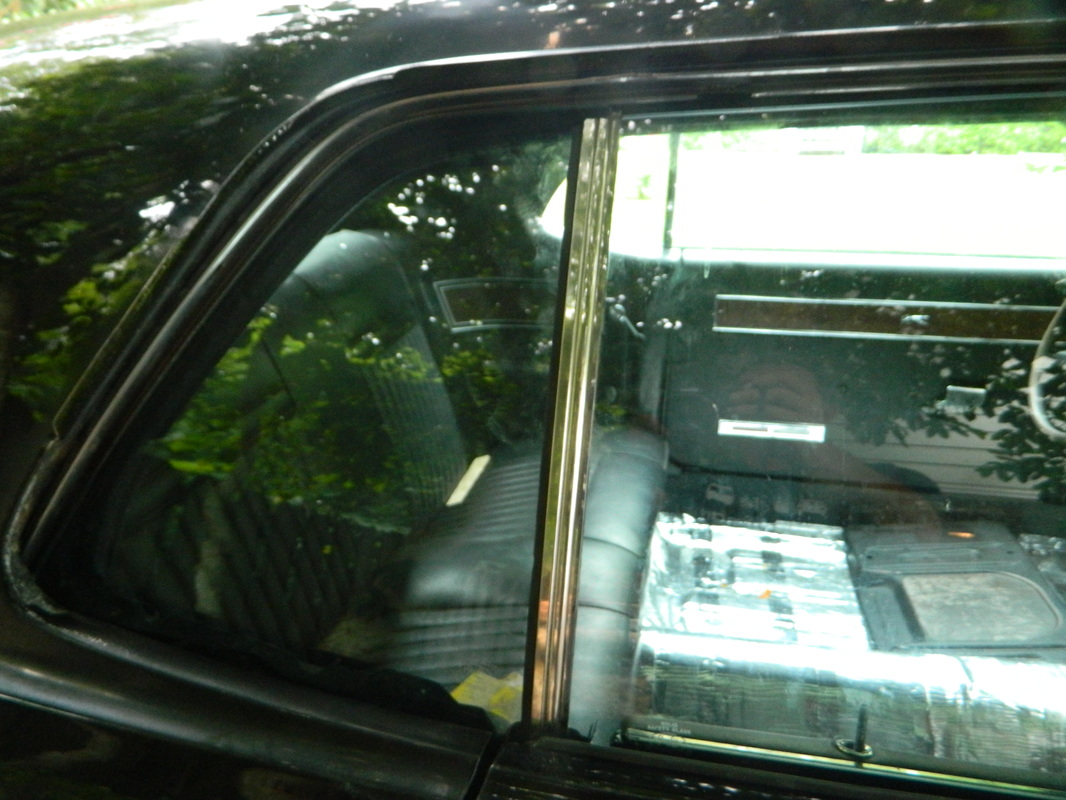
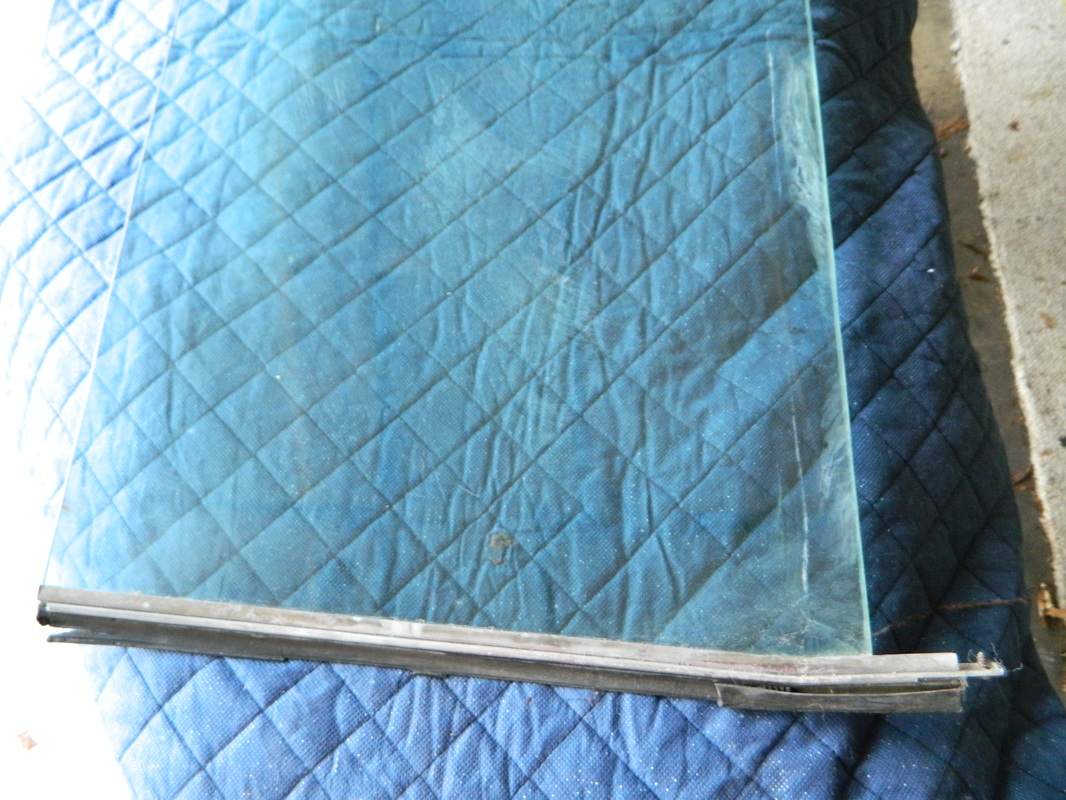
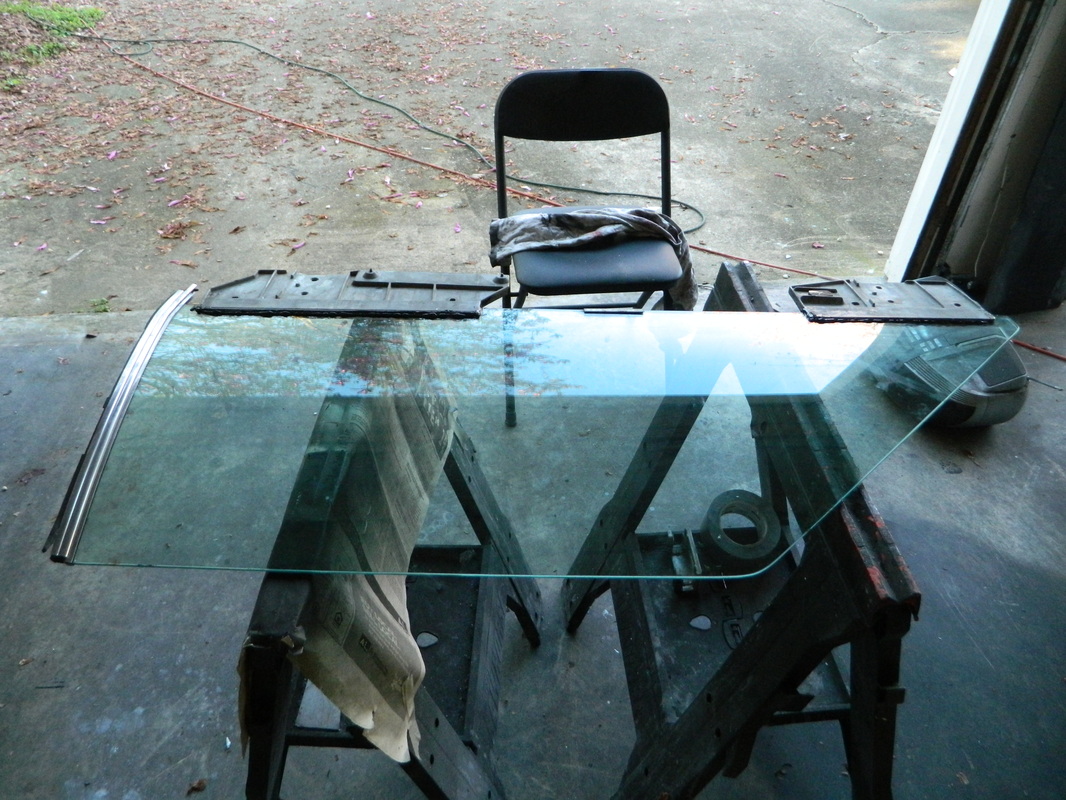
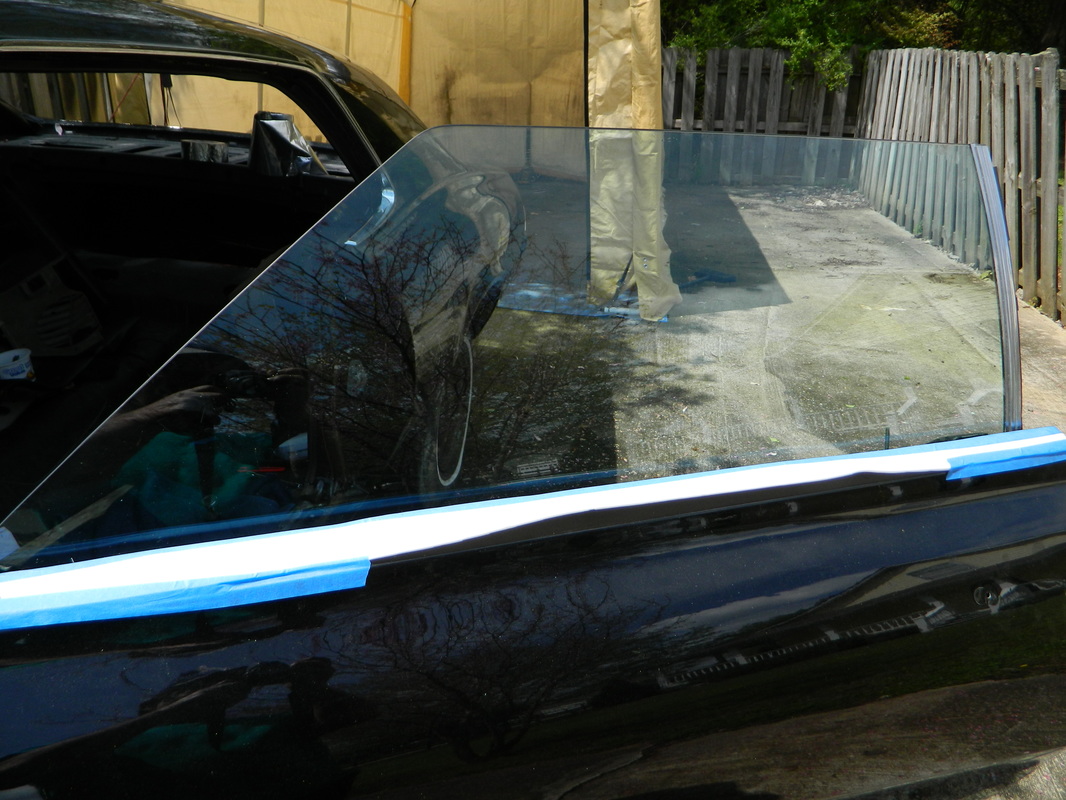
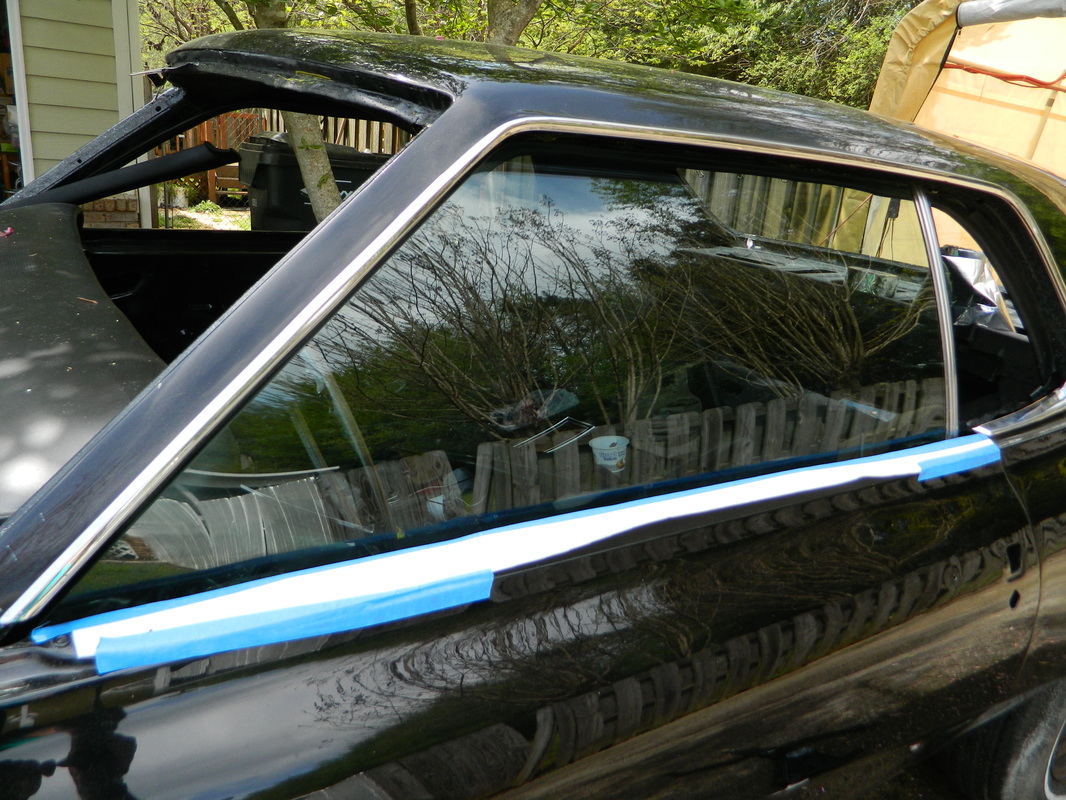
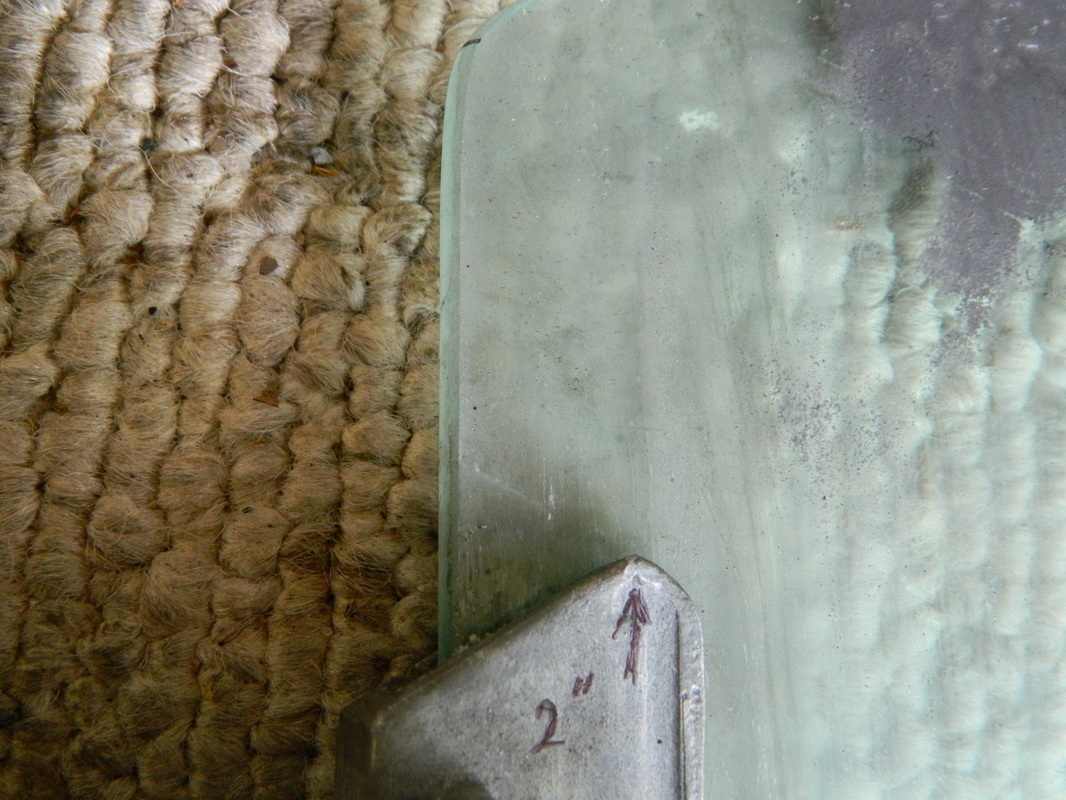
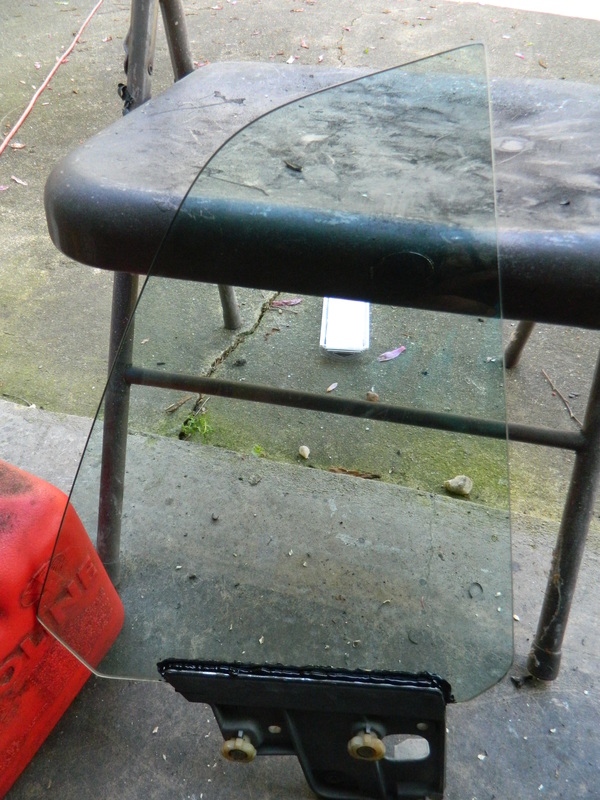
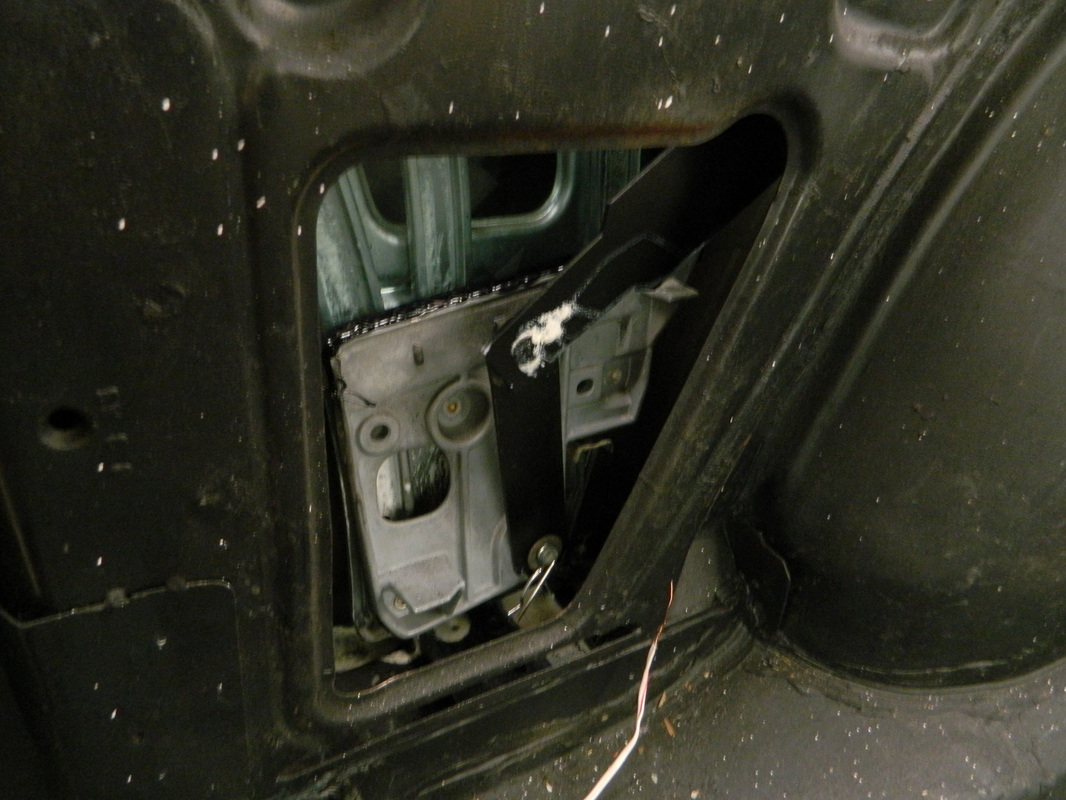
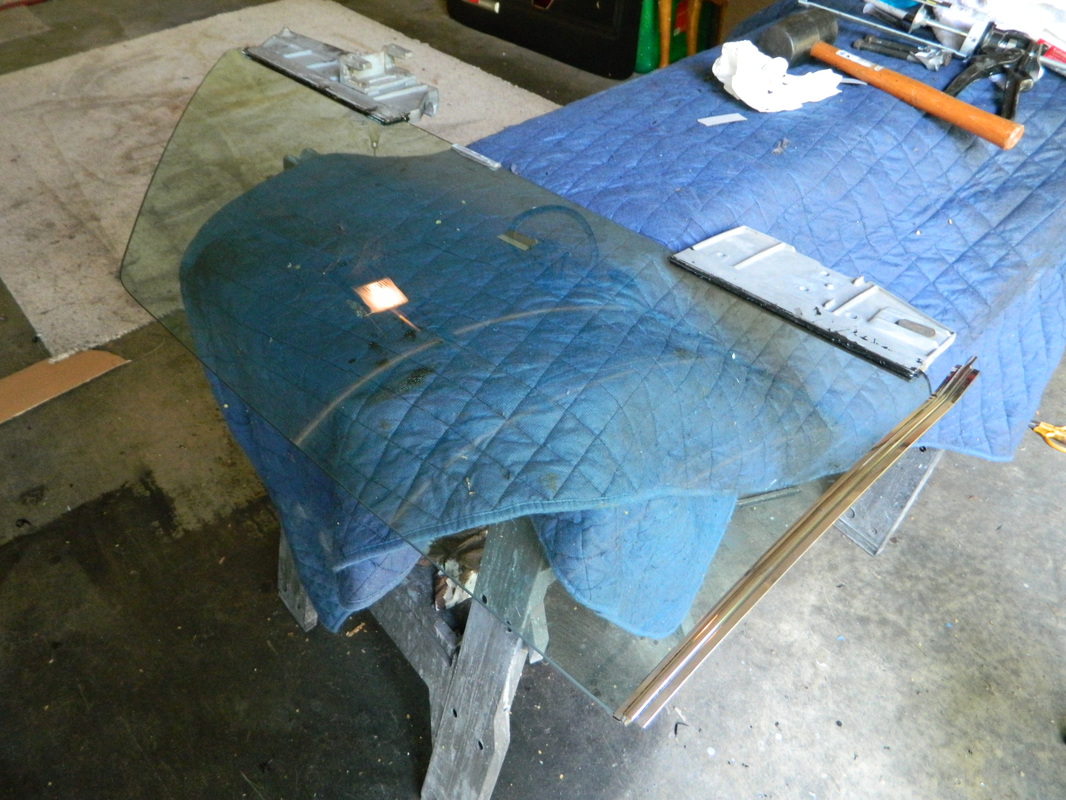
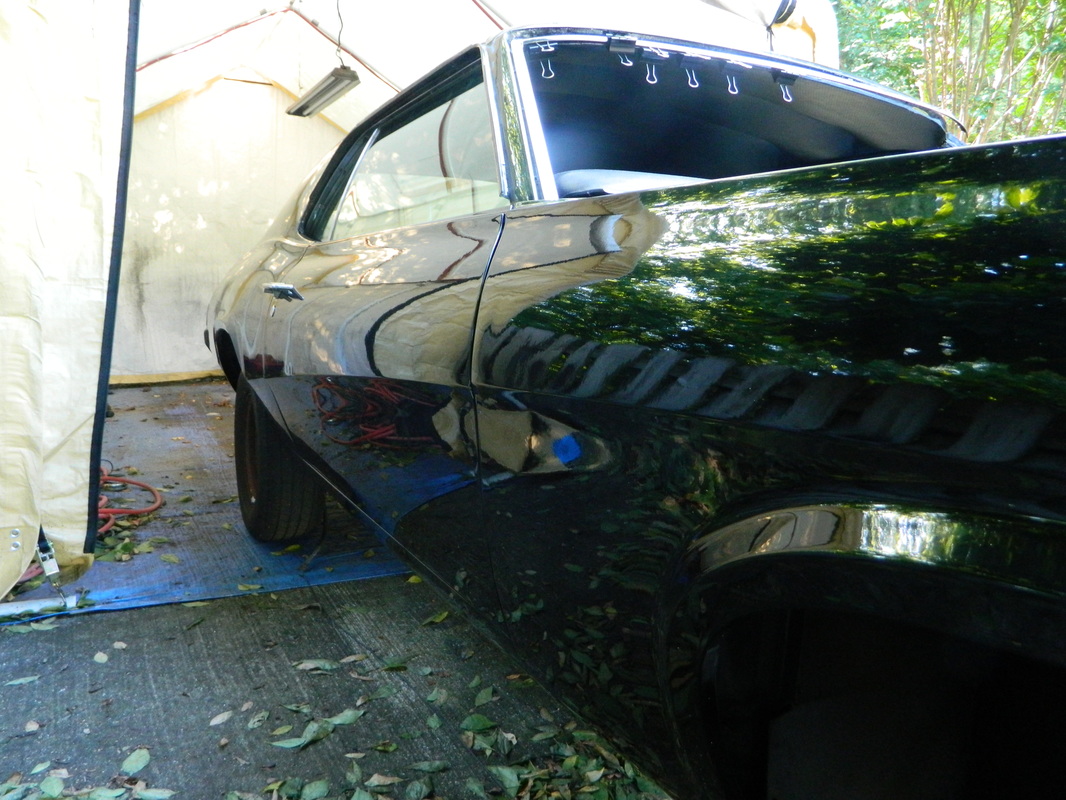
Today, I worked on the passenger side door glass. I cleaned up everything and re-glued the glass to the channel, per WestCoastClassicCougar's YouTube video. I used a grinder to scuff up the glass area where the channel glues to it to help the adhesion. I also bought a new door switch for the courtesy light and installed it, so that works now. Tomorrow, I'm going to attempt to get the glass back in the door and adjusted properly. 6 hrs


Apr 6, 2015
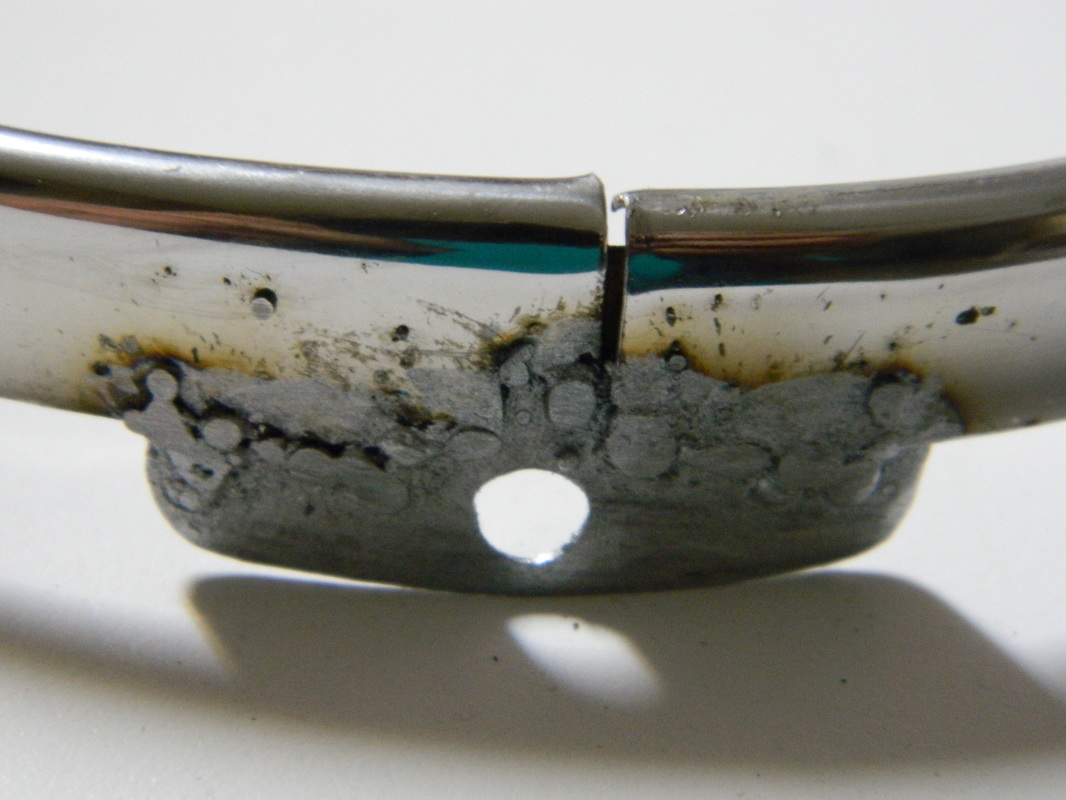
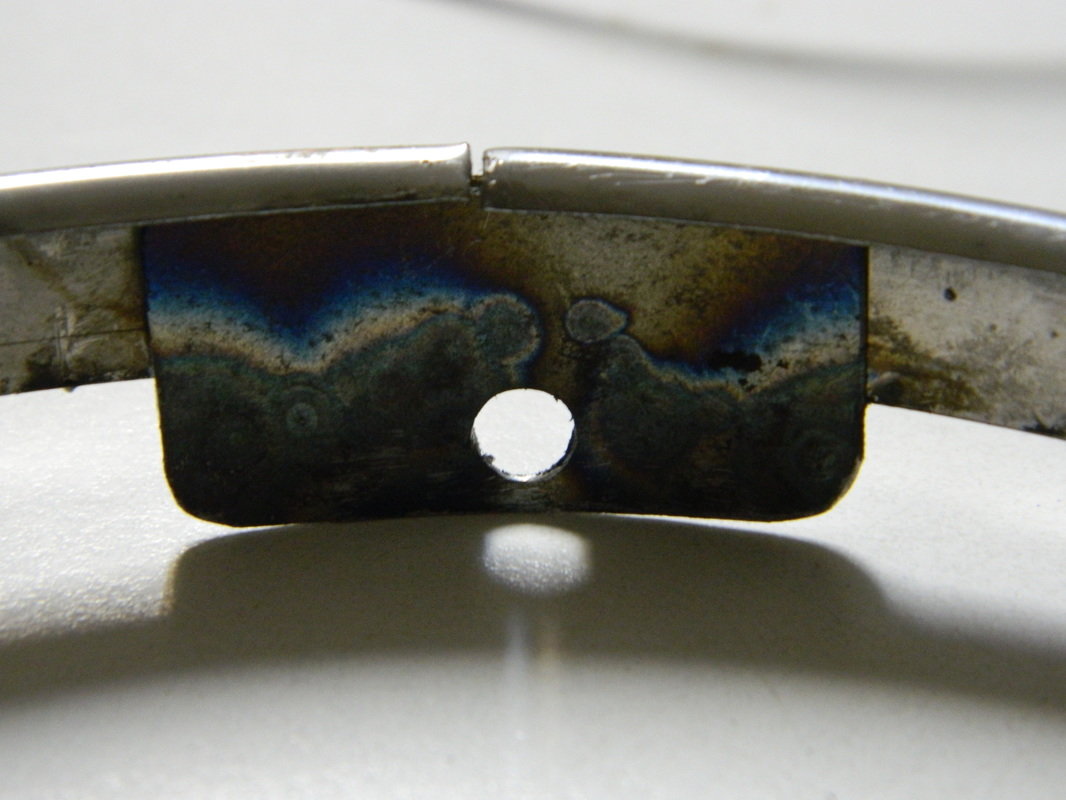
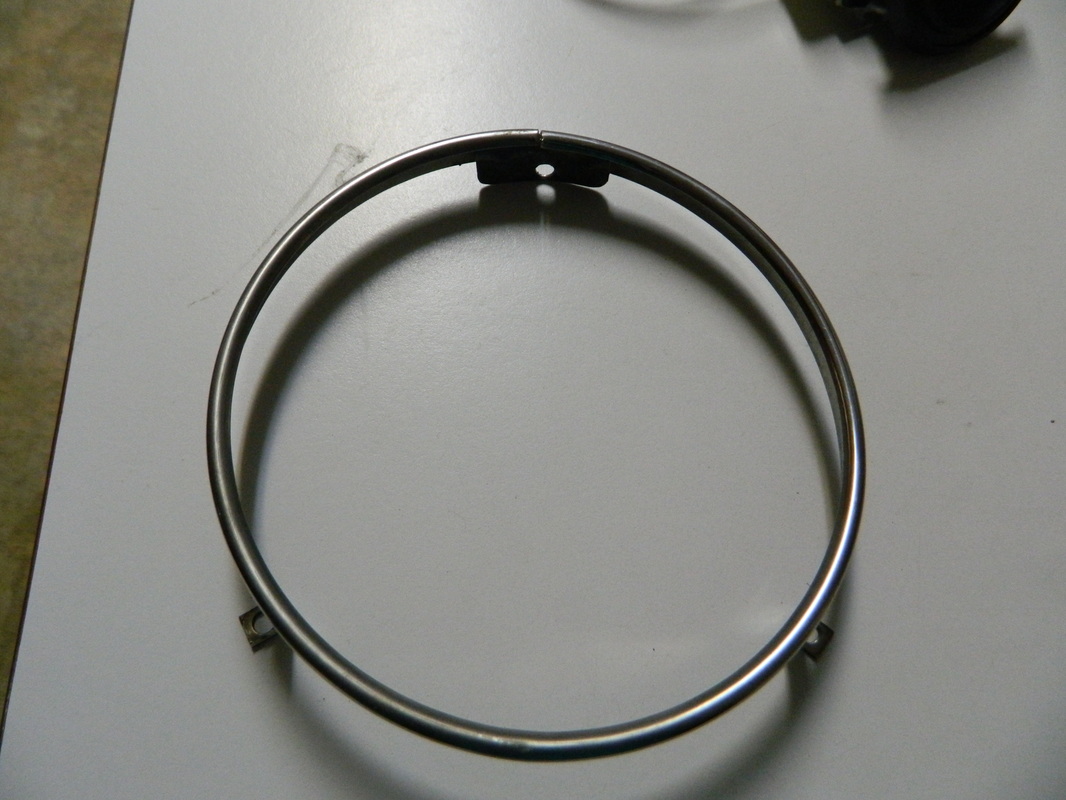
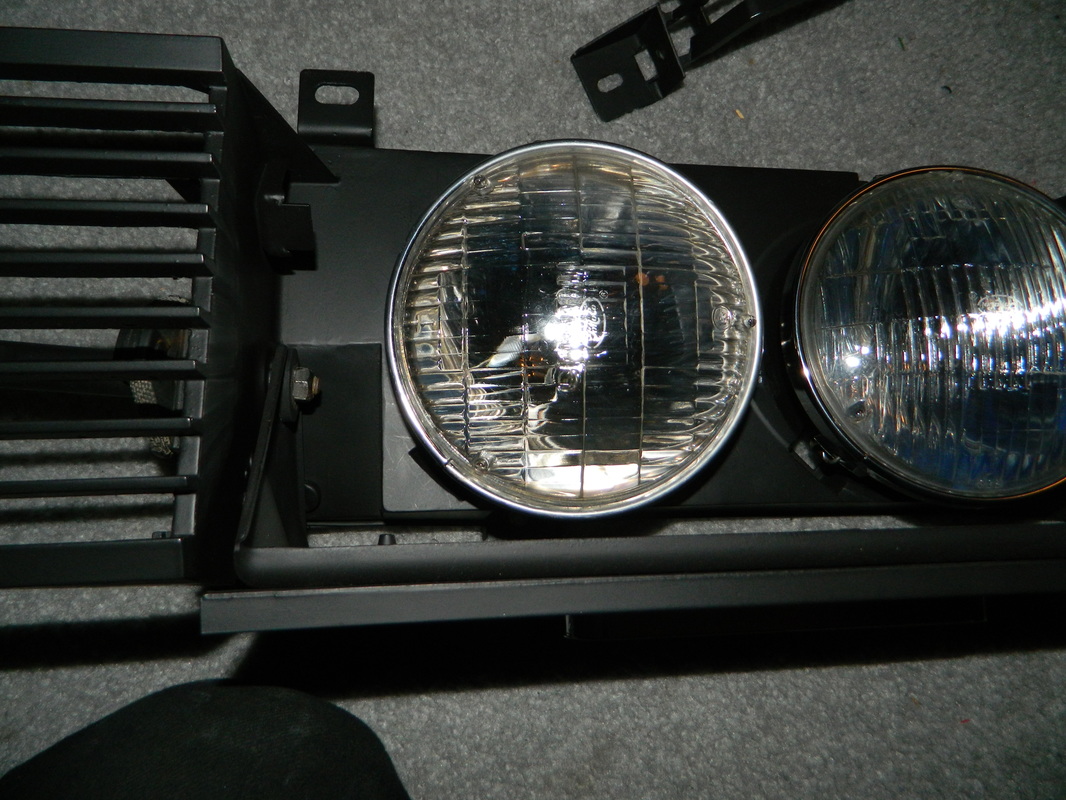
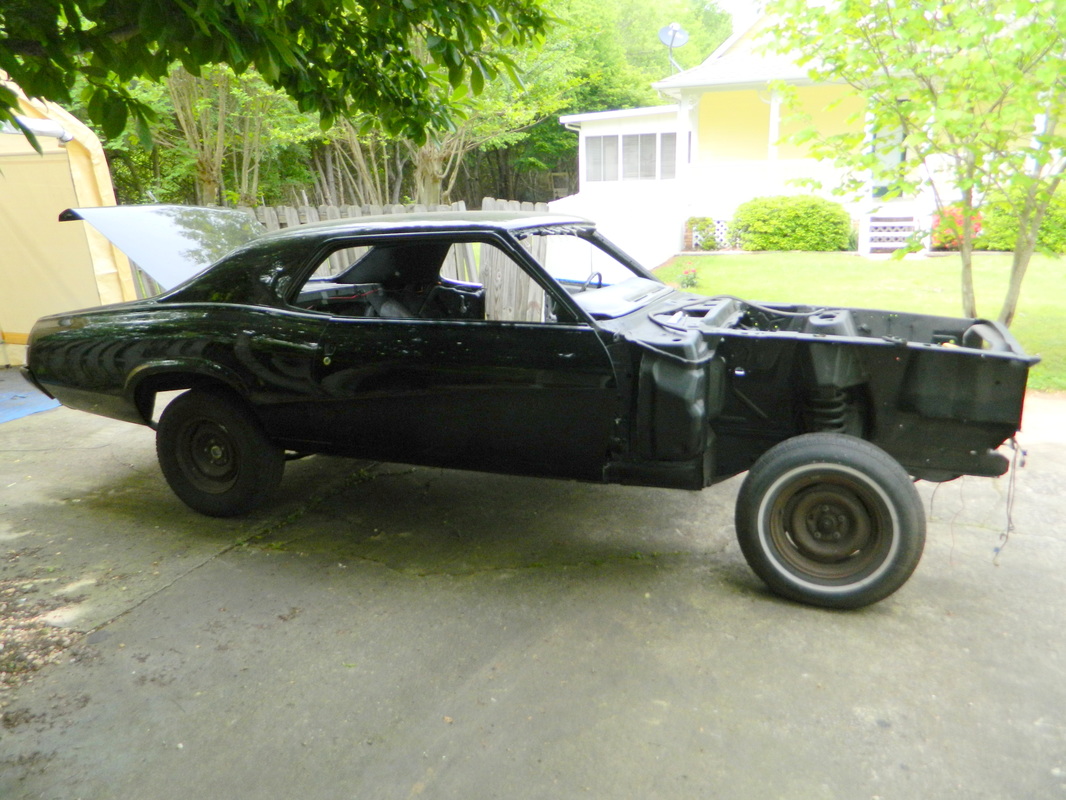
Been kinda busy with work and all, but had the day off and did a couple of things. First off, I didn't post Apr 1 when I attempted to install the glass and hardware, and it didn't go too well. I was and still am having a difficult time adjusting it. I'm off tomorrow and will get back to adjusting it. Today, I went to the pick a part and got some things for my Ranger and was hoping to find a headlight trim ring, but didn't. I did find a nice pair of 86 Cougar opera lights to mount in my sail panels, they were navy blue so I painted them landau black. Then I decided I would try to fix the headlight trim ring since I couldn't find one. The ring had come apart where it splits and has a tab spot welded to each side to hold it together. I made a similar tab out of sheet metal as I had lost the original piece and hoped that I would be able to weld the mild steel to the stainless steel trim. Well, it worked! Not the prettiest welds but they seem to hold fine and you can see I have it on the headlight mounted in the grill. The tab is for the spring that holds the trim tight against the framework.

Apr 7, 2015
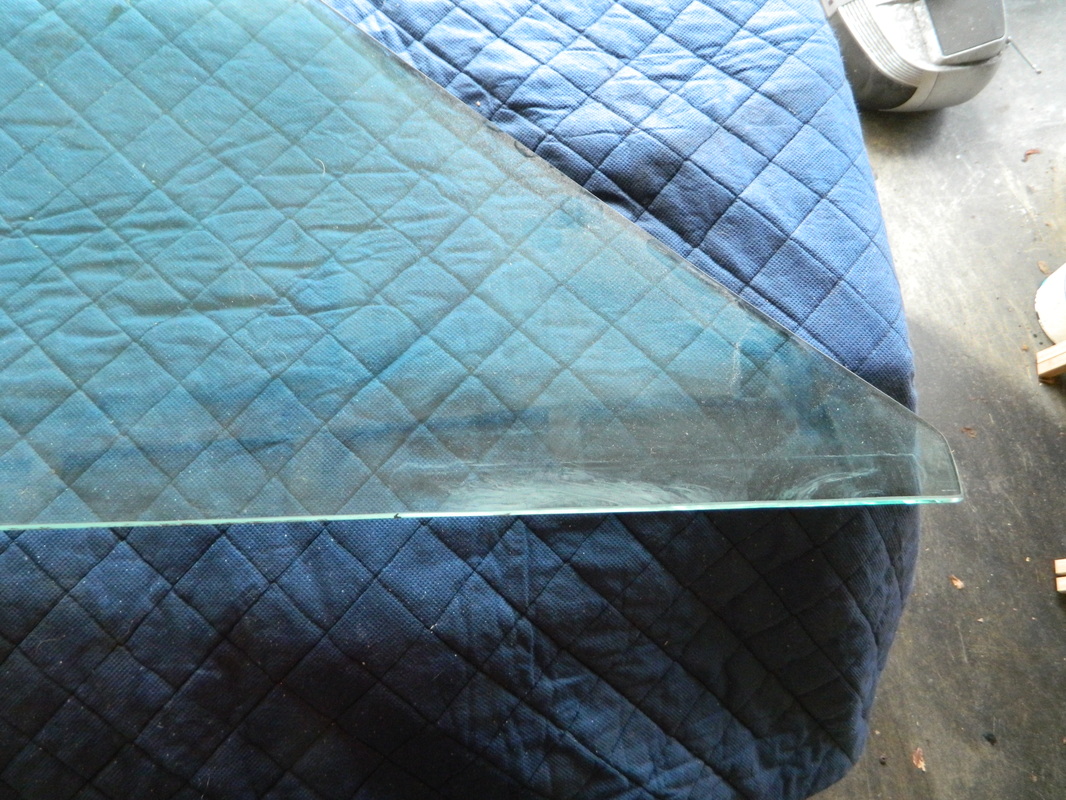
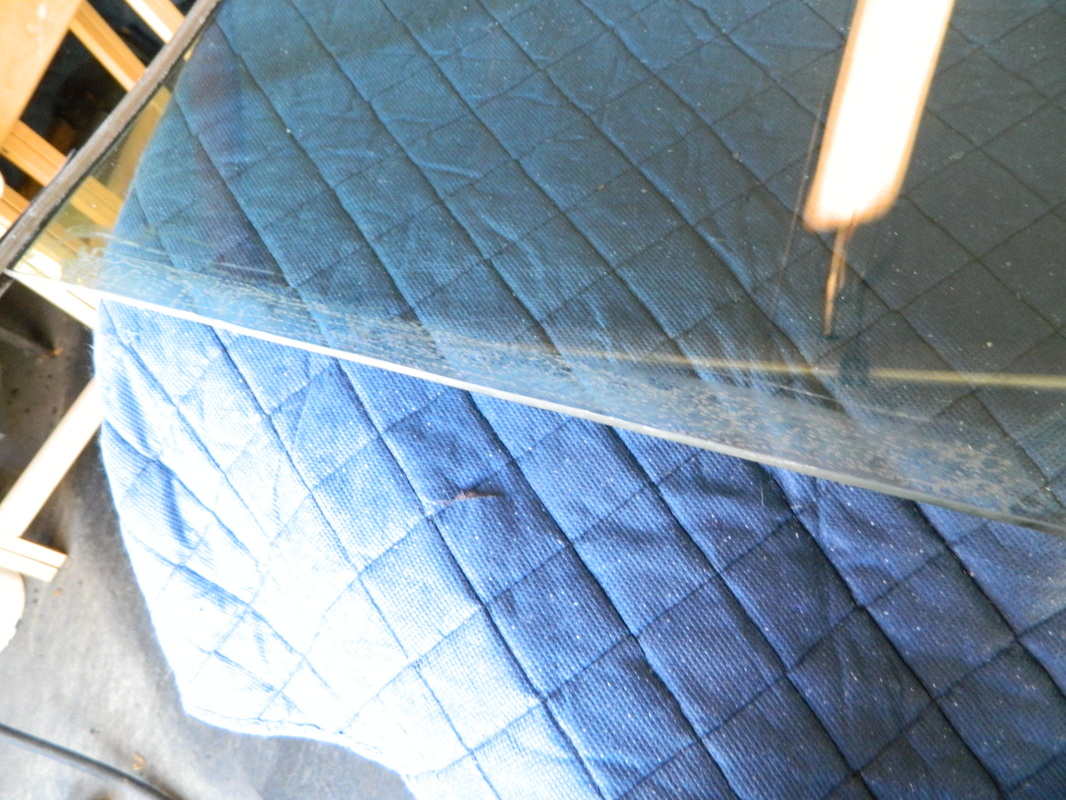
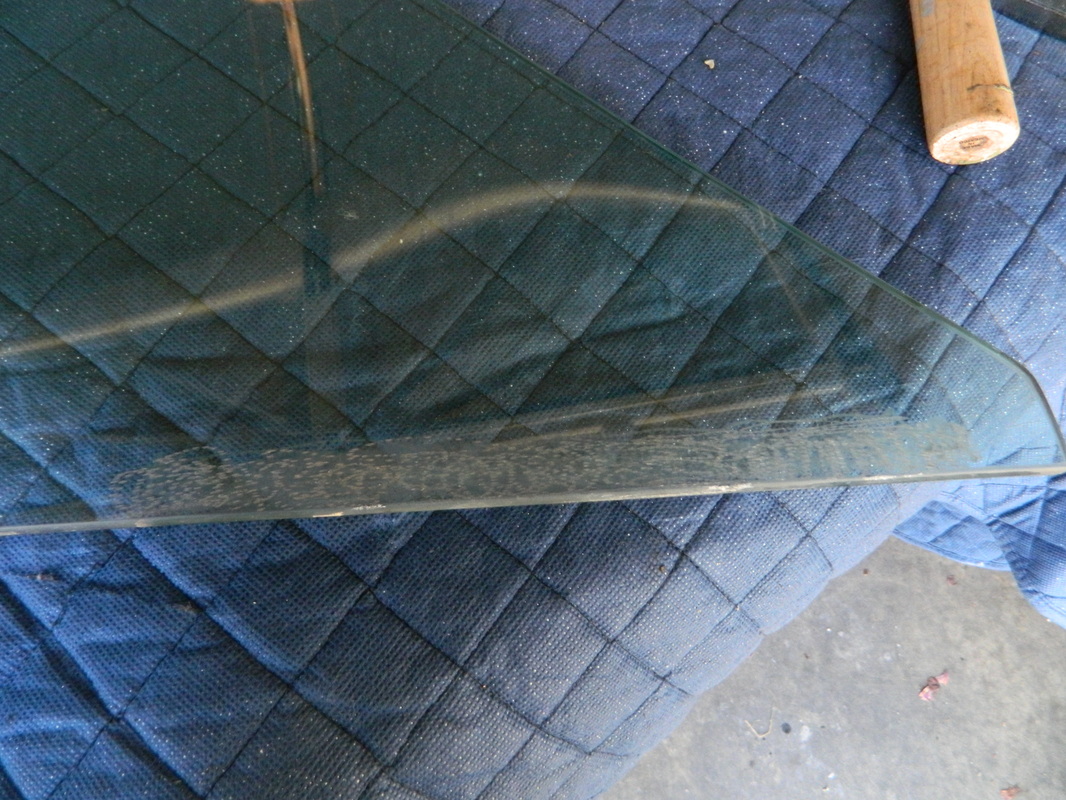
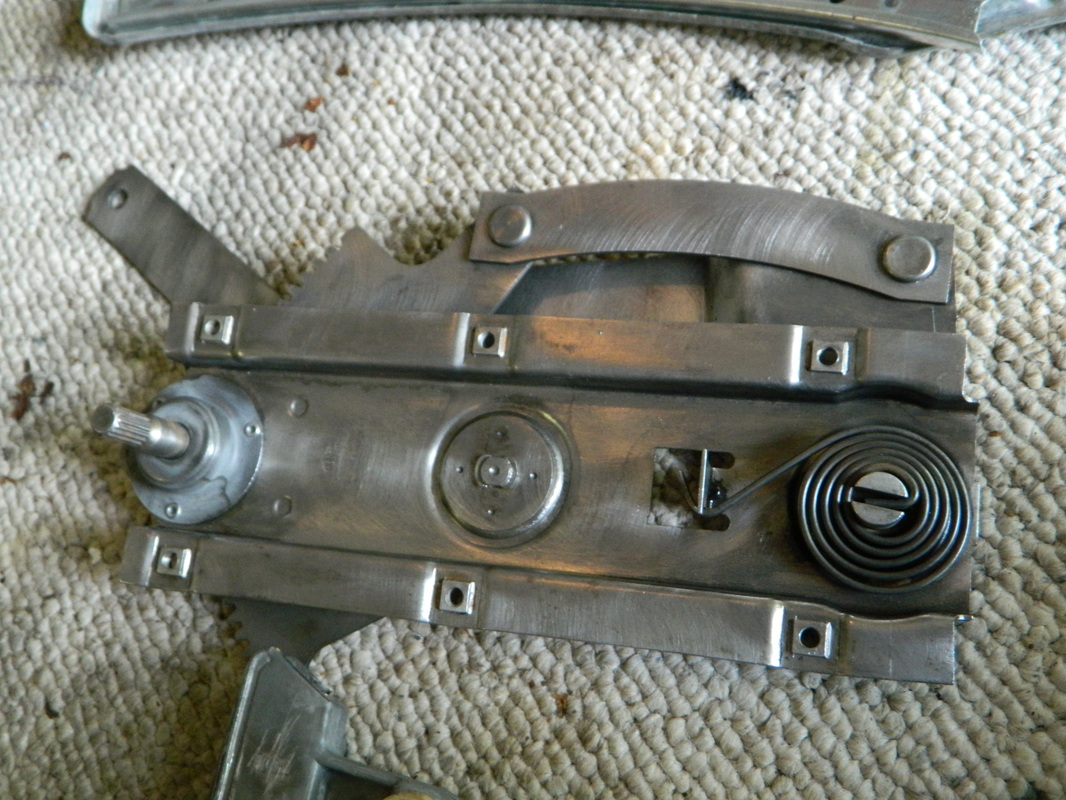
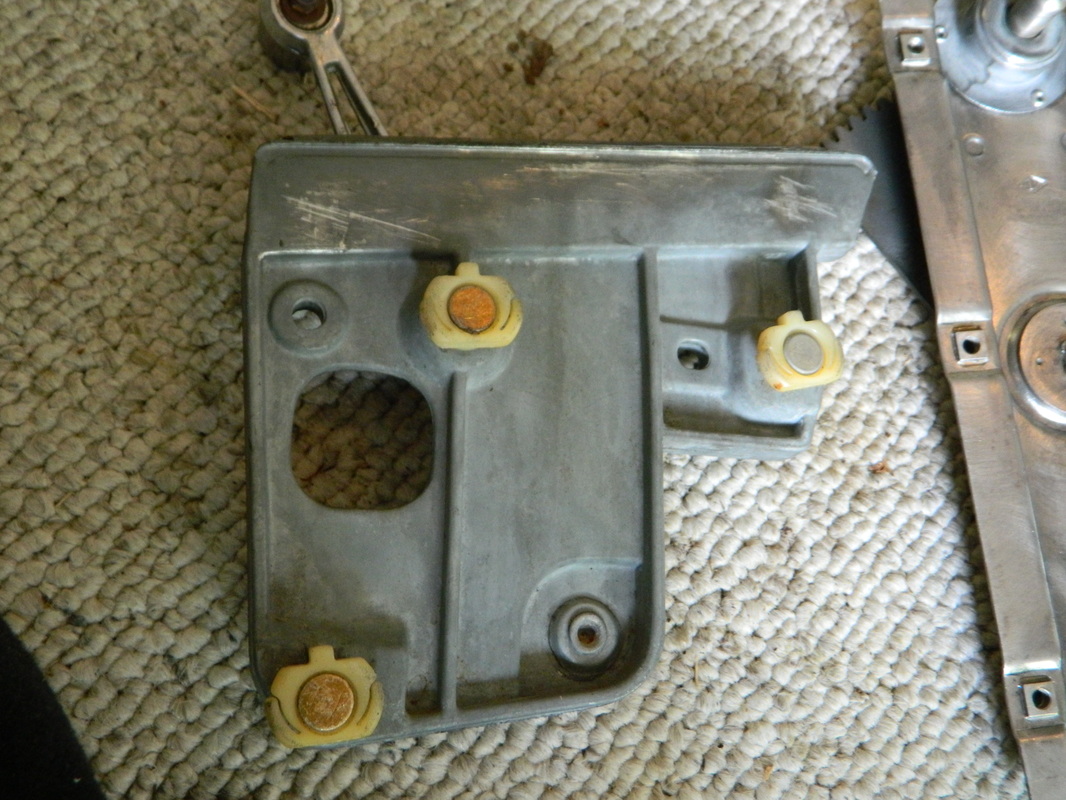
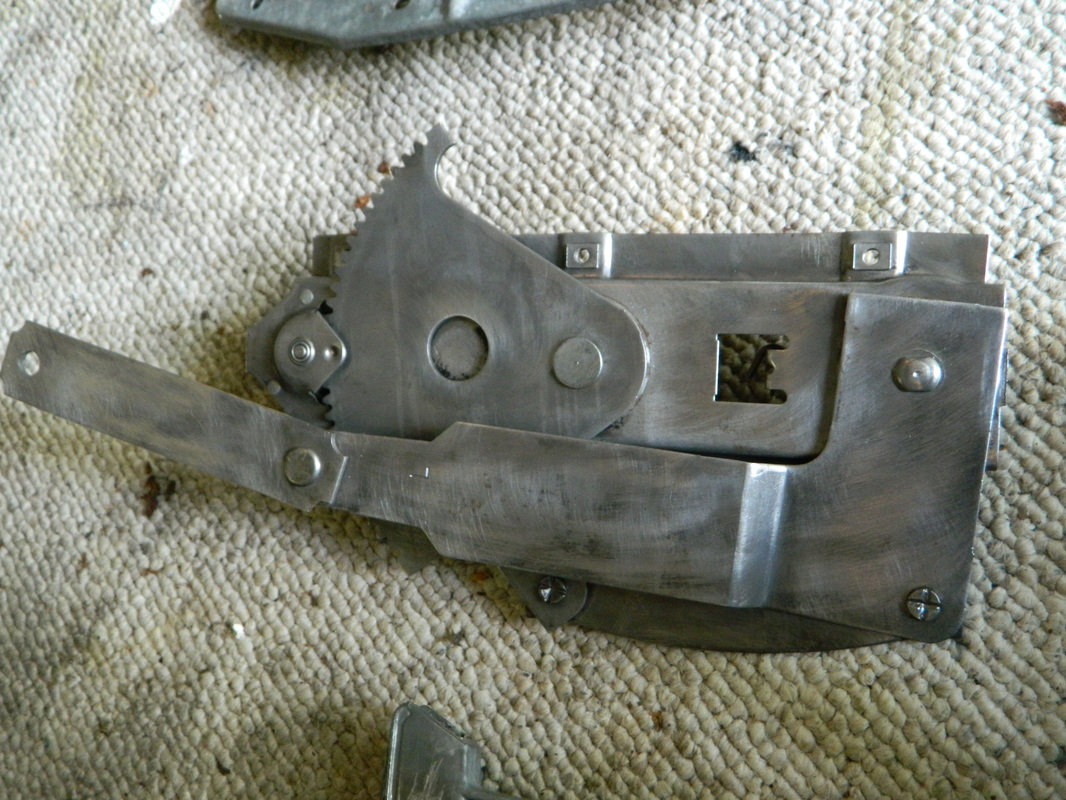
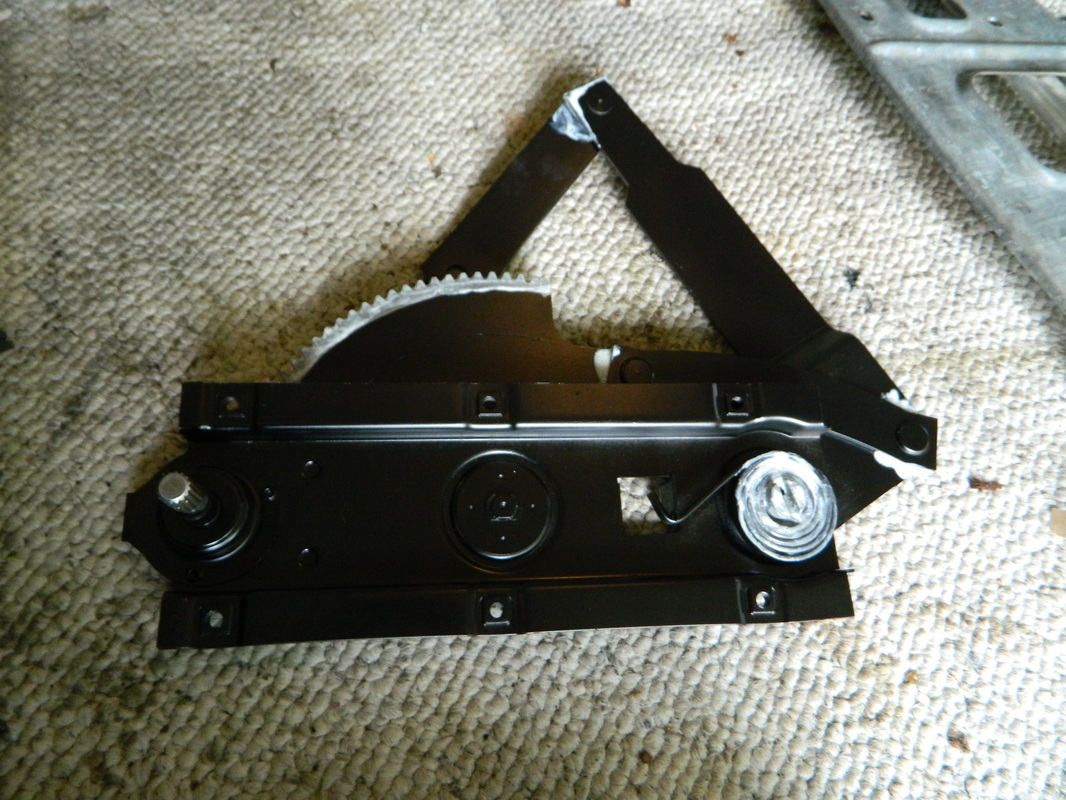
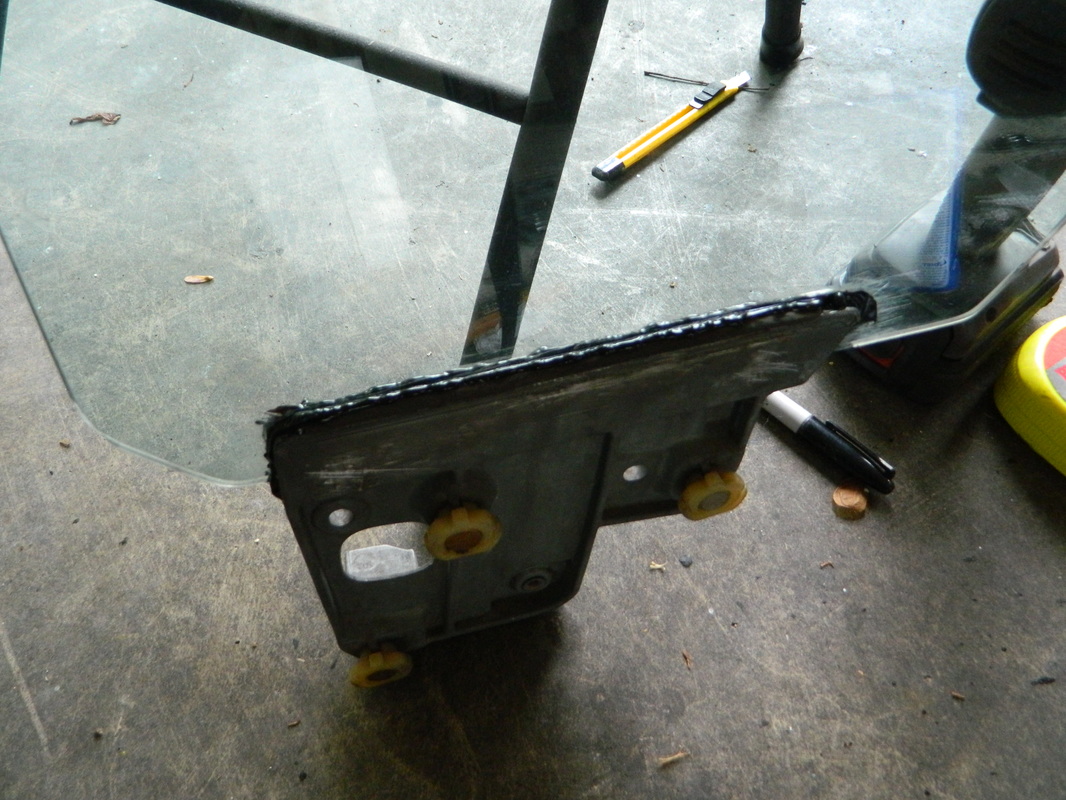
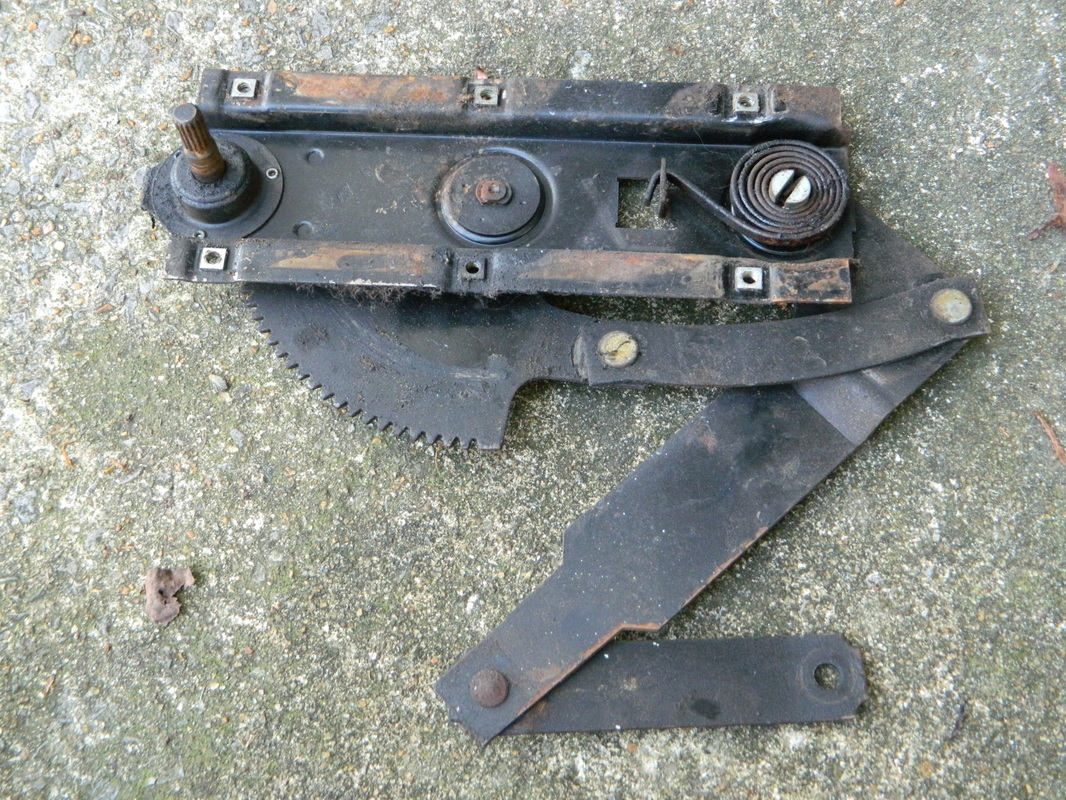
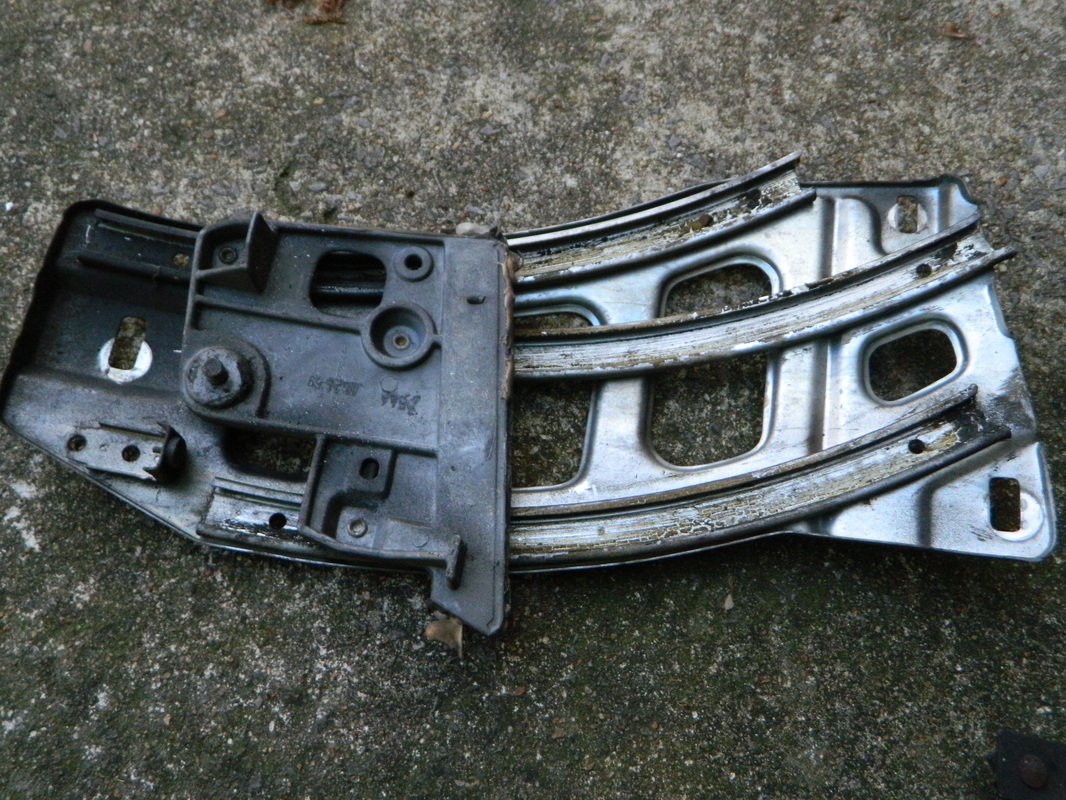
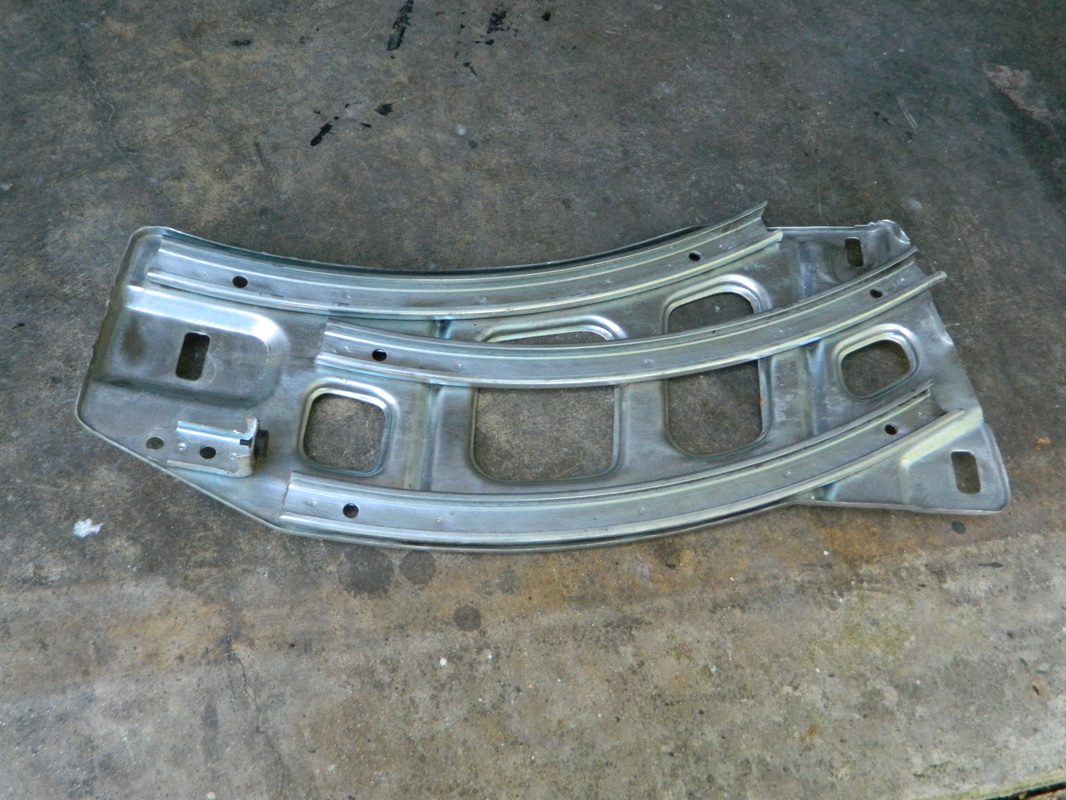
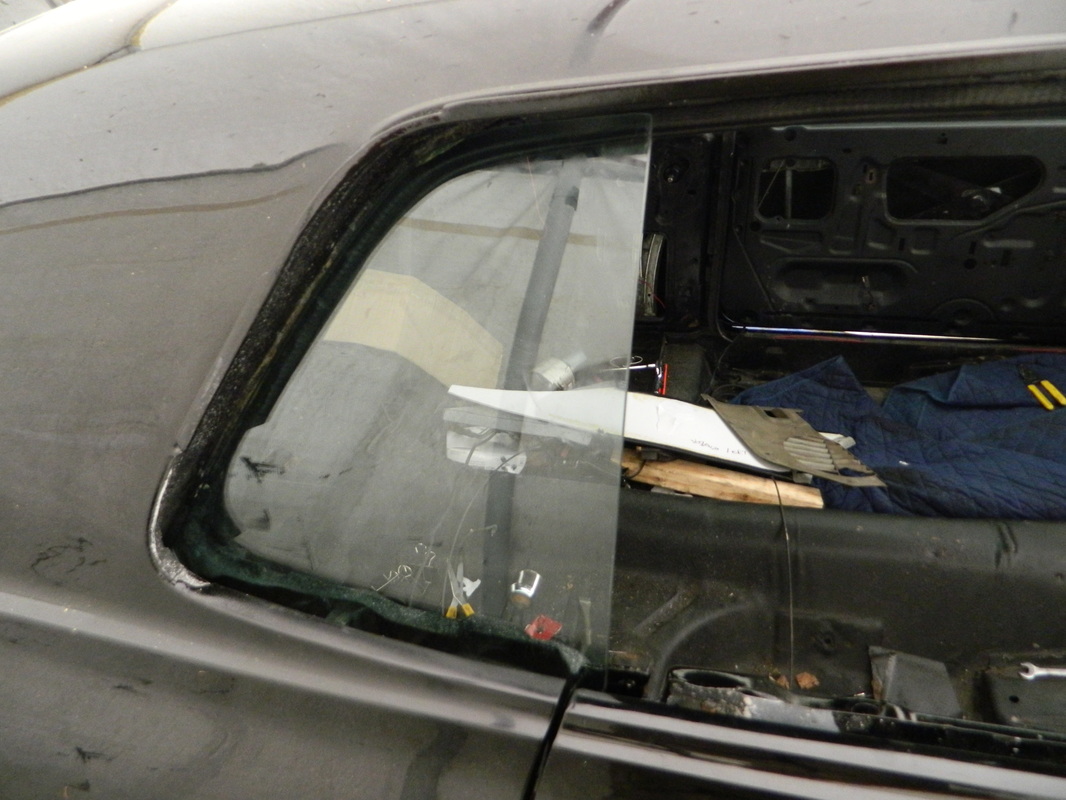
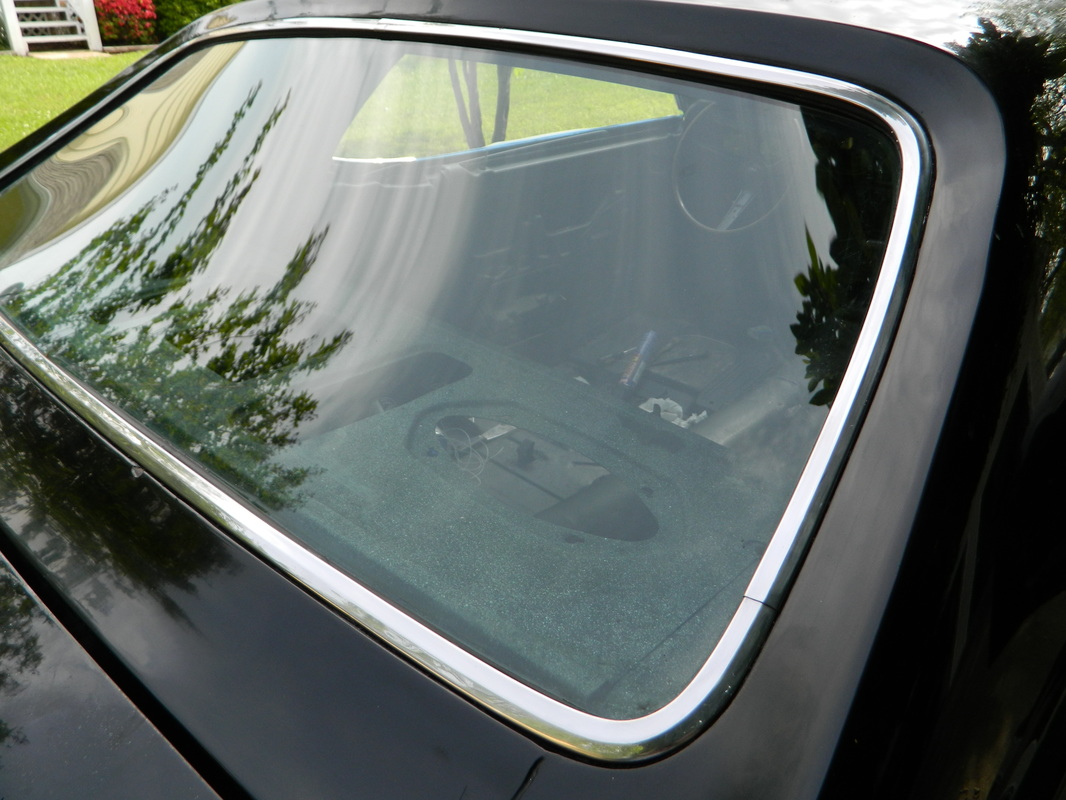
Wow, two days in a row working on the Cougar! Well today I FINALLY found why I couldn't adjust my window. I had the regulator arm in the wrong slot, I feel so stupid! But now I'm on to other things. I pulled the rear quarter window and cleaned it, the regulator and the channel and painted the regulator and glued the window back in the channel. All of this in about 6 hrs.


Apr 8, 2015
Today I did some more window work. I did some preliminary adjusting on the driver window and then installed the rear quarter assembly. Then, I cleaned and painted the passenger side quarter window, but didn't have time to install it. I found a good deal on a passenger side window on ebay, so I might get it next week. 4 hrs

Apr 13, 2015
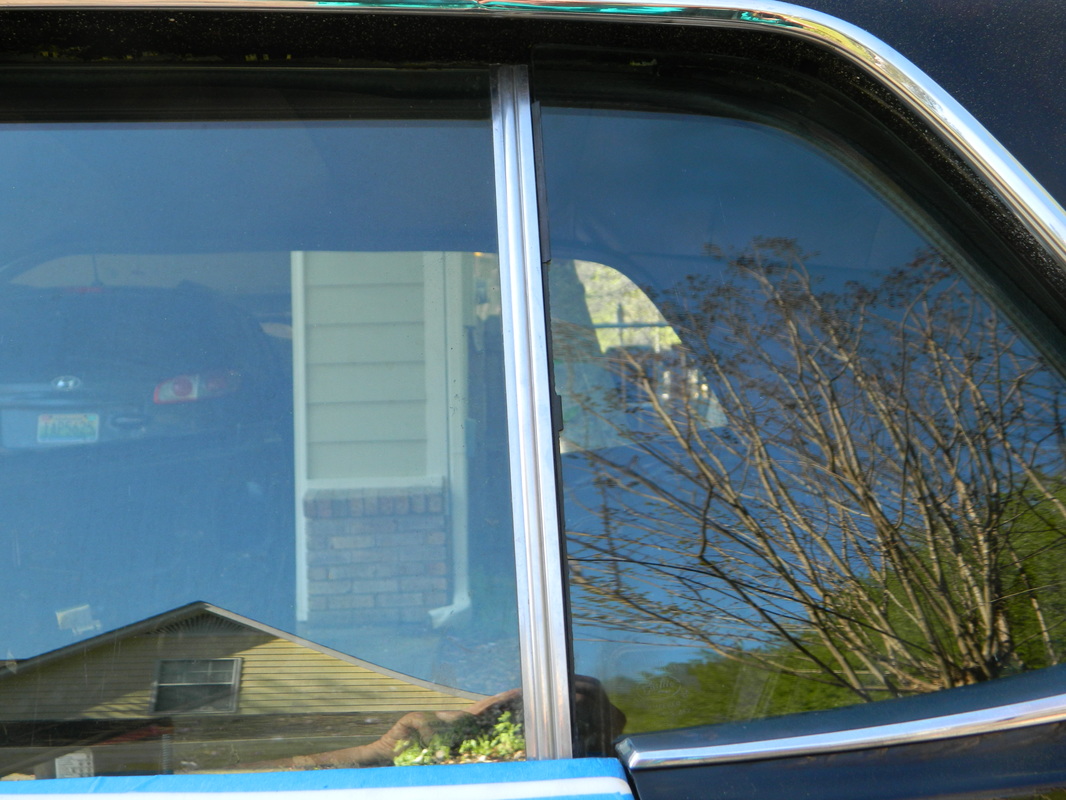
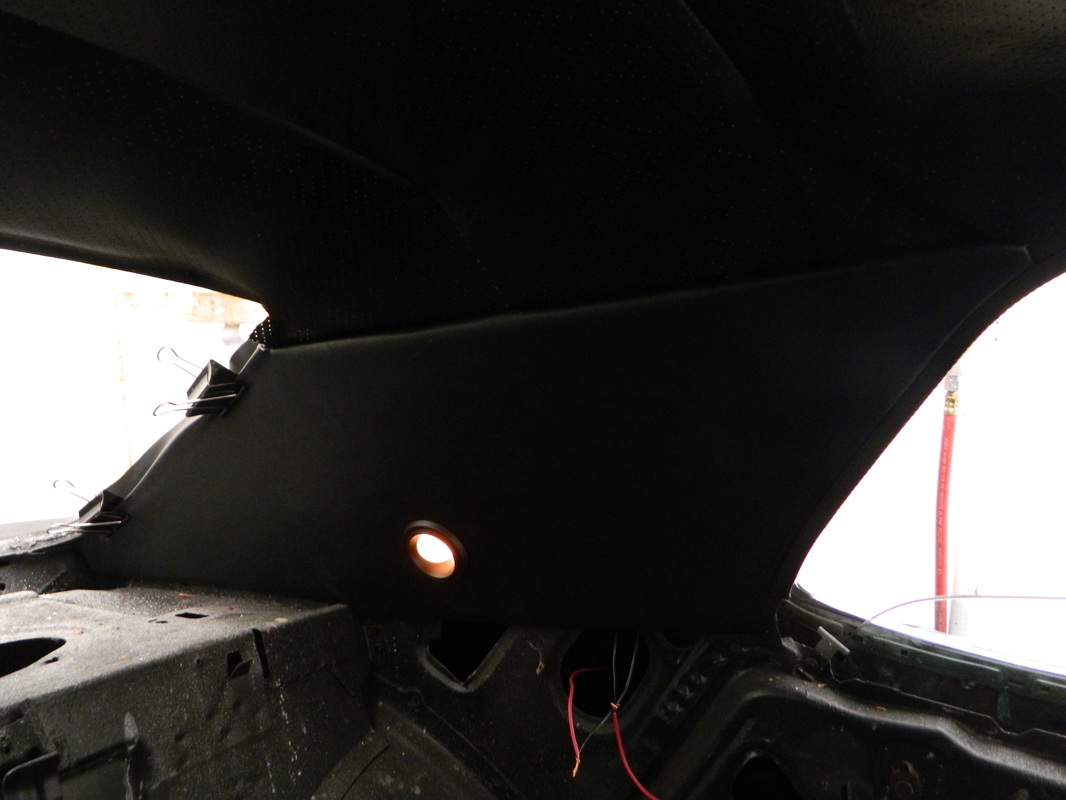
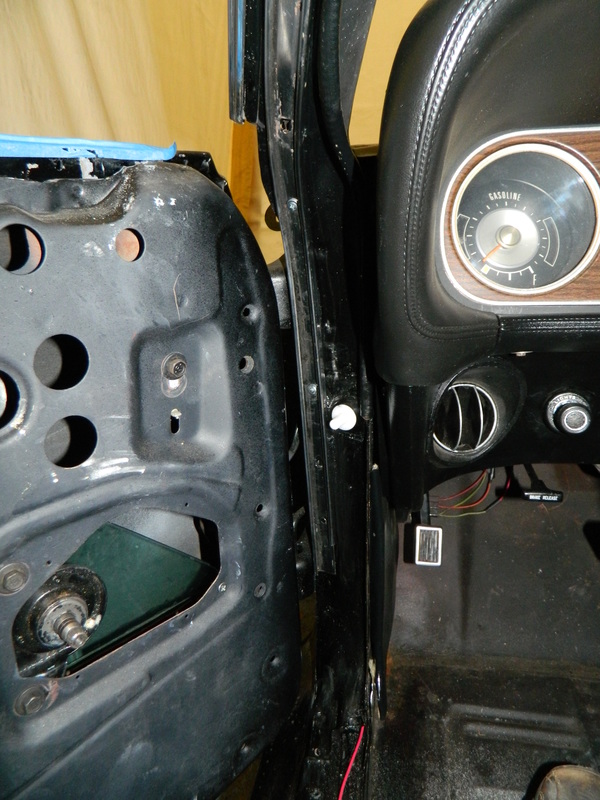
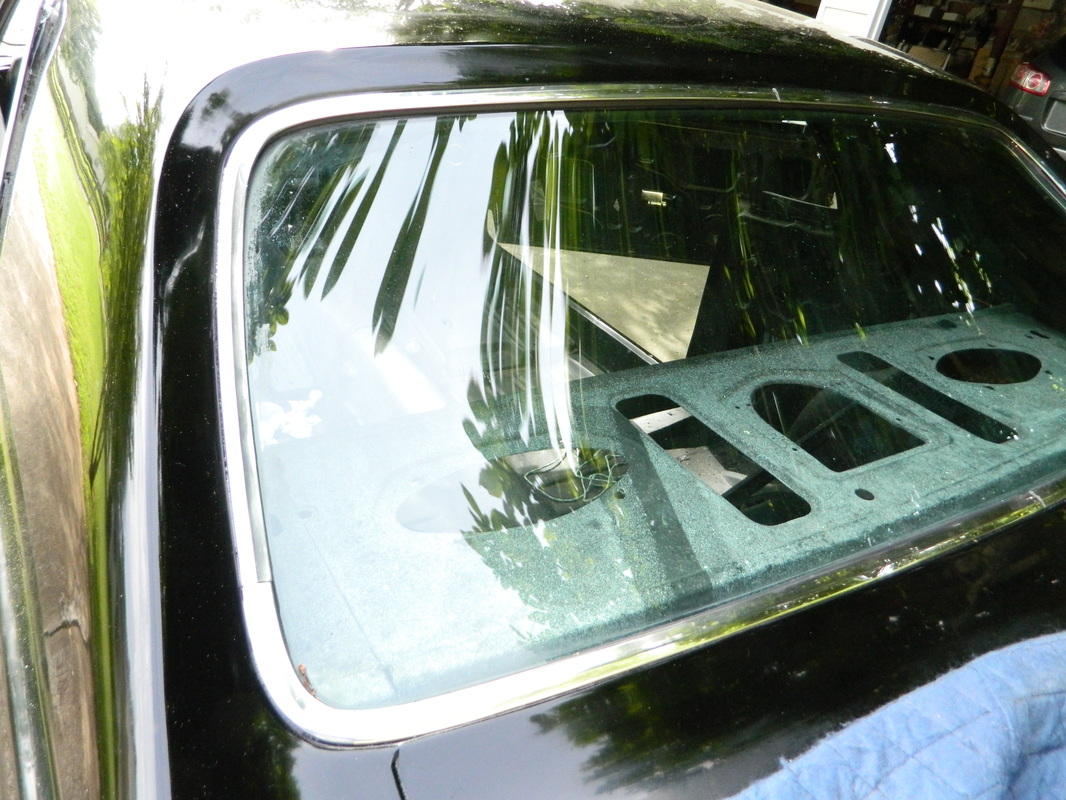
In spite of the rain, I got out and did a little work today. I installed the right rear quarter window with all its mechanisms and then installed the left door wiring harness and wired in a wire off the underdash courtesy light to provide power for my new C pillar courtesy lights. If my car had the light group option it would have already be wired for this. Not a whole lot to see, it kinda looks just like the last post of the other side. Still looking for a right side tinted door glass...so if you have one let me know, by commenting on the main page. 4 hrs


Apr 15, 2015
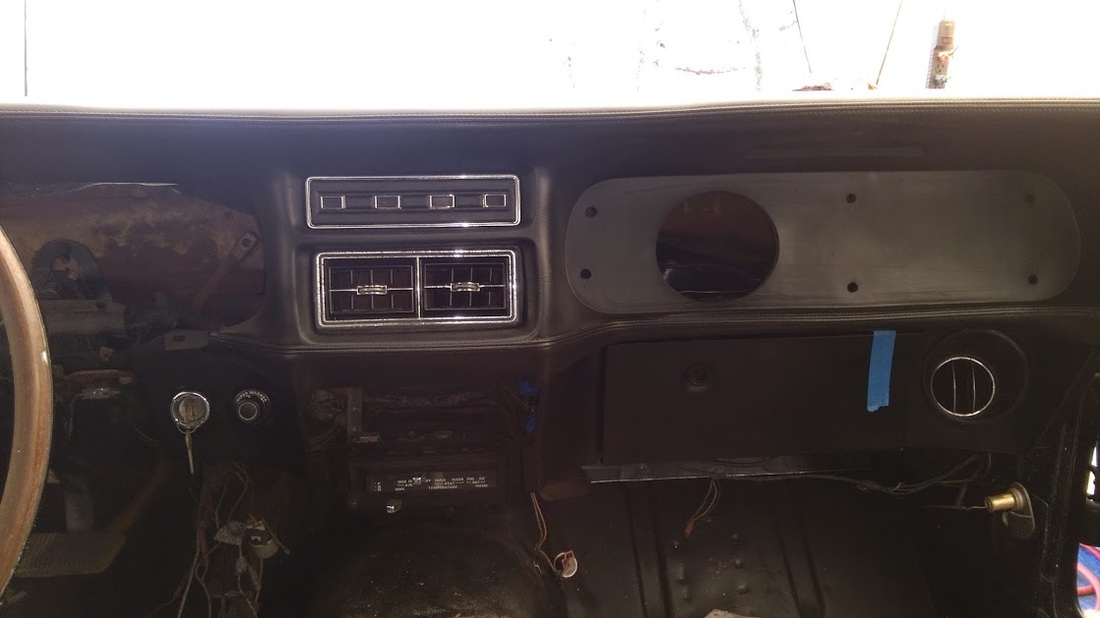
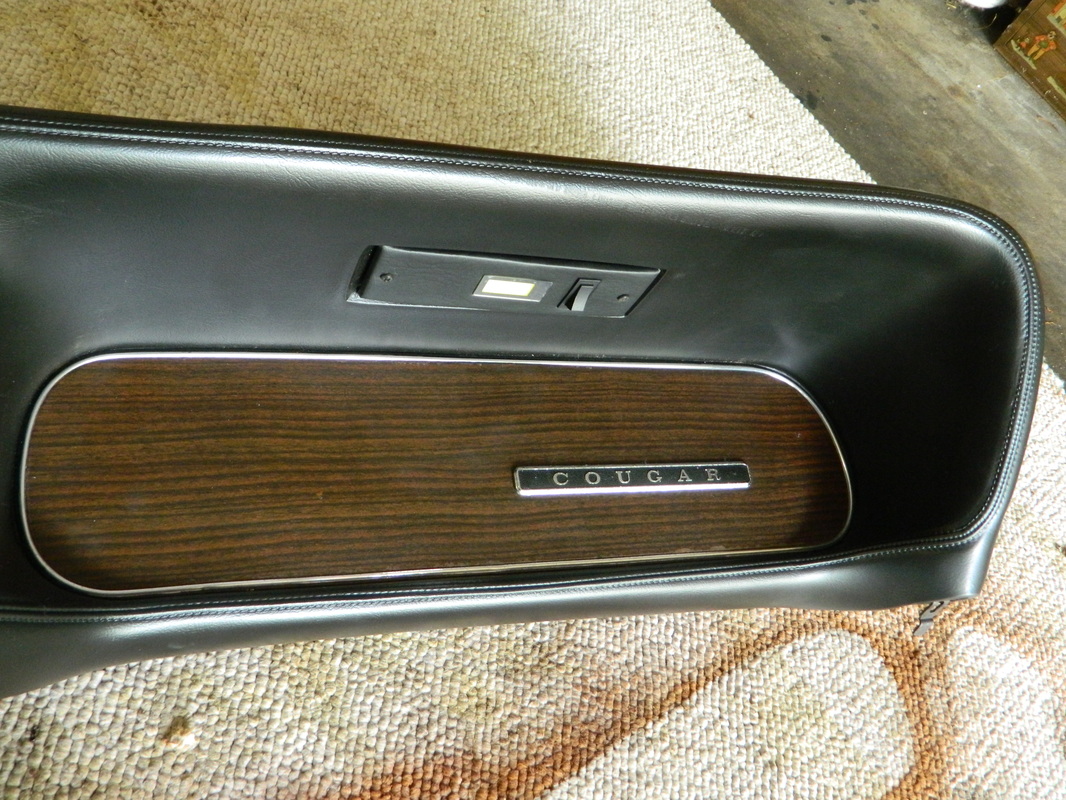
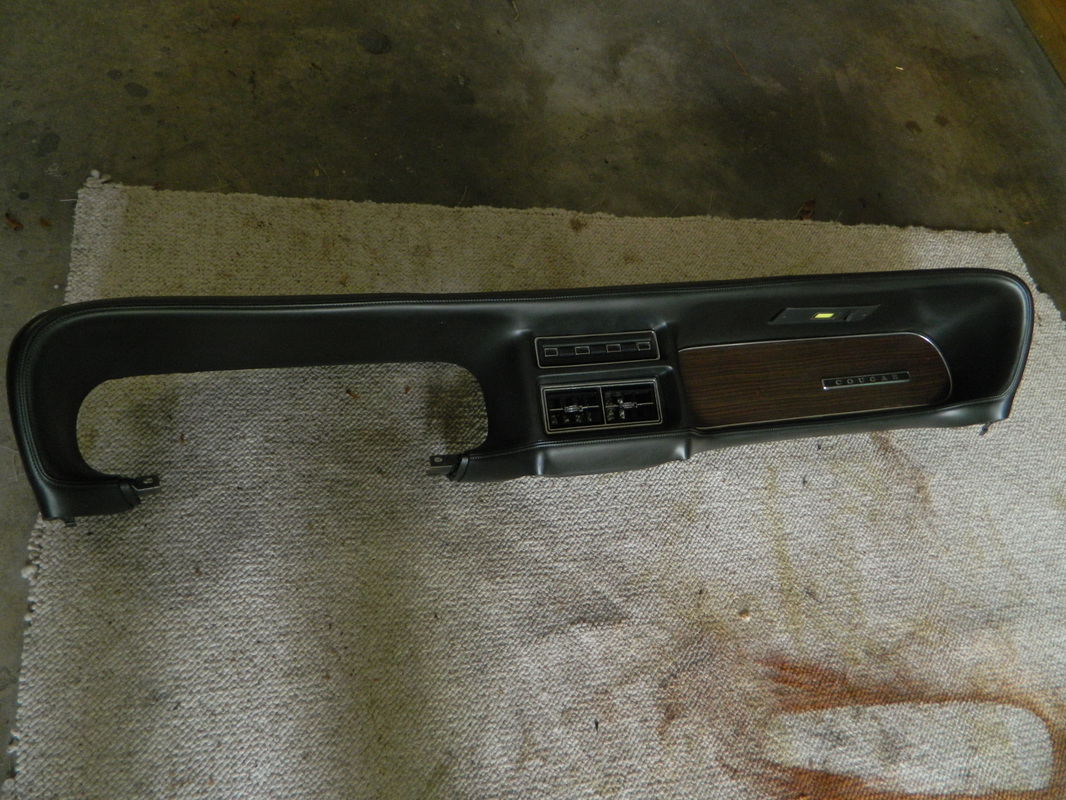
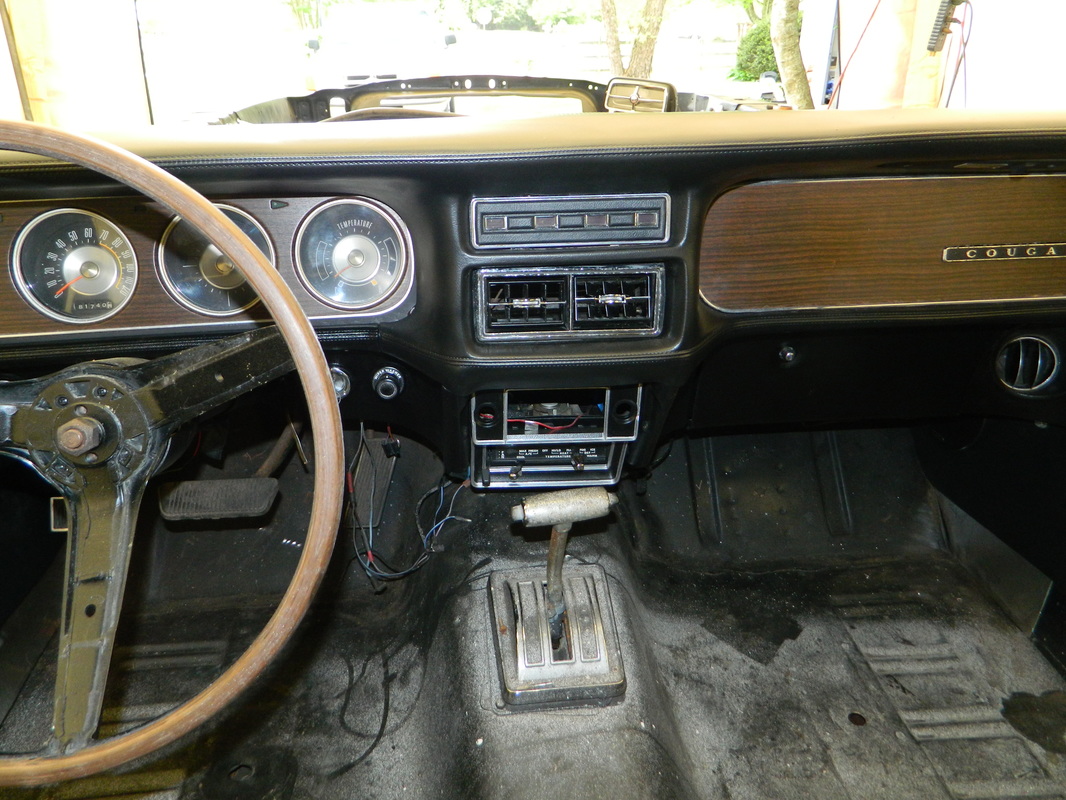
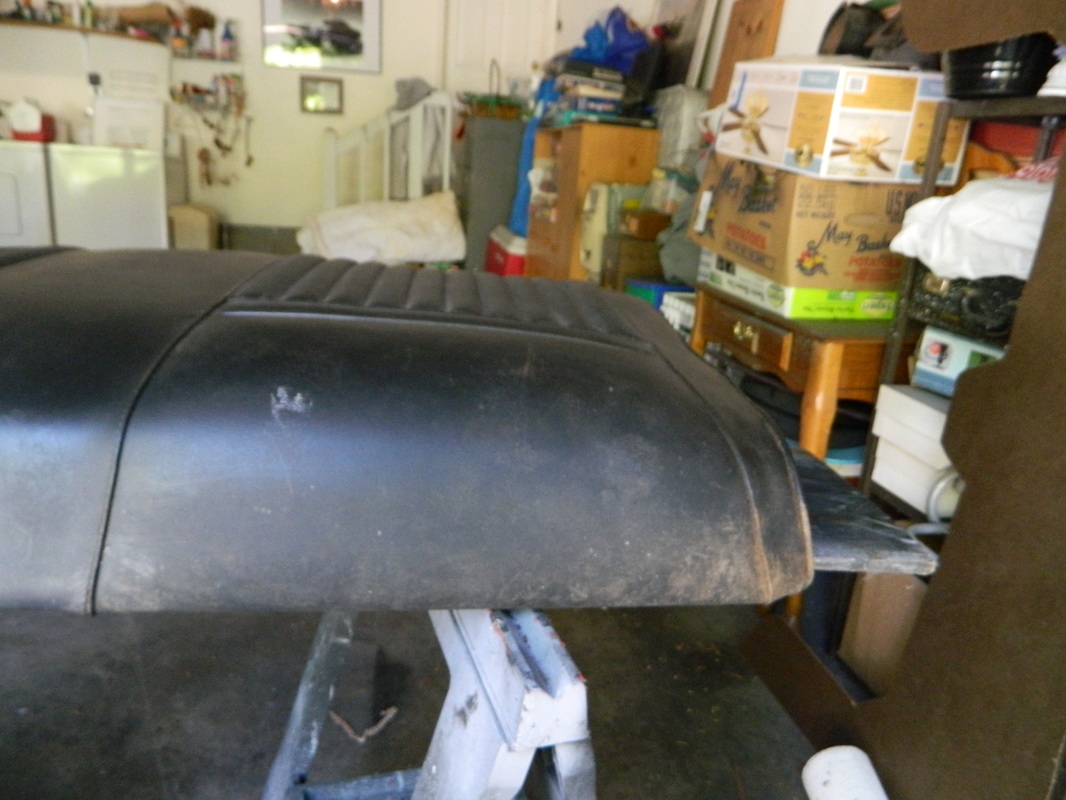
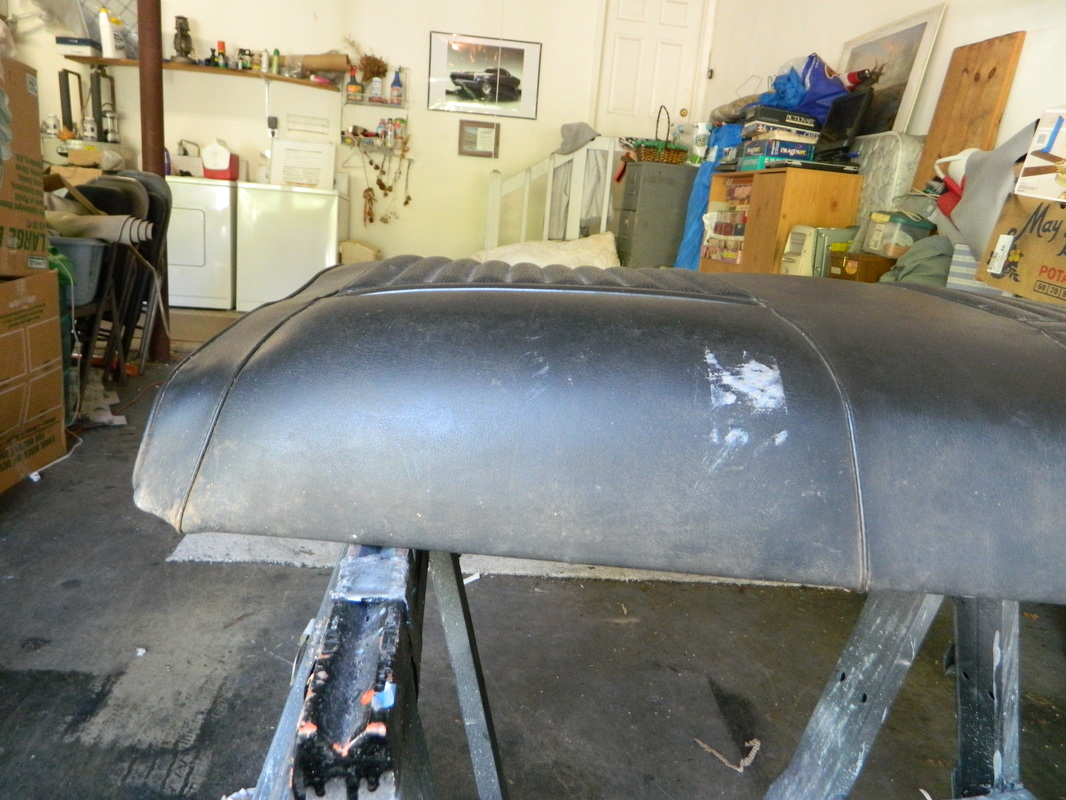
Not working on taxes...done that and already spent the tiny return. Working on the dash pad insert. It was pretty corroded, so I cleaned and stripped and re-polished and painted it. Then I installed it, the A/C register, and the warning light pod in the dash pad. 3 hrs

Apr 17, 2015
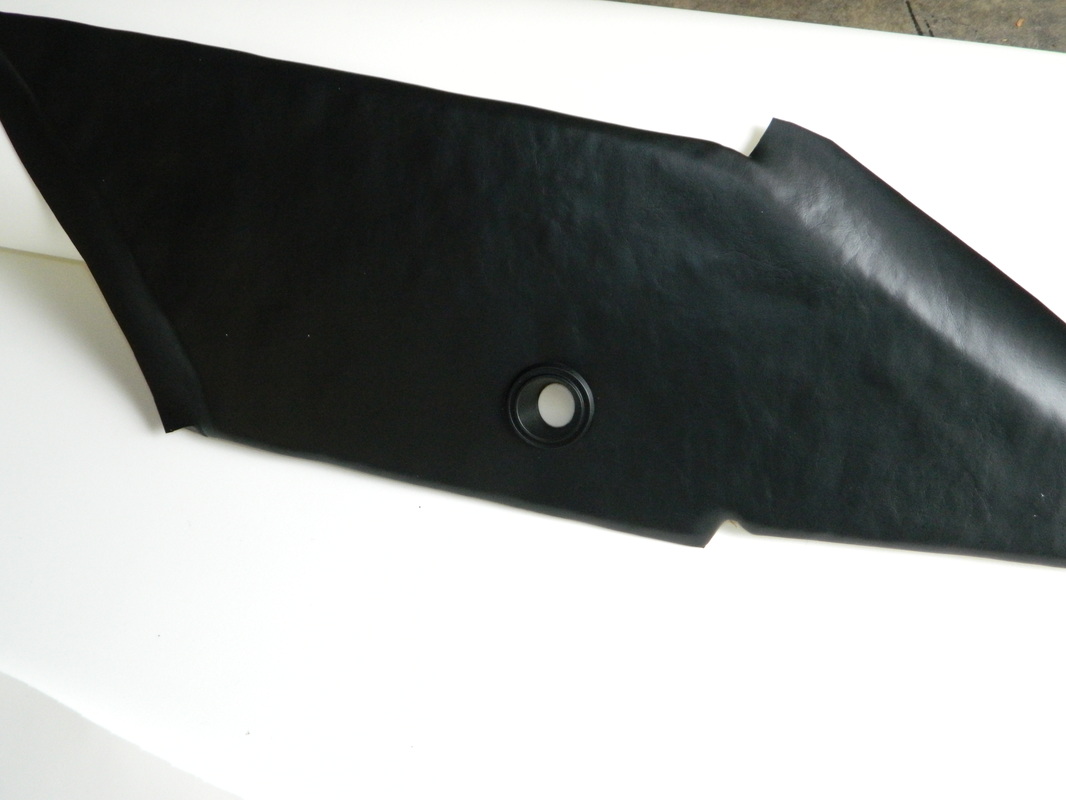
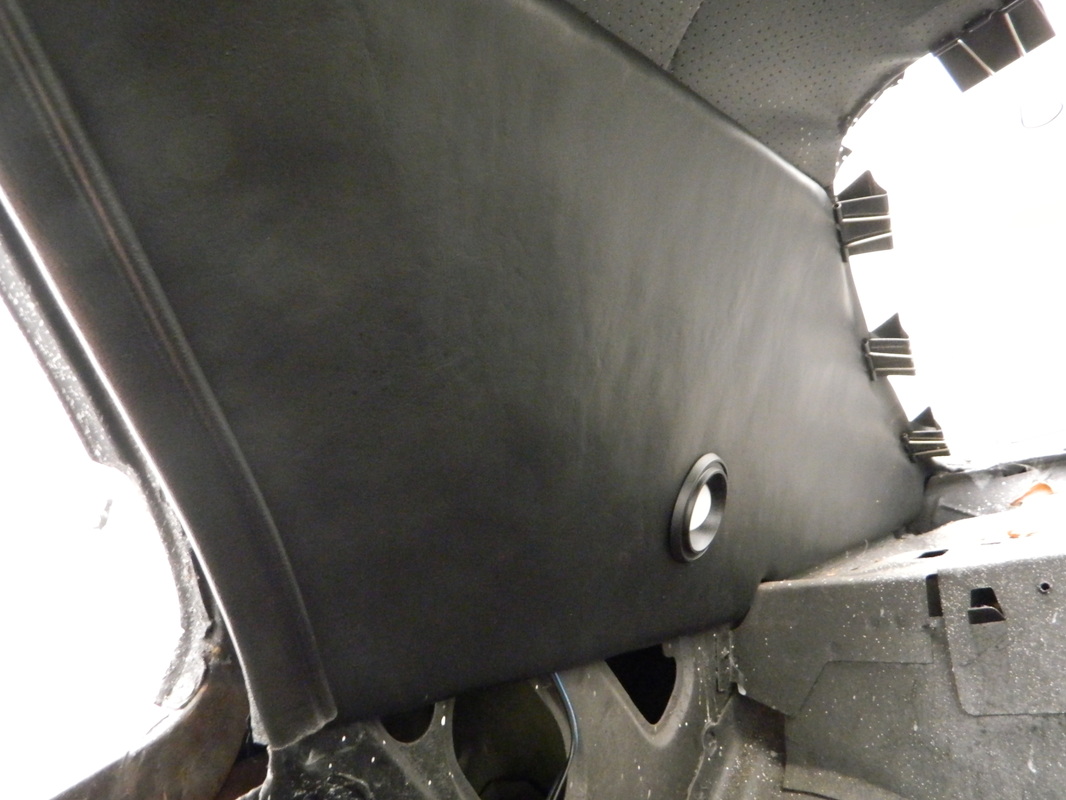
Off today, so...I decided to re-do my c pillar trim panel because the fastening clip I glued on to the back side ripped out when I tried to remove the panel to install my new opera lights. This time I used a little thicker backer board and also added some 1/8" high density foam. I beveled the foam at the edges to make them smoother and thinner so I could get the windlass trim over it. It went very well and only took 3 hrs to do. I hooked up the light on the driver side as I already had that wire run, but I still have to run the wire over to the passenger side. I going to use 3 velcro pads to fasten it this time.
Apr 20, 2015
Perfect weather today, so I got a lot done. First, I finished wiring the passenger side opera light and then I tackled the dash. I mounted the A/C register in it, and then installed the dash pad. I then installed all the little end cap trim pieces. I know it doesn't look or sound like much, but I managed to burn up 6 hrs doing it. I think I will try to get some LED bulbs for the opera lights.

Apr 21, 2015
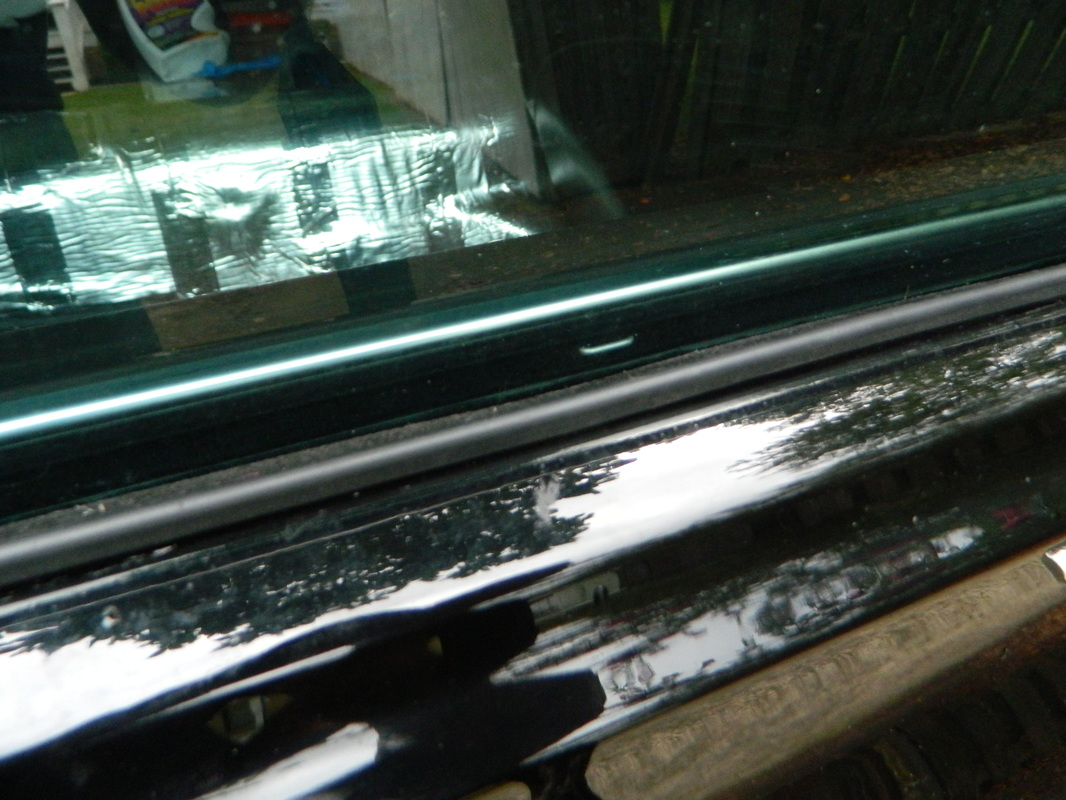
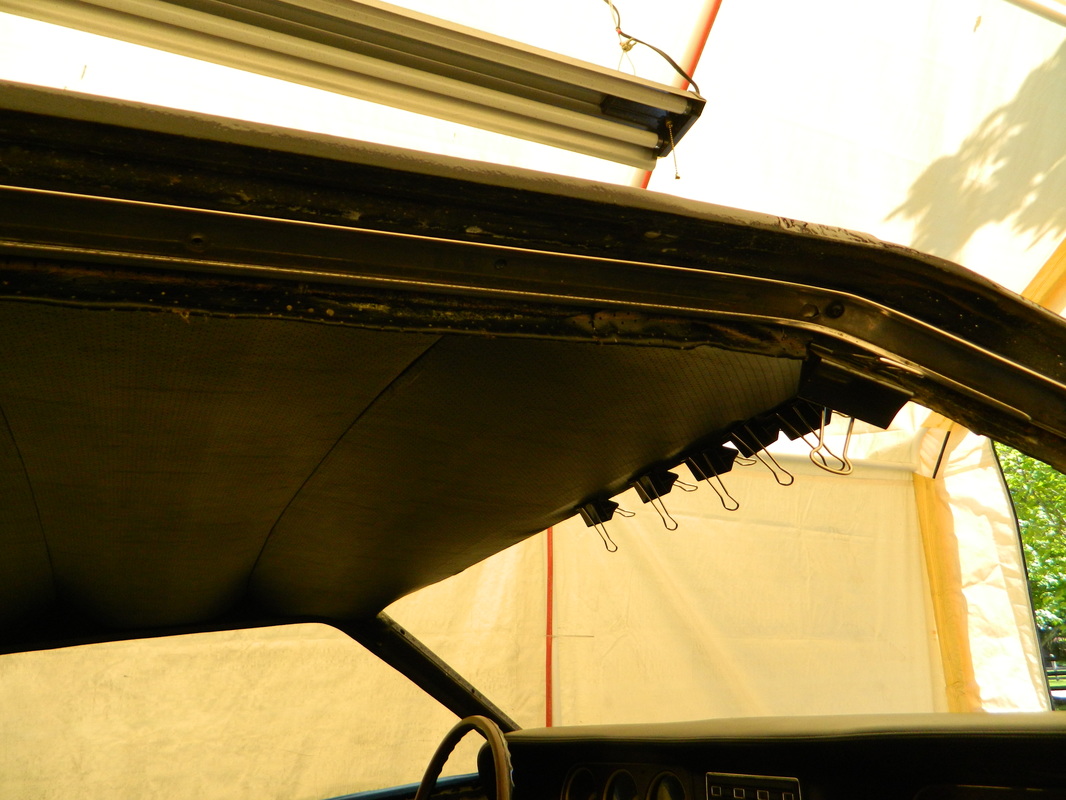
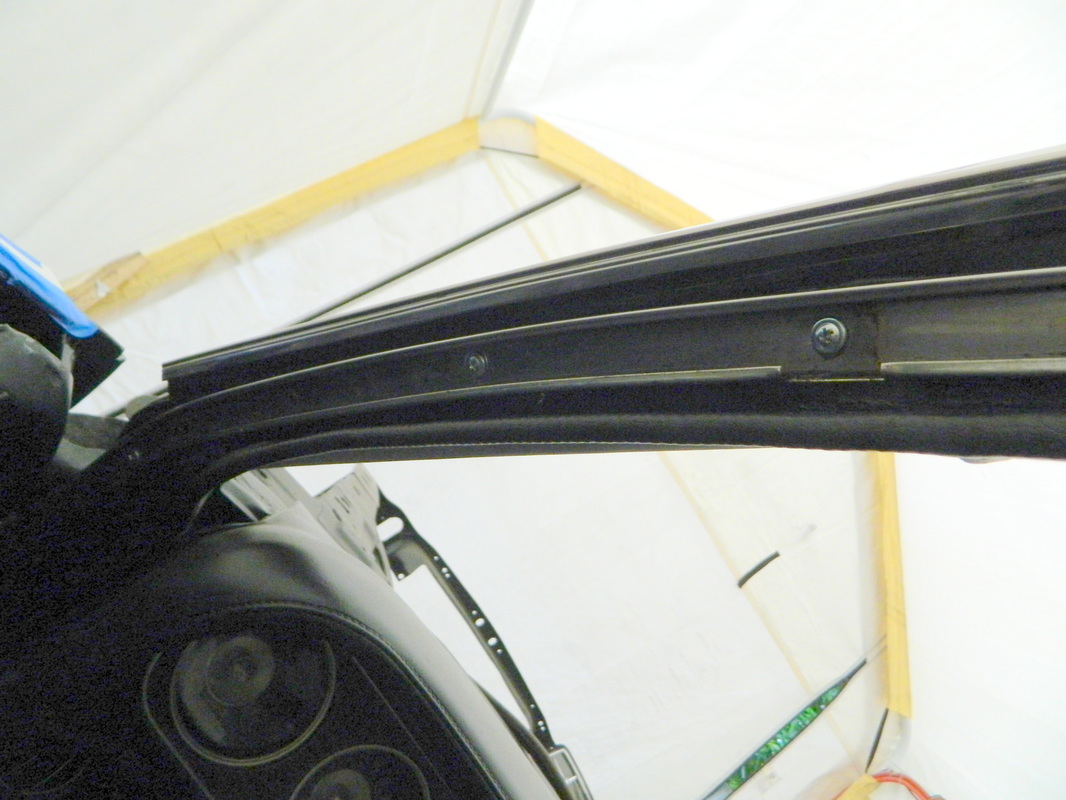
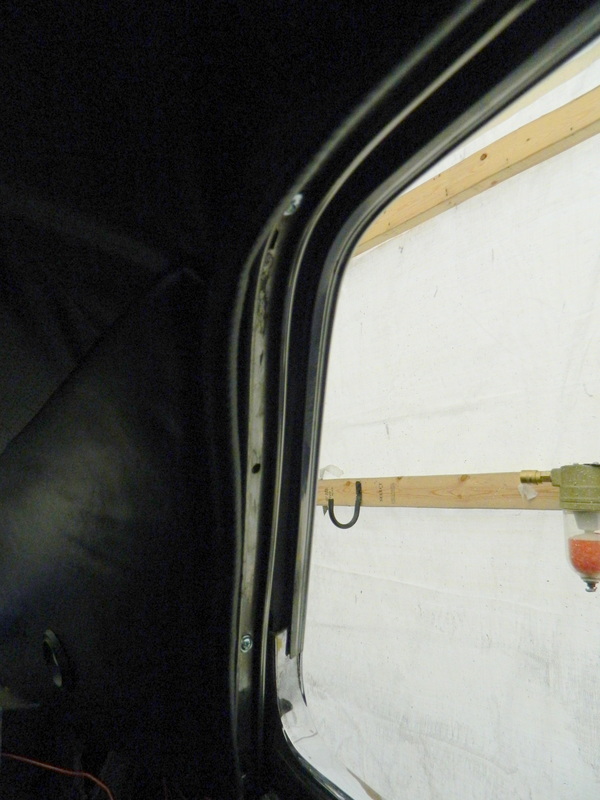
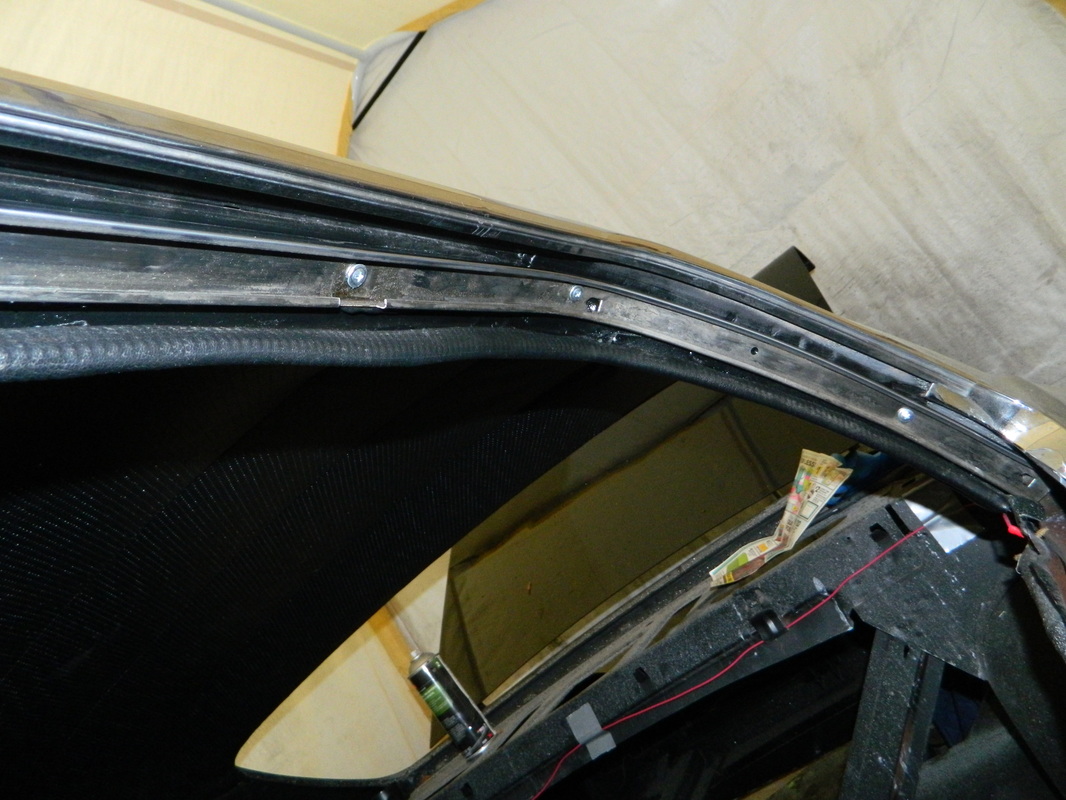
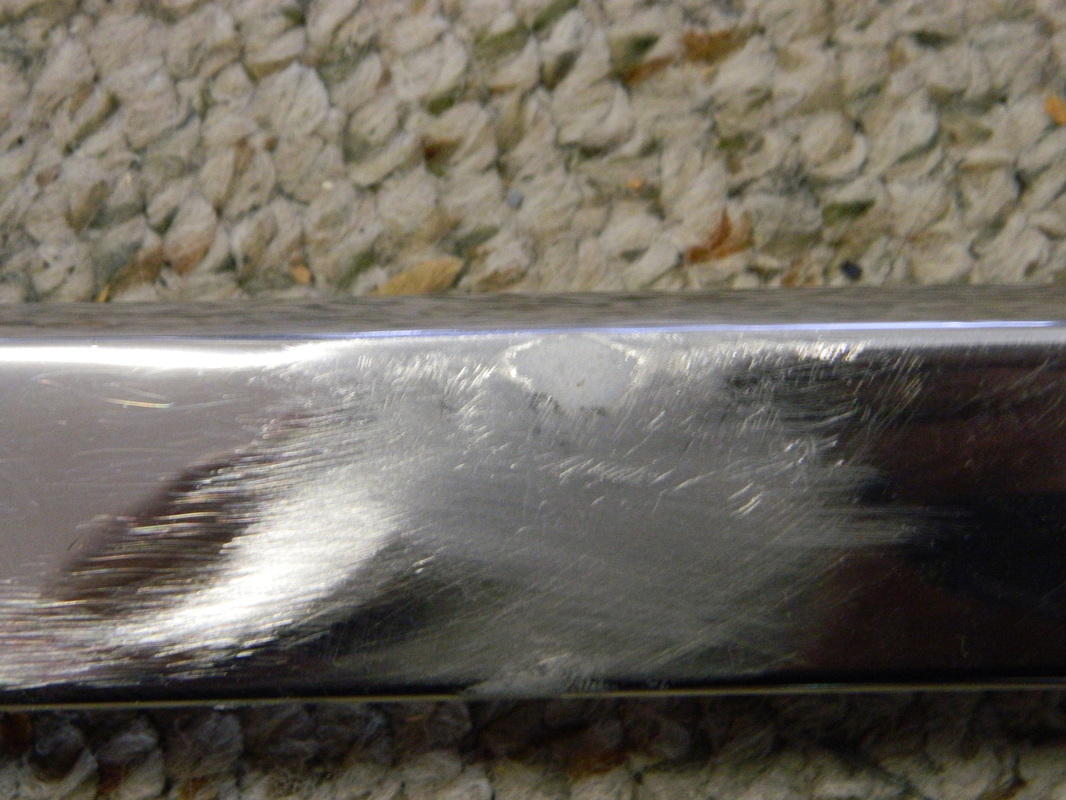
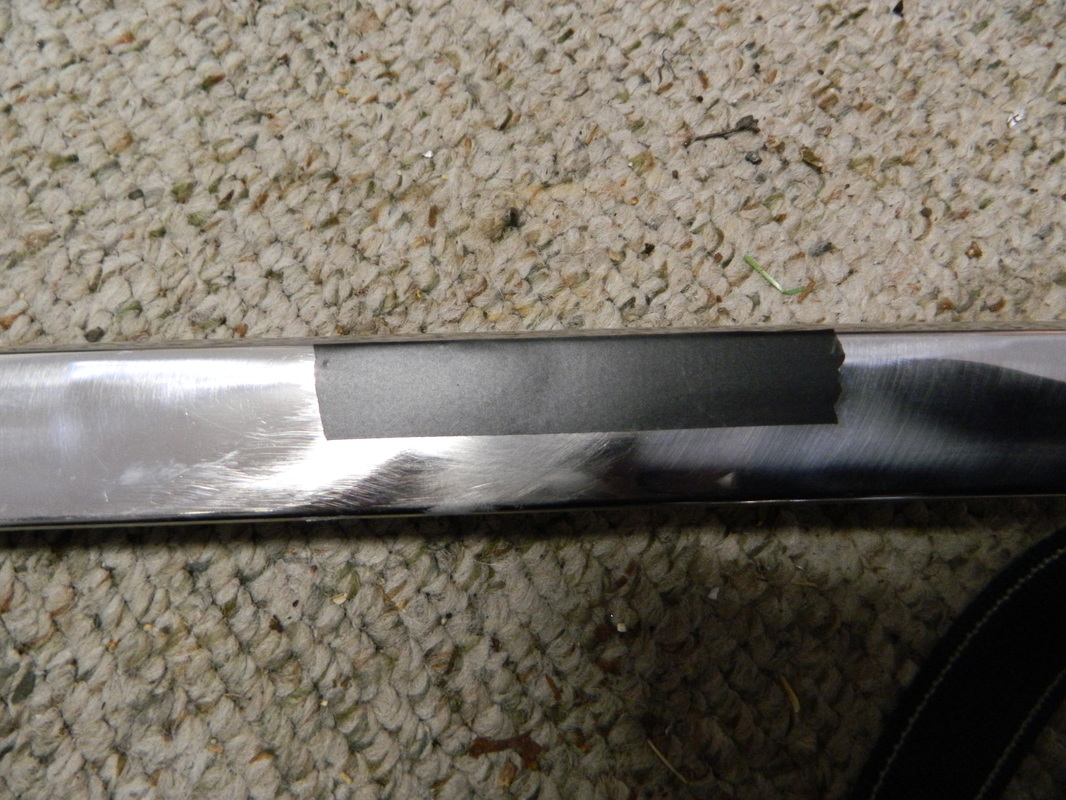
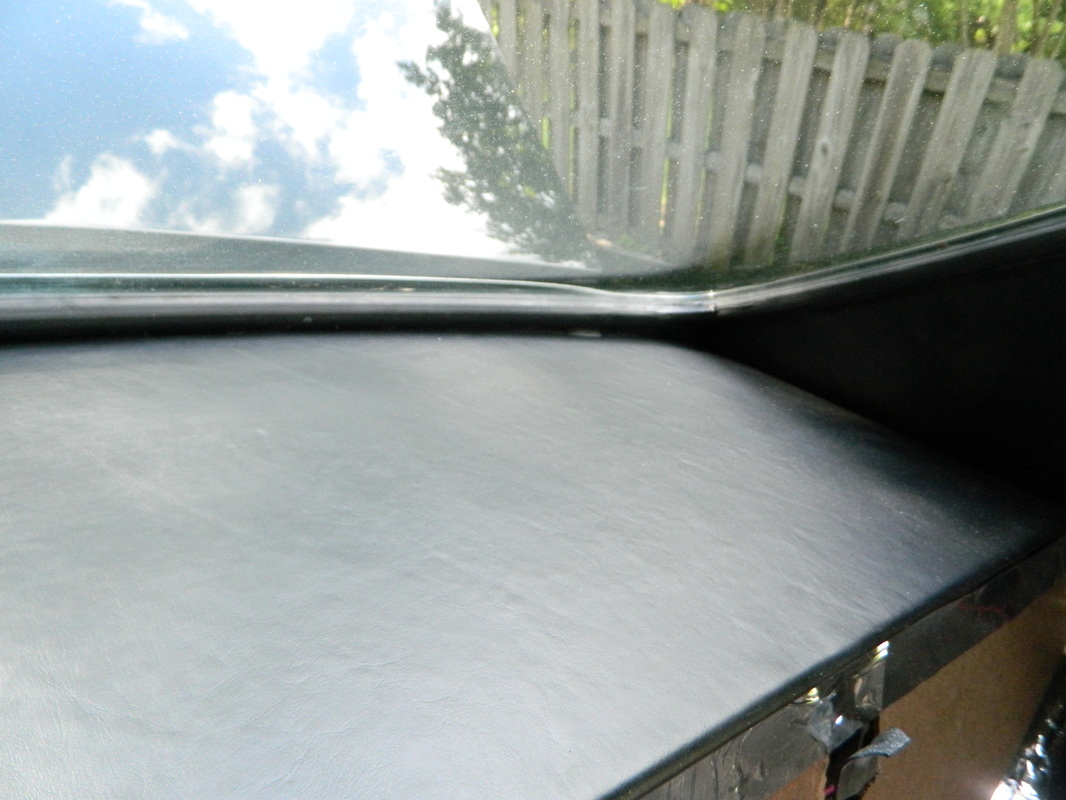
I didn't have a lot of time today, so all I did was trim the excess vinyl from the sail panels where it wraps around the rear window channel and glue it in place. While I was at it, I re-glued a front portion of the headliner that I wasn't happy with. Then I cleaned all the sealer off the upper door weather stripping channels and beat out a couple dents and then polished one of them. I'm now ready to get the weather stripping and install it. BTW I ordered a rear window gasket and a trunk lid trim/back up light trim vinyl decal. More on this later. 3 hrs.

Apr 22, 2015
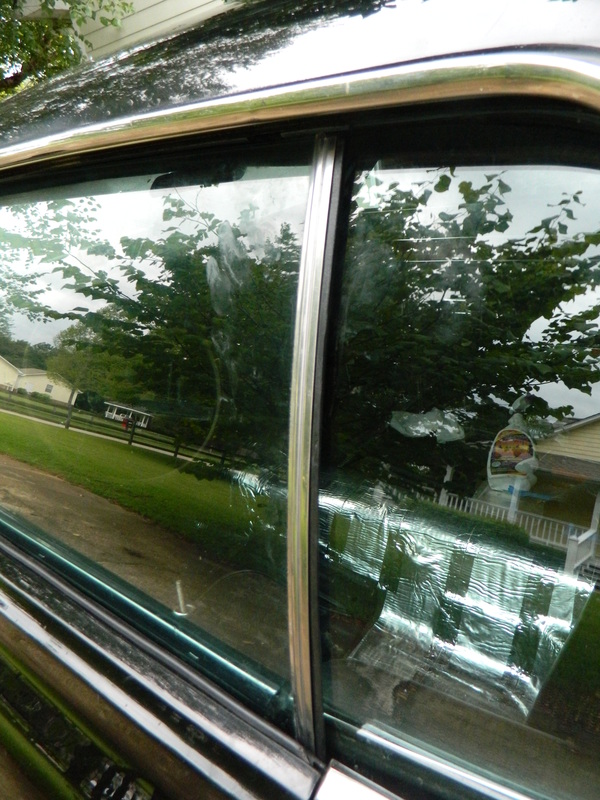
Today, I sealed the weather stripping channel into the passenger door. I know it doesn't sound like much but after cleaning and prep it took 2hrs.
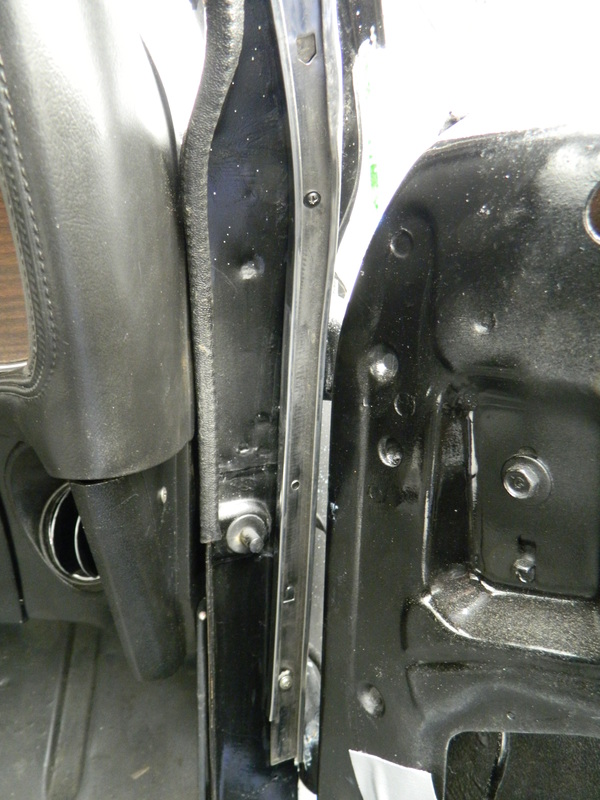
Apr 24, 2015
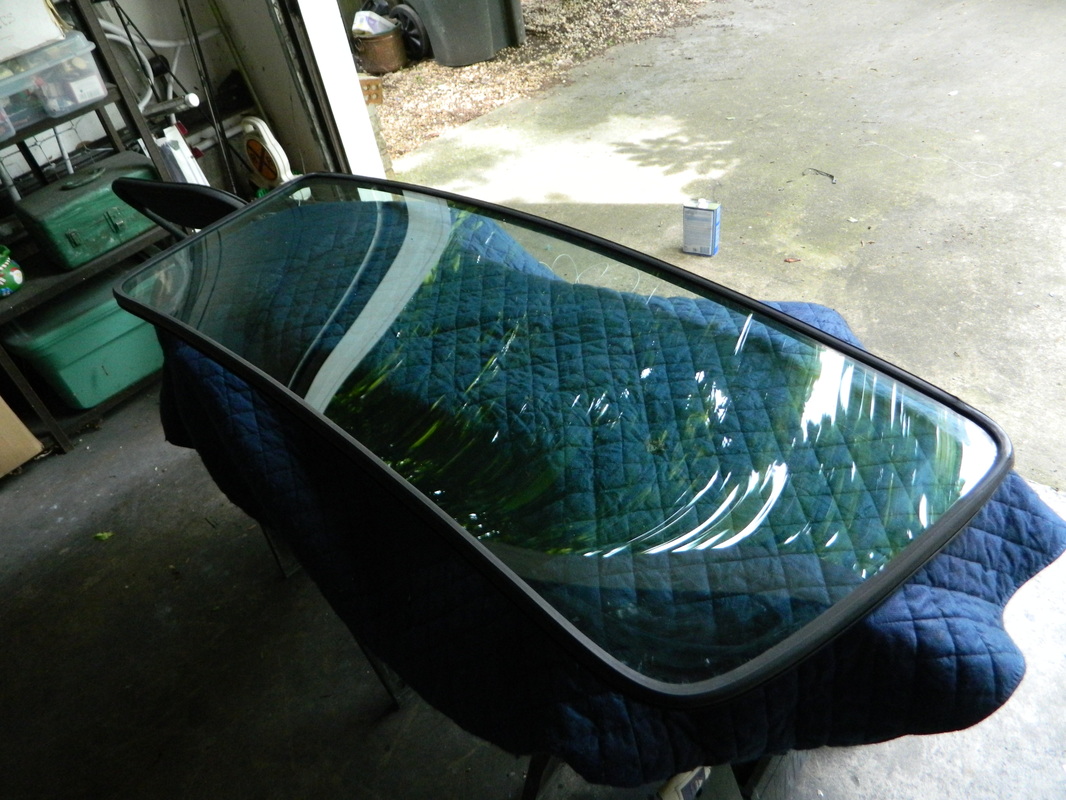
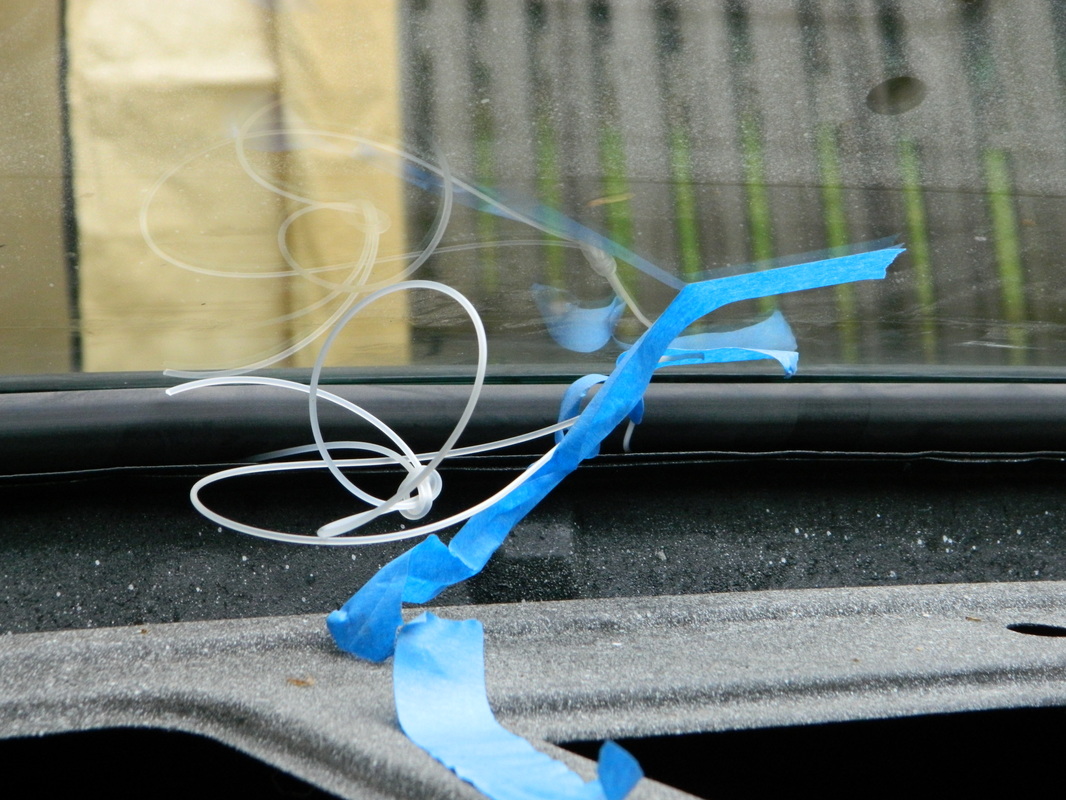
Yesterday, I did the weather stripping channel on the driver side and today I decided to see if I was man enough to tackle the rear window installation. After watching a couple of videos that I have already seen probably 5 times, I got the gasket around the window and then realized I didn't have a cord the right size to do the install, so I improvised using some weed eater string. Things went pretty well, until the corner and I could see that the second person in the video was going to be the way to go. So, I went next door and called upon my friend Larry to assist me by pounding on the glass as I pulled the string to pull the gasket into place. Things went really well until the last foot at the bottom, and then the glass was slipping out of the channel. So, we decided to pull it out and Larry went home and got the right size cord for the second attempt. That went really well, until the very last part then it slipped out again. I was getting frustrated with it by now, but we pulled and pried until it finally popped into place. Thanks Larry couldn't have done it without you! Another thing, today I had a new set of tires put on my Ranger and used the wore out front tires mounted on the Cougar rims on the rear, replacing the dry rotted tires that would only hold air for 2 hrs.
A couple of other things, I ordered a tape stripe kit for the trunk lid trim to cover up the tiny hole I put in the trim trying to straighten out a small dent. I put some epoxy putty behind the hole and then finished it out on the front side. One of the pics shows a piece of electrical tape I put over it to test it for straightness. The other thing was I chipped the paint on the panel just below the window, but its no big deal. Yesterday took 2 hrs and today was 4 hrs.
A couple of other things, I ordered a tape stripe kit for the trunk lid trim to cover up the tiny hole I put in the trim trying to straighten out a small dent. I put some epoxy putty behind the hole and then finished it out on the front side. One of the pics shows a piece of electrical tape I put over it to test it for straightness. The other thing was I chipped the paint on the panel just below the window, but its no big deal. Yesterday took 2 hrs and today was 4 hrs.


Apr 27, 2015
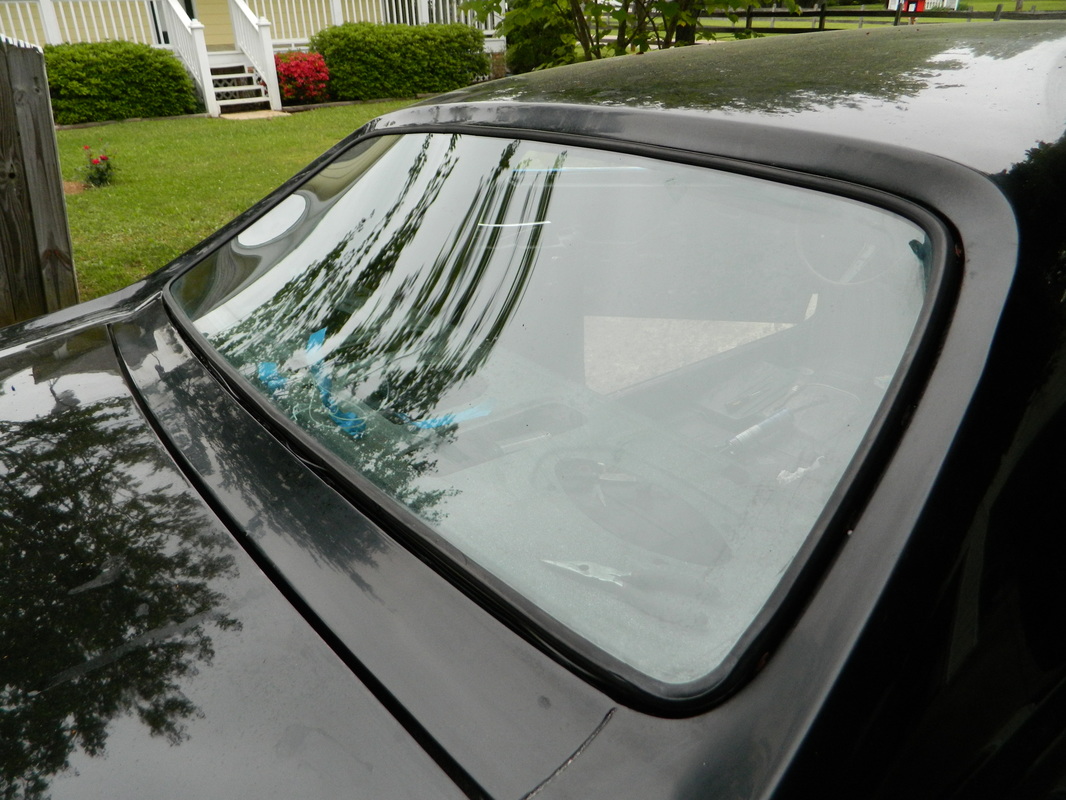
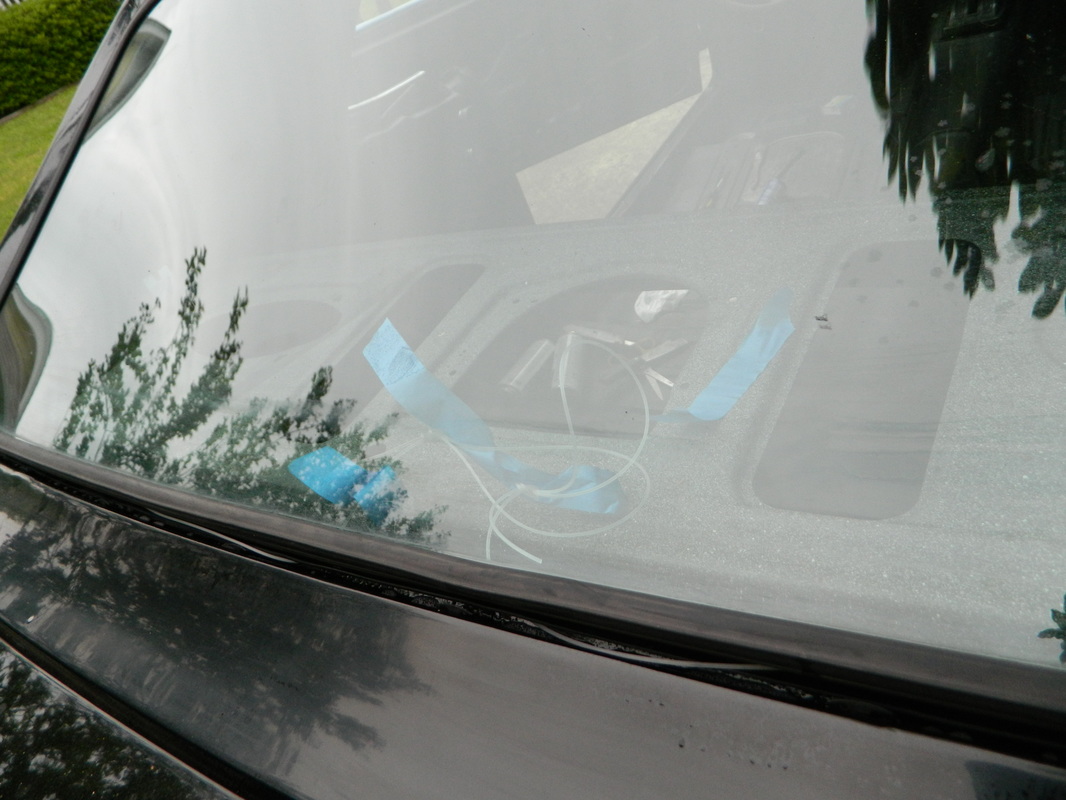
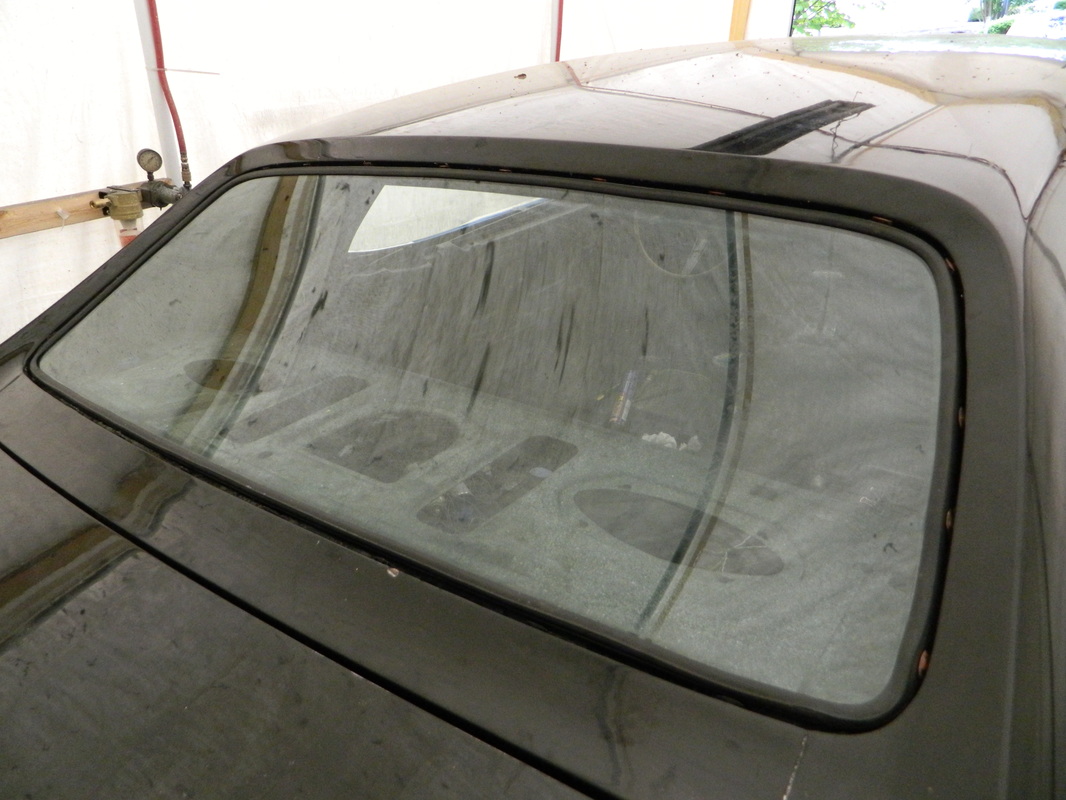
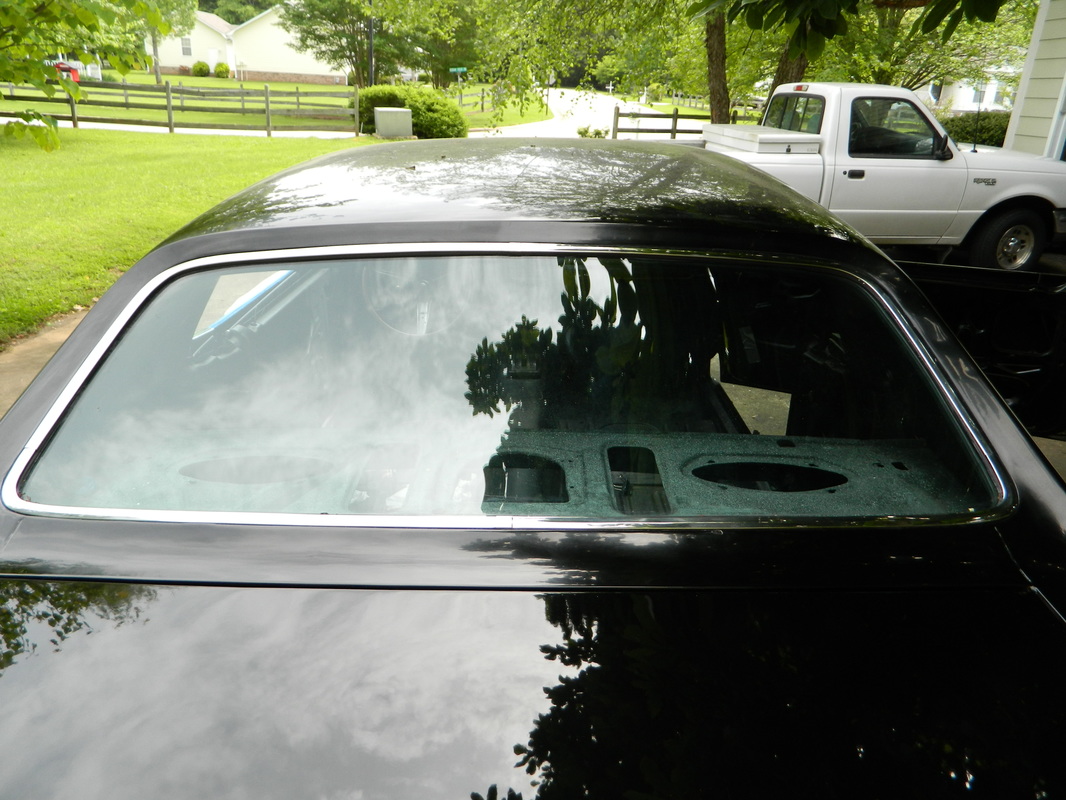
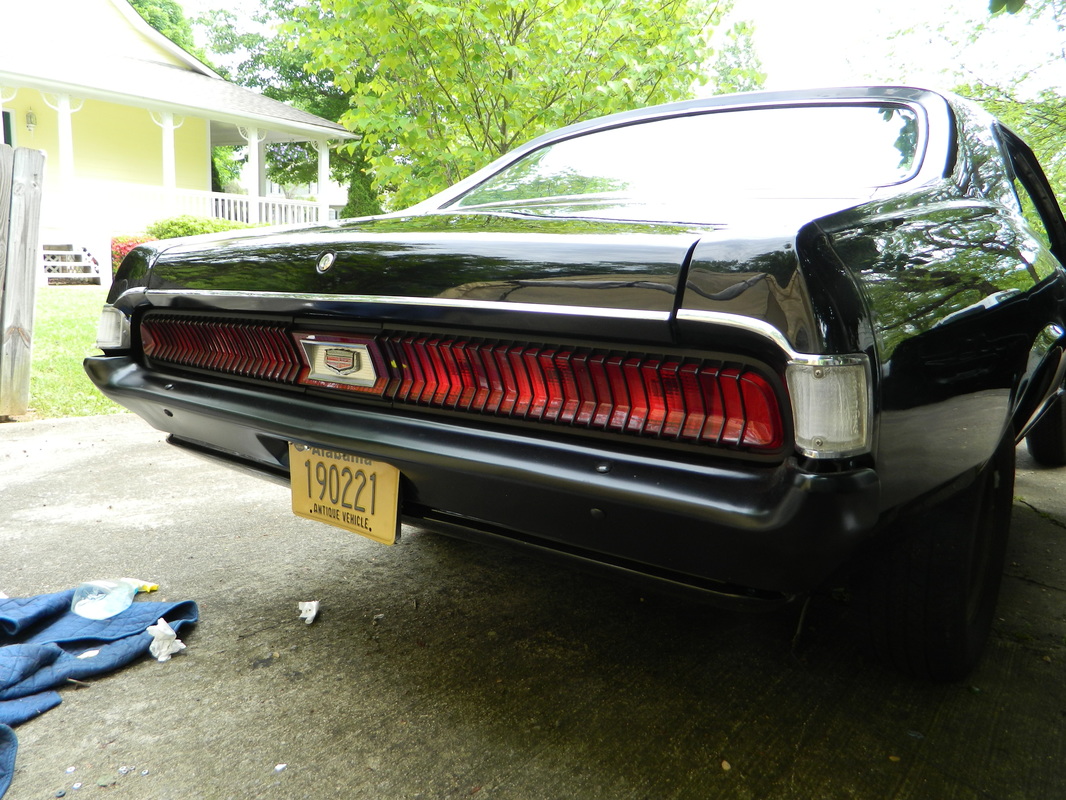
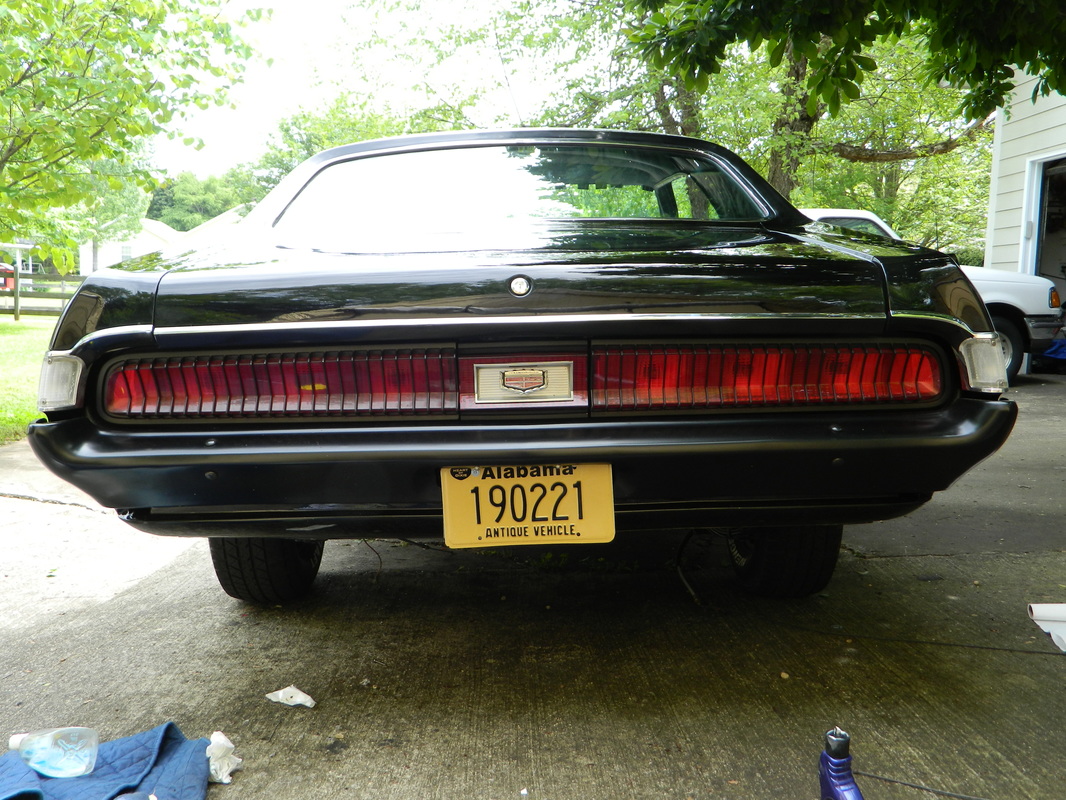
Since I was off this morning, I got out and put sealer inside and out on the rear window gasket. What a messy job. Got it everywhere, including on me. Then, I polished the window trim and installed it. It was a bit of a struggle but I won, but managed to put a tiny dent in the trim. So, one tiny dent, which I will leave, and the small chip in the paint from the window install, which I will fix. Not too bad I guess. Oh almost forgot, I also applied the black decals to the trunk trim and back up light bezels, and installed the trunk trim. NOW it's starting to look like a finished car! 3 hrs


Apr 28, 2015
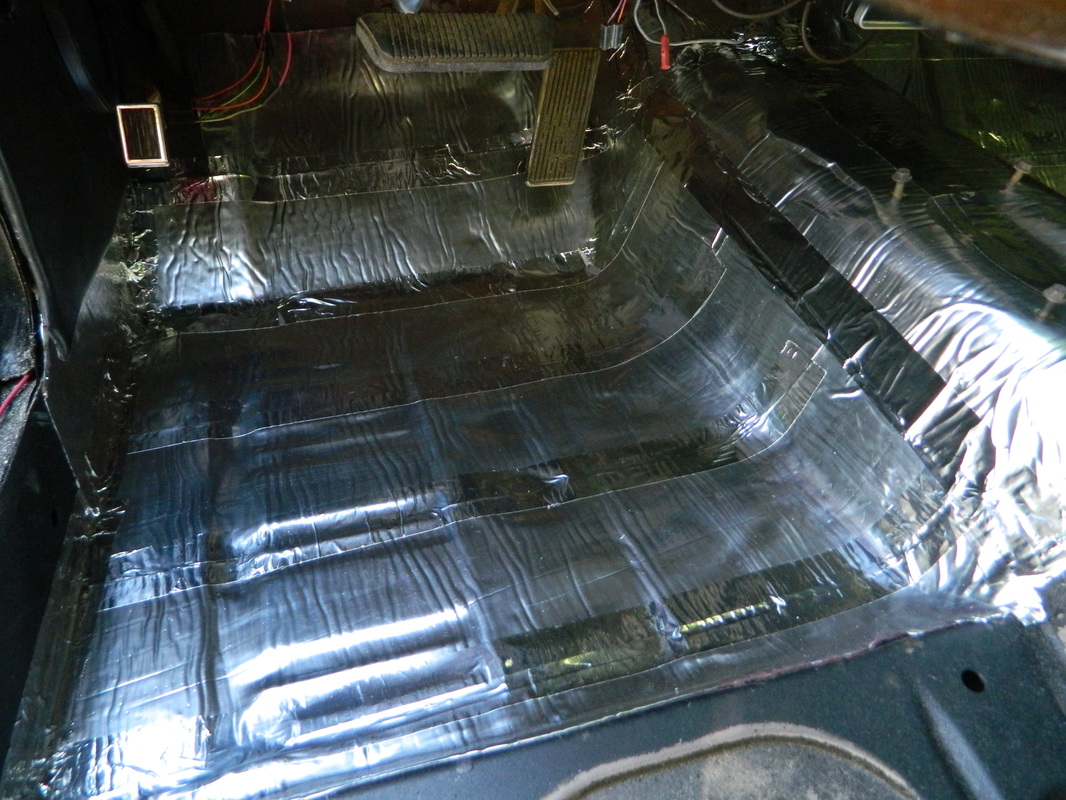
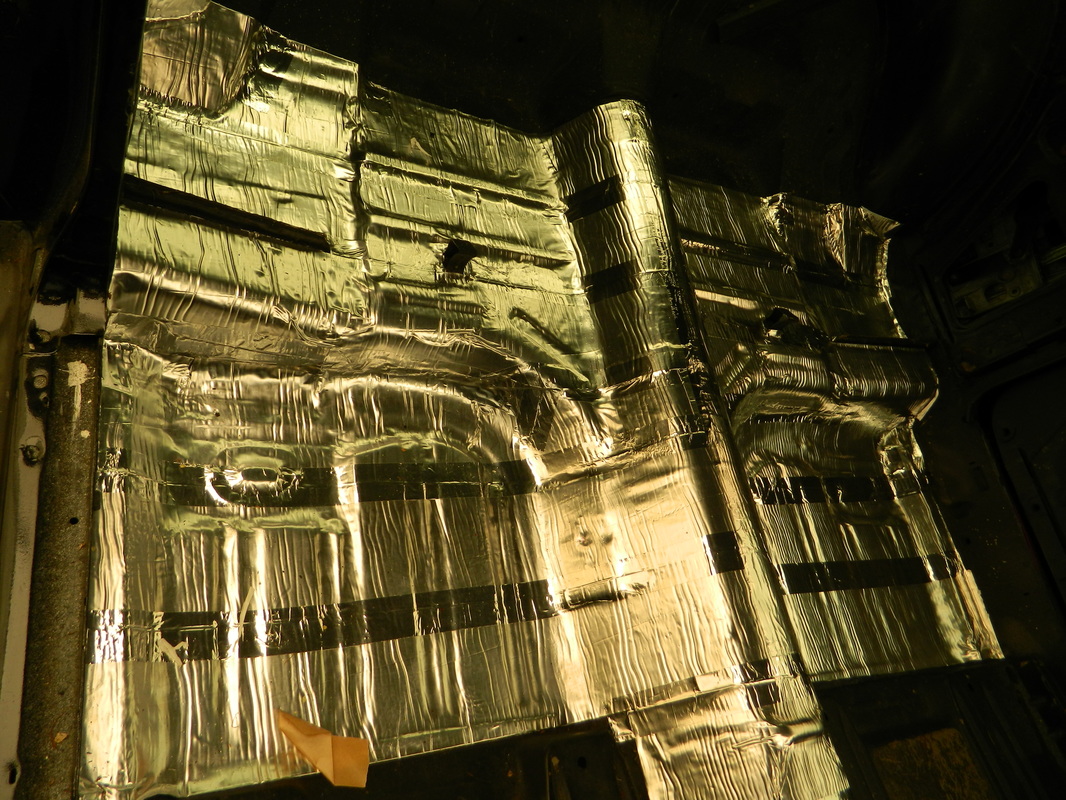
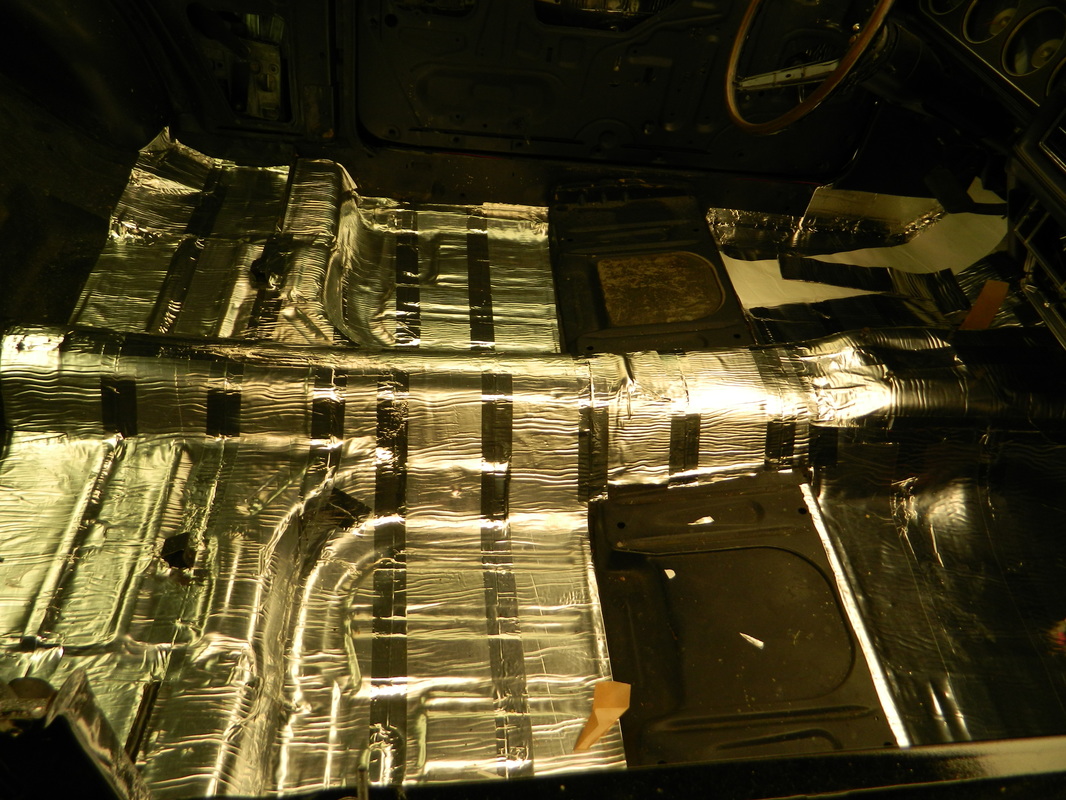
Didn't have a lot of time today, so I did a little insulation in the inside of the Cougar 2 hrs

Apr 29, 2015
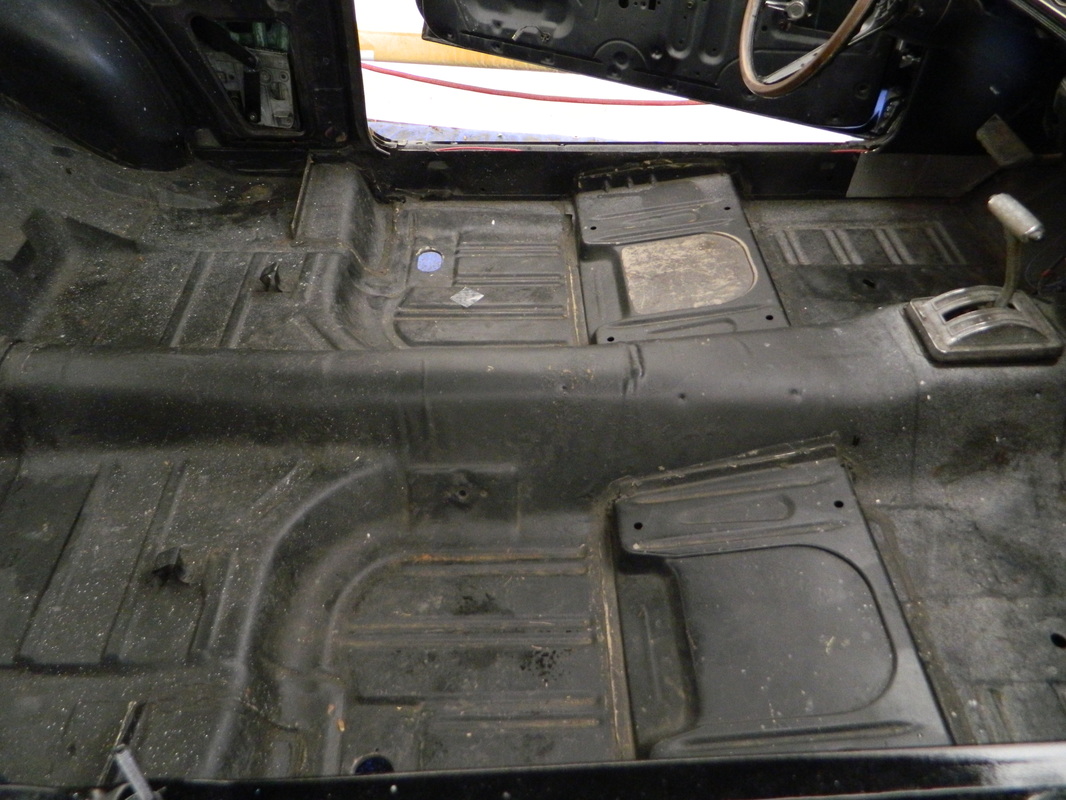
More insulating today, the back seat and floor boards. 2 hrs
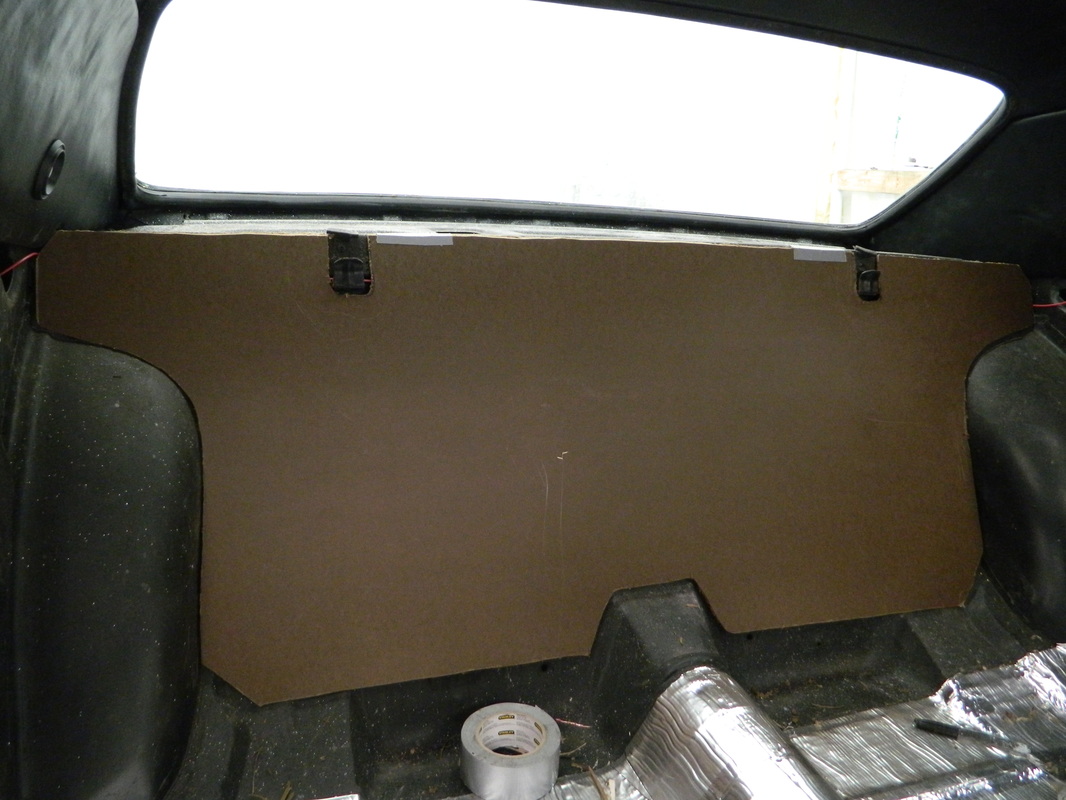
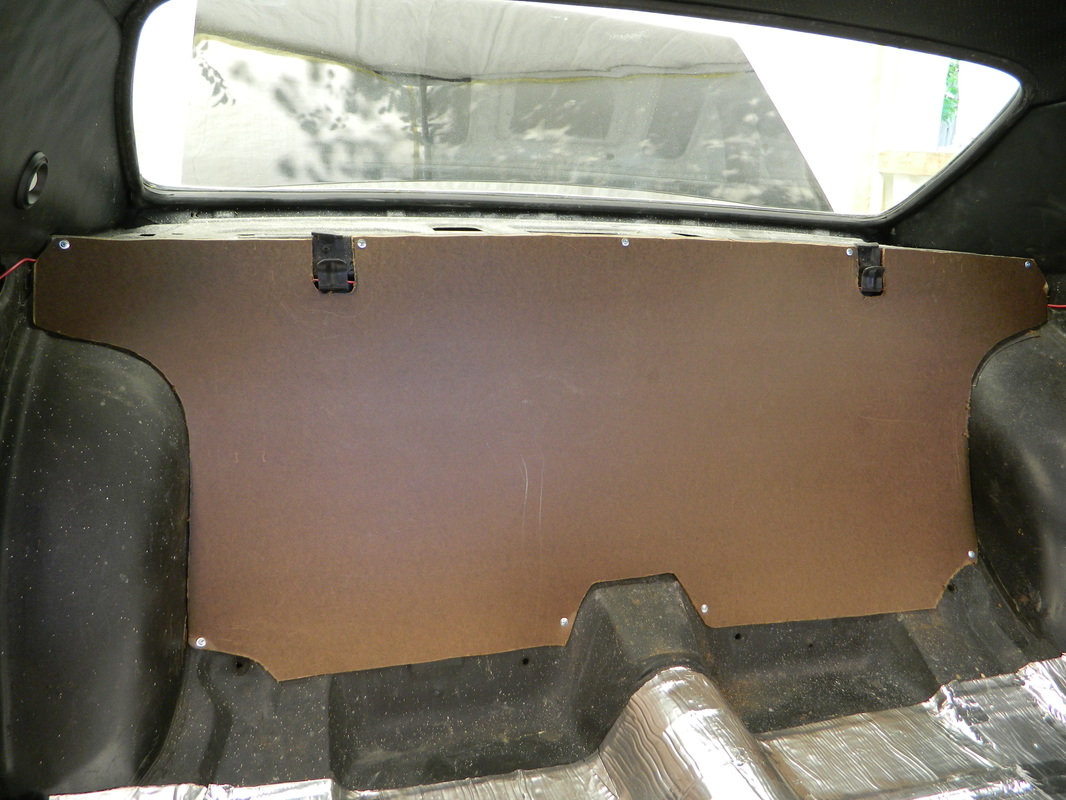
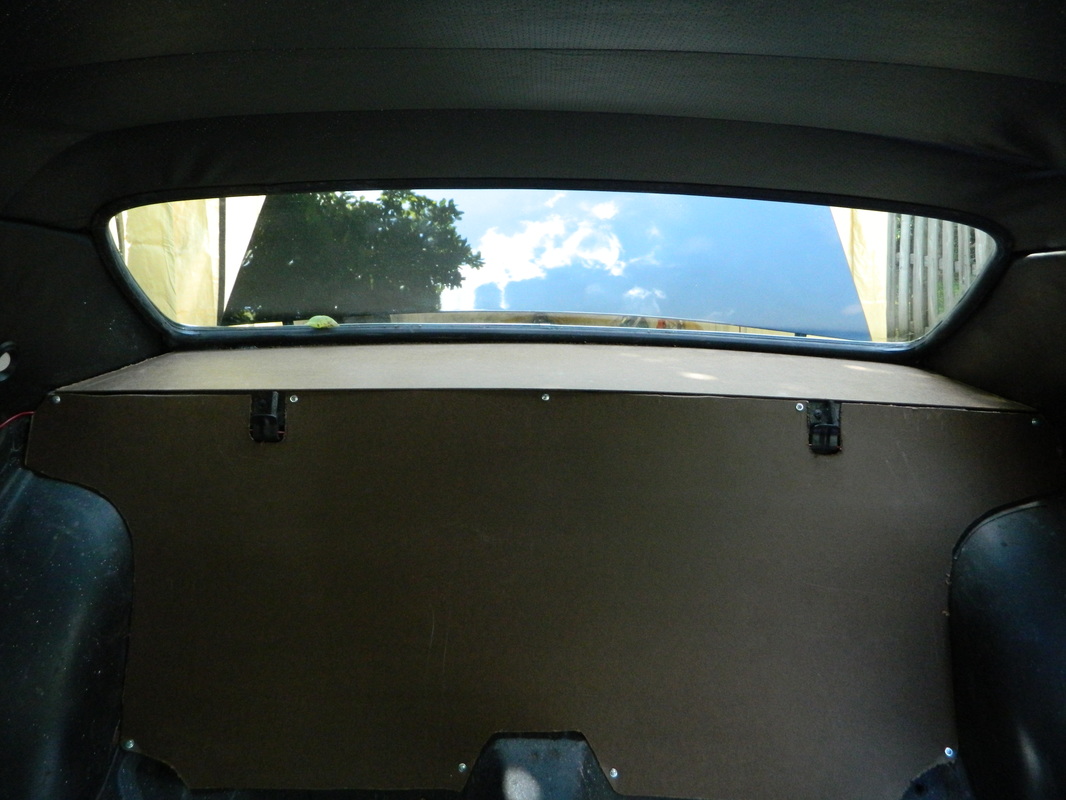
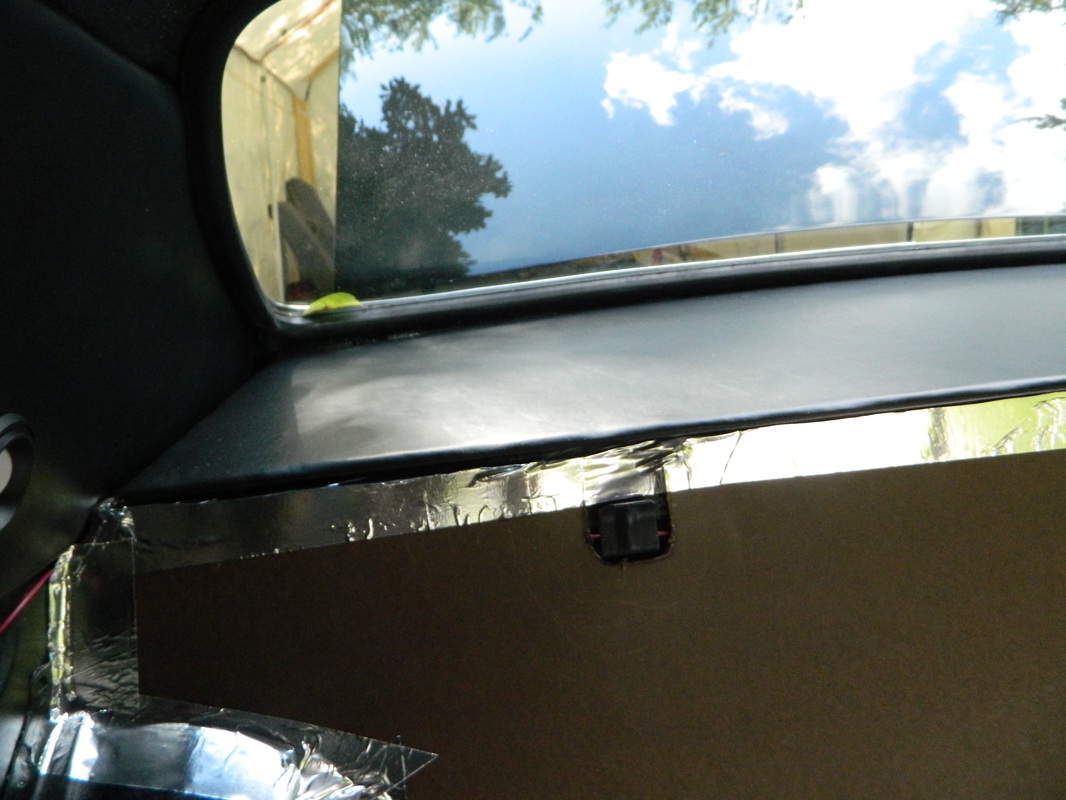
Apr 30, 2015
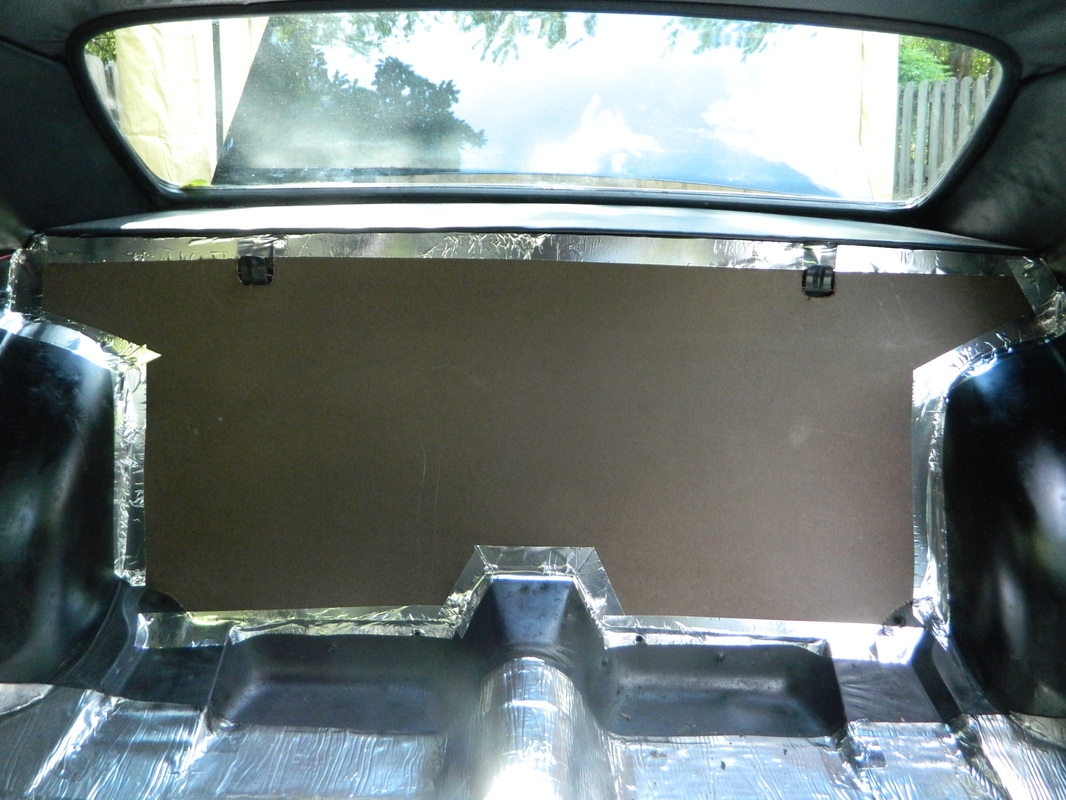
Full day today..I made patterns for the package tray and the trunk divider panel and then made the panels and upholstered the package tray and installed the divider and sealed it. 6hrs.

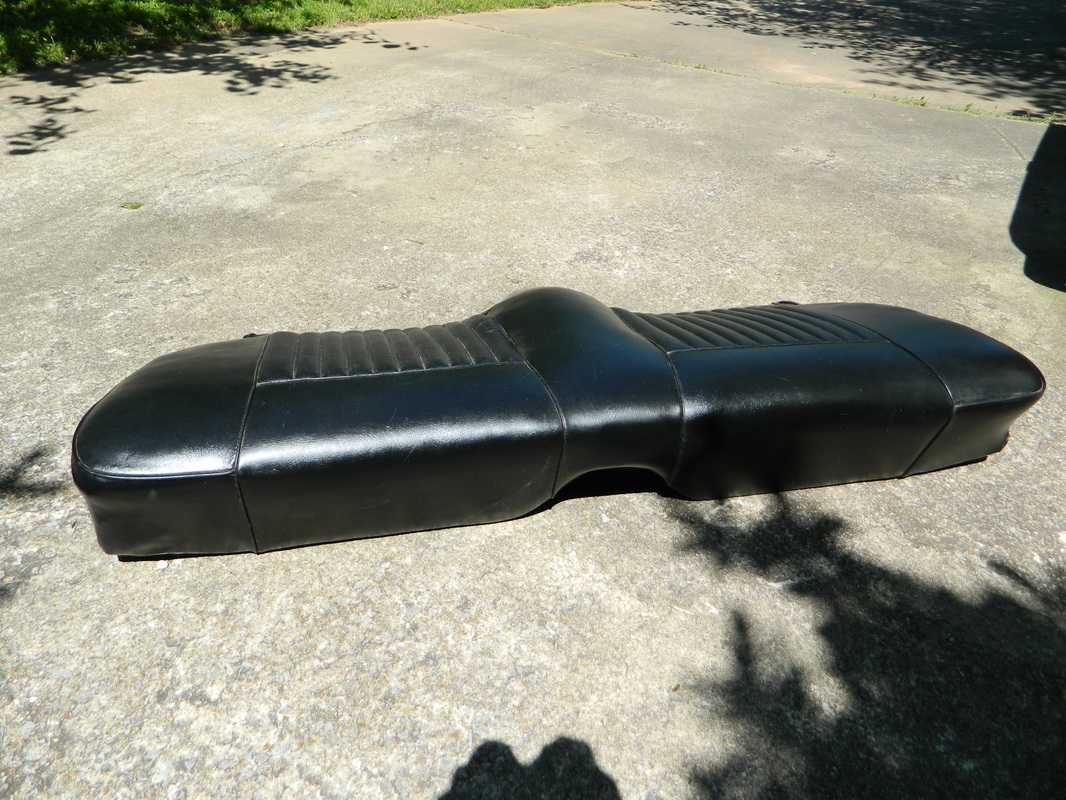
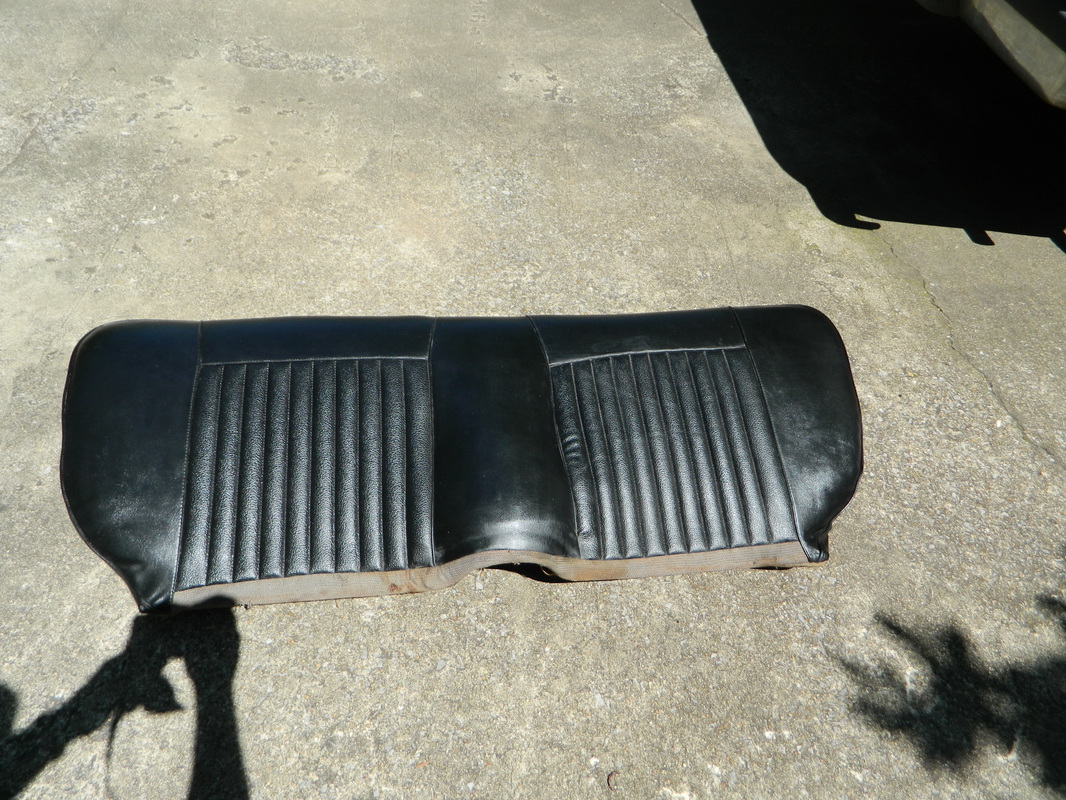
May 1, 2015
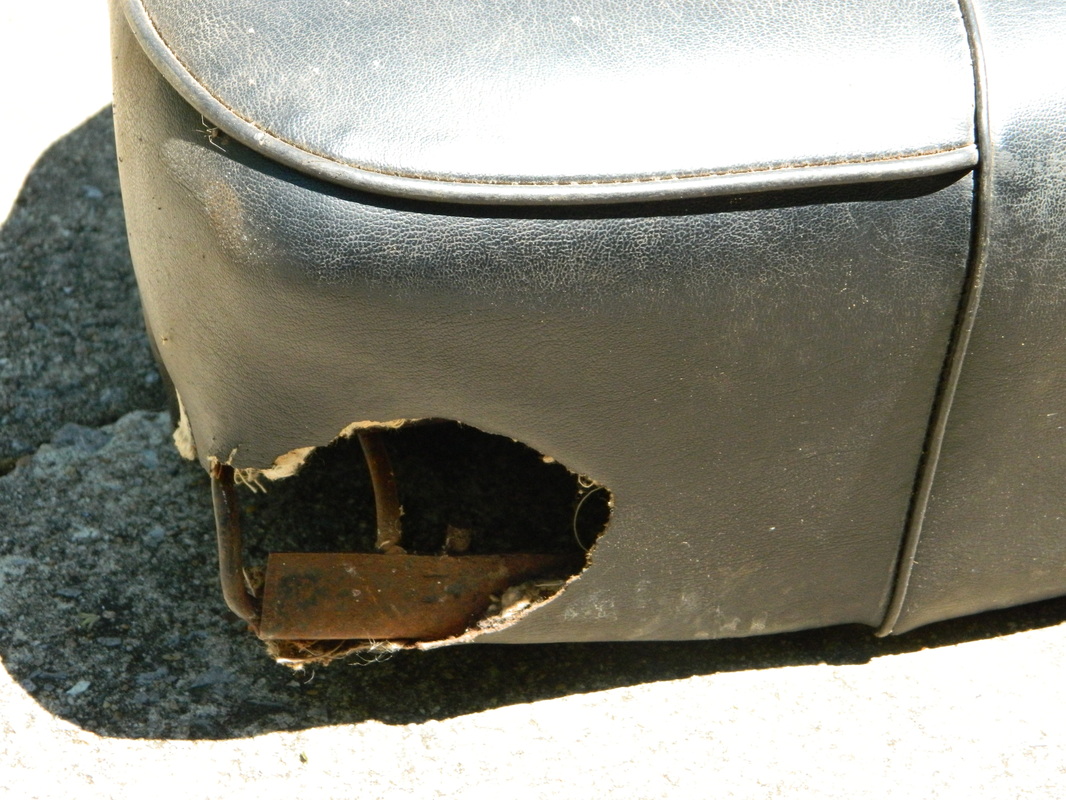
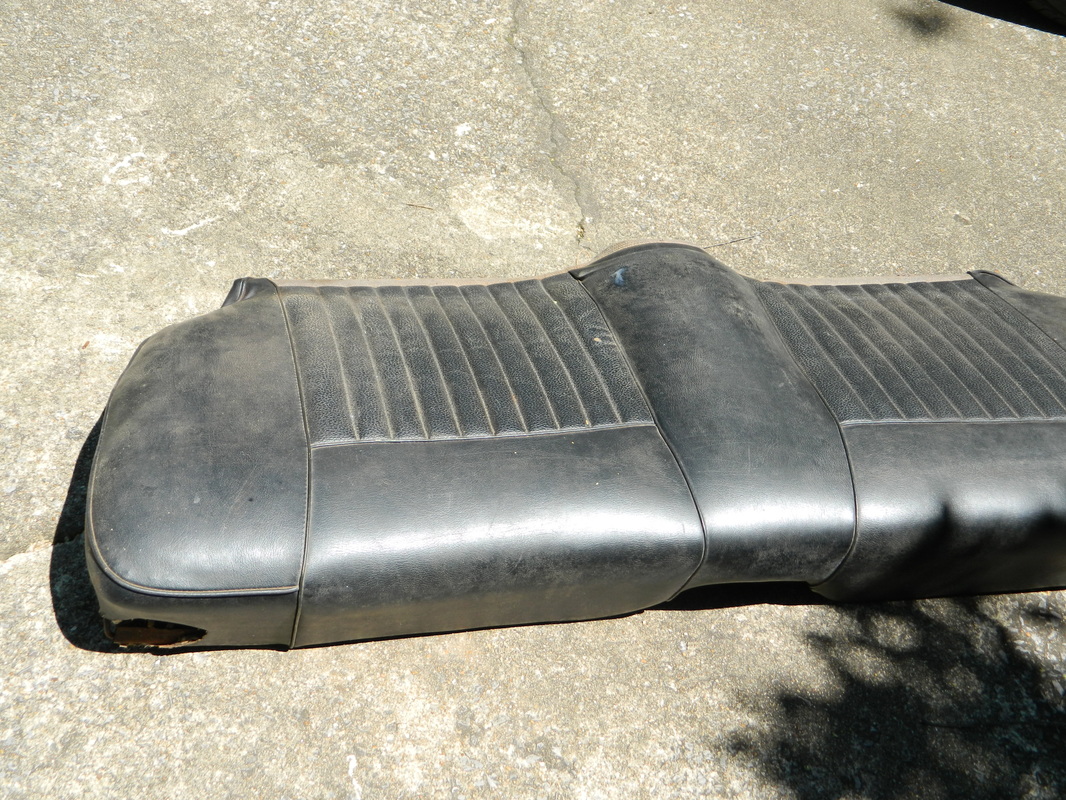
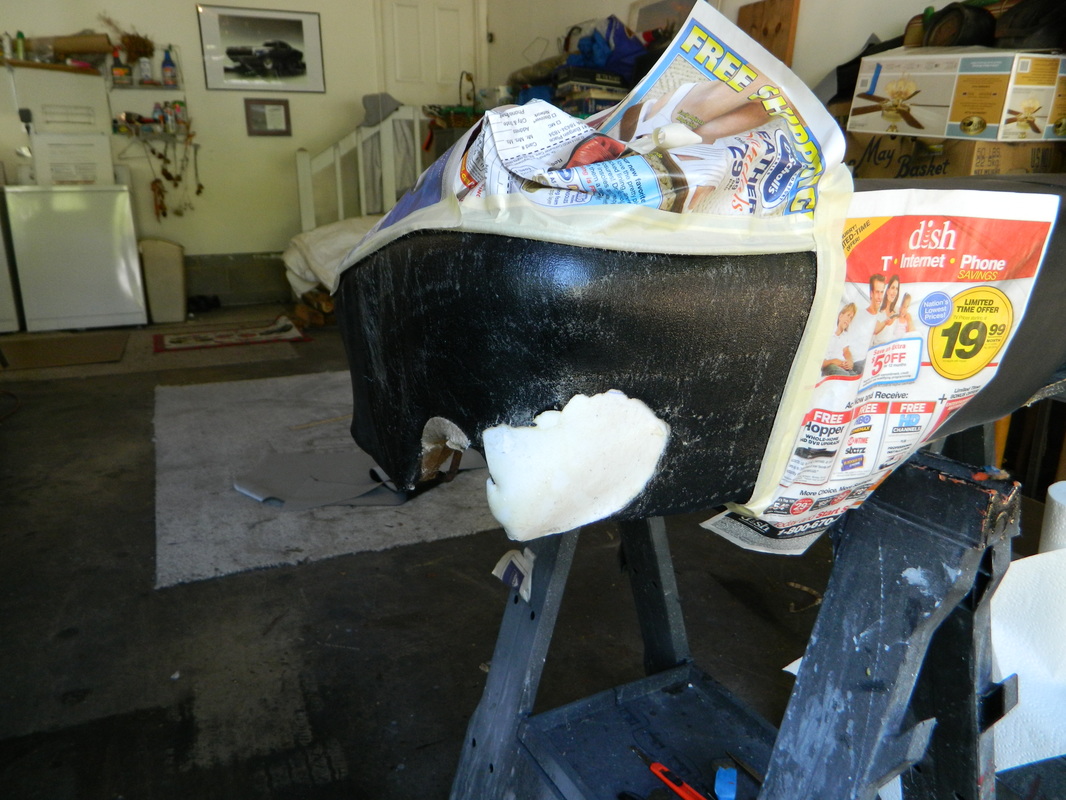
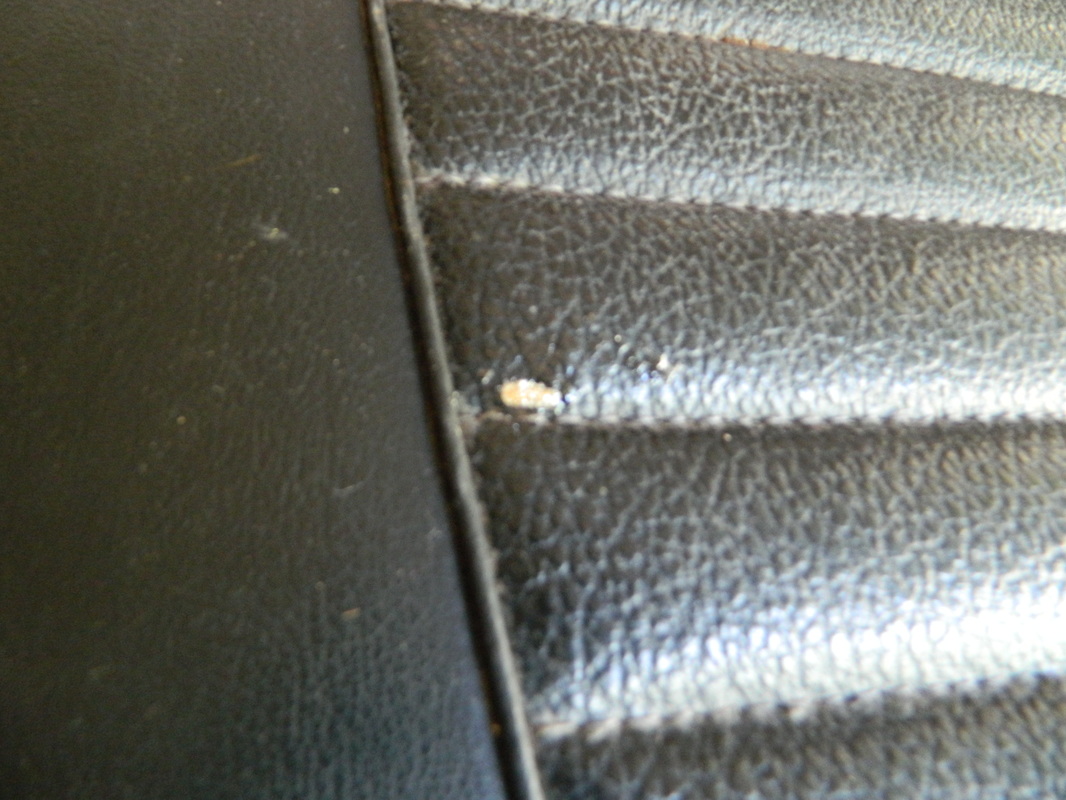
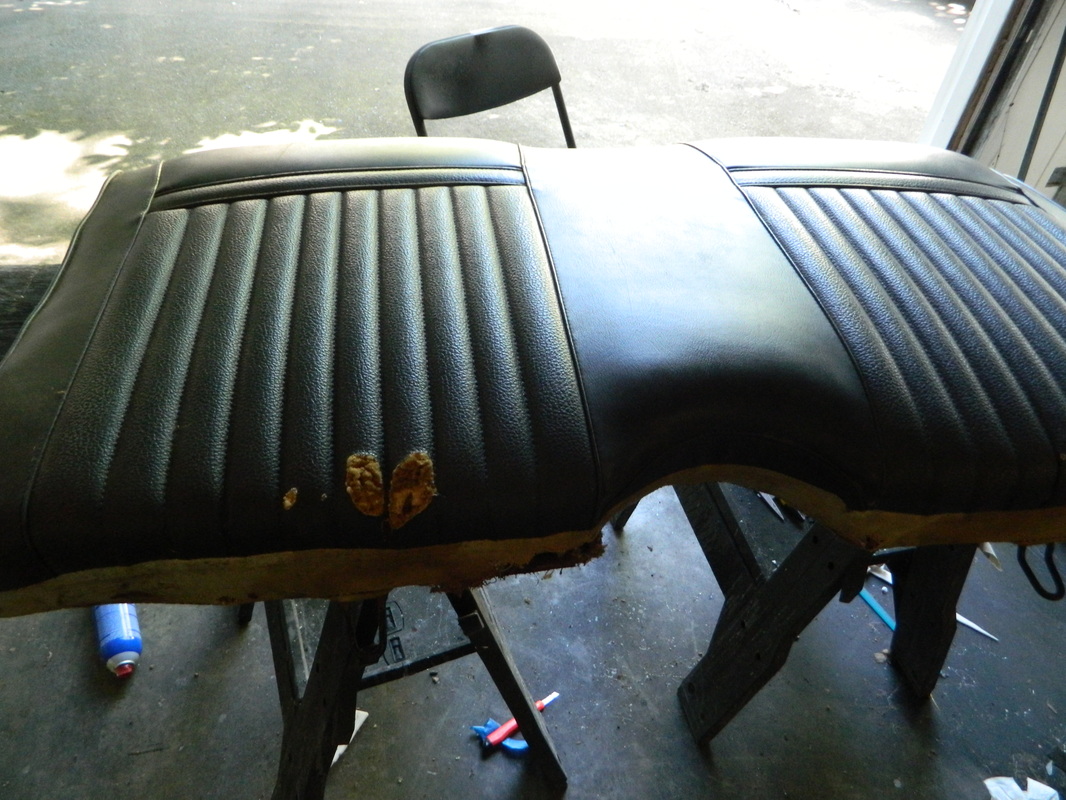
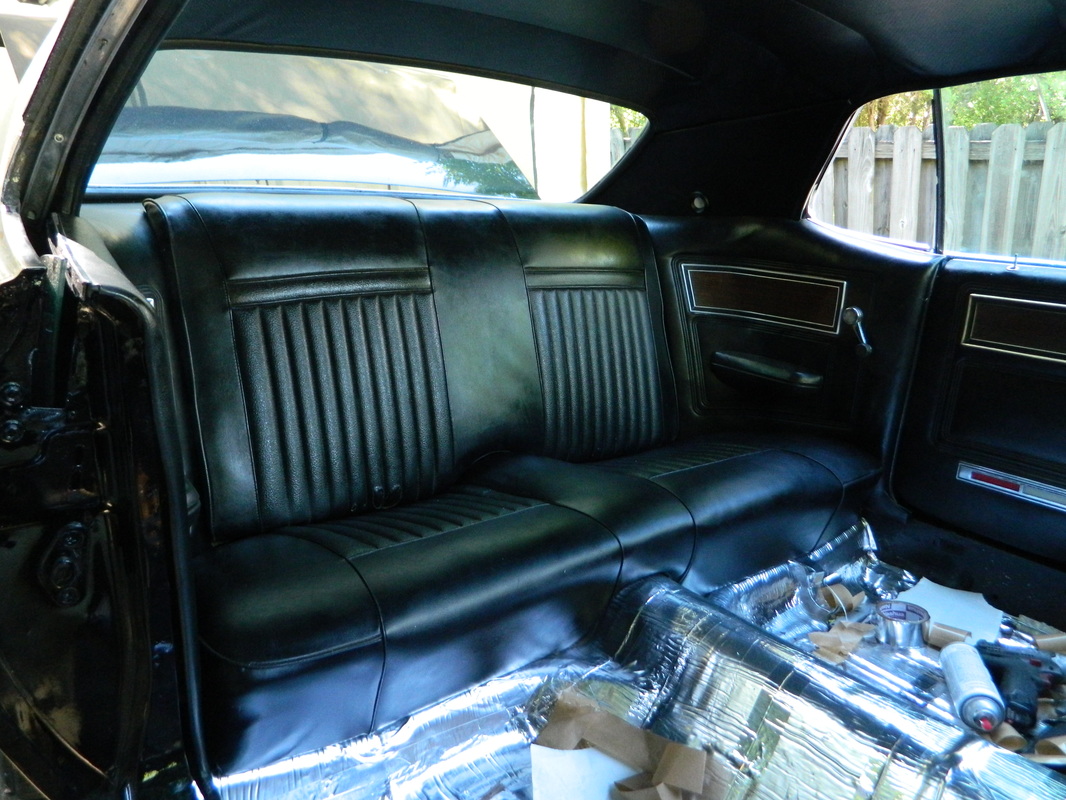
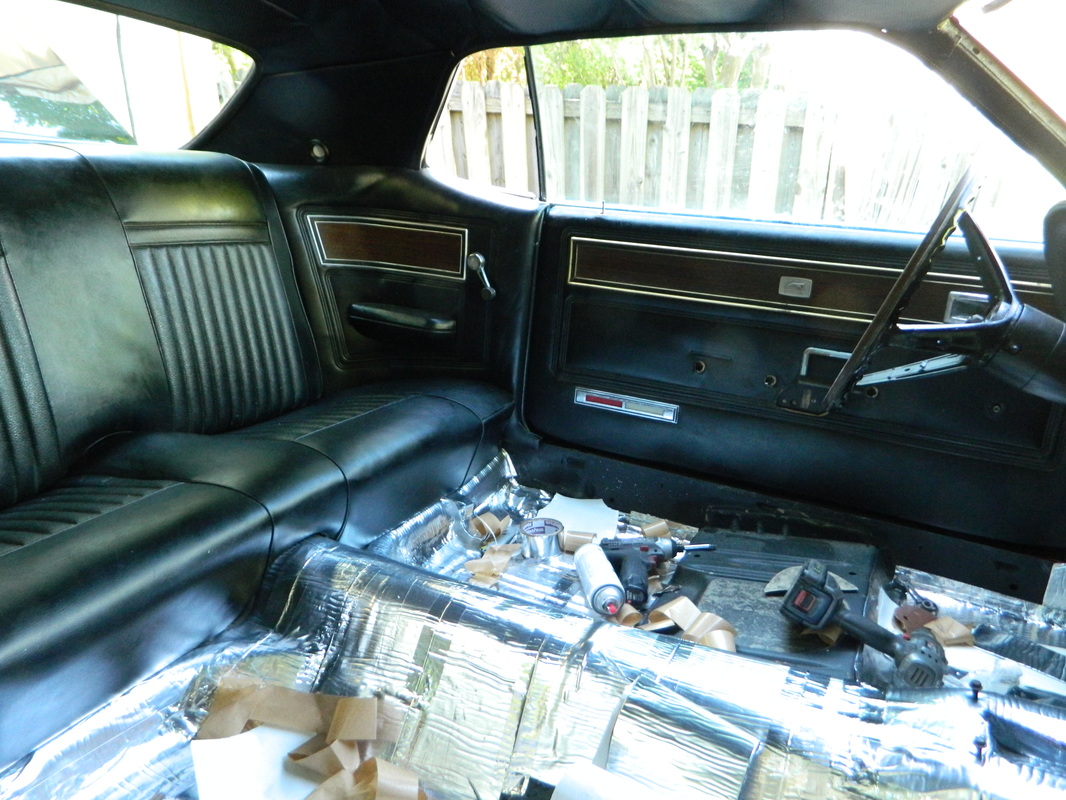
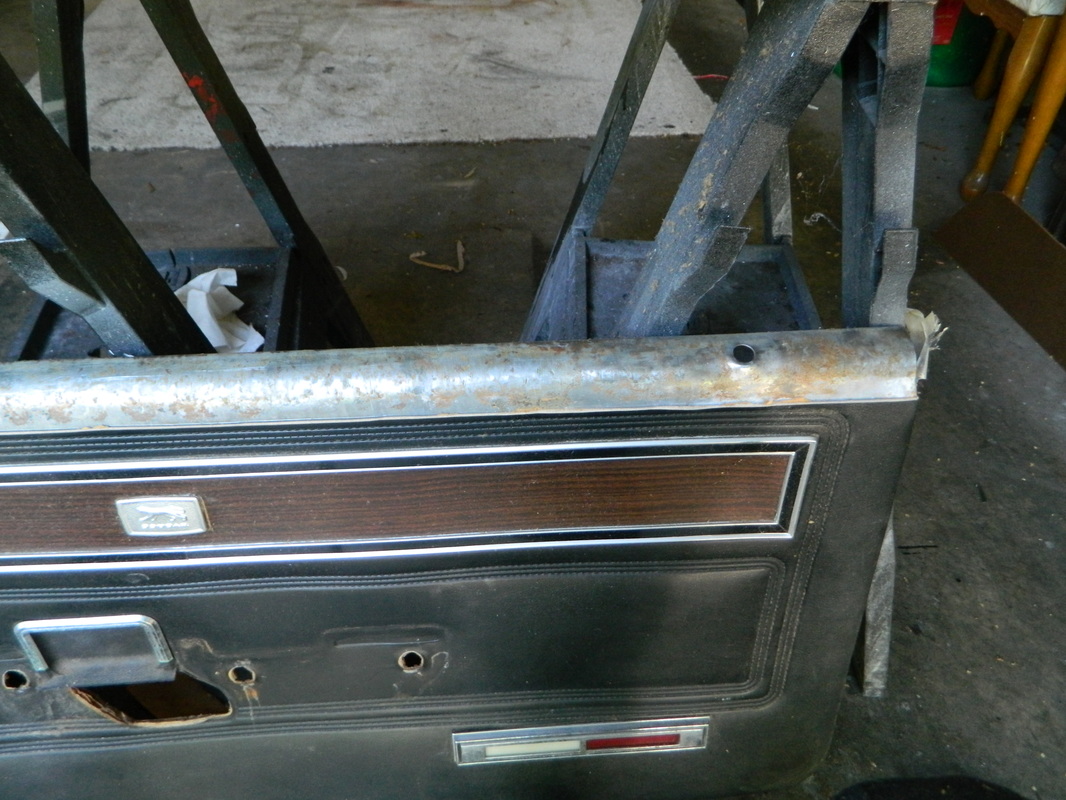
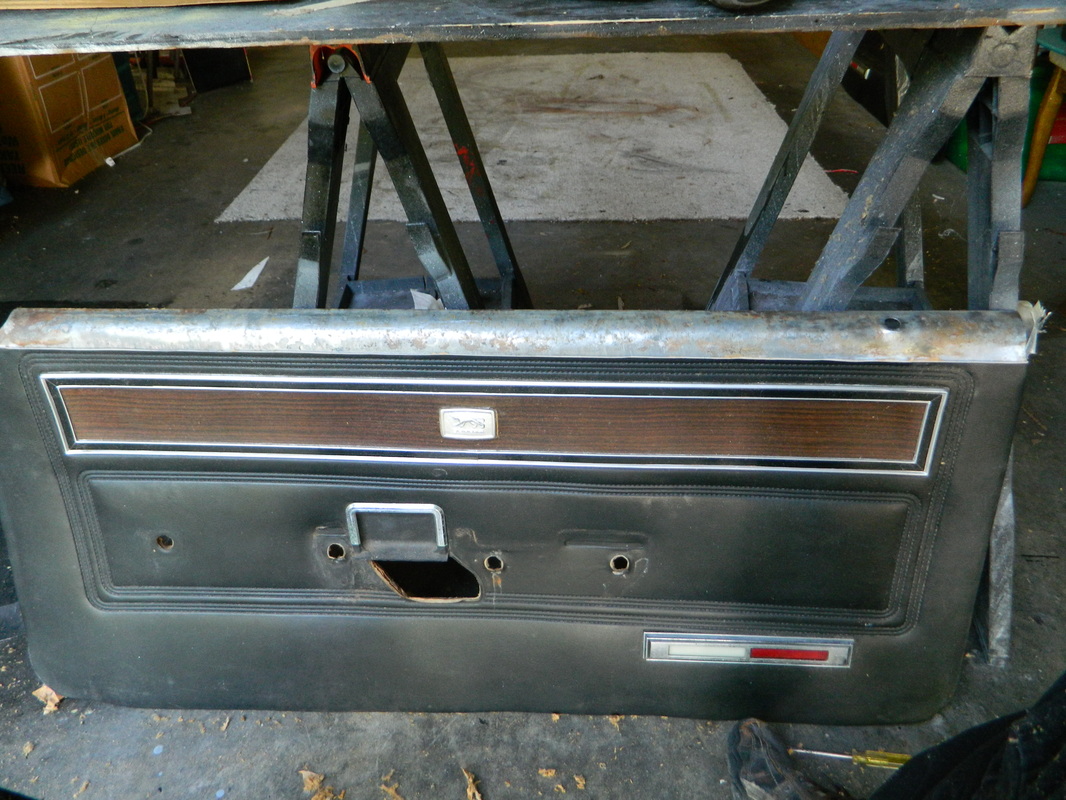
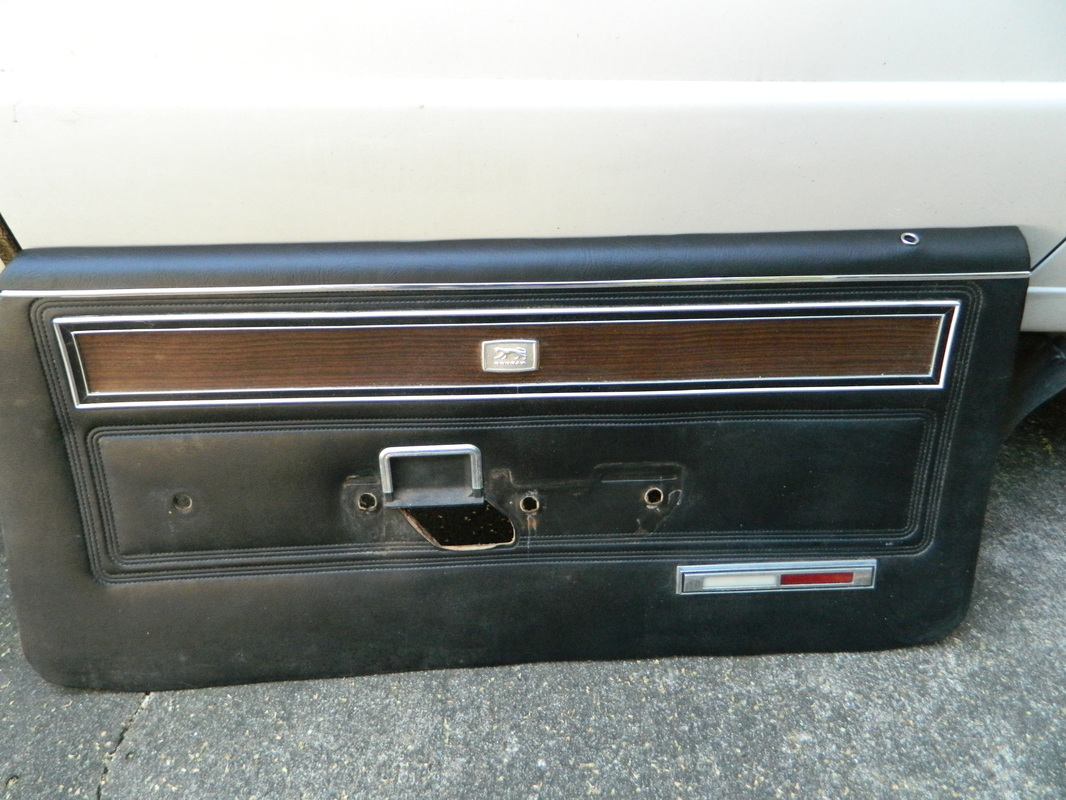
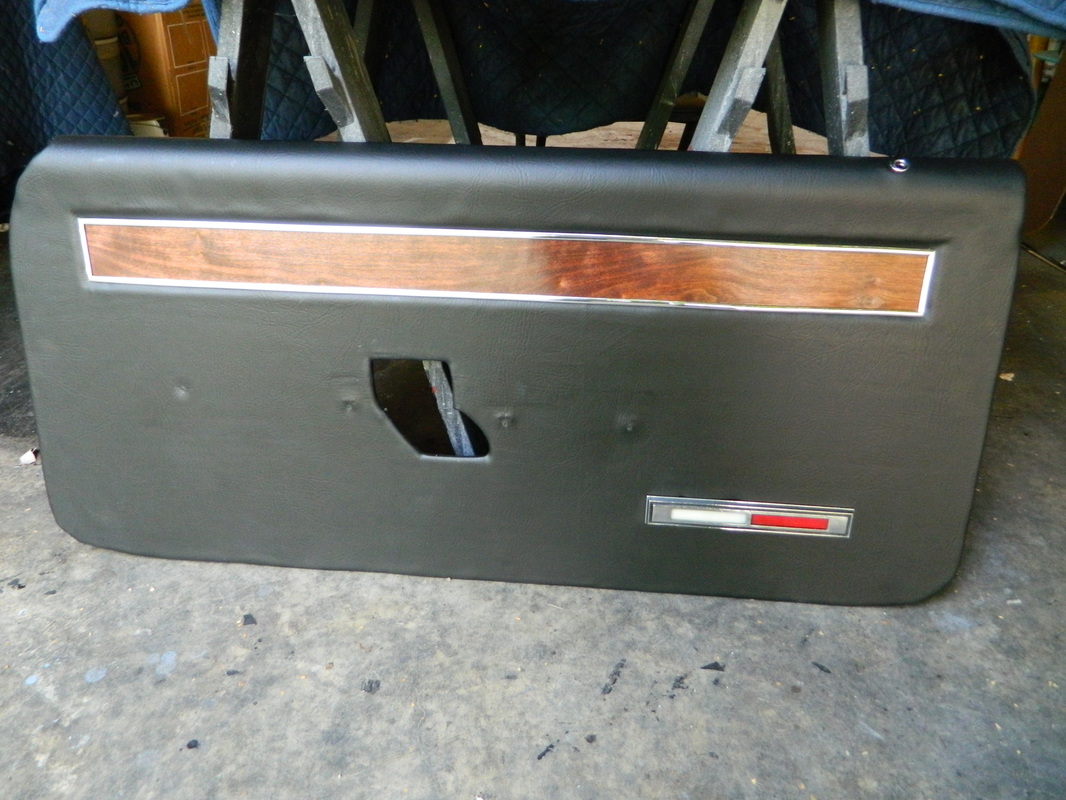
This is getting to be more like fun than work. Today I cleaned up the back seat and did a couple of repairs, one which will be permanent. The corner of the seat bottom was rat lunch one day, so I thought I would try patching it by just gluing a piece of vinyl over top of it, right up against the seam. The other holes, also thanks to the rats, were on the seat back and I just stuffed a couple pieces of vinyl inside of them for now, but I will eventually have a upholstery shop replace the center sections with black and white houndstooth. I cleaned up a door panel and threw it on just for the photo, but they are pretty bad and will have to be replaced or seriously refurbished. 6hrs


May 6, 2015
Today I cut off the top of the door panel and patched in new vinyl and foam and trimmed it off with some chrome vinyl trim. I think it looks nice and will do the other side too. 2hrs


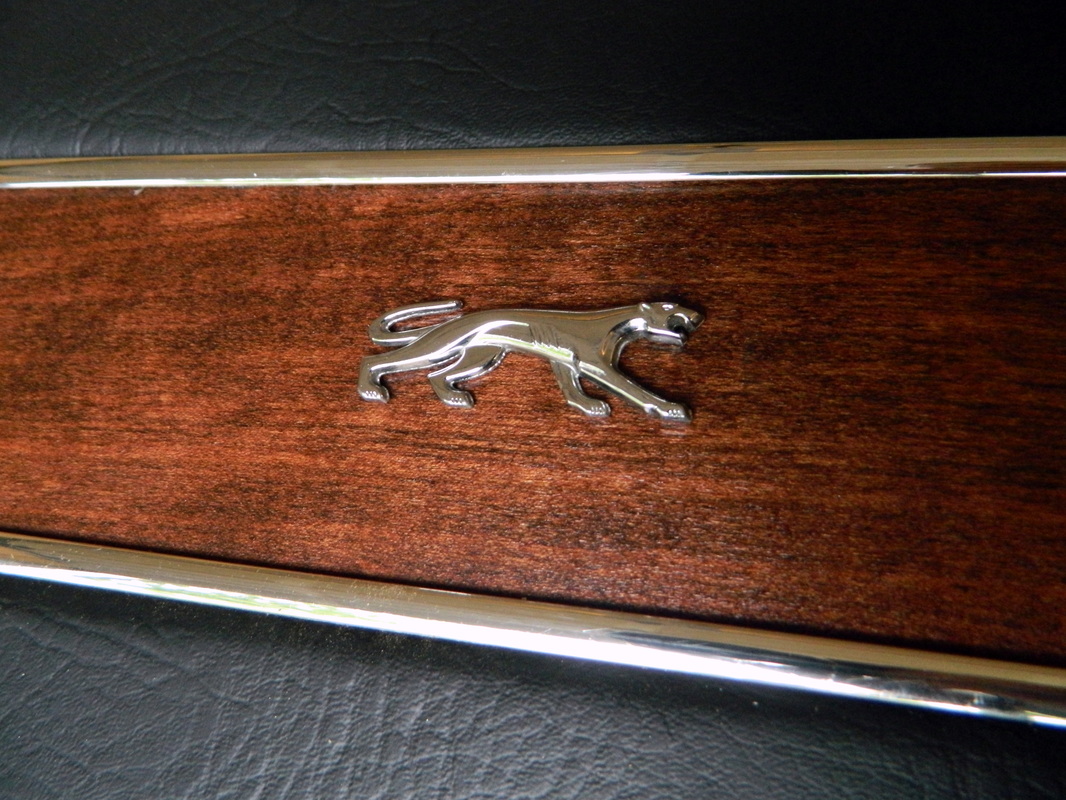
May 7, 2015
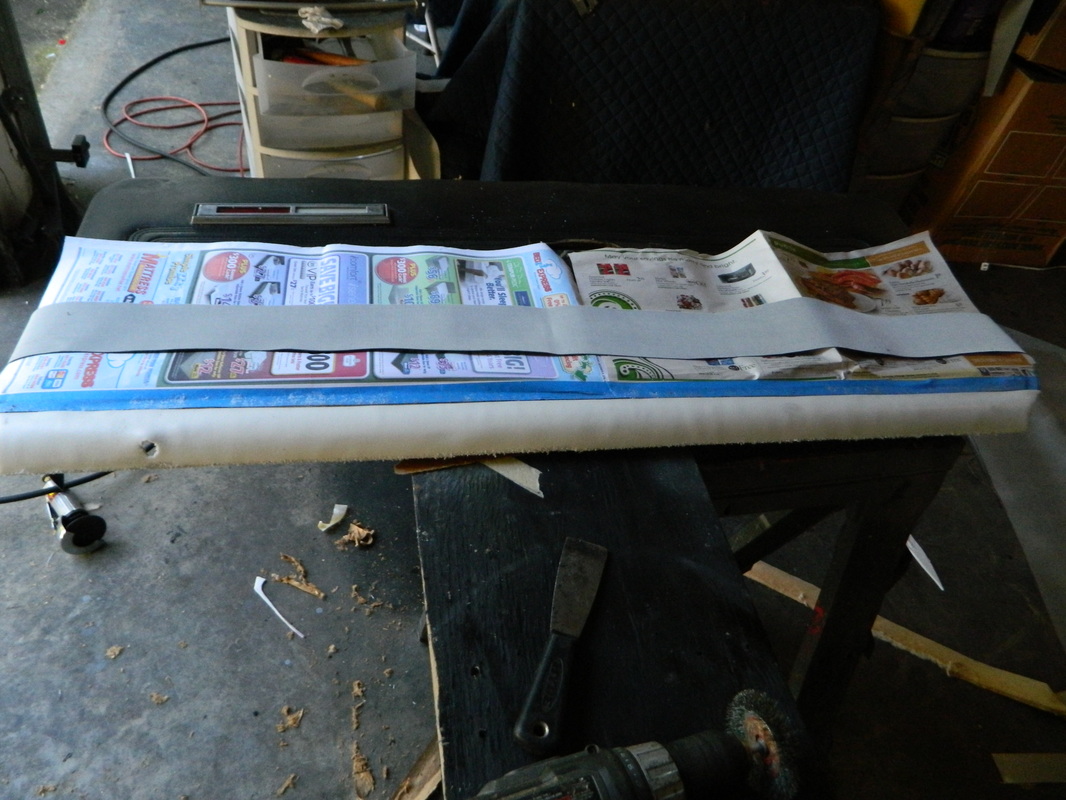
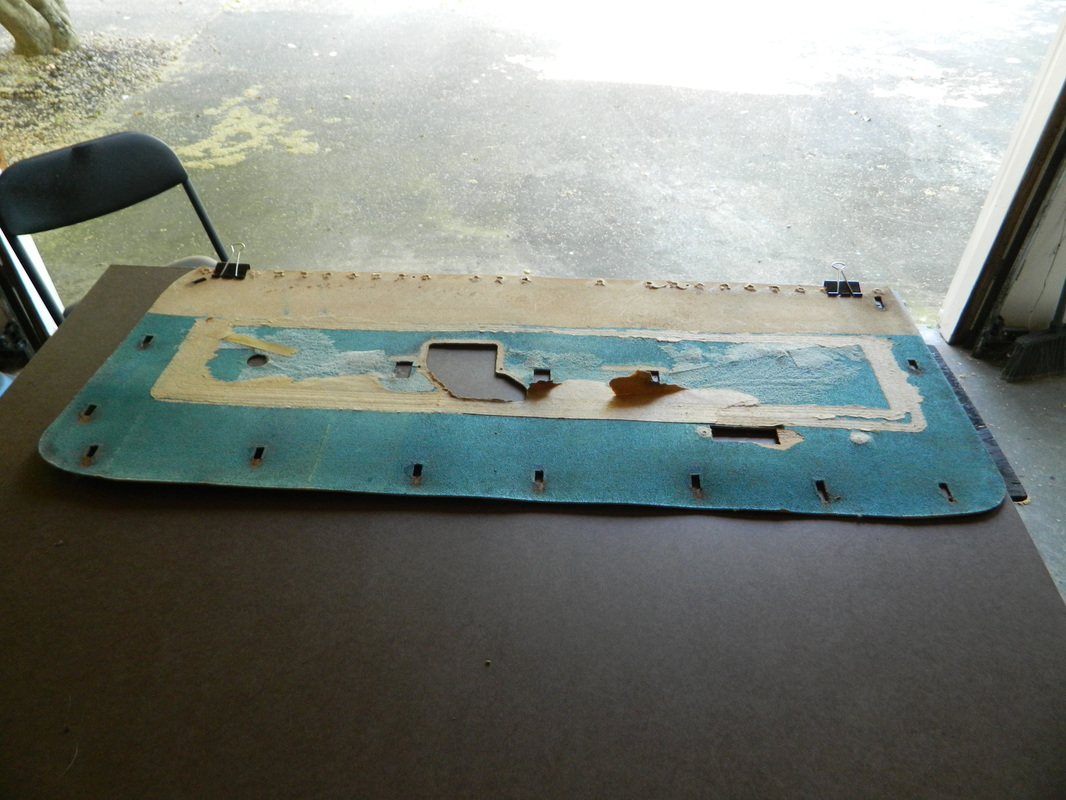
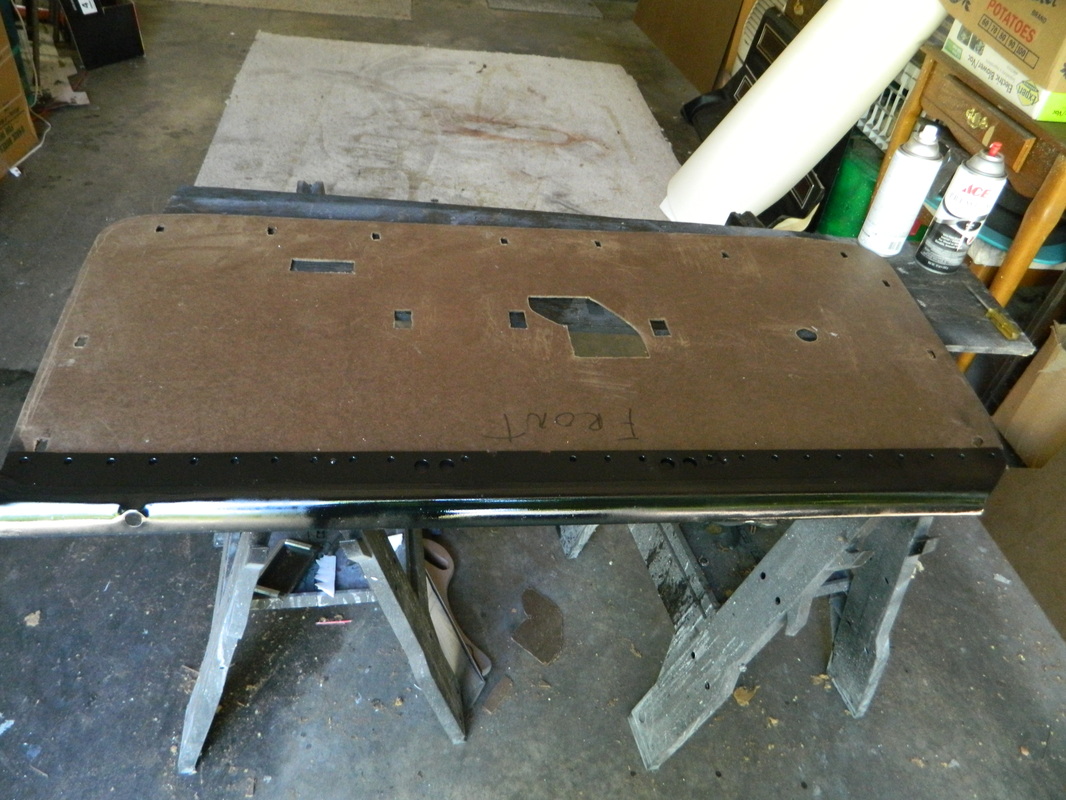
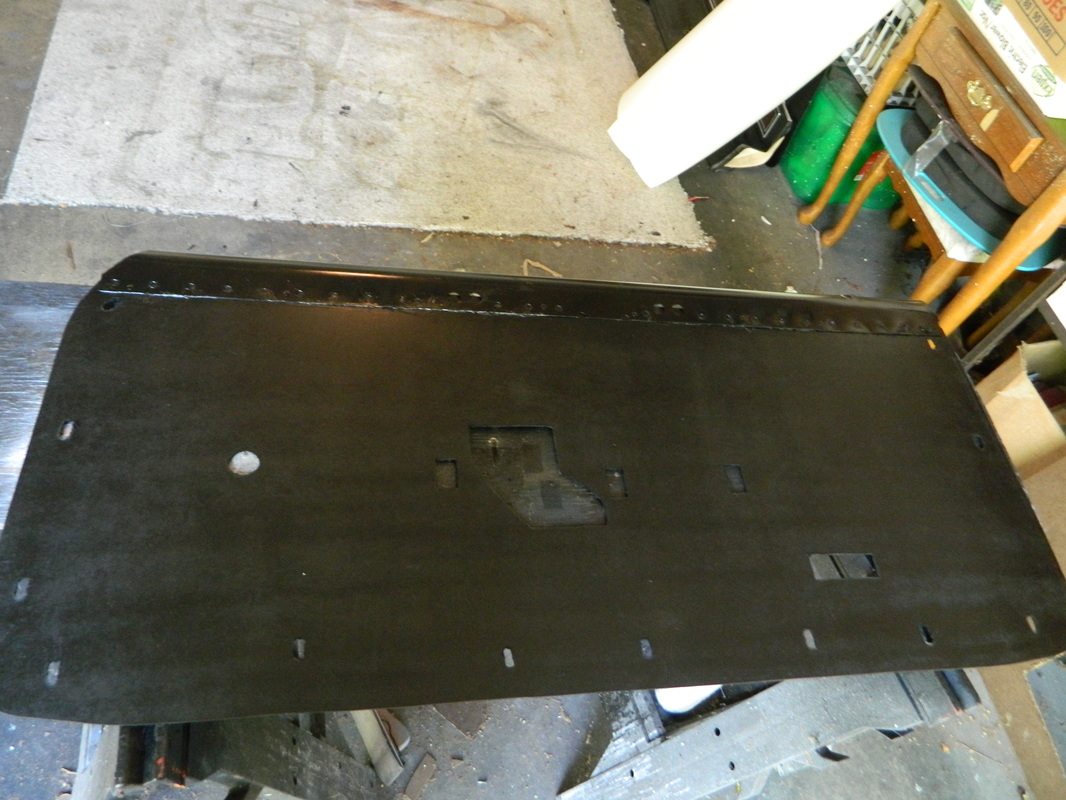
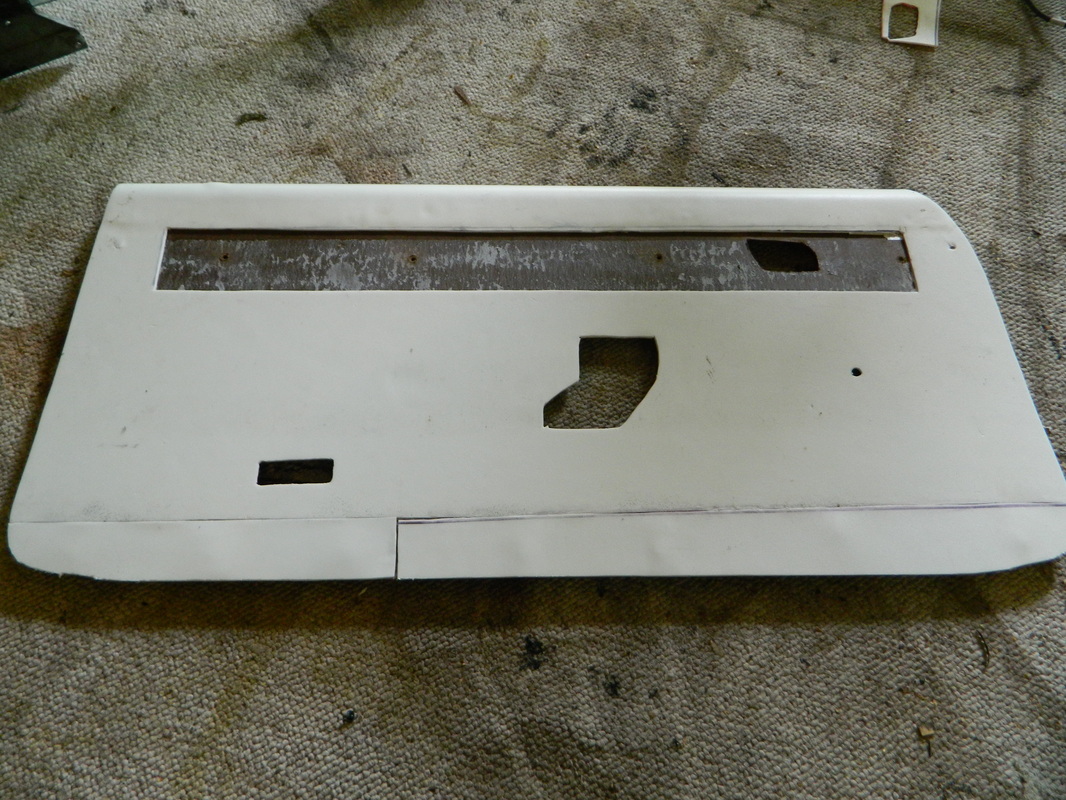
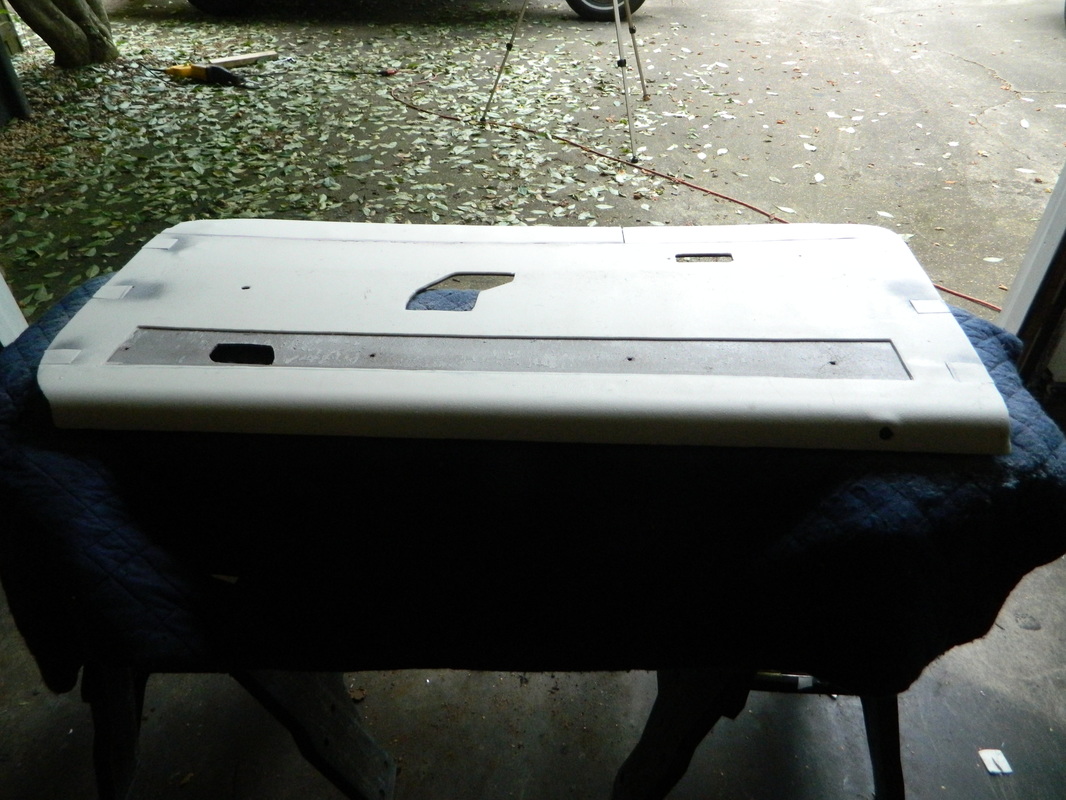
Well..I started building new door panels today. I bought some wood veneer to make the inserts. I'm hoping I can match the old vinyl inserts well enough to just leave the rear ones as is. The backer boards on both of the panels are warped and half of the clip holes are torn out. I stripped the panel down and removed the steel upper curve and cleaned it up. Then I used the old panel as a pattern to make the new backer out of hardboard. I tried to refasten the board with the factory punch holes, but it didn't seem sturdy enough so I put some contact cement between the pieces and then fastened it together with pop-rivets. I painted it front and back to help make it water resistant. Then, I covered it with the high density foam. That's all for today. 6 hrs


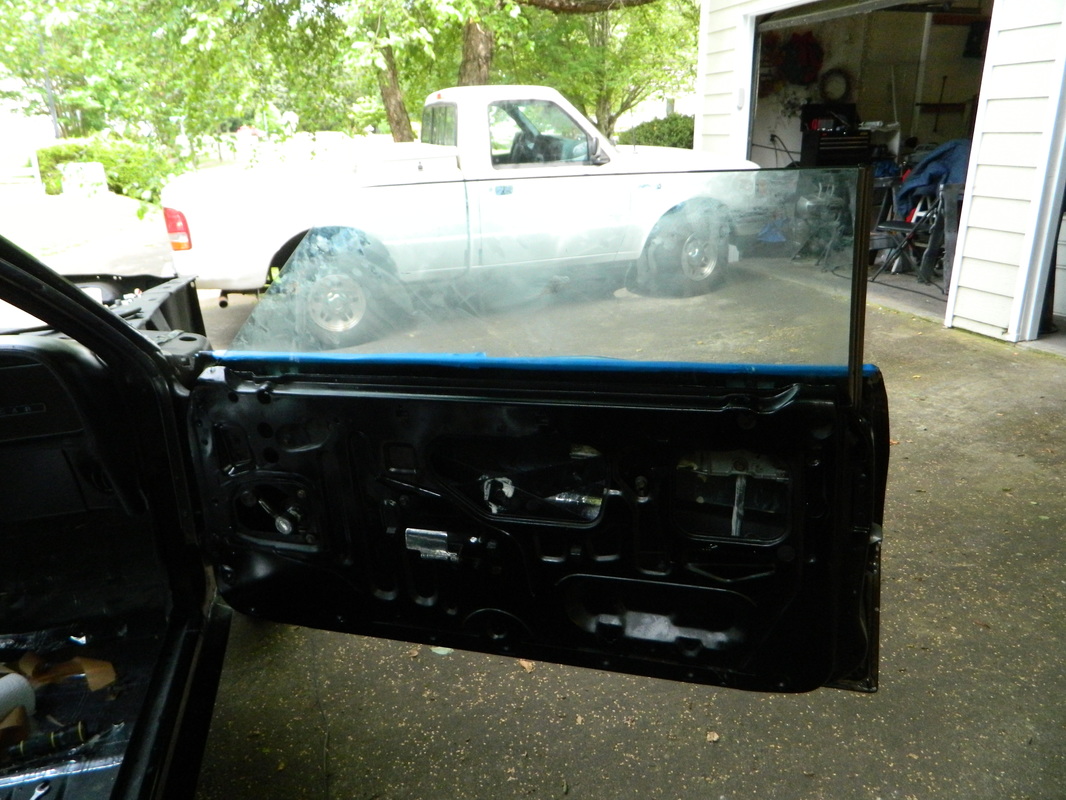
May 12, 2015
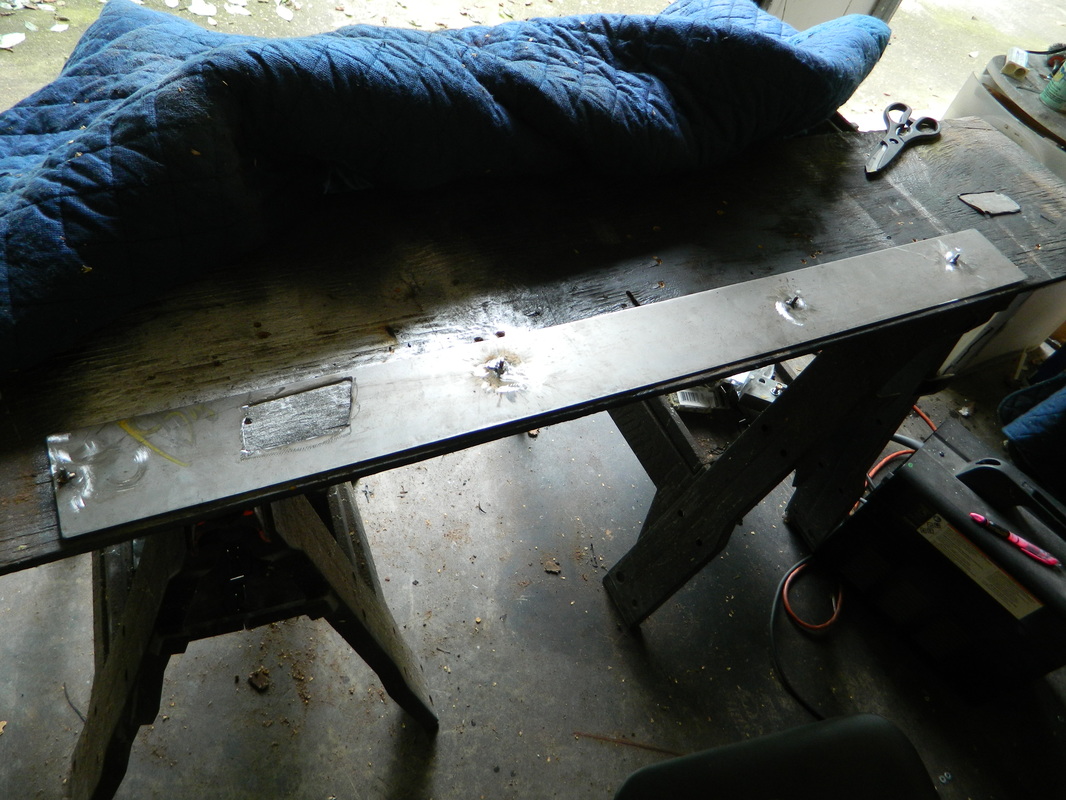
The last two days, I have been working on the door glass and the door panel. Finally got the glass glued in and installed in the door. It's a little dirty yet and needs some fine tuning, but its in and not scratched. Thanks to Gary Miller for selling me an excellent piece of glass for a good price. The door panel is coming along quiet well, got it upholstered and made a steel panel to glue the wood veneer to and welded some studs on the back side to screw it down to the door panel. Got the wood stained and glued on the steel panel, but not cleared yet. I mocked up some chrome trim pieces to show where I'm going with it. Two day total 12 hrs.

May 13, 2015
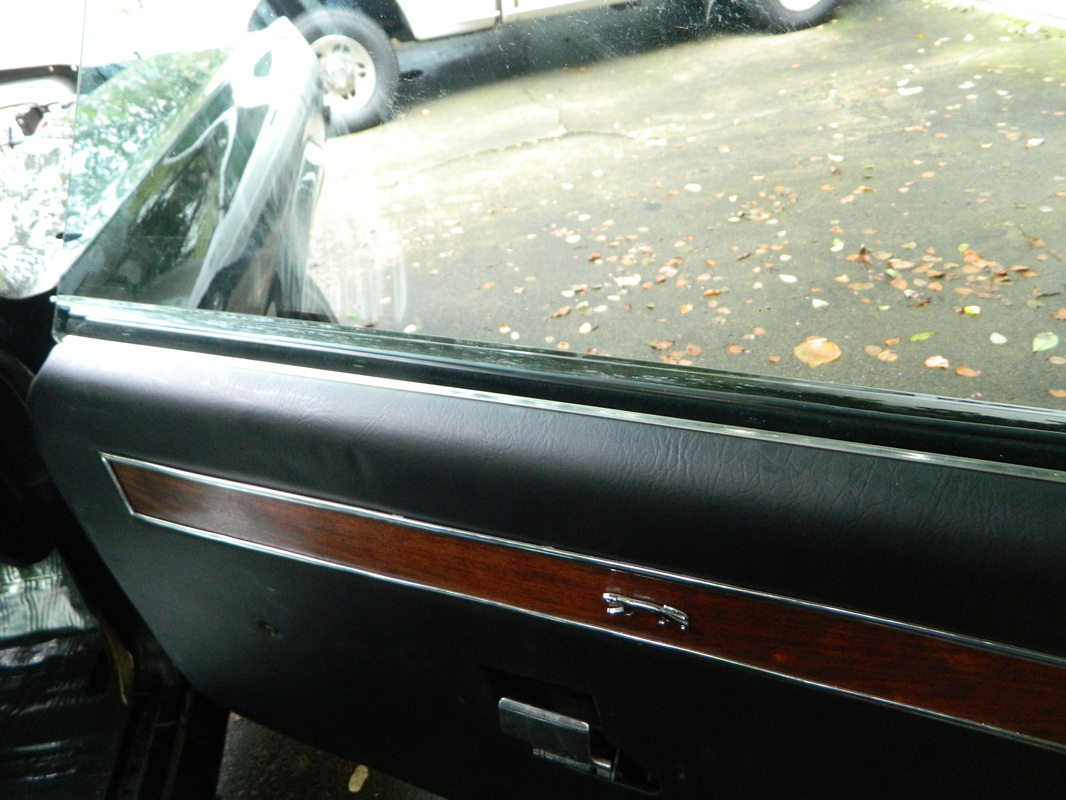
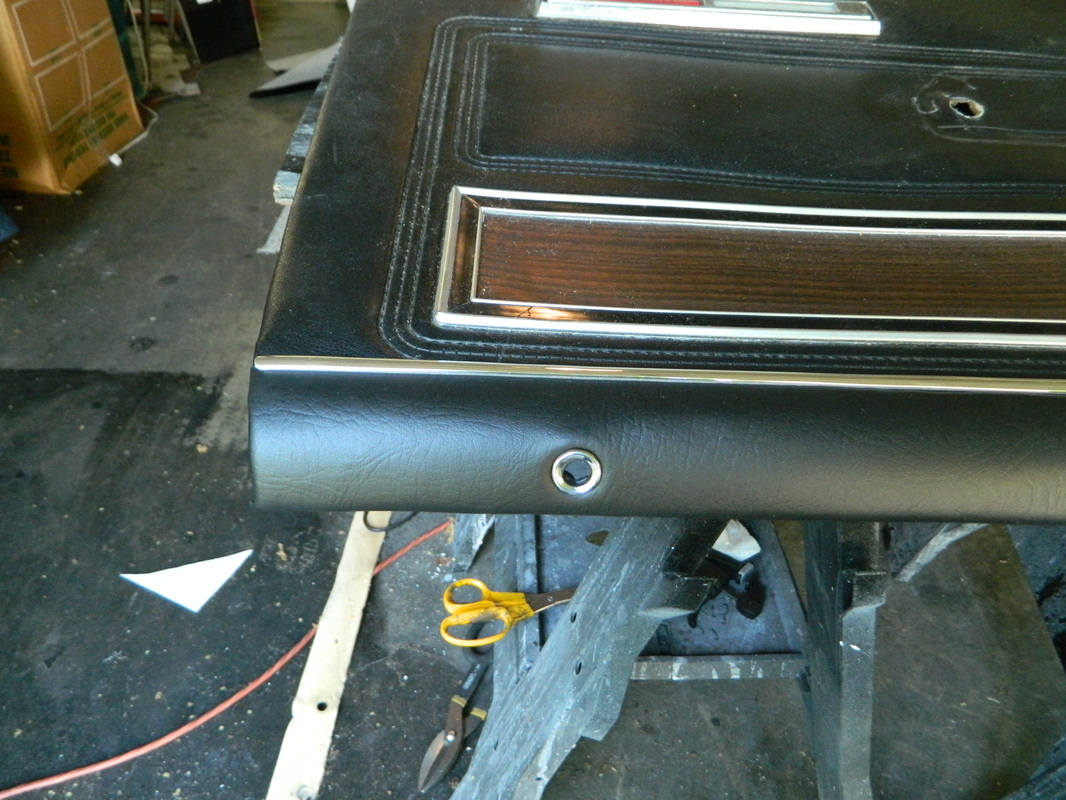
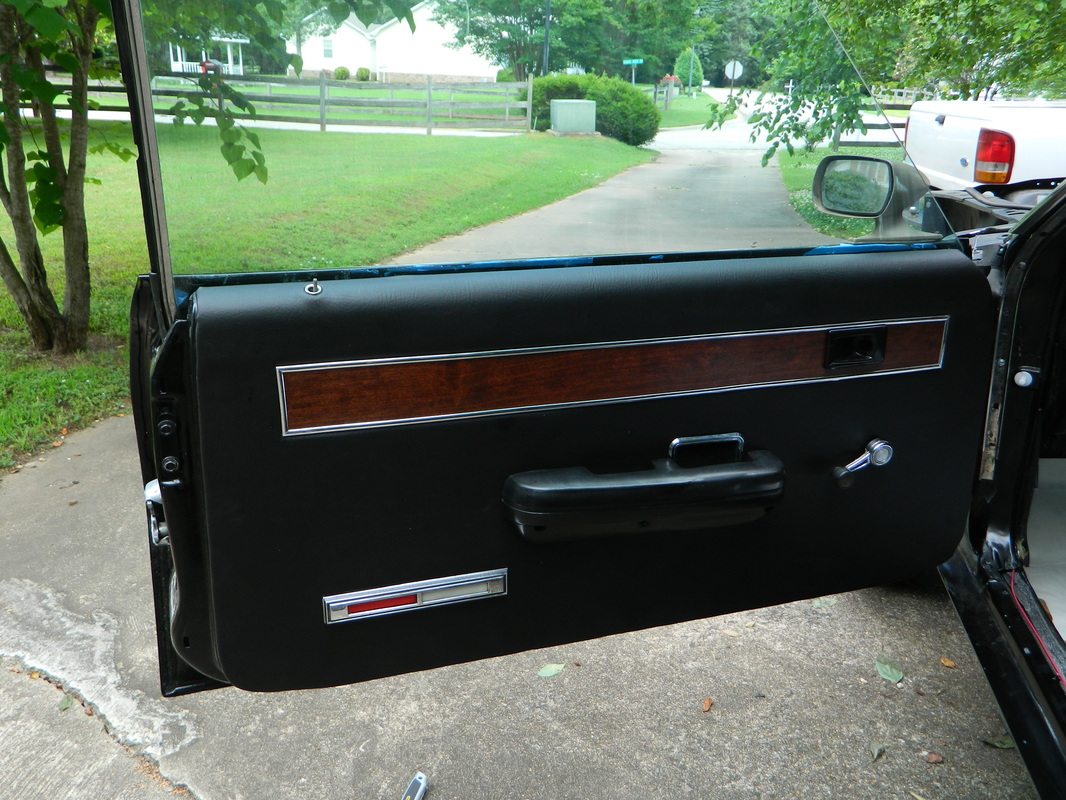
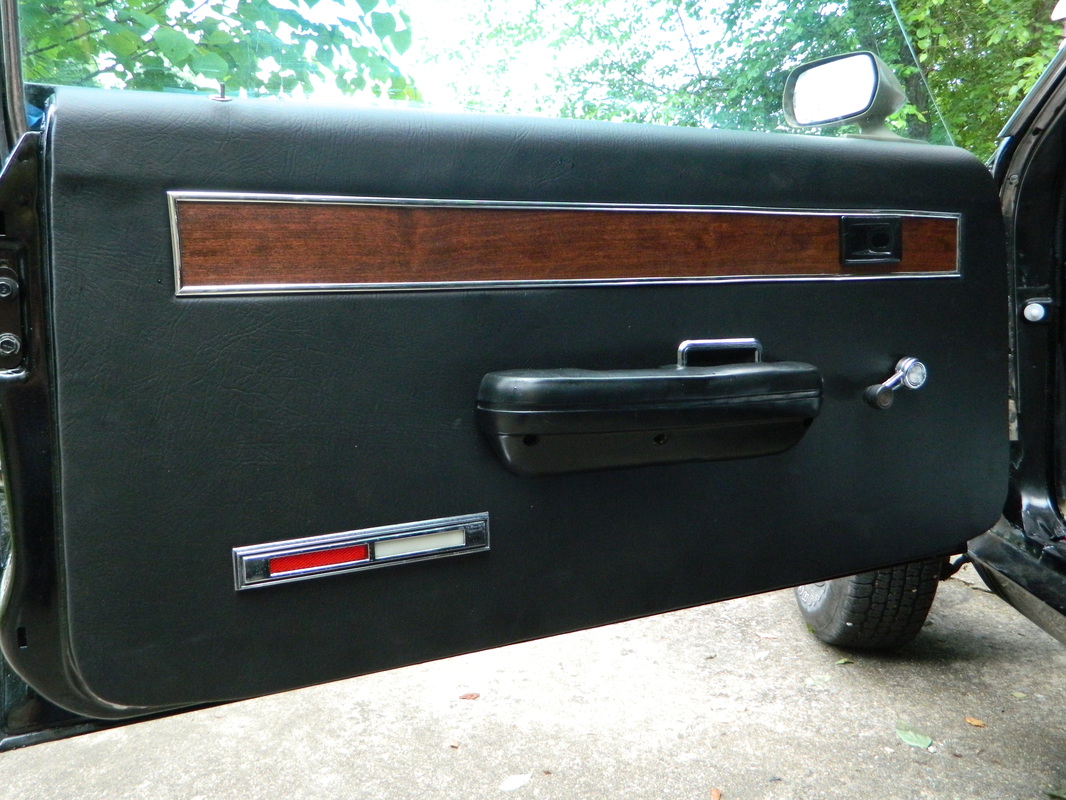
Continued working on the door panel, sprayed some clear on the wood and cleaned up the armrest, door handle cup, courtesy light bar and the exterior door handles. I installed everything and the door handle works great and I think the panel looks good too. All that's left is the chrome trim around the wood. 3 hrs

May 14, 2015
Just finished putting the chrome trim around the wood veneer. It was tedious cutting the 45 degree corners. 1 hr

May 18, 2015
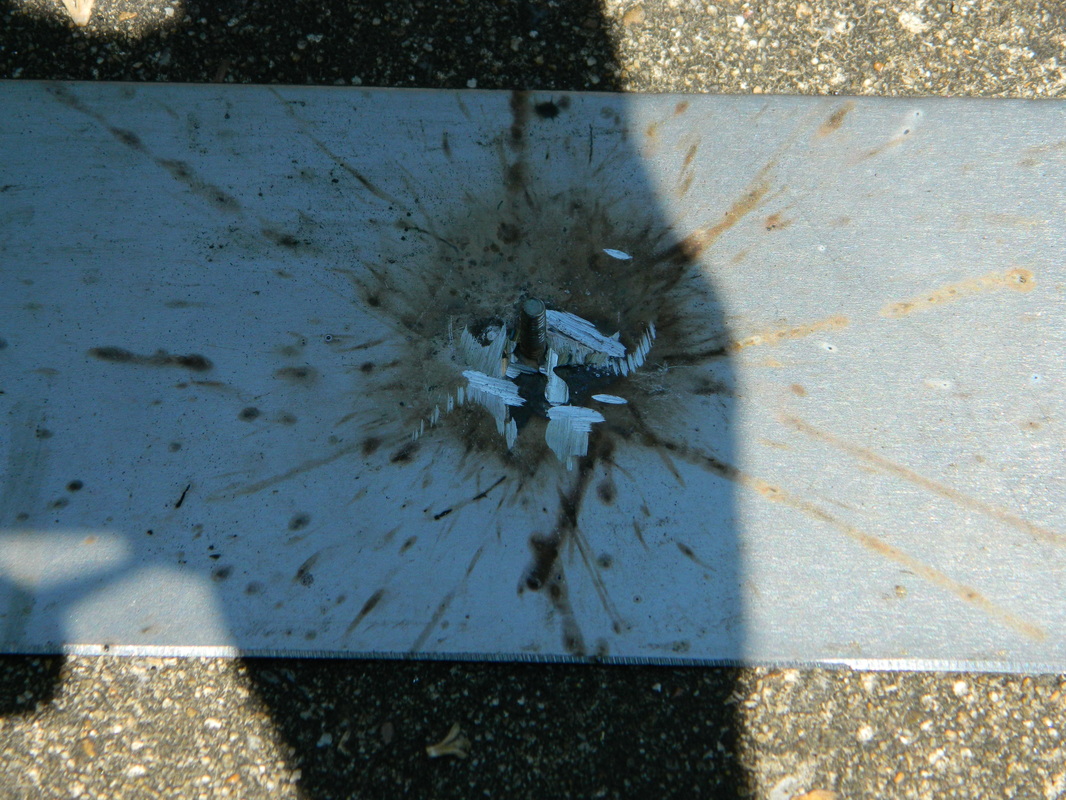
Been kinda busy at real work, but had most of today off so, I continued working on the driver side door panel. I reworked the foam on top of the area where the clips go in. When I tried putting the clips in, the foam wanted to bunch up. So, I made a little pocket out of duct tape to allow the clips to slide in, and then put new foam on top of it. Then, I welded 4 screws on the steel panel that the wood veneer glues to. And lastly, glued the wood onto the steel and then put a final coat of clear on the wood. I have tomorrow off so, I hope to finish the door panel and maybe get the door handles on the drivers side too. 6 hrs

May 19, 2015
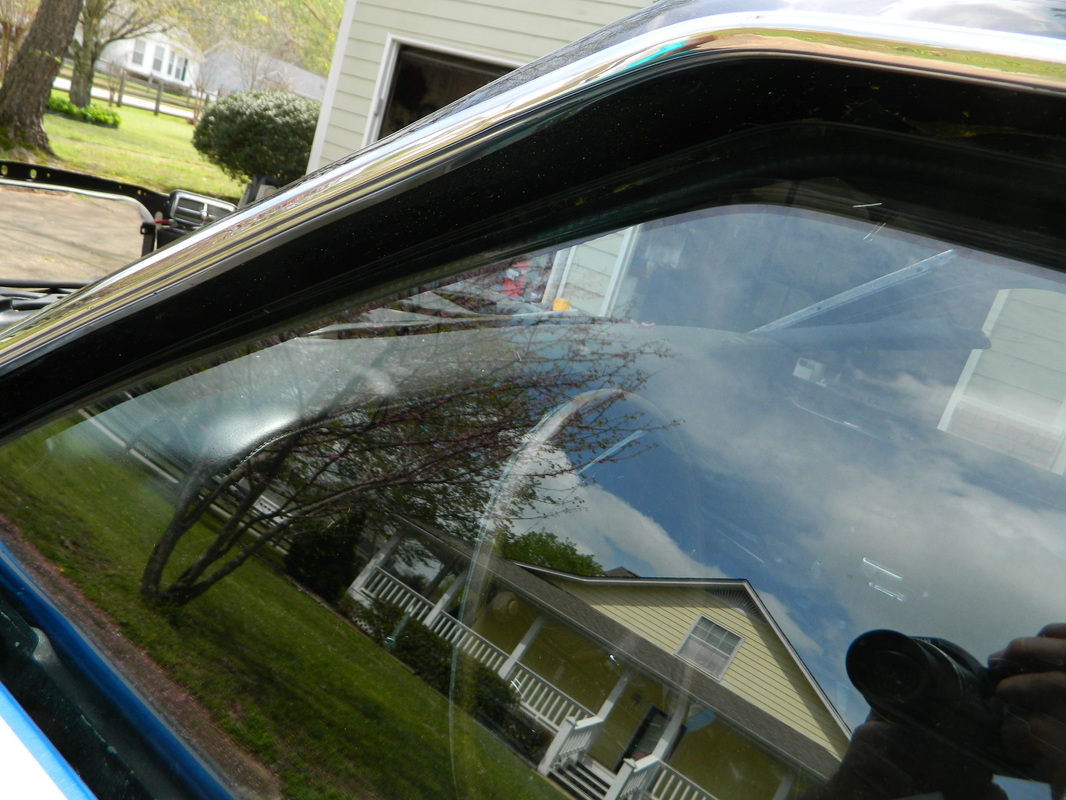
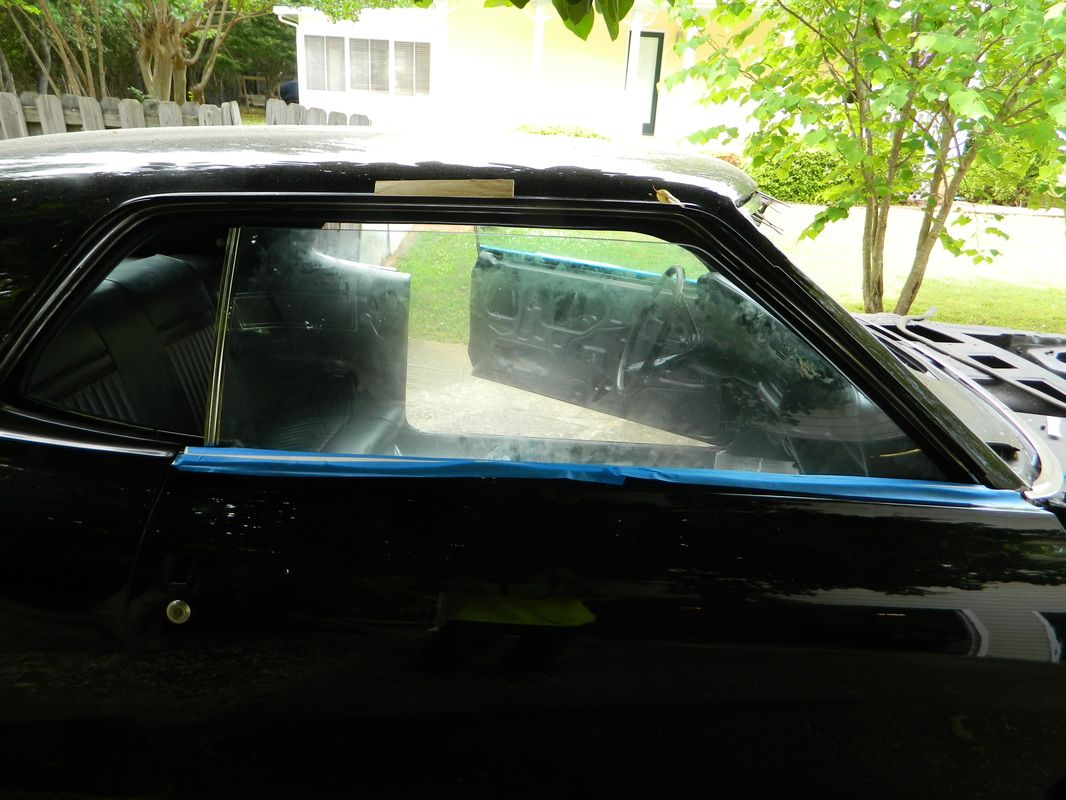
Here's a short video of the door glass and how well it works. Still working on the door panel pics to come later..
Pretty tired! Got the window in and adjusted and finished the door panel and installed it, temporarily. I also peeled all the chrome off the side mirror adjuster bezel, because it was cracking and smoothed it out and painted it black for now but will get a reproduction one later.


May 20, 2015
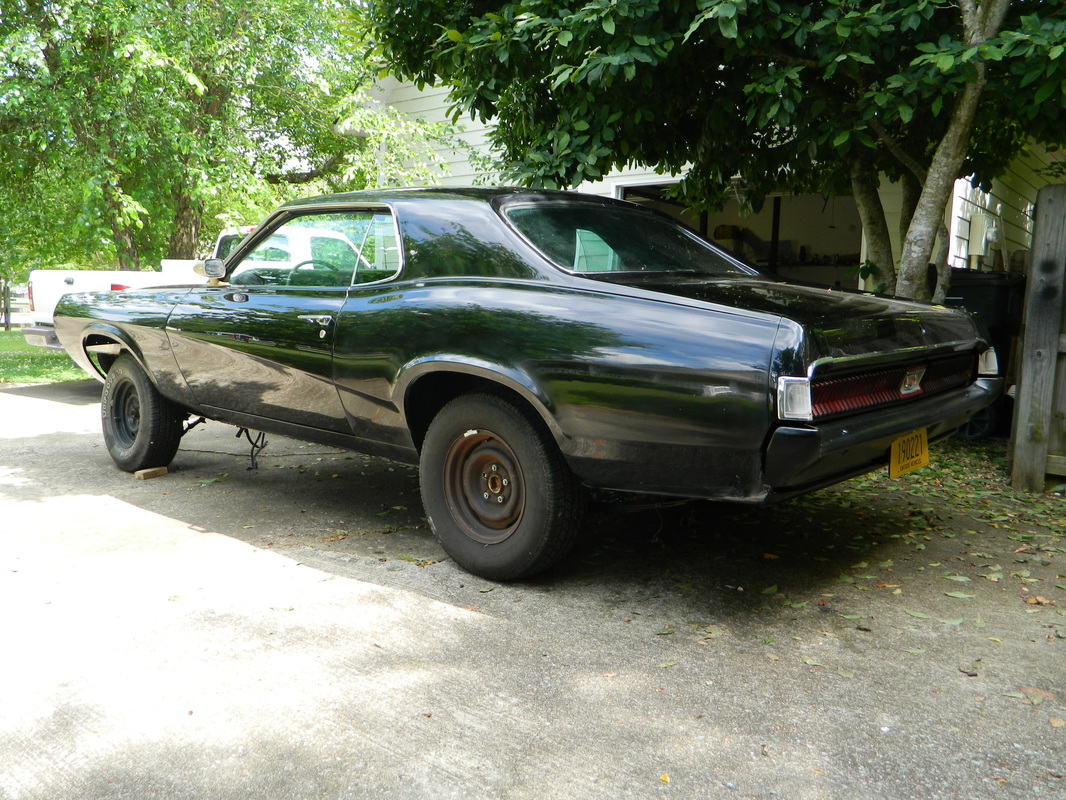
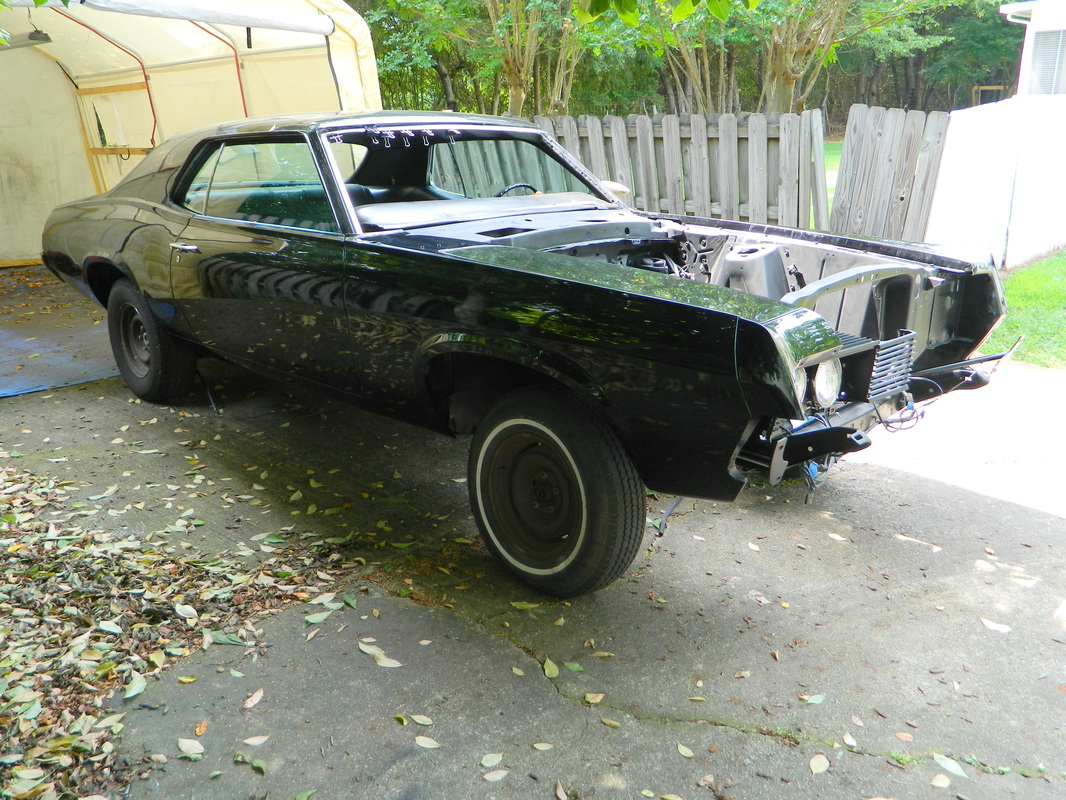
Today I did some adjusting on the driver door as well as installing the door handle. So, now I have two doors with windows that open and close correctly with handles. Next, I couldn't decide what to do next, so I grabbed the left front fender and put it on. I might just put the whole front end on now. 4 hrs
May 22, 2015
I put the right side fender on today, and it fits pretty good as is, just a little adjustment needed. 2 hrs

May 26, 2015
Today I made a trip out to Pull a Part and found two Ford Probe headlight motors, which I removed after nearly an hour struggle. These are going to be used for the Cougar headlights instead of the unreliable vacuum factory system. After that, I got home and found my two little chrome Cougars had arrived for my door panels. So, I got right to work installing them. I think they really set off the panels! 4 hrs

May 27, 2014
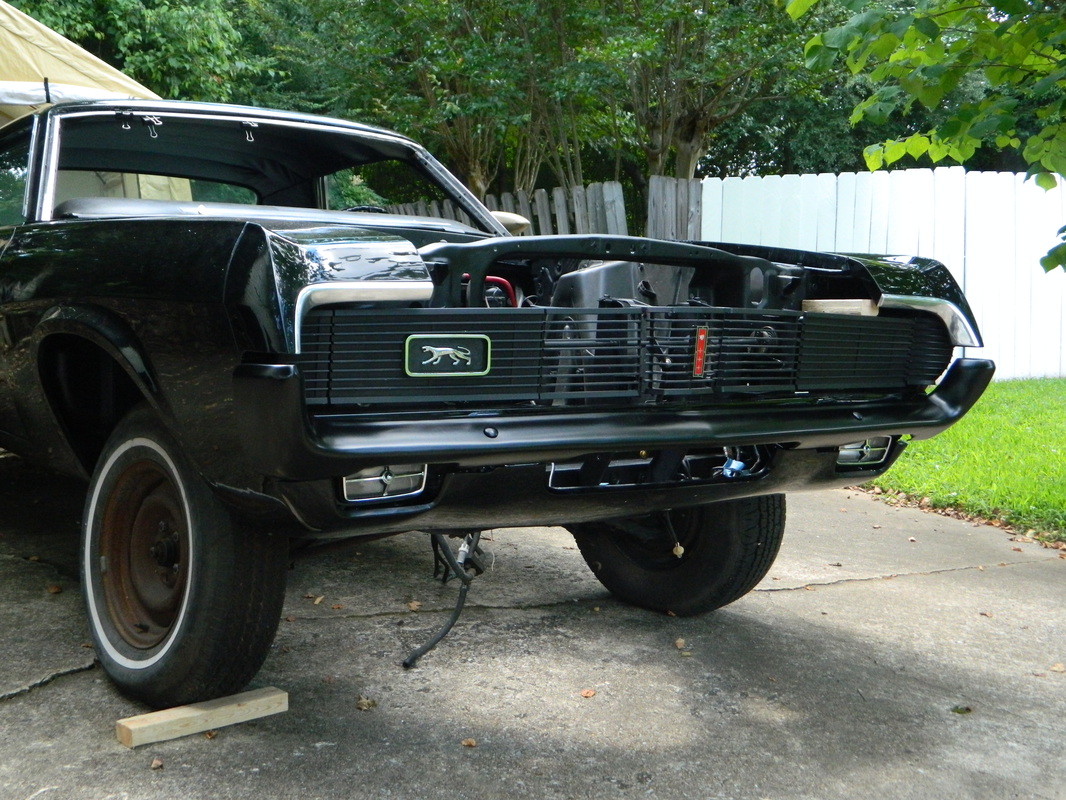
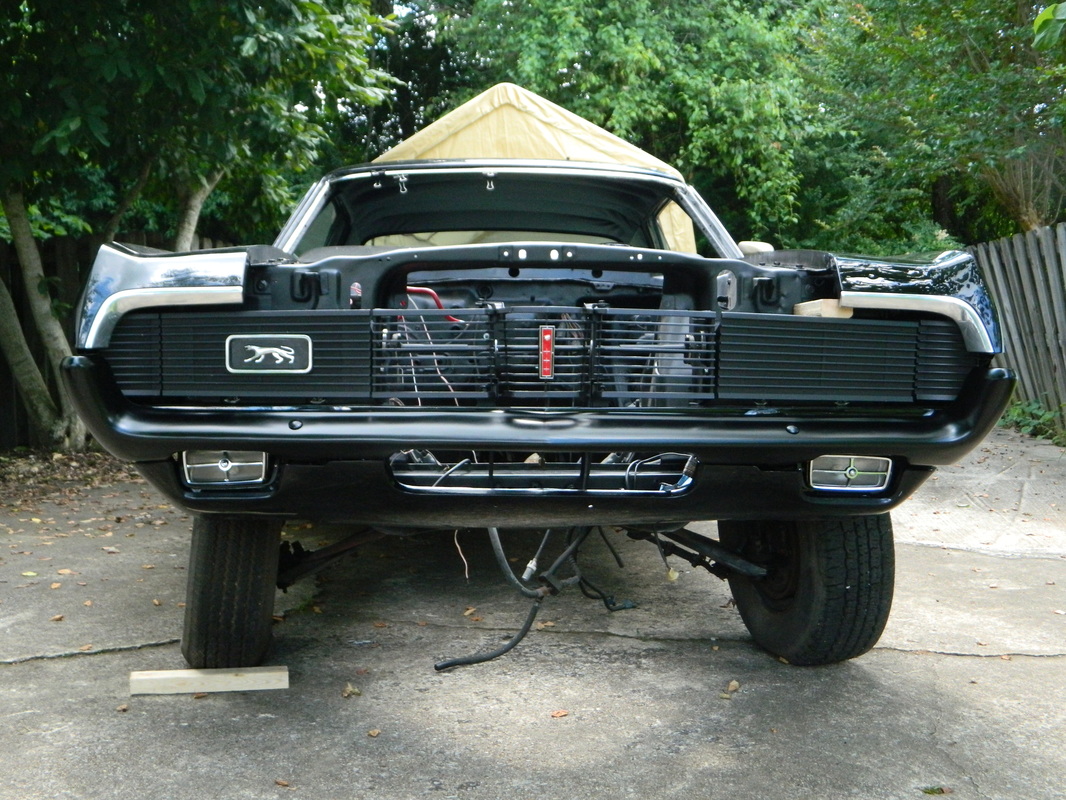
Today was pretty productive, although it was a lot of little odds and ends I did. I did get the fender braces and bumper supports mounted. And then I bolted the passenger side headlight assembly on. In order to do all of that I spent an hour wire brushing bolts and cage nuts and painting them. Oh well..a little each day.
jun 2, 2015
I forgot while I was in Savannah this past weekend, it was the 3rd year anniversary for the Cougar restoration. Wooo Hooo!
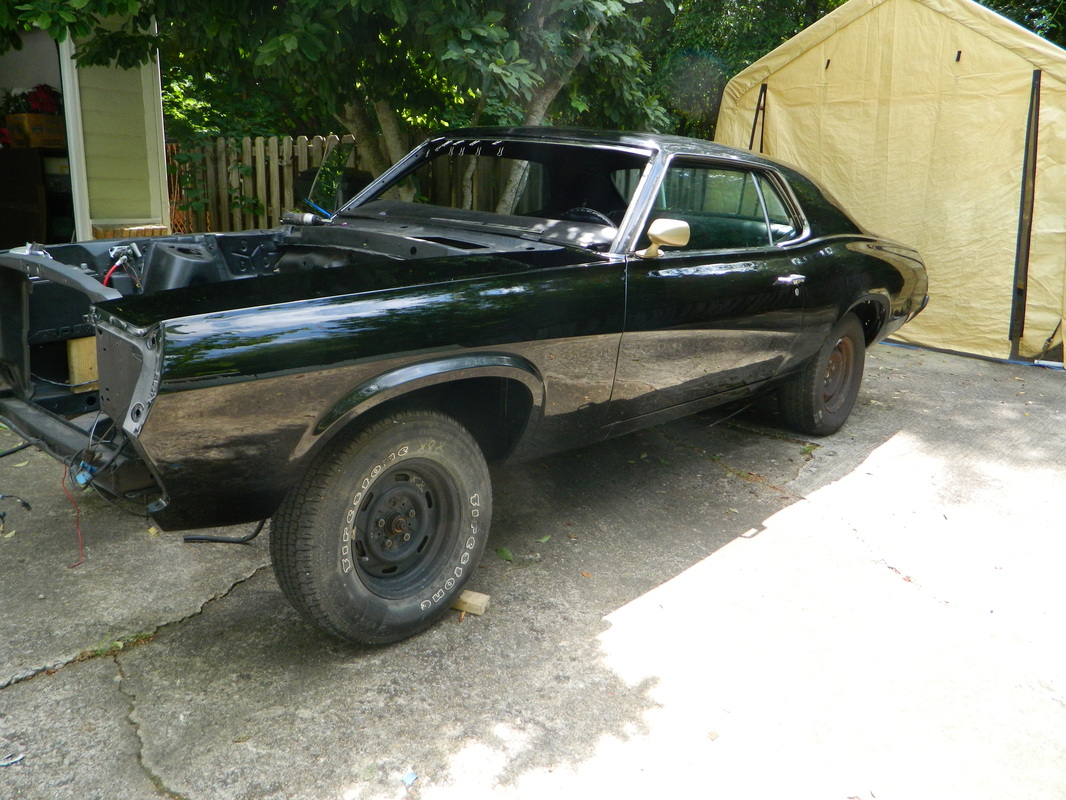
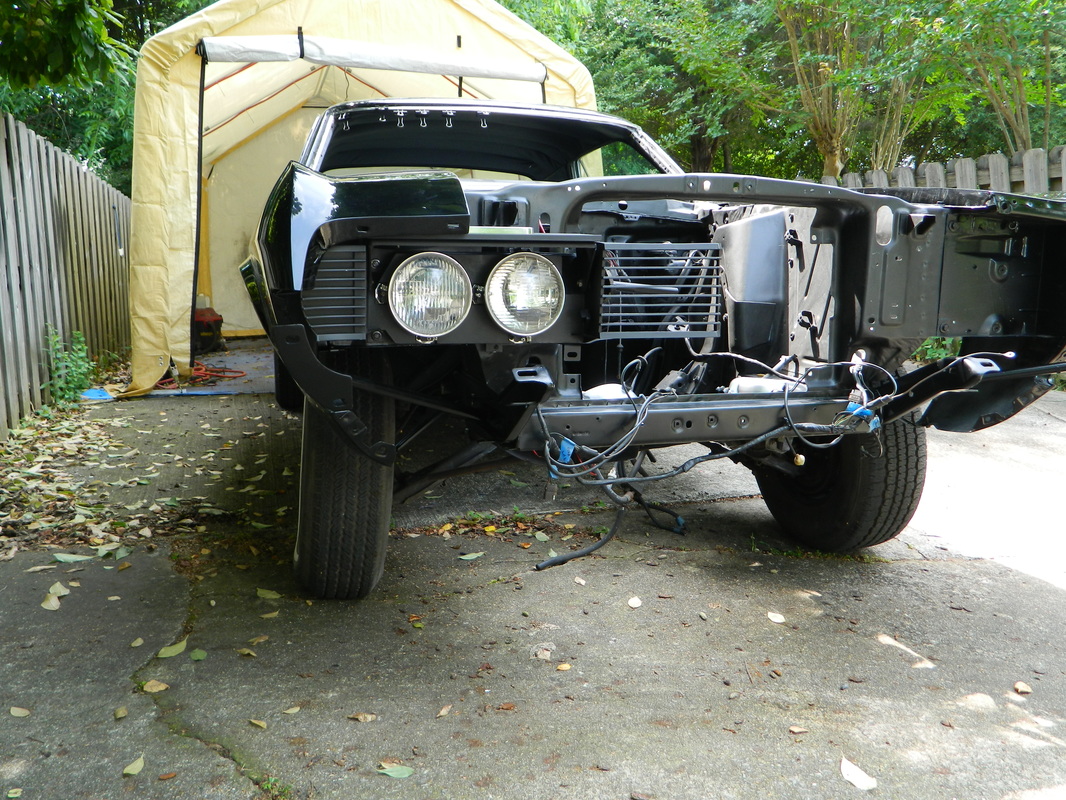
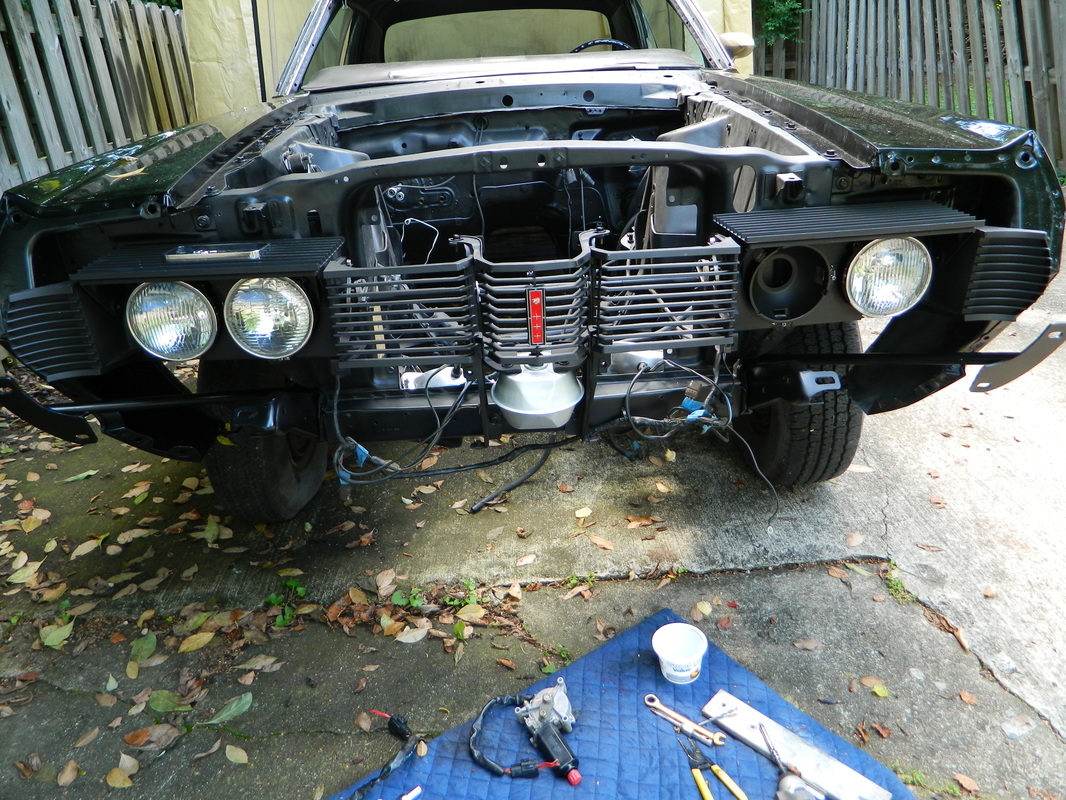
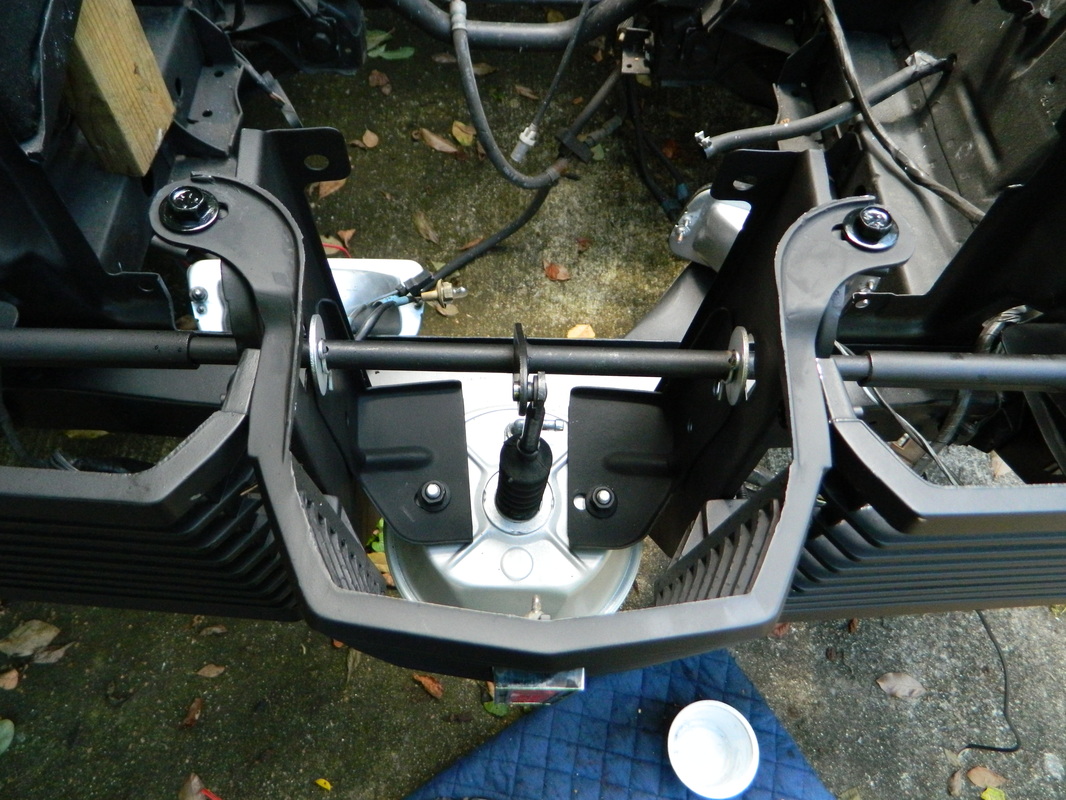
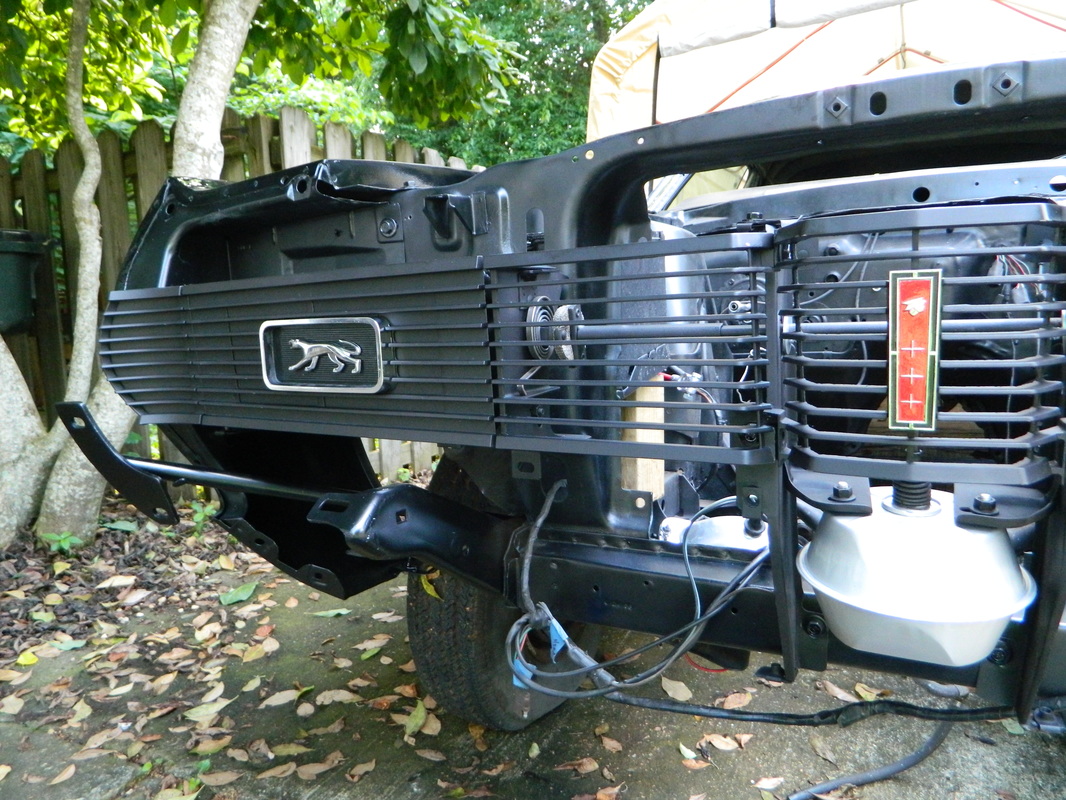
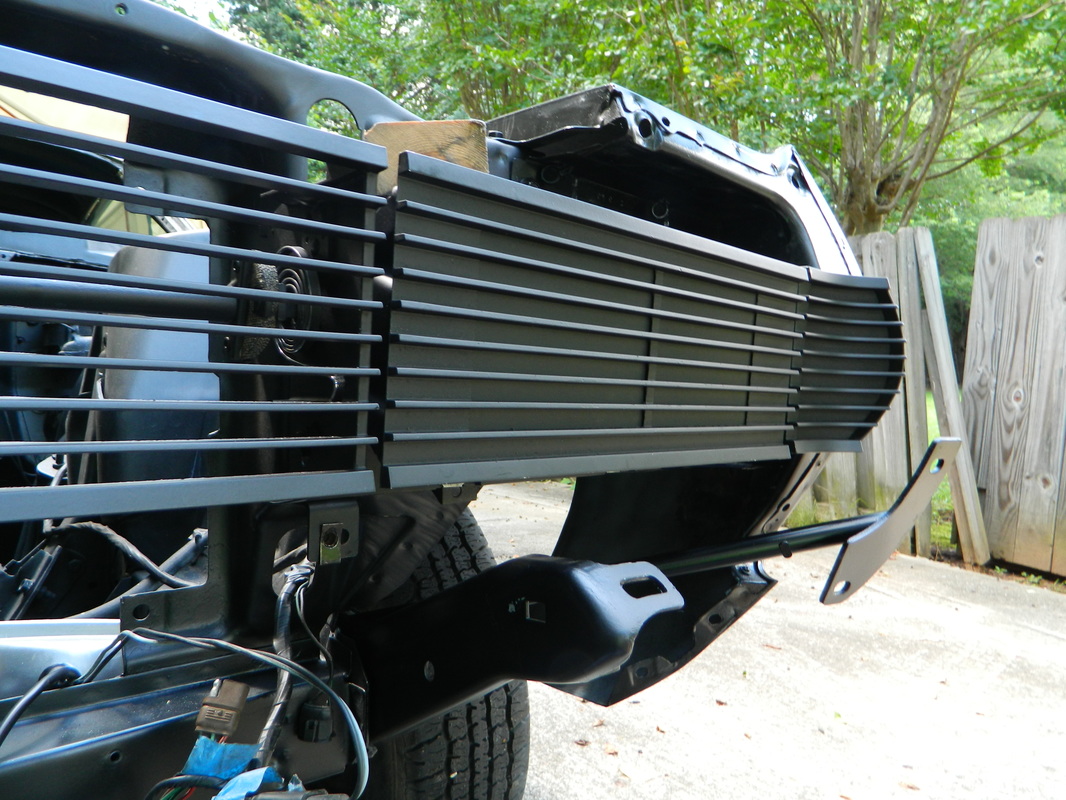
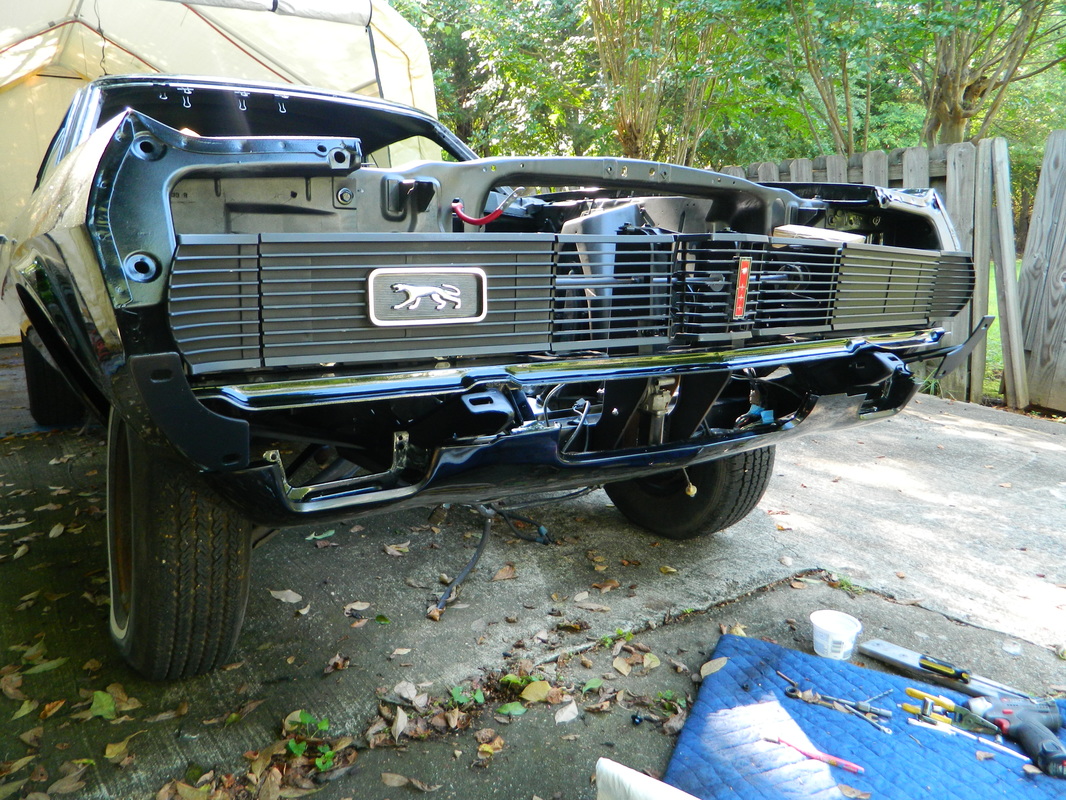
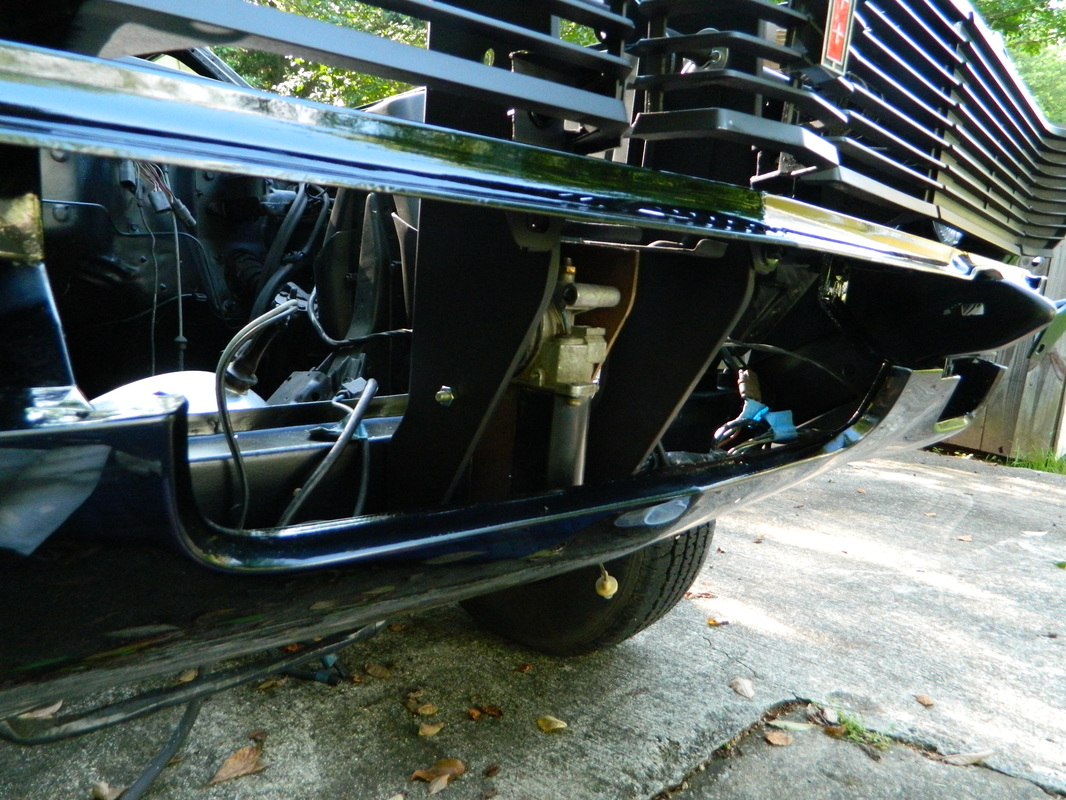
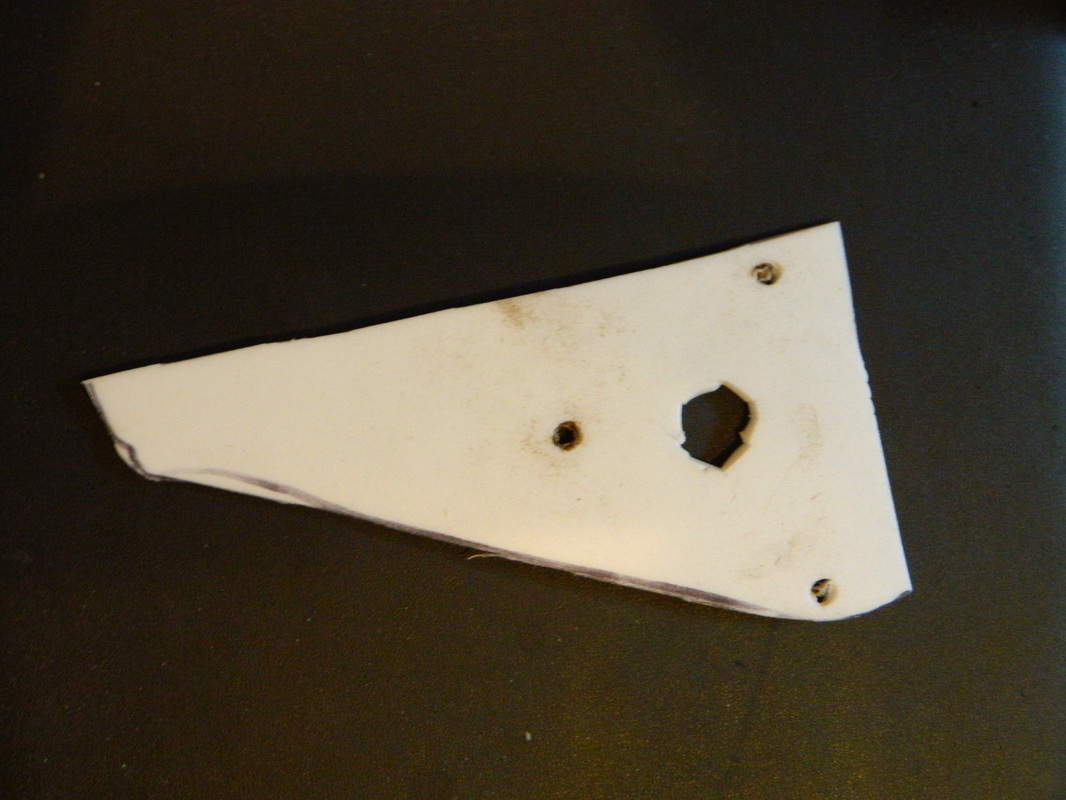
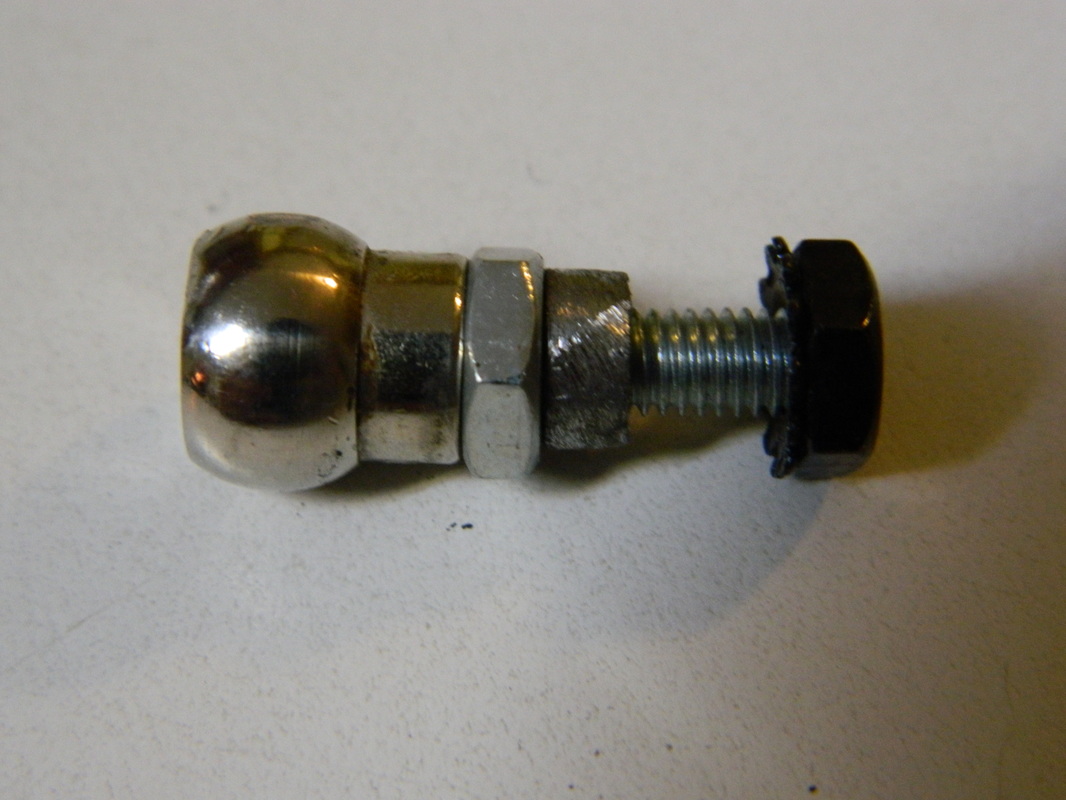
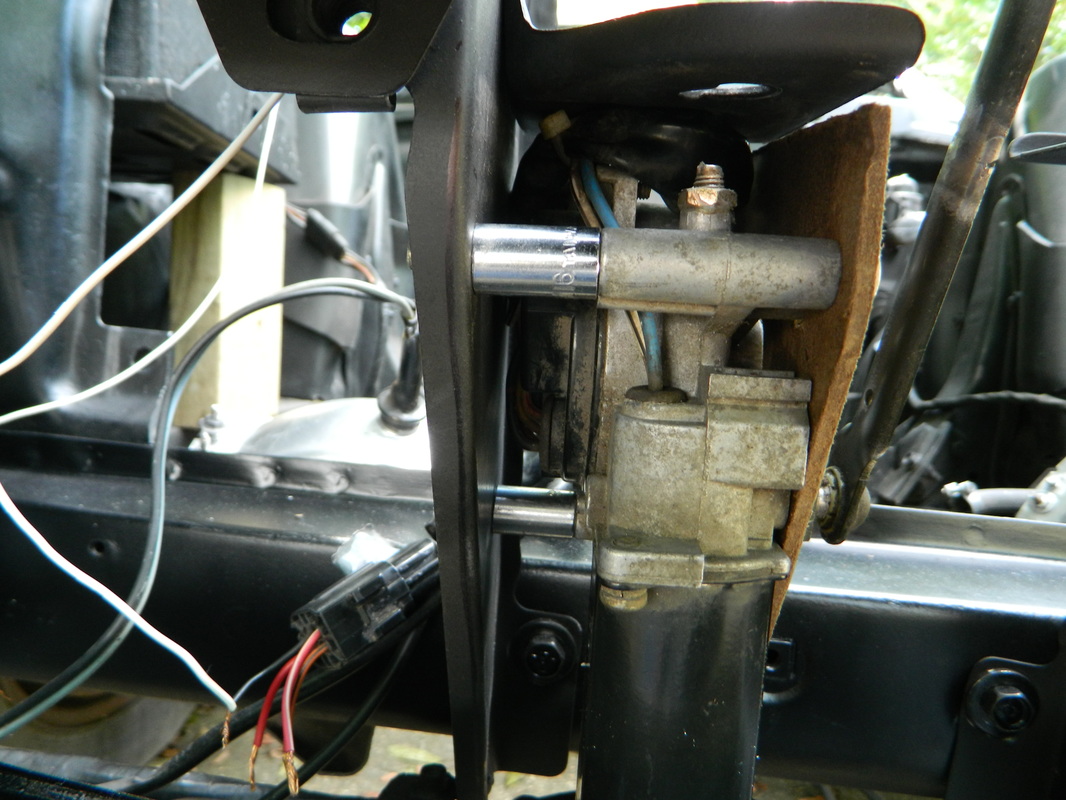
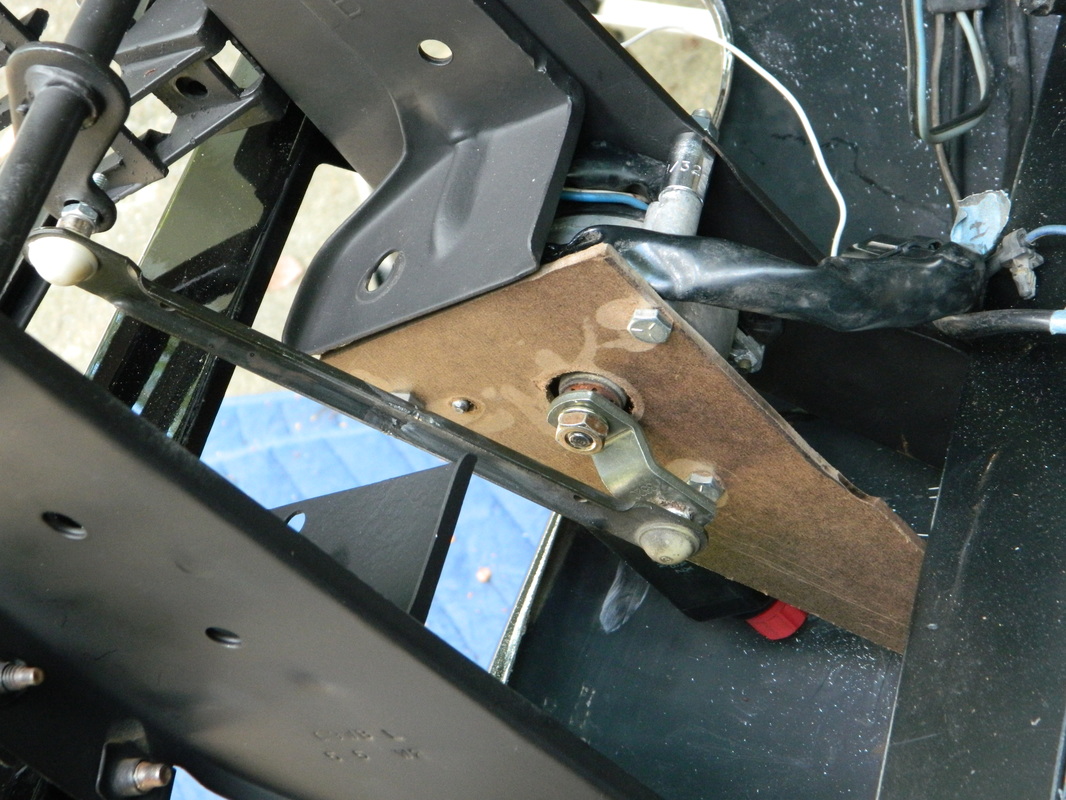
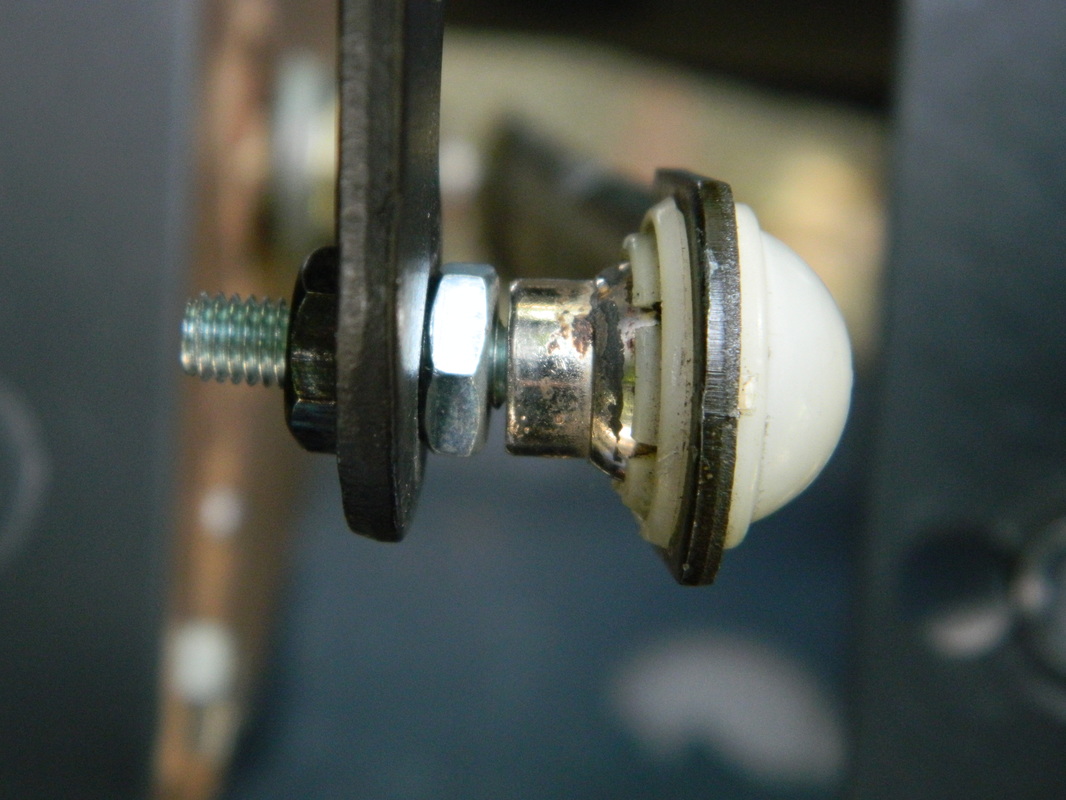
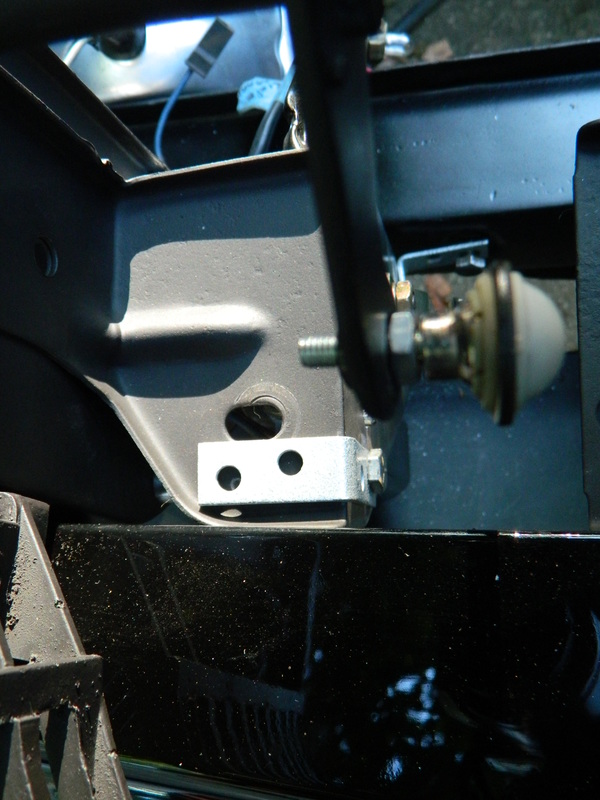
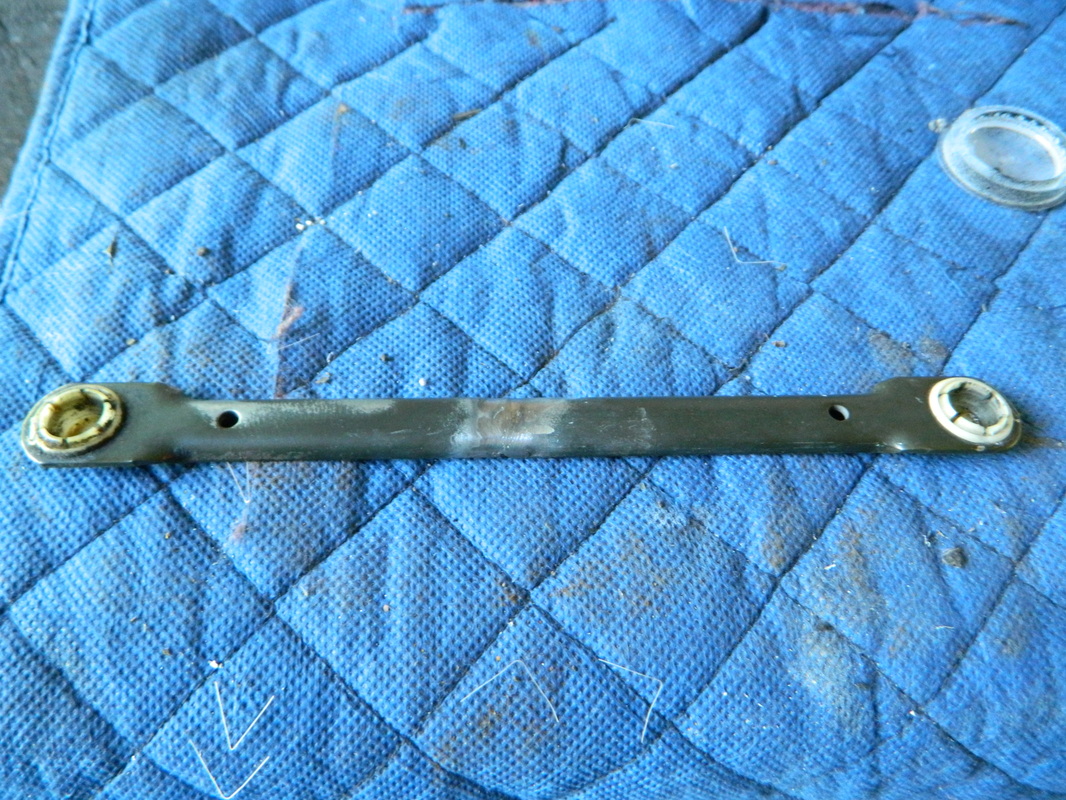
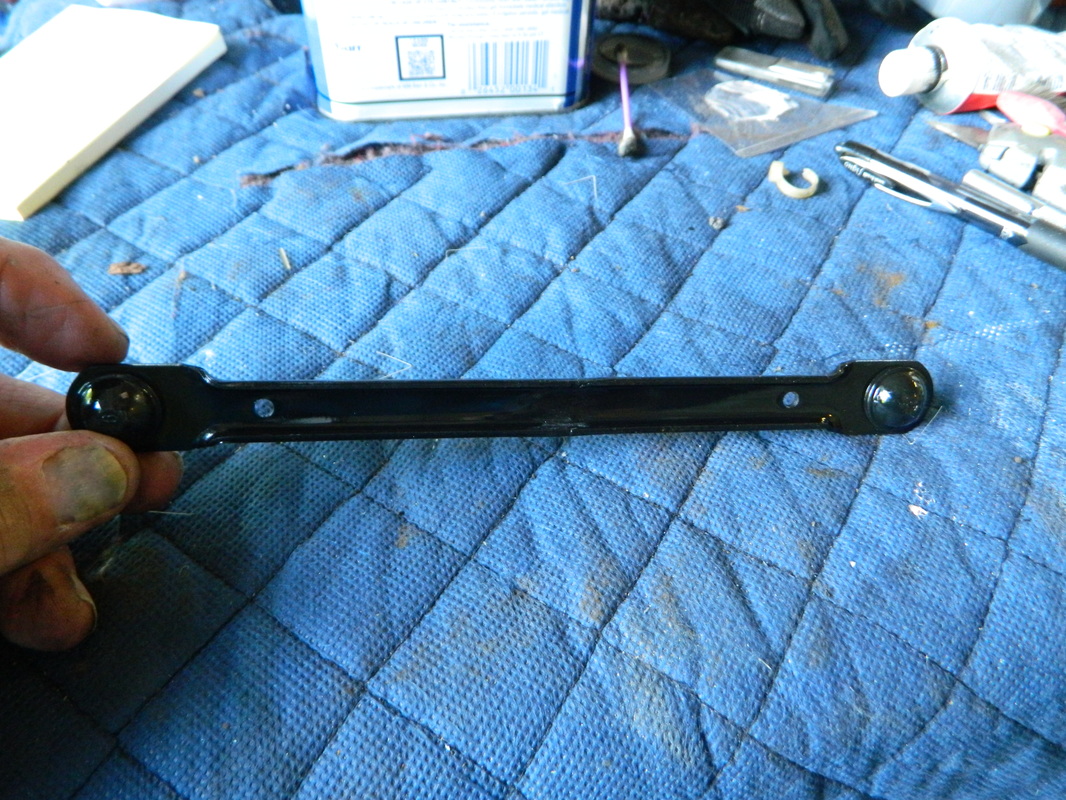
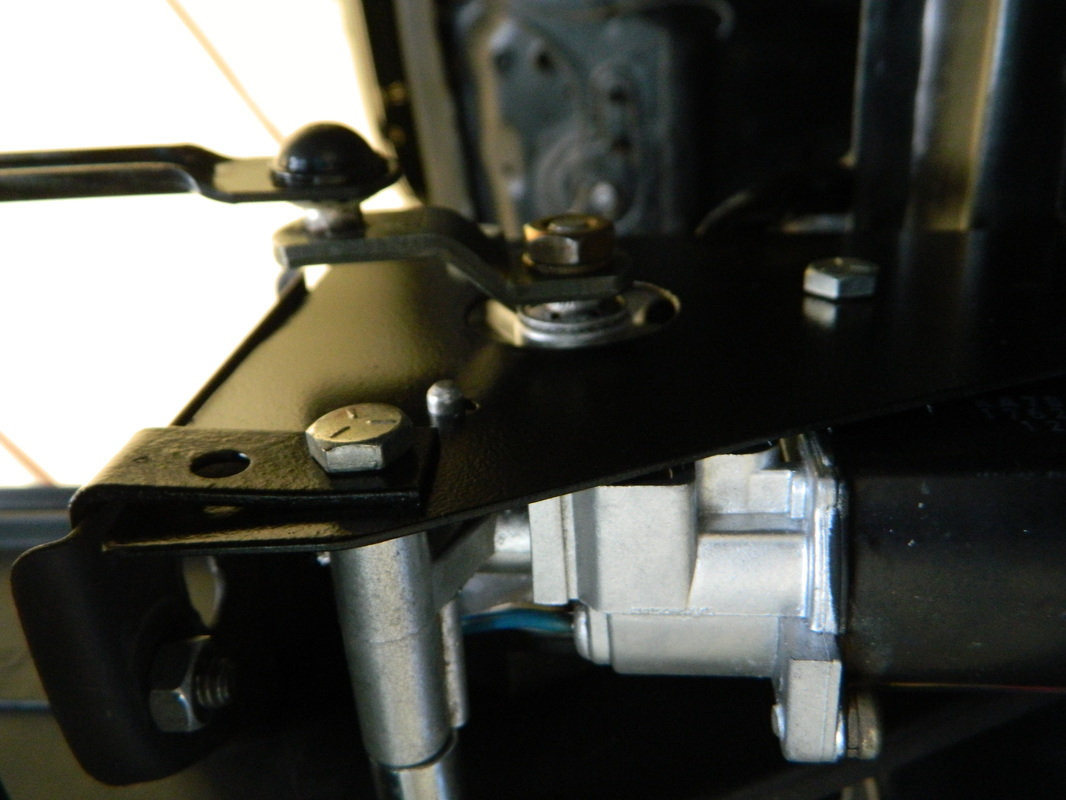
I decided today to try to get the majority of the front end back on and then mock up some kinda bracket for my electric headlight door opener. The first thing i needed to do, was to clean up about 50 body panel bolts and clips and paint them. Then I mounted the left side headlight assembly and the center grill section. Then I installed the vacuum servo assembly, that operates the headlights. Next, I took out just the servo and then made a foam pattern for a bracket to mount the electric motor. I then transfered this to some hardboard and then marked and drilled the appropriate holes and then mocked it up in place with a bolt. Next, I installed the gravel shield and the lower valance, to see if there would be any interference and there wasn't. I put the linkage arm on the motor and it looks like it might just work. All I would have to do is weld on a little ball mount on the upper lever. I will test this all out before I begin making the bracket out of steel plate. 8 hrs.
I decided today to try to get the majority of the front end back on and then mock up some kinda bracket for my electric headlight door opener. The first thing i needed to do, was to clean up about 50 body panel bolts and clips and paint them. Then I mounted the left side headlight assembly and the center grill section. Then I installed the vacuum servo assembly, that operates the headlights. Next, I took out just the servo and then made a foam pattern for a bracket to mount the electric motor. I then transfered this to some hardboard and then marked and drilled the appropriate holes and then mocked it up in place with a bolt. Next, I installed the gravel shield and the lower valance, to see if there would be any interference and there wasn't. I put the linkage arm on the motor and it looks like it might just work. All I would have to do is weld on a little ball mount on the upper lever. I will test this all out before I begin making the bracket out of steel plate. 8 hrs.

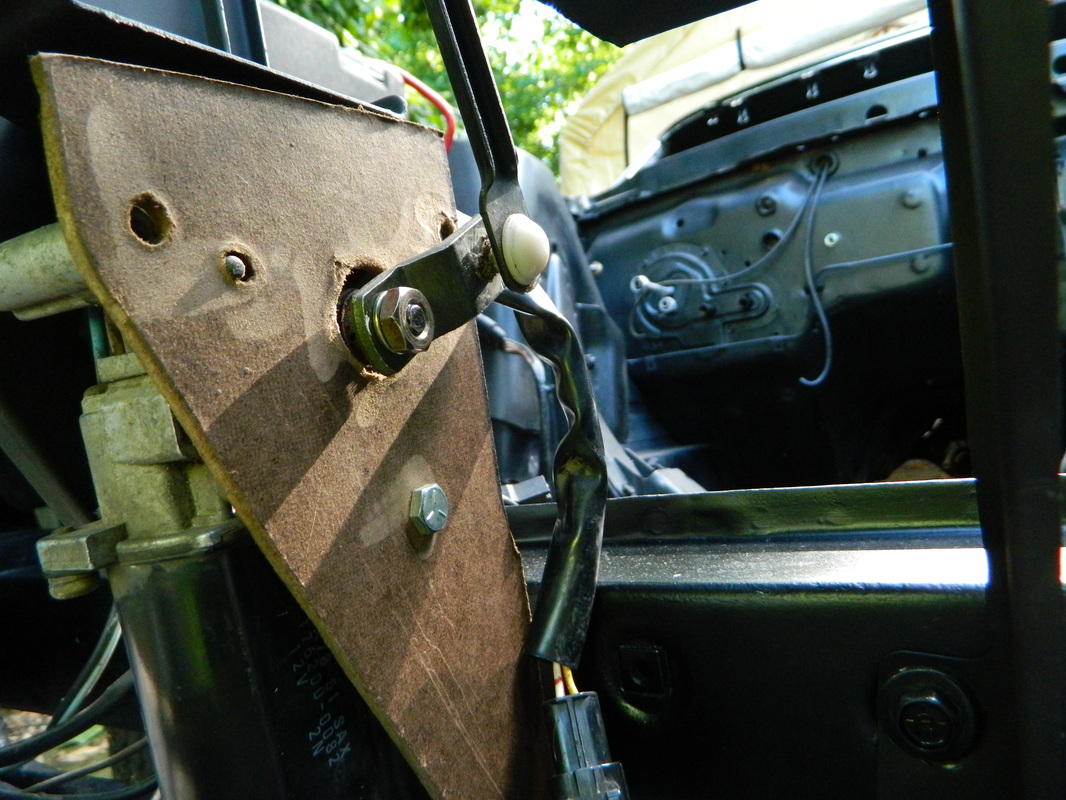

Jun 3, 2015
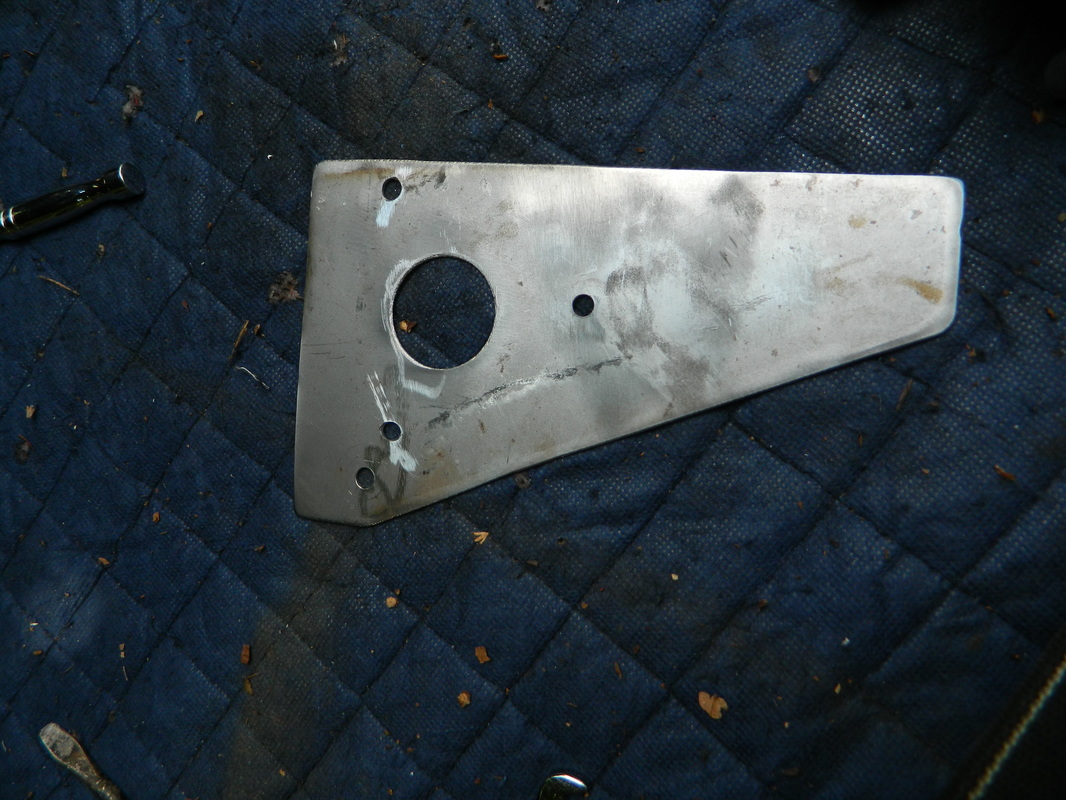
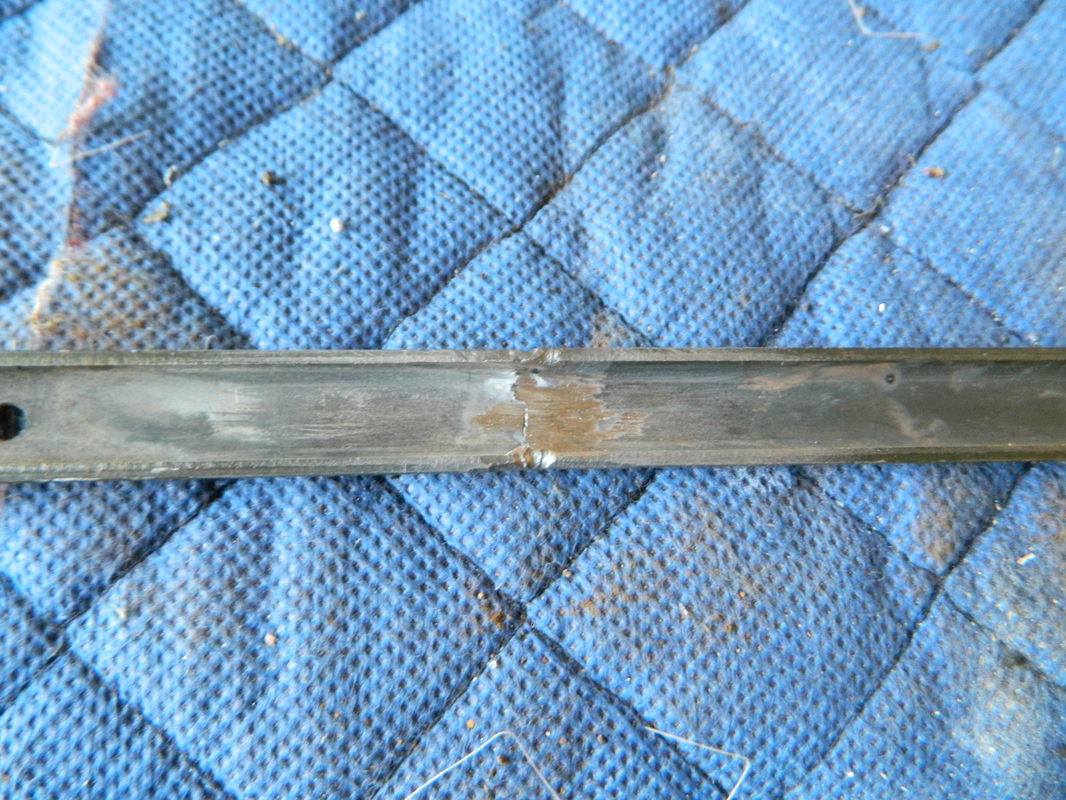
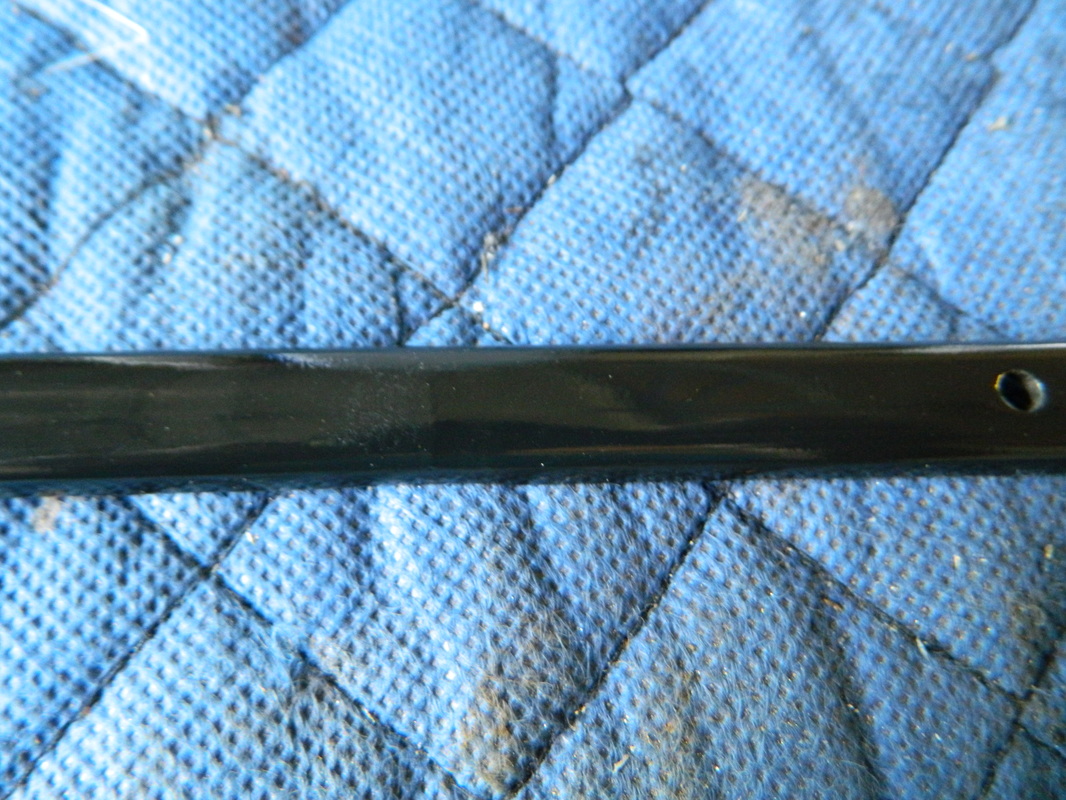
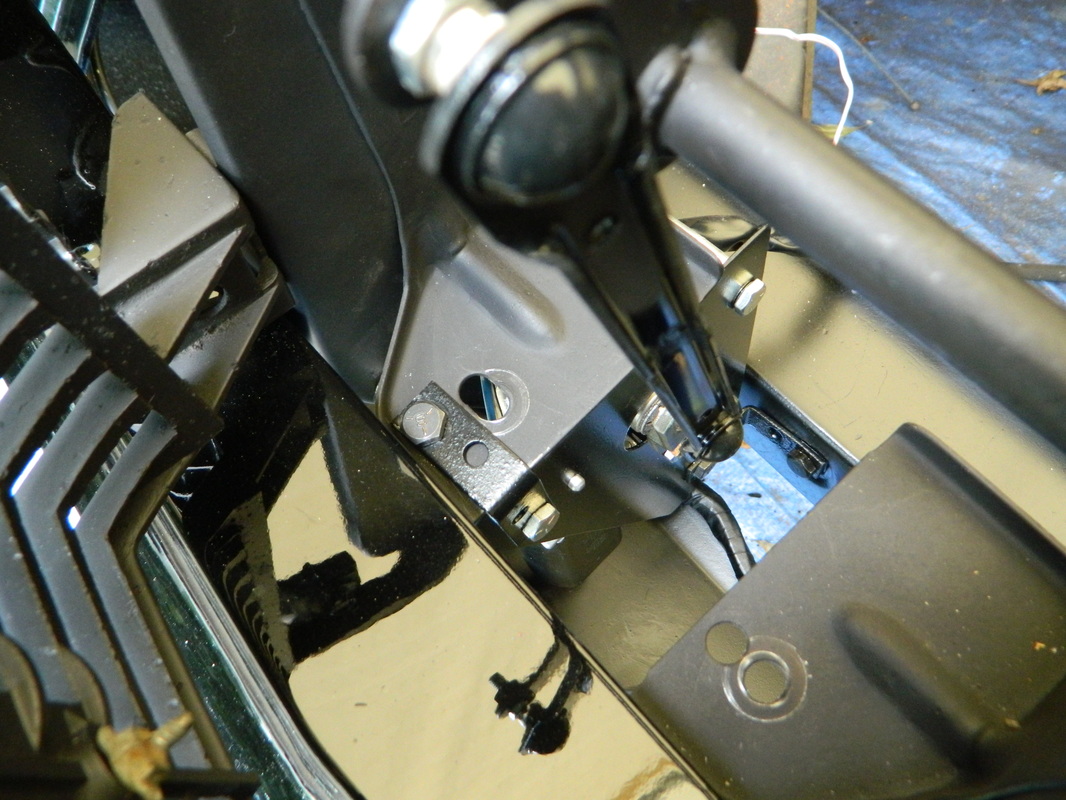
Ok..so this morning I got out early, excited about the prospect of getting my headlight conversion working or failing. I won't go into all the details, but it took quiet a bit to do it. I had to cut 11/16" out of the long actuator arm and weld it back and drill/beat out the little ball that connects to the arm and shaft and then modify it so I could attach it. All of this and it's just the rough draft, I still have to make the panel out of steel now and add some angle brackets for support. Then, I can order the relay harness to make it work seamlessly with the light switch. But, it works and I have $20 invested right now. 8hrs PS: I went back in the garage and made the steel bracket and added two angle brackets.


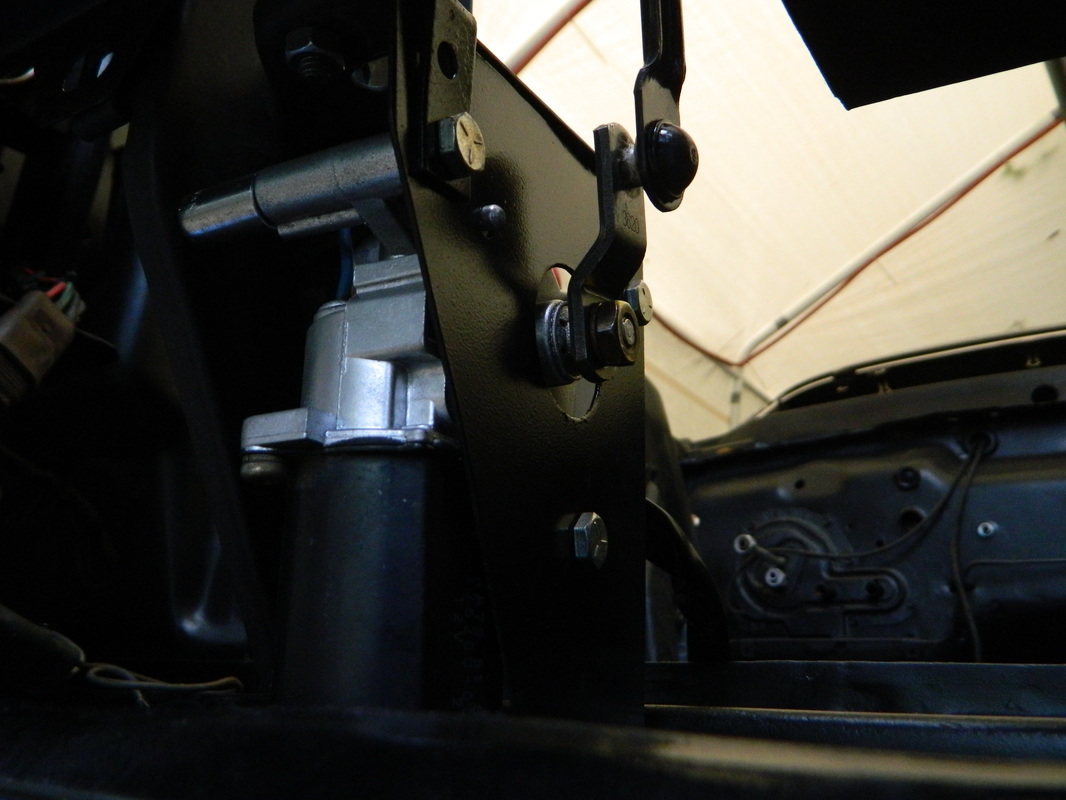
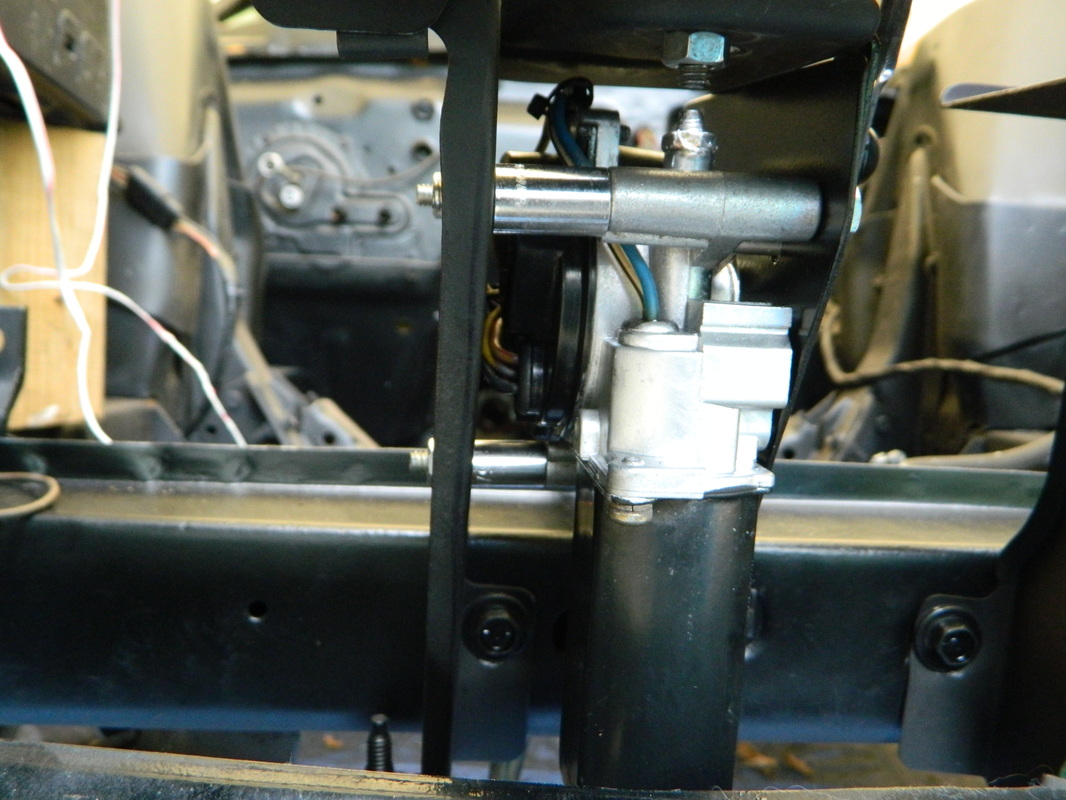
Jun 4, 2015
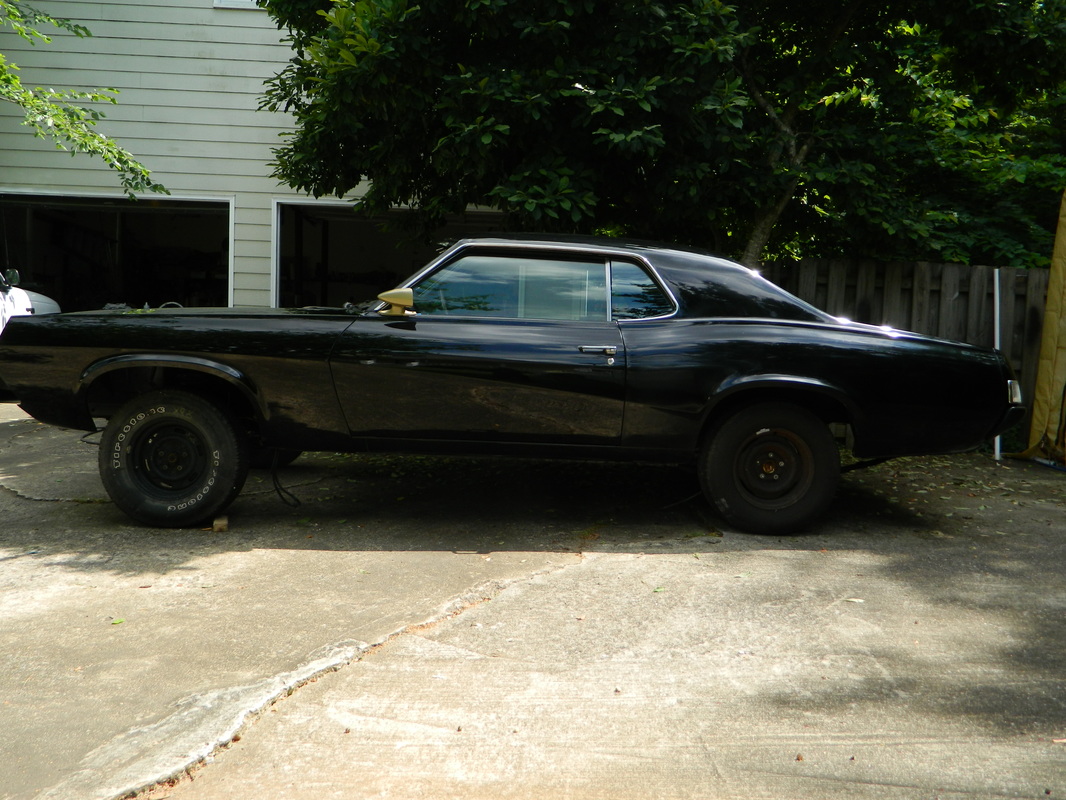
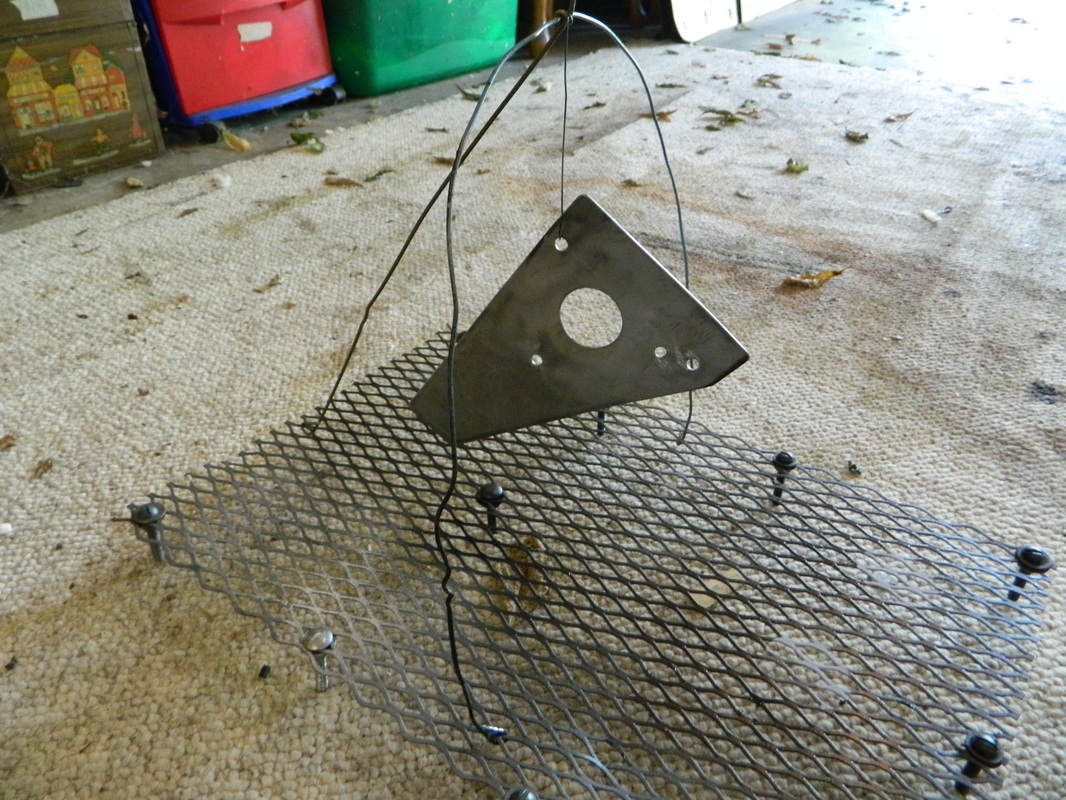
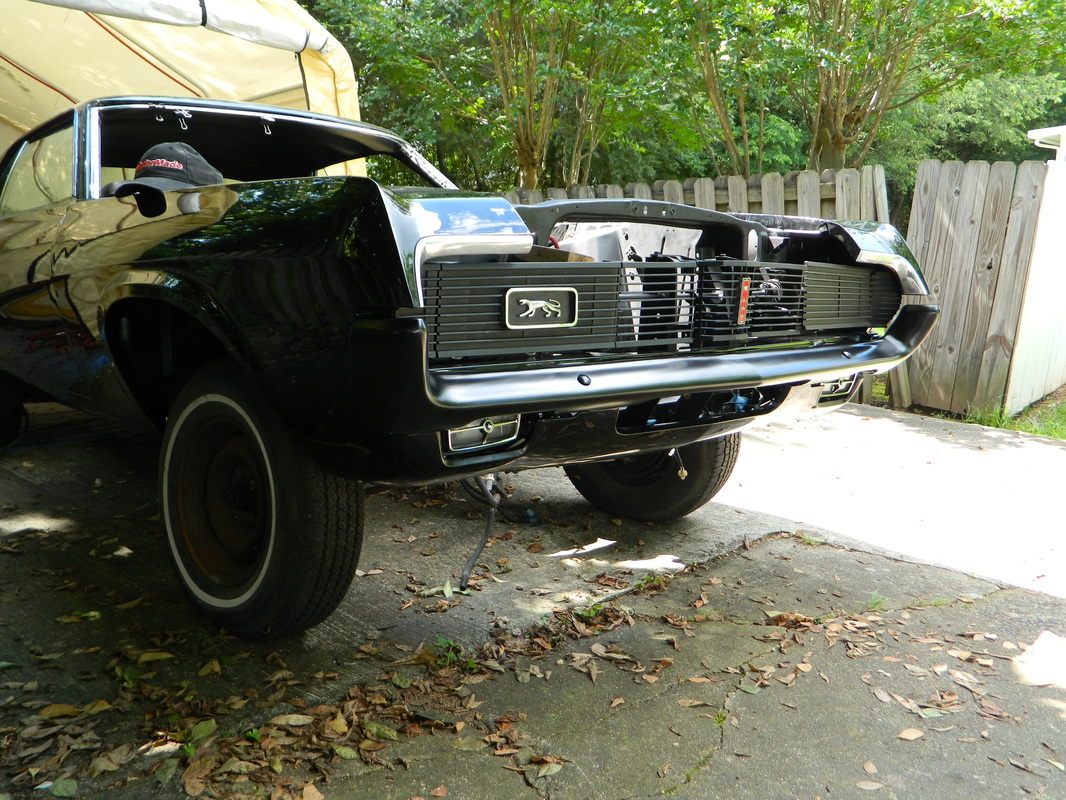
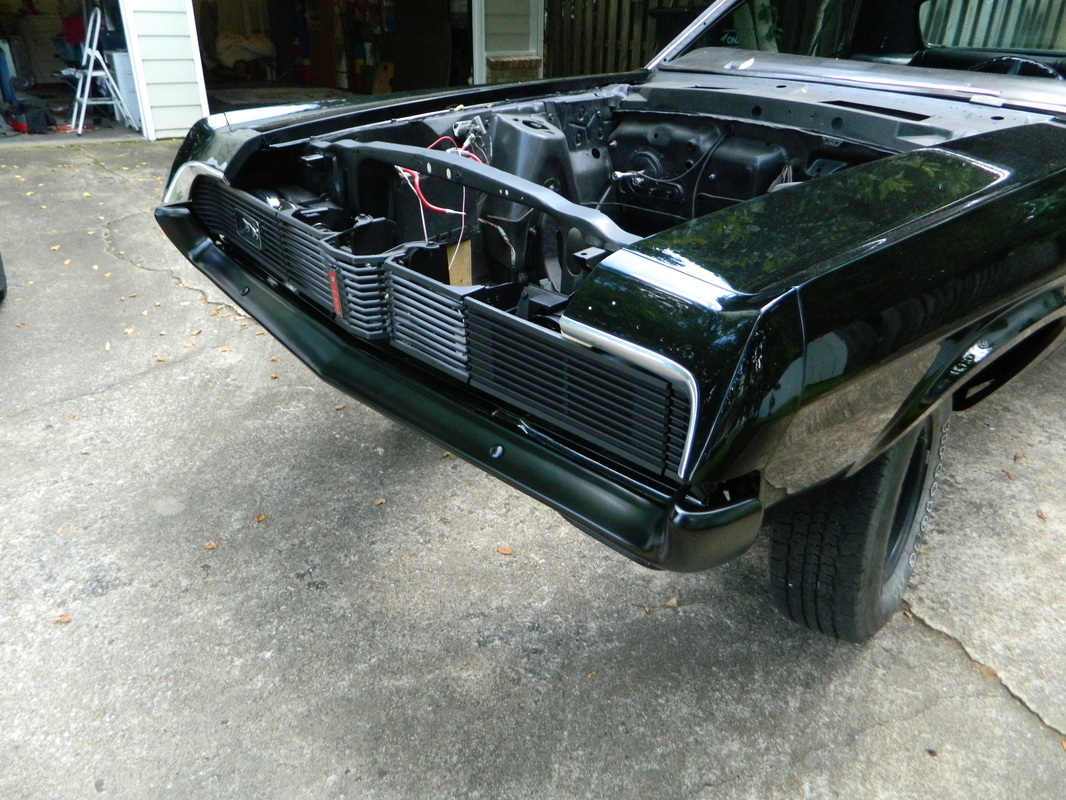
I have been slaving over this thing! Today I took out the headlight motor and bracket and powdercoated the bracket and painted the motor. I will re-install those tomorrow. I put the two fender extensions on as well as the "chrome" eyebrow trim. Then installed the front turn signals in the valence. Then it started to look complete except for the front bumper...so I stuck it in place, but its not adjusted or tightened down. That's it. 8hrs worth.


Jun 5, 2015
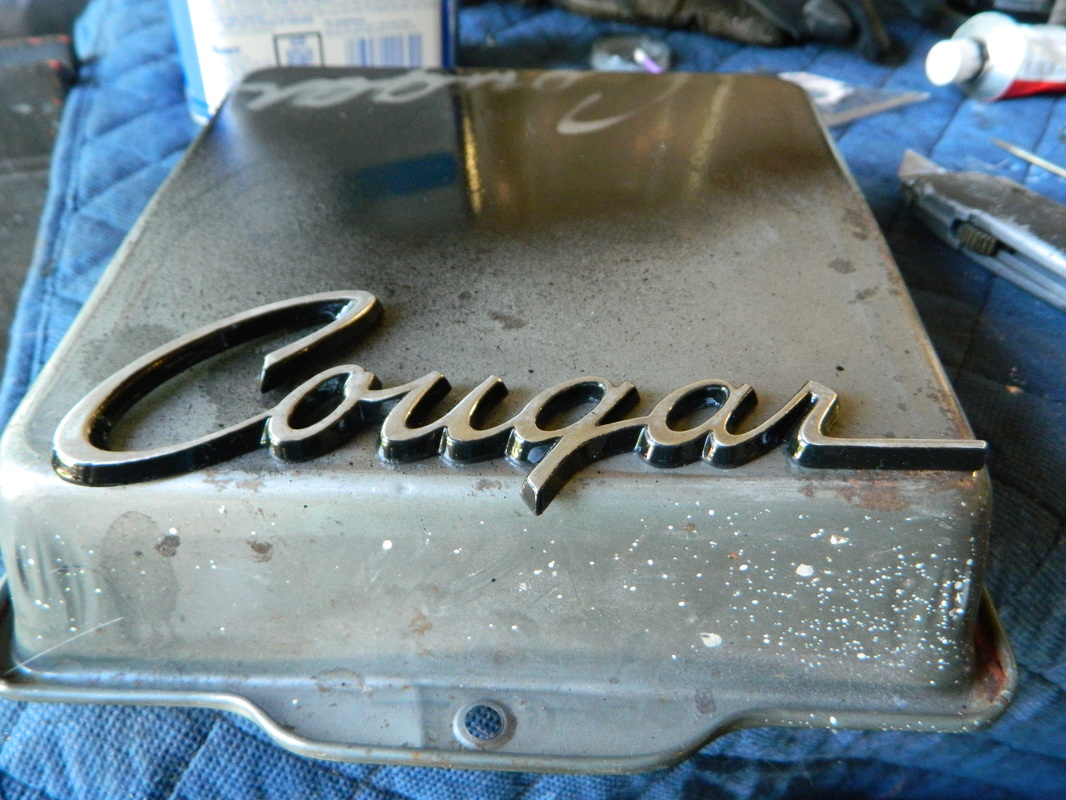
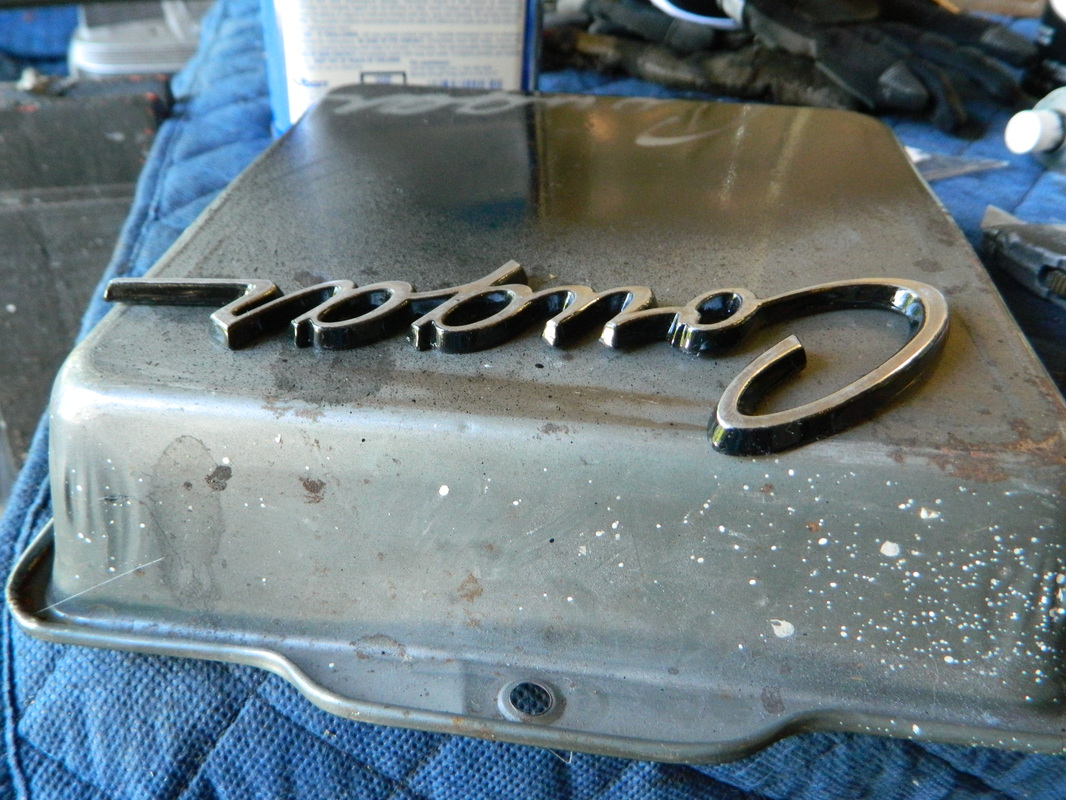
I was able to re-install the headlight motor assembly, which took way too long, as I had to do it twice, because I forgot to drill the holes for the angle brackets. Next, I decided to smooth out some of the weld on the actuator arm and paint it and while I had the paint out, painted the Cougar script emblem. Then, I tried to hook up the headlight harnesses, and found that I had to back track there as well, as I needed to loosen the headlight assembly, in order to access the back of the bulbs. So, today was a lot of little accomplishments, but it doesn't seem like I got much done. But, I did manage to spend the entire day doing it. 8hrs


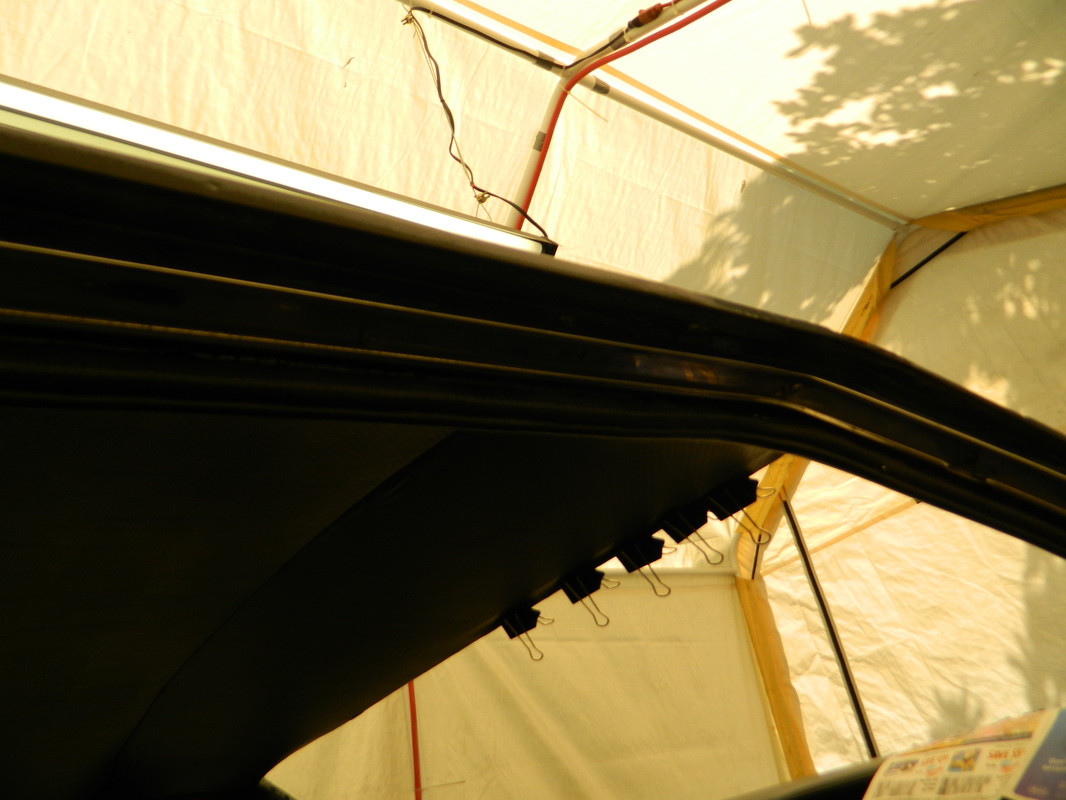
Aug 6, 2015
It's been one month since my last post. I have changed jobs, and have been doing some intense training for my new job. I am now photographing new and used cars for online ads for dealerships. Just putting in a lot of hours to get familiar with everything, but the upside is new found capital for the Cougar. So, I ordered most of the rubber weather stripping for the car and started installing it today, my first weekday off in 3 weeks! I installed the door belt line "fuzzies" that wipe up against the door glass when rolled up and down. The inside ones are on the door panel and required using an air powered cut-off saw to cut the heavy duty brads that attach them. Then, because the holes for the brads on the new one don't line up, I had to drill eight 1/32" holes and then fold the brads over with needle nose pliers. The outer "fuzzies" are easier to install as they use spring clips that just snap in. And finally, I replaced the vertical weather strips between the front and rear windows. That was a bit tricky, as there is one screw that holds them in, and with the window rolled all the way up, it's still 1/2" below the access hole. And, of course, I dropped one of the screws inside the door and had to remove the door panel to get it. Sorry there's not much to see in the photos, but I worked on this most of the day. 6 hrs.