DEC 02, 2012
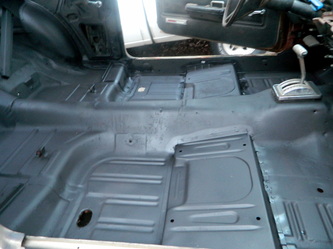
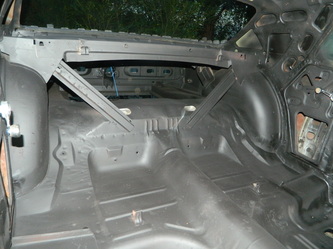
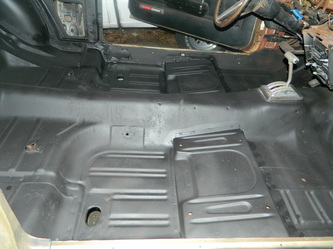
Today, just a continuation of the interior clean up scrapping, sanding, grinding, wire wheeling, rust converting and priming. 2 hrs

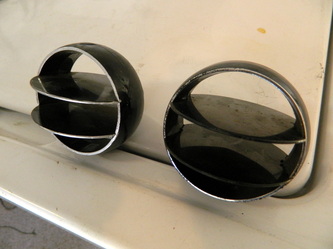
DEC 03, 2012
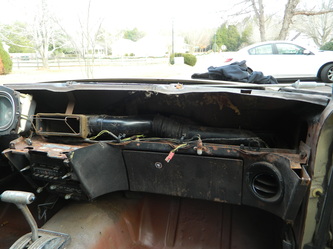
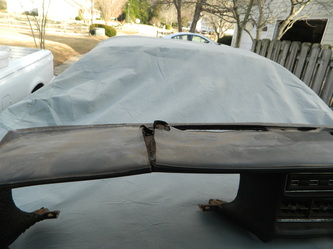
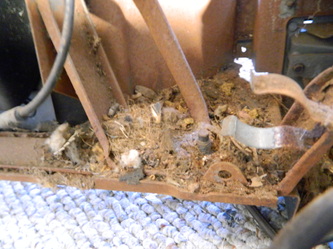
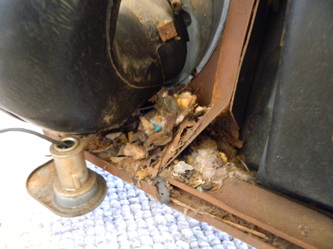
Was feeling ambitious today, so I removed the front windshield and cleaned out all the sealant and also removed the dash pad and surrounding trim pieces. And that IS a rat's nest and dirt dobbers nest.4 hrs


dec 04,2012
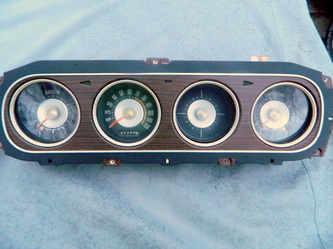
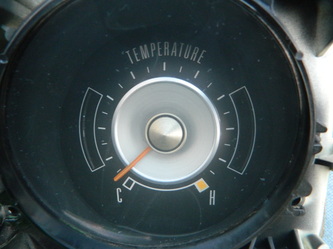
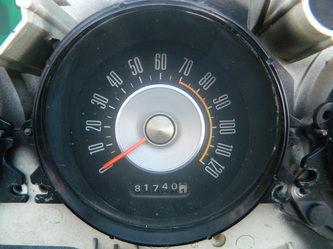
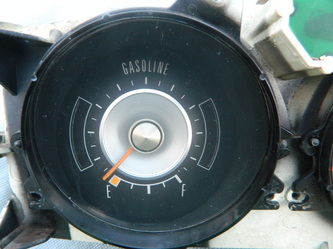
Removed the instrument panel and cleaned and polished the lens and gauges 2 hrs


dec 06, 2012
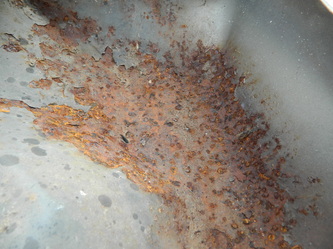
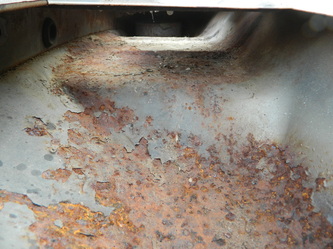
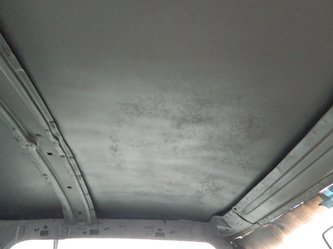
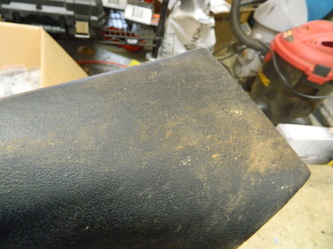
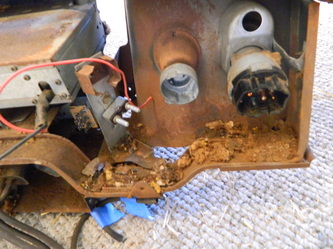
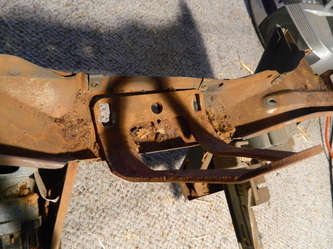
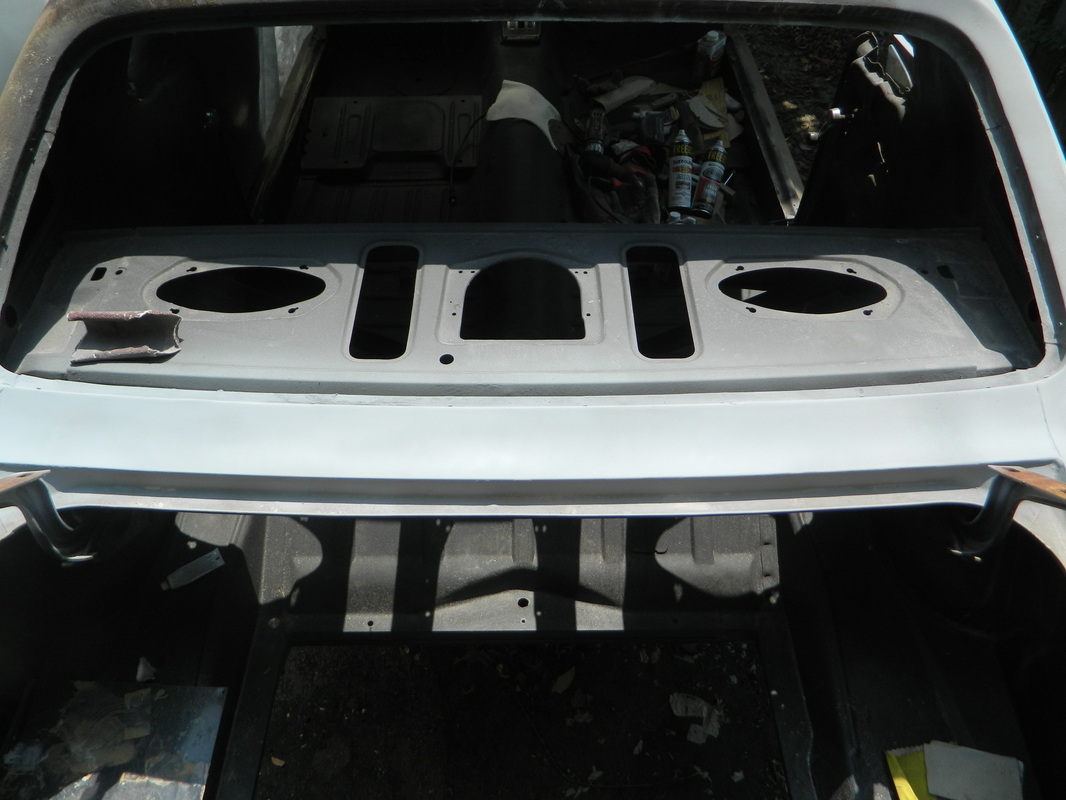
Cleaned up the package tray..the cougar is shedding his skin..also some rust issues in the lower dash


dec 07, 2012
Continued sanding and cleaning today and finished up with the epoxy primer..man am I tired! 6hrs

dec 08, 2012
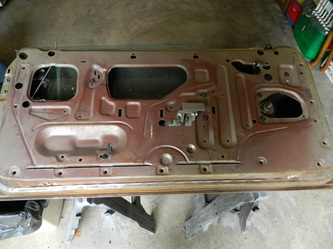
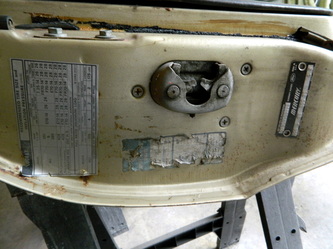
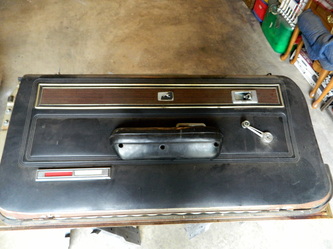
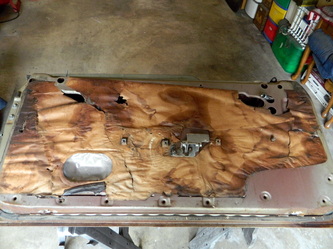
Removed weather stripping from both doors, everything looks good underneath

dec 10, 2012


dec 12, 2012
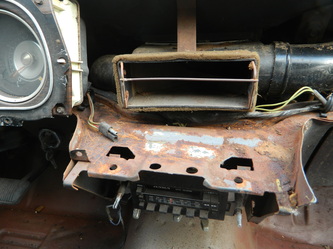
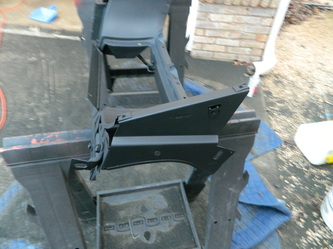
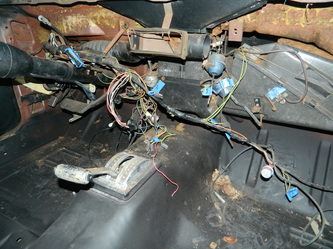
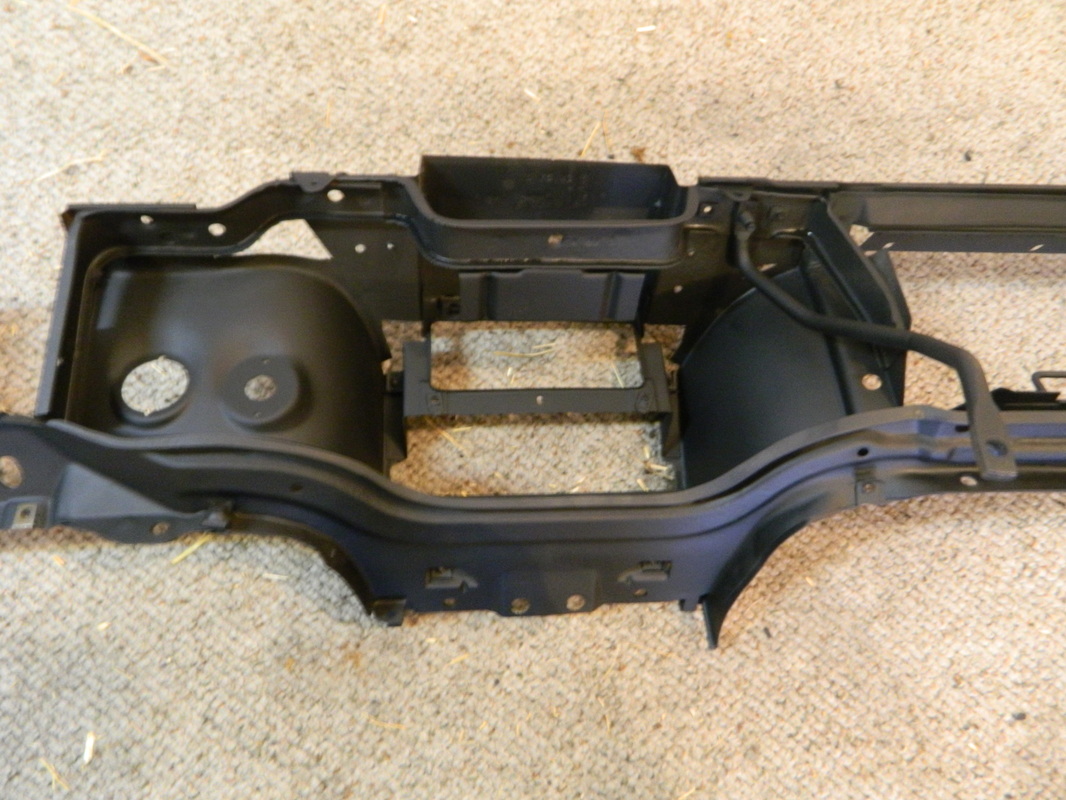
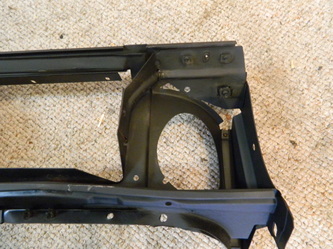
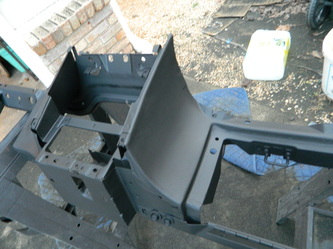
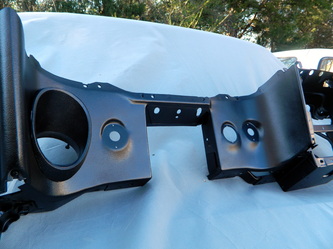
Well, after some deliberation I decided to remove the lower dash. After watching Don Rush's video on how to do it about 3 times..I started unbolting and unplugging everything I could find. After about 4 hrs yesterday and 6 hrs today, I got it out, stripped of all things bolted to it, media blasted and painted. Of course, I took pics of every bolt I took out and wire connector that I unplugged.


dec 13, 2012
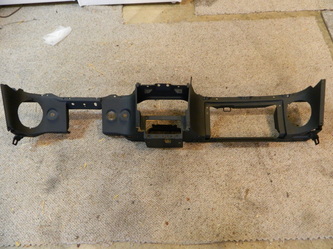
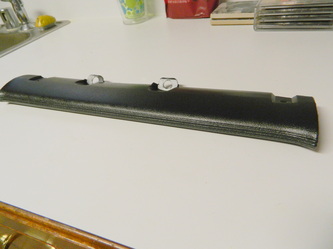
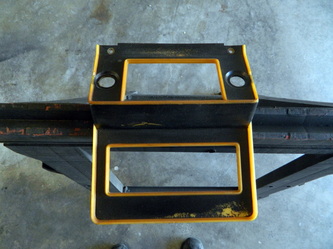
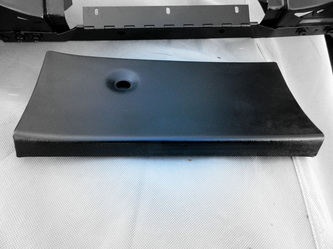
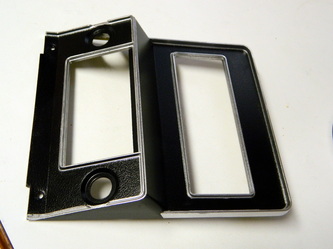
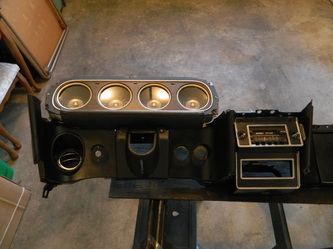
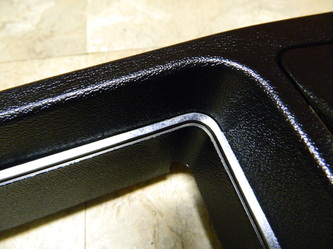
After yesterday's marathon dash removal and paint, I took it easy and just did the final satin black finish on the dash, glove box, radio bezel, and dash trim piece. 4 hrs

dec 14, 2012
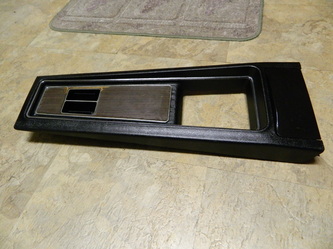
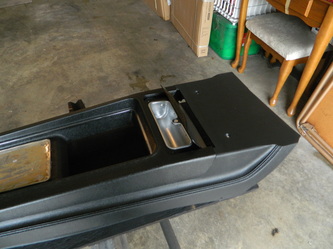
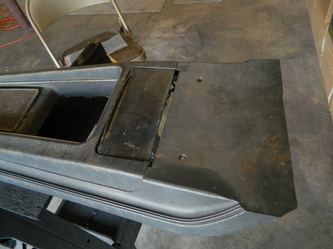
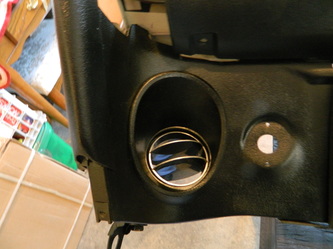
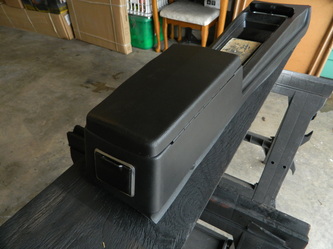
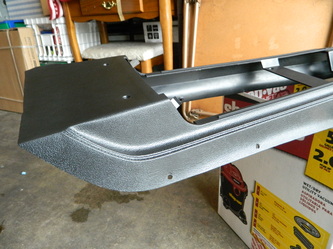
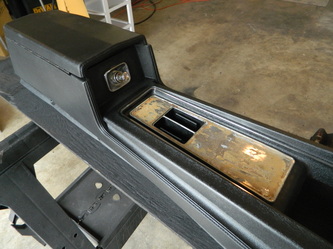
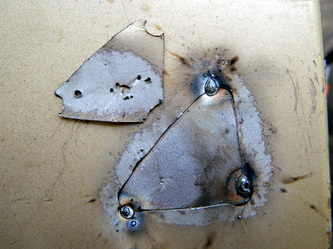
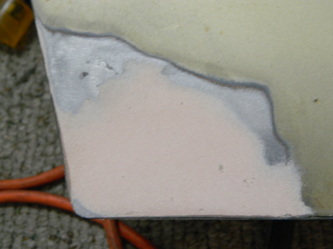
Today was finish painting on the console and reassembly. I had to repair one of the screw holes on the console with fiberglass. 4 hrs


Jan 10, 2013
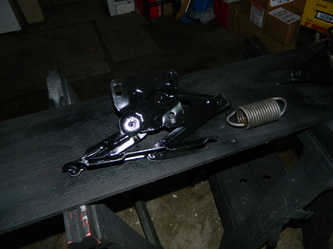
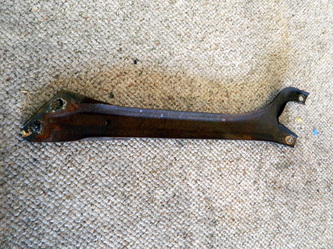
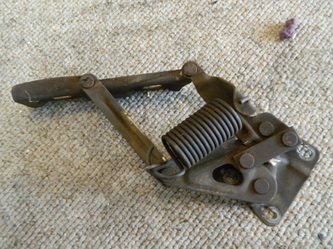
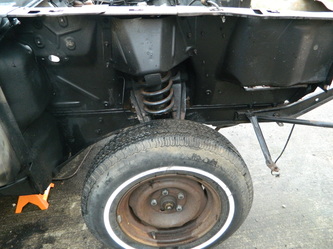
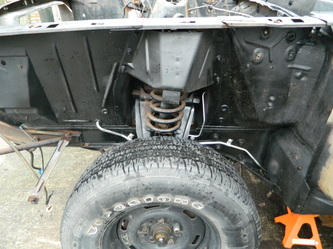
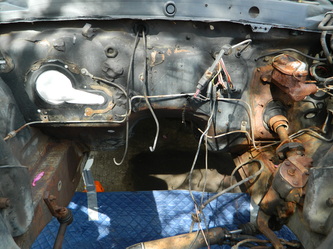
Sorry..due to the holidays and bad weather, I haven't worked on the Cougar in a while. But, a couple days ago I pulled the hood off and stored it, and today I removed the shock tower braces and the hood hinges and blasted and painted them and gave the springs a phosphoric acid bath.


jan 23, 2013
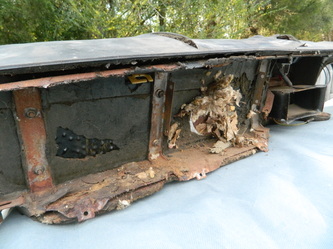
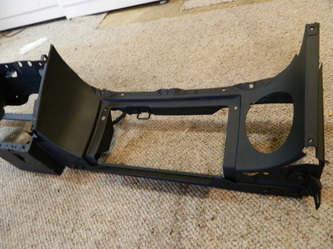
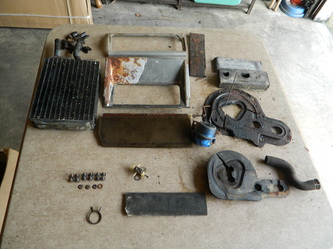
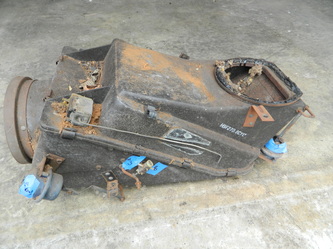
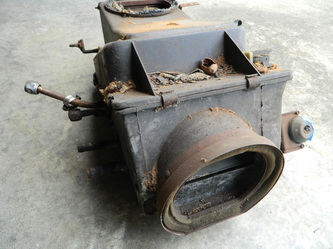
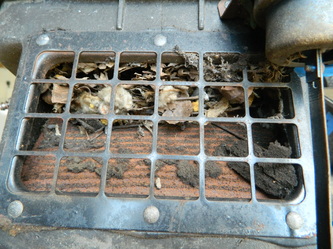
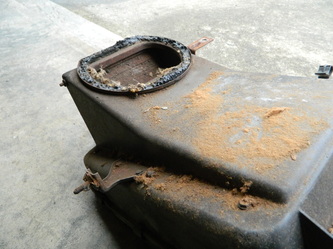
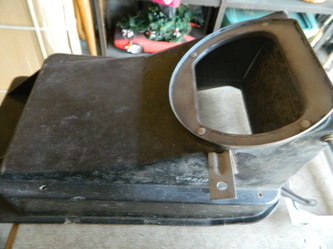
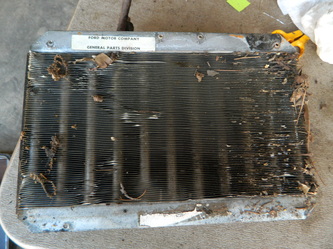
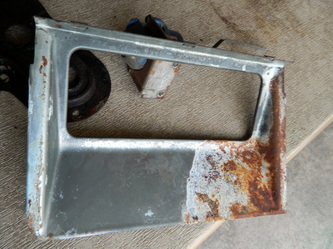
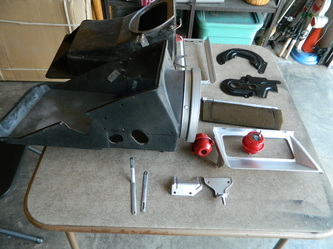
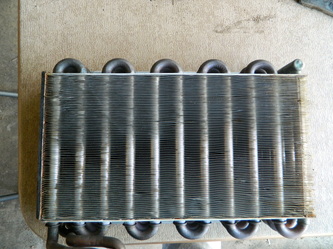
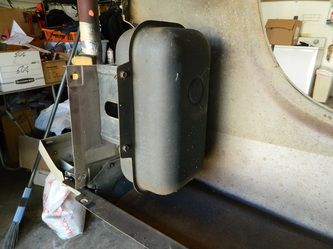
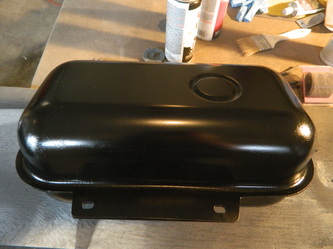
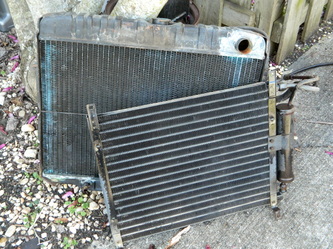
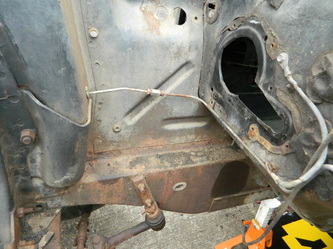
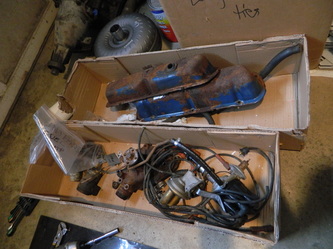
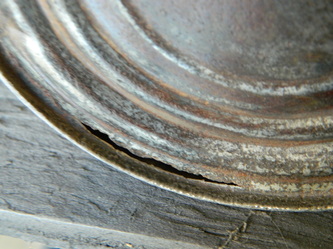
Again a big pause in the action..the weather finally gave me a break today. I removed and dismantled the A/C plenum/ heater assembly. It wasn't that bad to get out, but going back may be another story. There were the usual rat nests and pecan shells inside. The A/C condenser looks good, the heater core I will replace or have rebuilt, along with a seal kit which includes all the foam rubber parts. There willy have to be a couple repairs made to the fiberglass plenum housing to insure that there are no leaks. Tomorrow I might remove the blower assembly.

jan 24, 2013
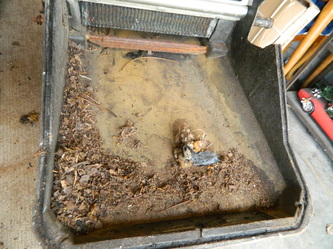
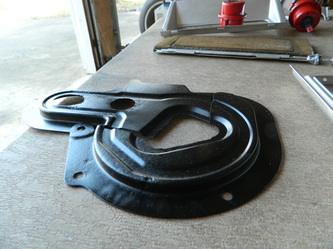
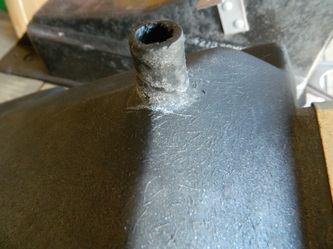
Today, I finished taking the A/C apart and cleaned, blasted and painted everything. Also fixed the broken drain nipple and a hole in the lower box. I still have to re-assemble it all.


Jan 31, 2013
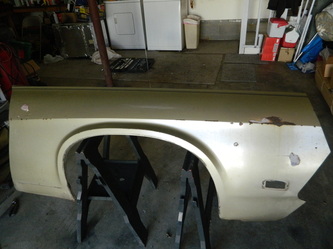
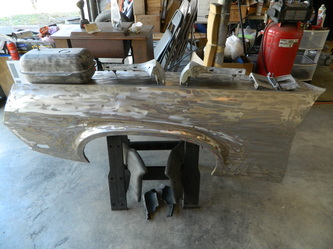
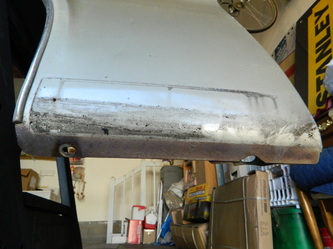
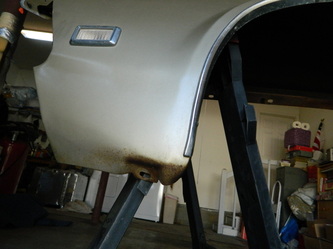
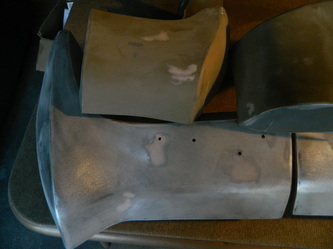
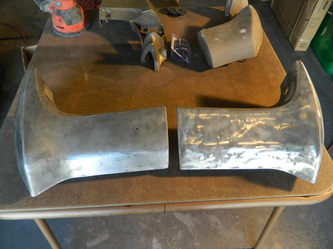
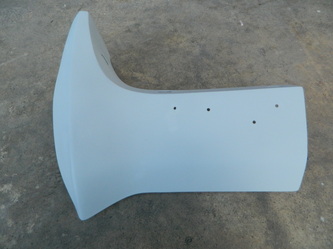
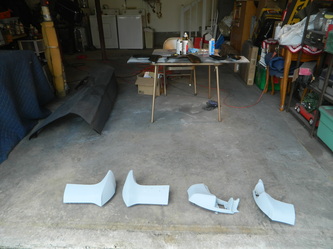
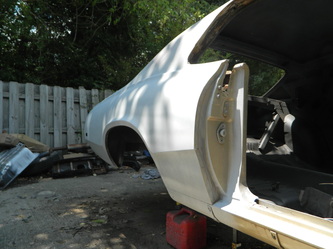
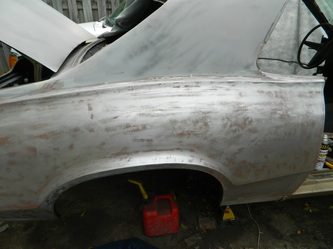
I'm back! Well, I took the right front fender off today and sanded and sanded and sanded. I got 95% of the exterior paint off, tomorrow I will work on the underside and possibly paint it.

Feb 05, 2013


feb 06, 2013
Removed and stripped the left fender..it went a little faster than the right side only 3 hrs

Feb 13, 2013
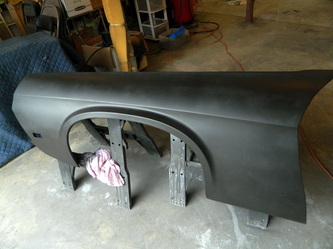
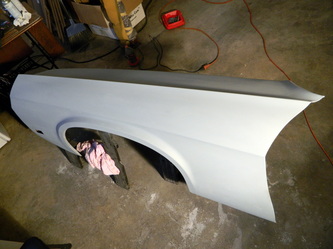
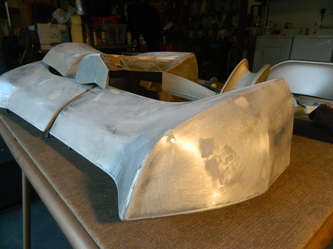
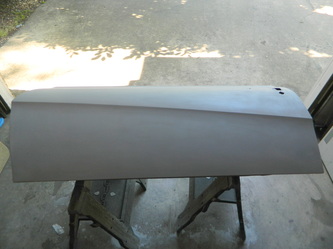
Its been cold and rainy for days, not the best for paint and body work. But I managed to finally finish the left fender today. Next will be a lot of small trim pieces that need painting.
feb 14, 2013
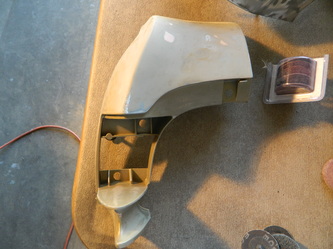
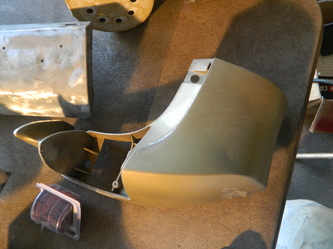
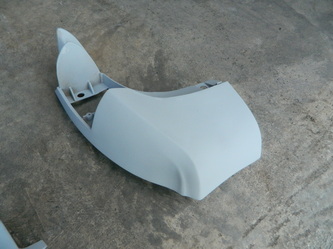
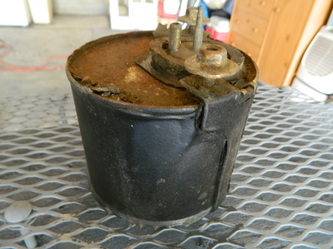
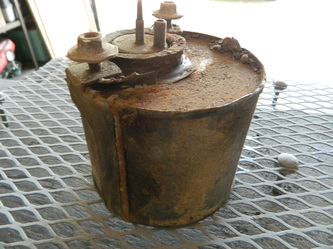
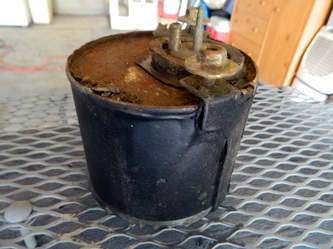
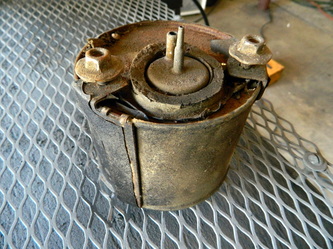
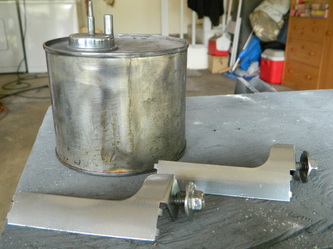
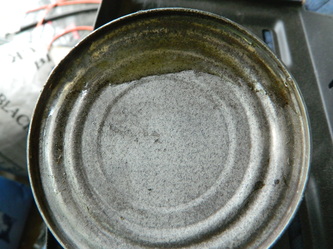
Finished sanding and repairing little flaws in the headlight and taillight corner extentions and the vacuum canister and brackets and then primed it all.


feb 27, 2013
The last few days that I have worked on the Cougar have been devoted to wire brushing and media blasting small pieces and nuts and bolts and painting them.


mar 04, 2013
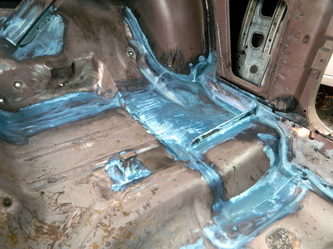
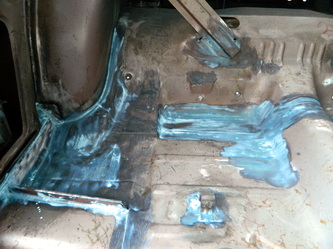
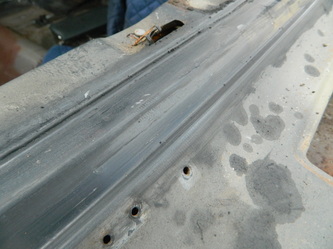
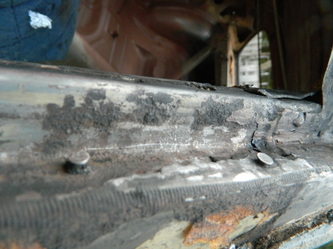
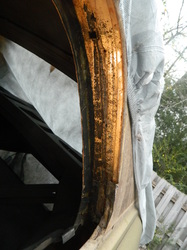
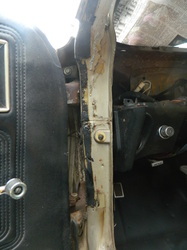
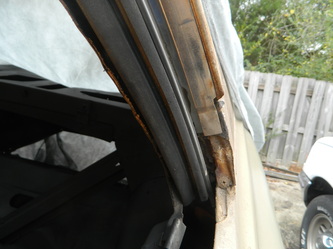
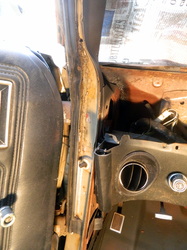
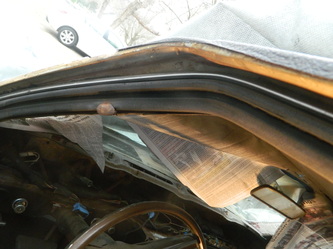
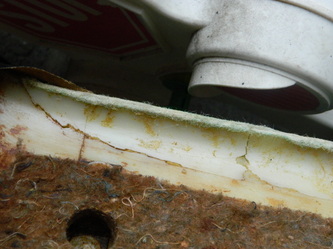
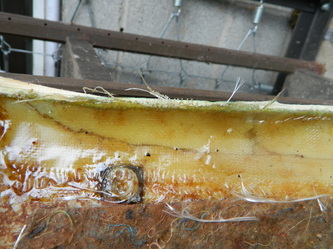
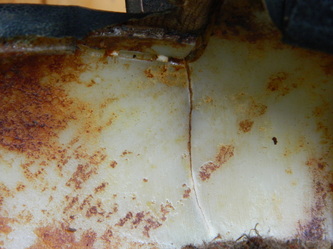
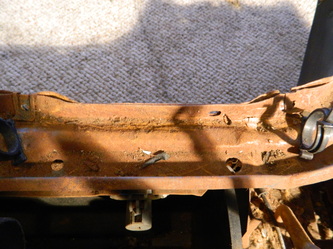
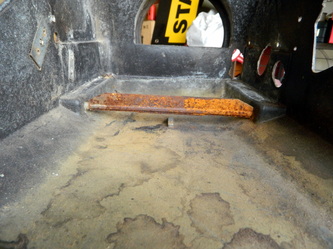
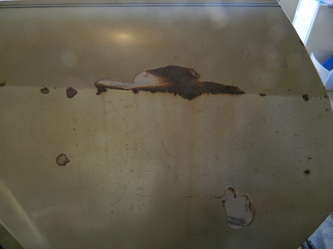
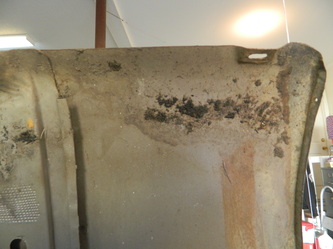
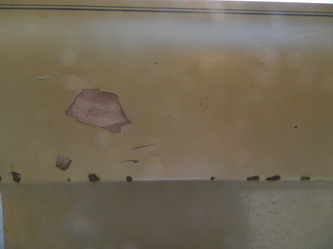
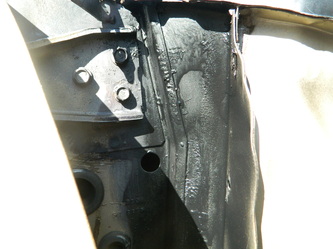
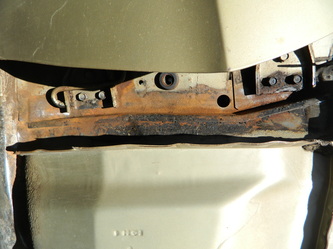
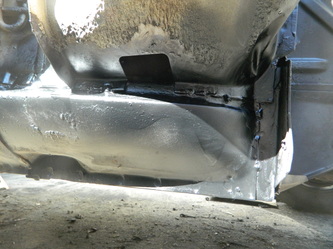
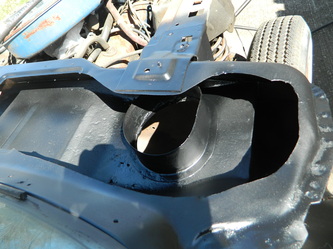
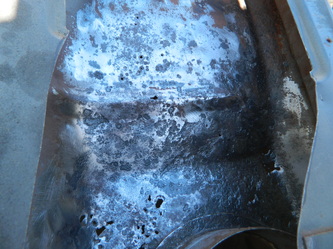
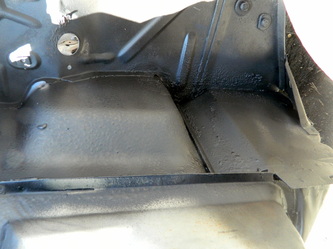
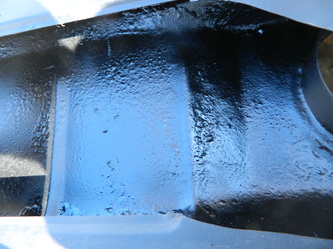
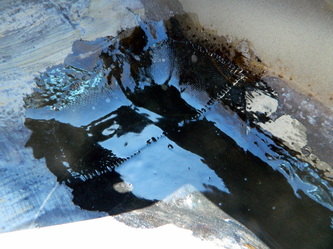
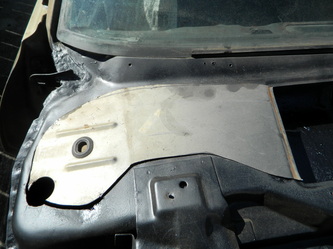
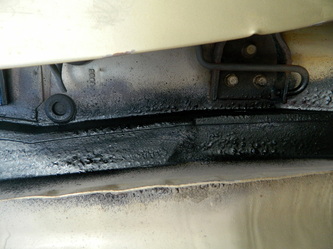
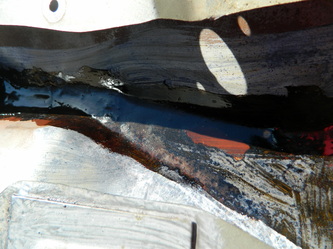
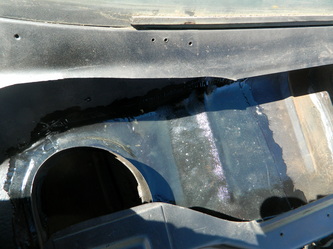
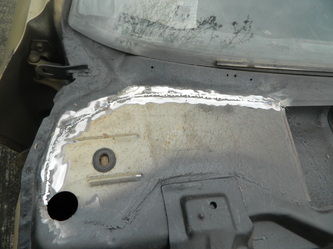
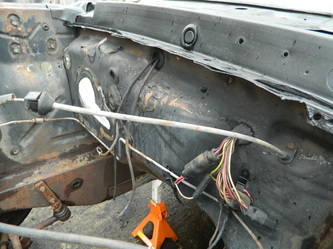
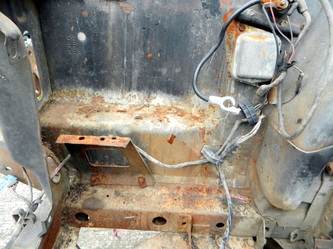
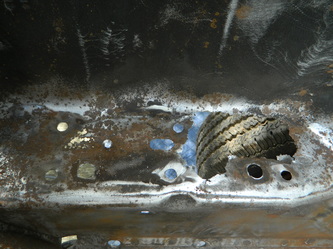
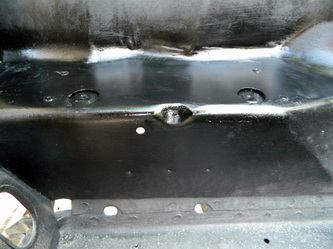
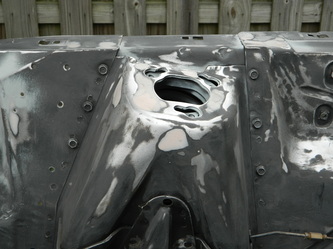
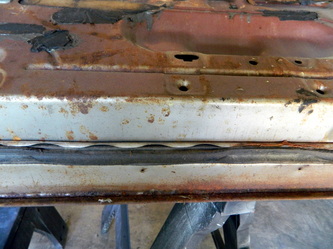
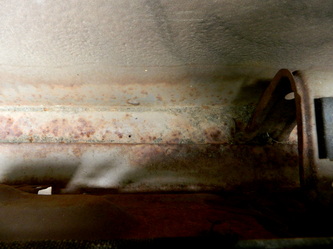
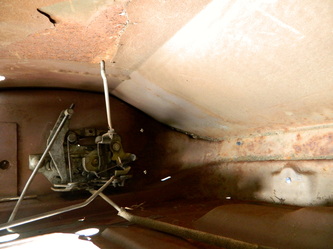
Jumped into a real project now..I cut an access hole in the windshield cowl to get to the rust in there and spent 4 hrs chipping, scraping, media blasting and priming. And thats just half of it, still have to do the driver side. Also, I have to patch the rust holes with fiberglass and then coat the whole thing with POR 15


mar 08, 2013
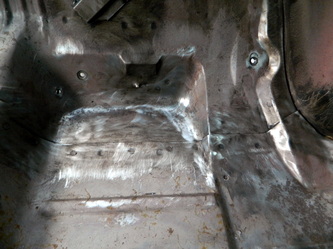
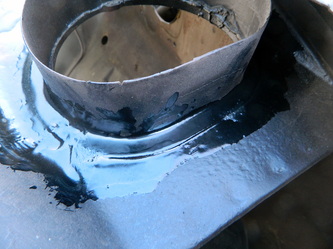
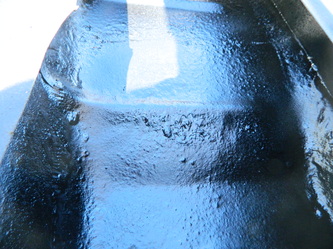
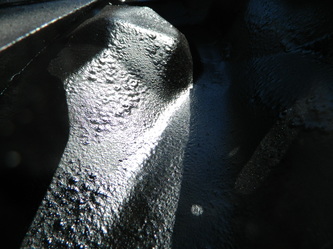
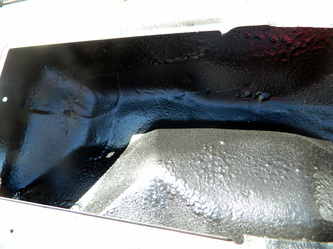
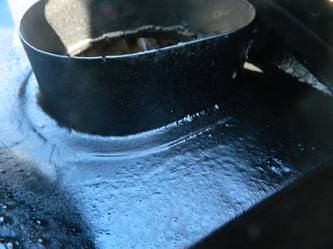
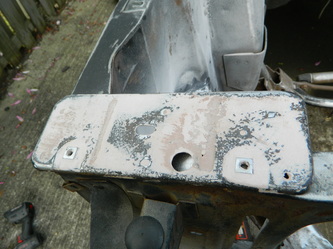
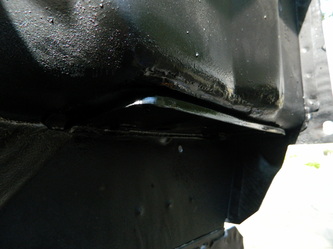
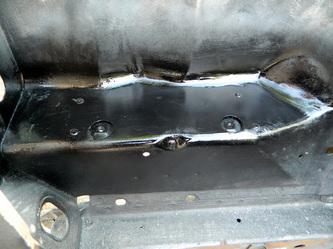
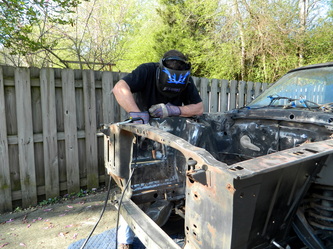
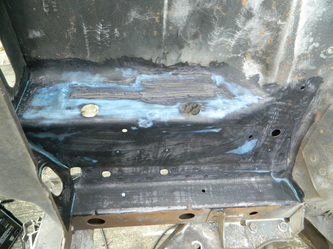
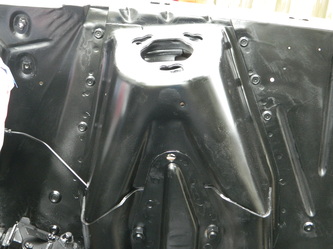
For the last two days I have been working on the windshield/heater cowl, repairing small rust pin holes and water proofing it all. First step was removing all the seam sealer with a putty knife then I cut two big access holes to get to the hard to reach places, and then wire wheel brushing, followed by a LOT of media blasting. Next, I coated all the previously rusted areas with rust converter and finally rust reformer primer. Day 2, I covered all of the small rust holes with fiberglass mat and epoxy and finished it with a rubberized water sealant similar to POR 15 made by Rustoleum. Lastly, I started tack welding in the two panels. I only finished half of one side, due to the slow pace. I had to stitch in the panel with hundreds of tack welds due to the nature of my equipment (cheap). But, I believe it will be just fine as it isn't visible or structural. total time about 8 hrs.


mar 09, 2013
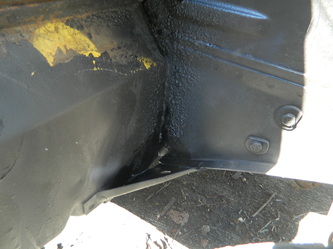
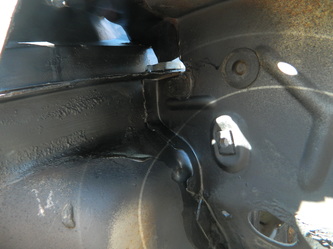
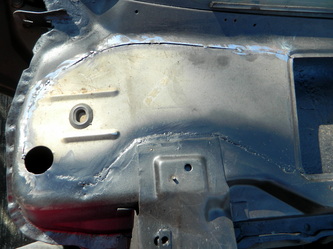
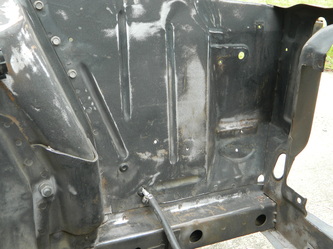
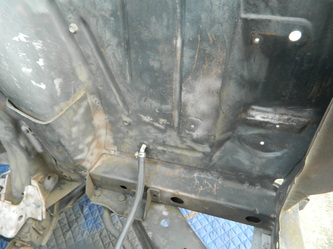
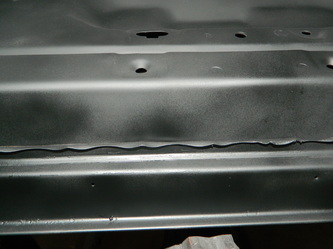
Today, I finished welding up the panels and grinding off the ugly part and did a little cosmetic cover up and then primer and paint. I'm happy with the results..2 hrs.

mar 11, 2013
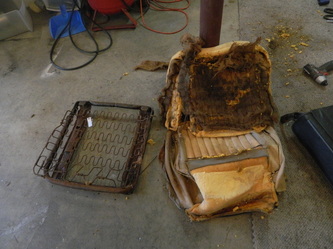
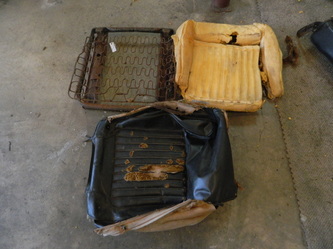
Today I disassembled a seat. It was extremely difficult and time consuming. There were at least 50-75 hog rings to remove. I will not be able to save the upholstery or the foam due to the fact it was bad. Spent about 3 hours on this one seat today.


mar 14, 2013
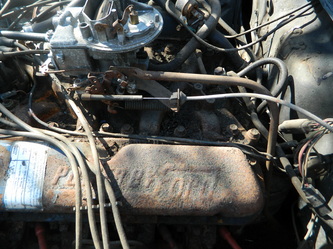
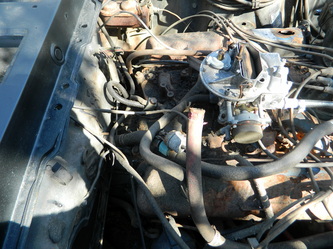
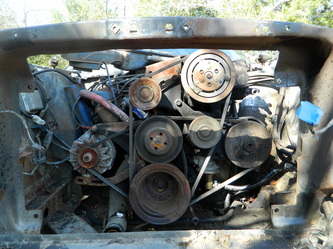
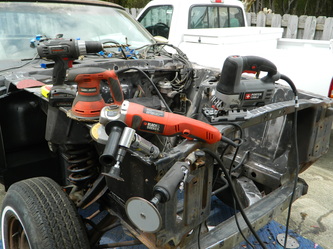
Today, since the weather was so nice, I decided to start tearing down the engine readying it for pulling next week. It all came out quick and easy, the engine part is my favorite. 2hrs


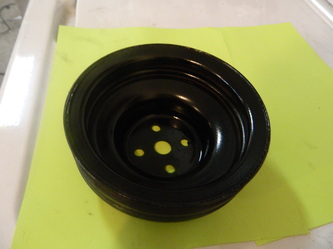
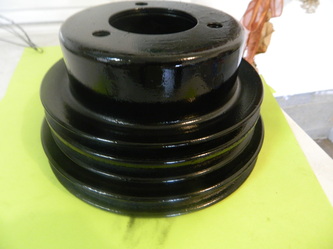
mar 18, 2013
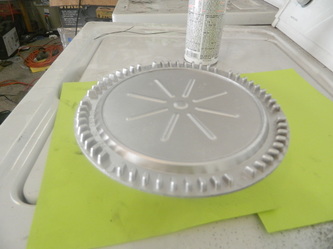
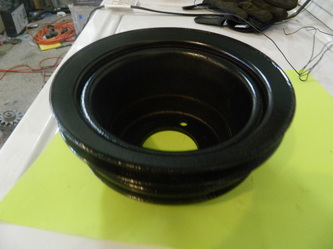
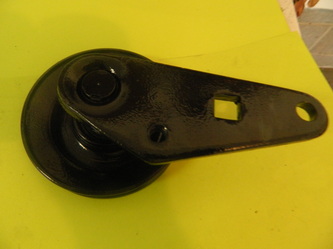
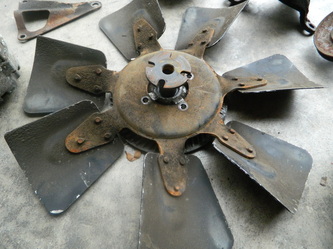
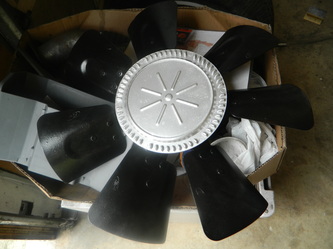
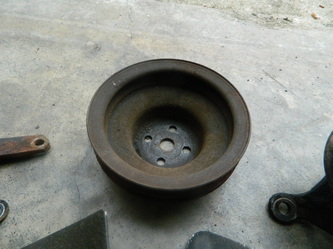
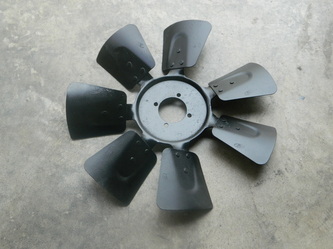
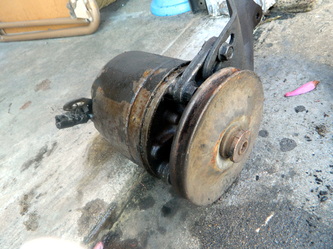
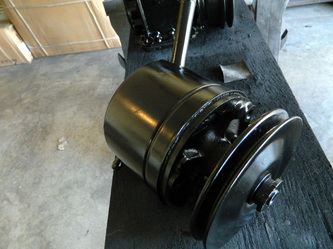
It was a really nice day today, so I really worked a lot on the Cougar. I wire brushed and blasted the pulleys, brackets and clutch fan and then powder coated them all. Powder coating is a lot slower than painting but the tough durable finish is worth it on the engine components. 6hrs


mar 19, 2013
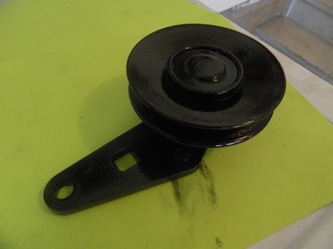
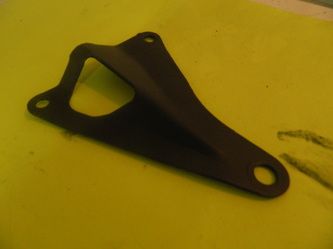
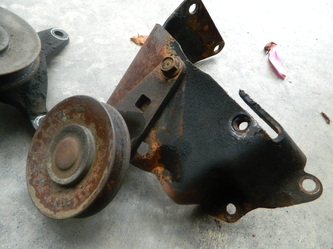
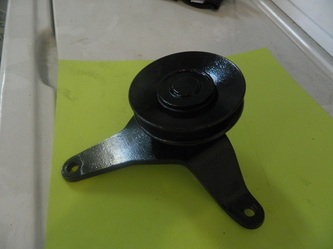
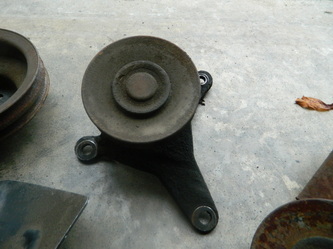
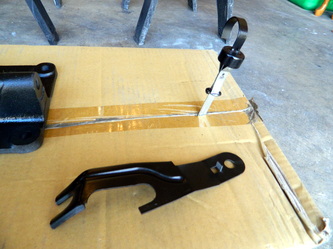
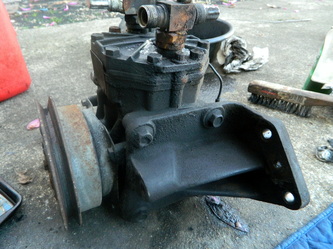
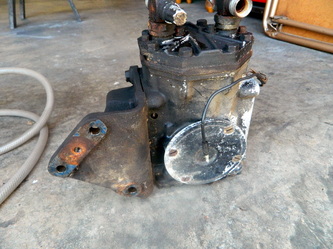
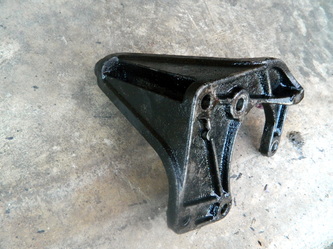
More nice weather..so more work. Cleaned and blasted the A/C compressor, power steering pump and brackets and then painted them. 3 hrs
mar 21, 2013
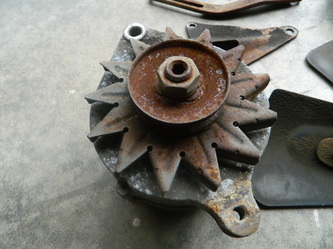
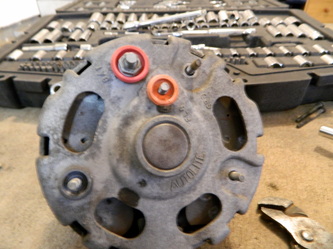
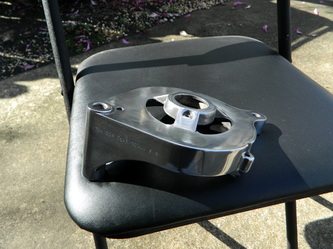
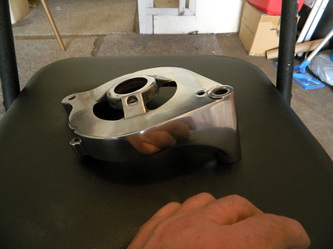
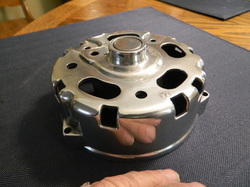
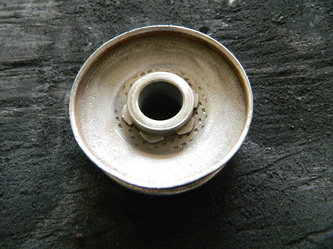
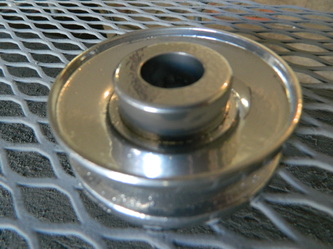
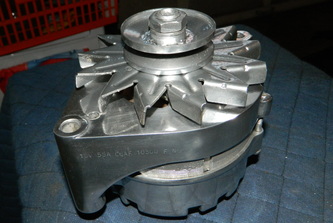
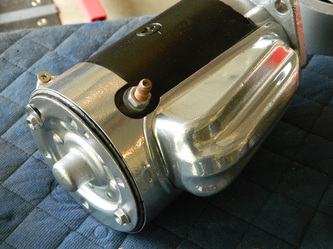
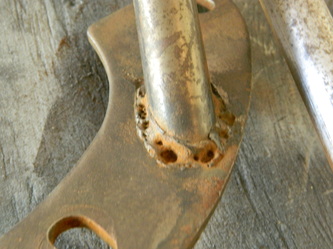
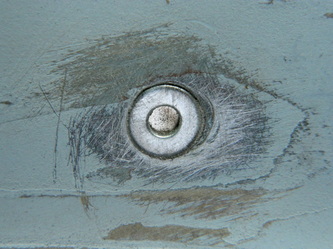
Today I polished the back side of the alternator...man what a job! 4hrs photo above
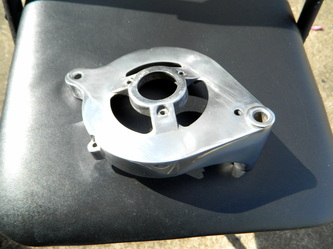
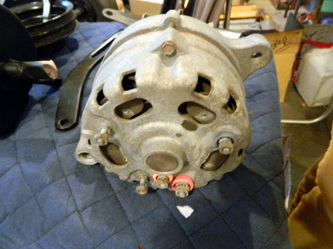
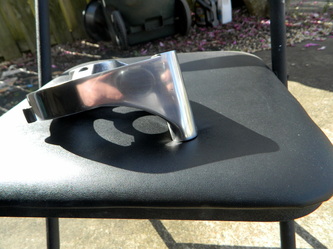
mar 20, 2013
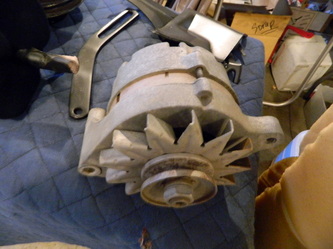
It's another nice day, I decided to disassemble the alternator and polish the housings. This may prove to be my undoing...what a project! After a LOT of sanding and buffing I have the front half done. Don't know if I have the strength to do the back..maybe after a couple days. 6hrs!
mar 21, 2013
Today I polished the back of the alternator..what a job! 3 hrs
mar 27, 2013
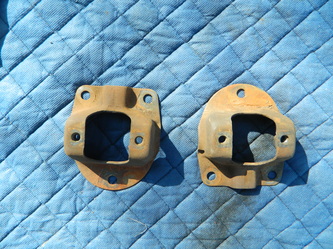
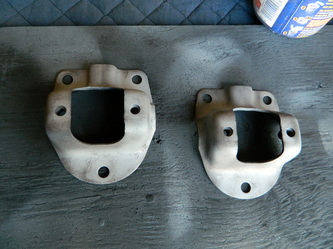
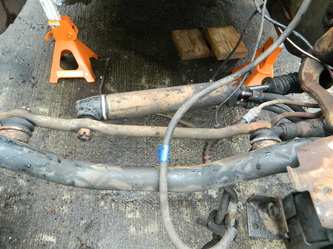
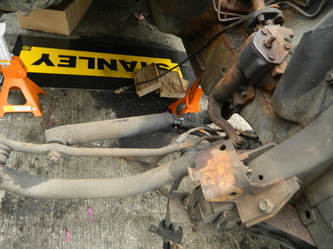
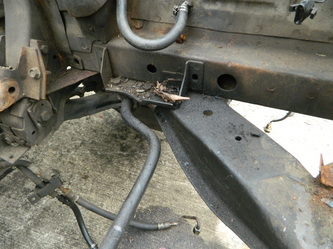
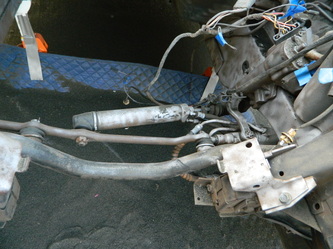
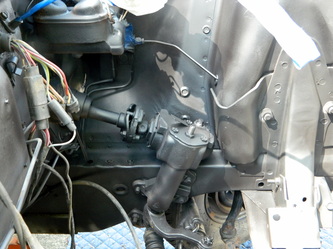
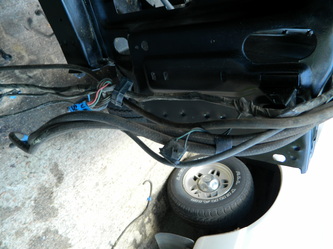
Today, I just spent the afternoon unbolting stuff in order to pull the engine. Got the exhaust manifolds out, the motor mounts unbolted as well as the tranny bolts. Disconnected wires, vacuum hoses and fuel line. So, its ready to pull. I also found out why the exhaust was so loud, the right side was broken. 3 hrs


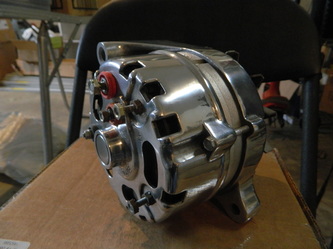
mar 31, 2013
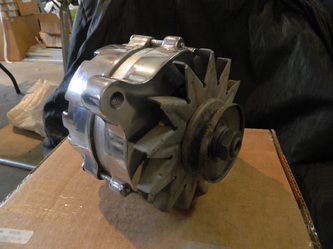
Yesterday I finished assembling the alternator, I will have to take the fan and pulley off later to powder coat them with chrome powder. 1hr
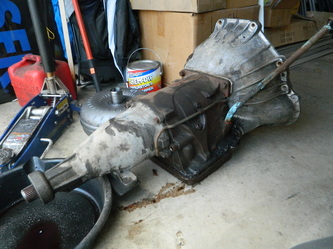
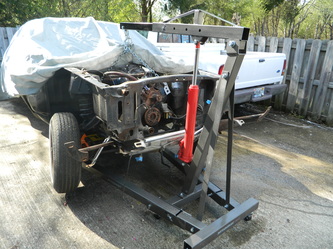
apr 1, 2013
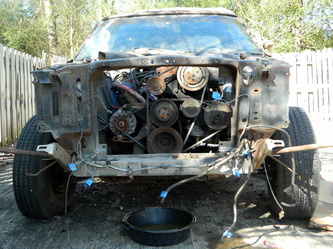
Today, I pulled the transmission 2hrs and assembled the engine hoist and hooked up a couple of lifting tabs on the engine, so now everything is set to pull the engine tomorrow. 1hr engine hoist 1 hr setup.
apr 2, 2013
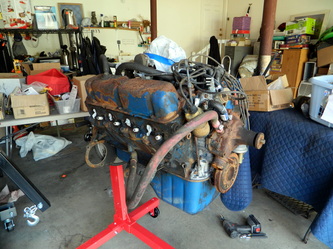
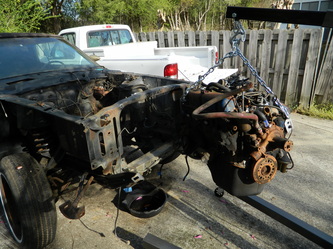
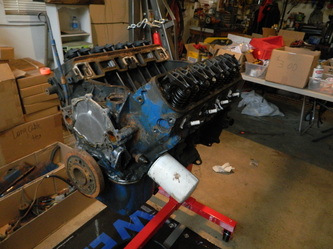
Today, my old buddy Les showed up with an engine stand and offered to help me pull the engine and mount it. I used some engine degreaser and a pressure washer to get 90% of the grime off it. 3hrs


apr 03, 2013
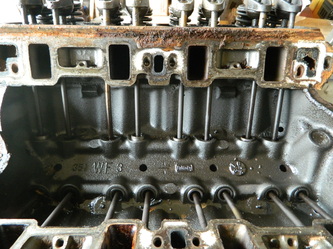
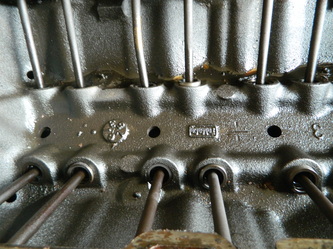
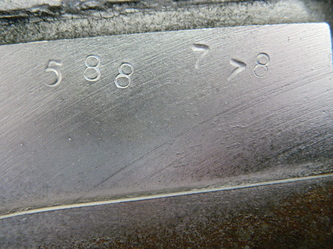
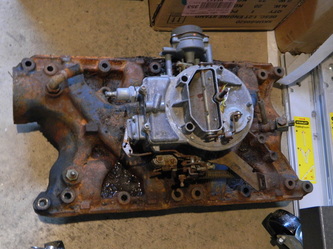
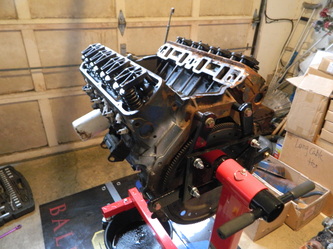
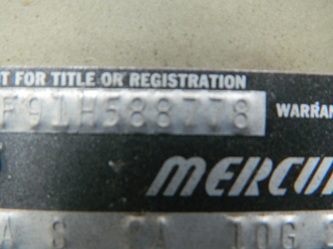
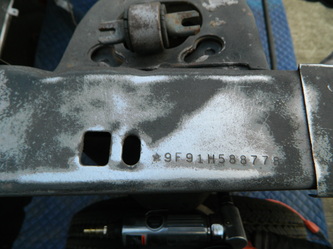
Today I pressure washed the engine compartment and the transmission and then began dismantling the engine. I was very surprised to see how clean the inside of the engine was..no sludge at all! Way to go John! You must have changed the oil very regularly. I will probably just pull the heads and swap the cam for a little more power and button everything back up with new gaskets and such. BTW the VIN number and the engine number match so...its original. 2 hrs.


apr 05, 2013
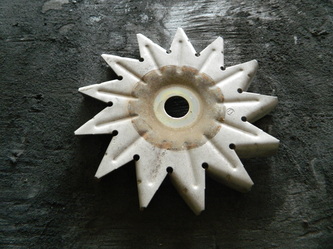
Today I powder coated the pully and fan off the alternator with the chrome and clear powder coating I just got from Eastwood. I also stripped the vacuum canister. However it has a couple small cracks on the bottom which I am going to try to patch. 2 hrs


apr 06, 2013
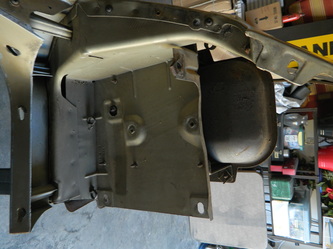
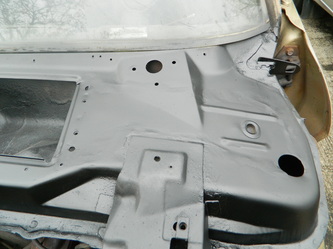
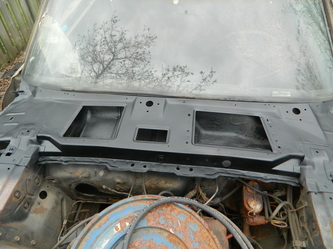
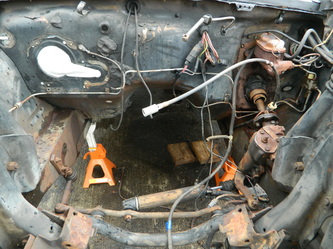
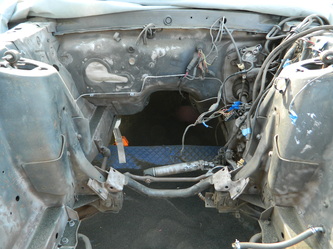
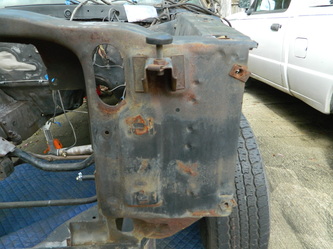
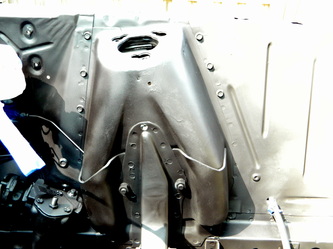
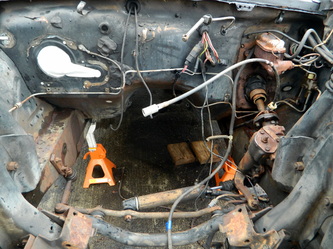
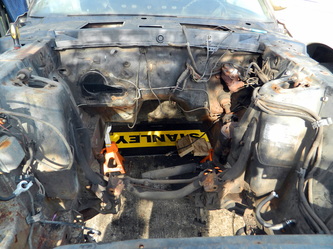
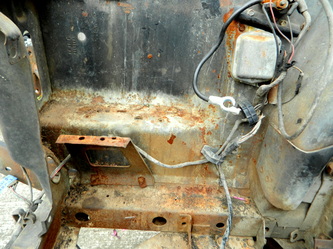
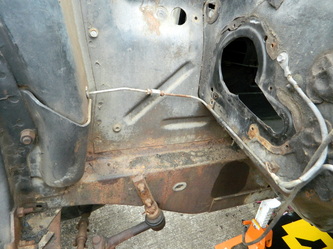
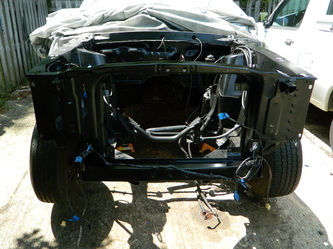
Today, I started media blasting the engine compartment, got it mostly done just a little more on the underside and it will be ready to paint. 3hrs.


apr 08, 2013
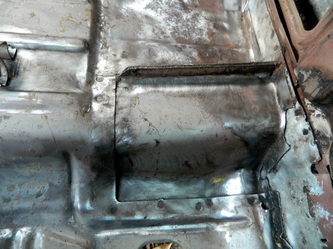
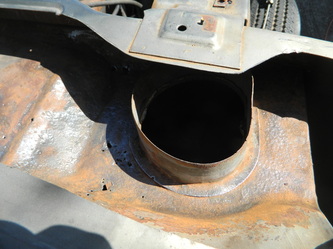
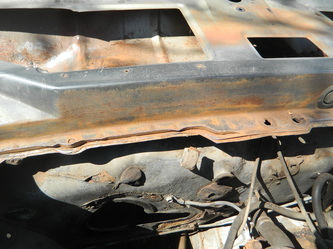
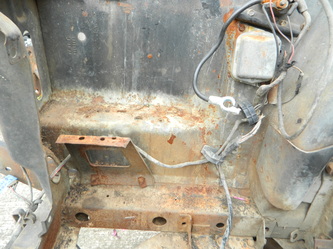
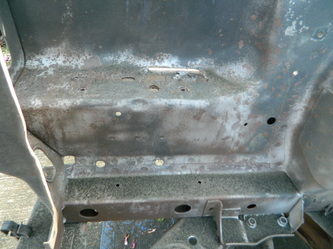
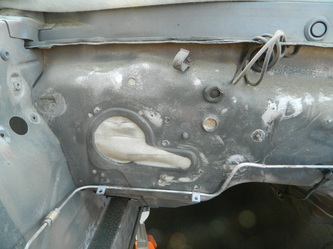
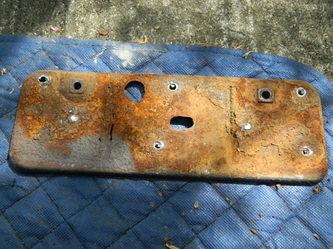
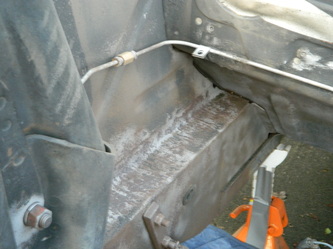
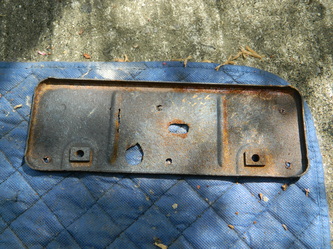
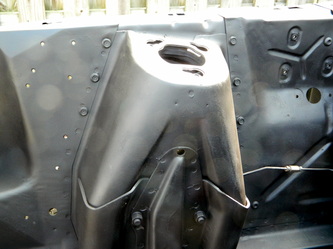
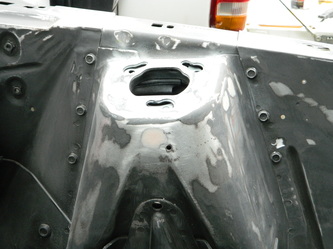
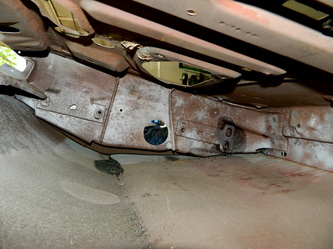
Back to work on the Coug, today I used a DA sander and a die grinder to smooth out areas on the engine compartment and then I cut a rusted section out where the battery mounts. It entailed drilling out several spot welds to separate the support panel underneath it. Then I cut and tacked in a new piece of sheet metal. 4hrs


apr 09, 2013
Today, I finished welding up the patch panel and then did a little body work on it and finally painted it..a pretty taxing project. The underside support panel was eaten up pretty bad so it needed quiet a bit of work. 4 more hrs.


apr 10, 2013
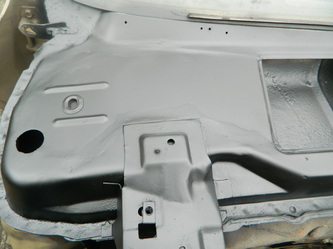
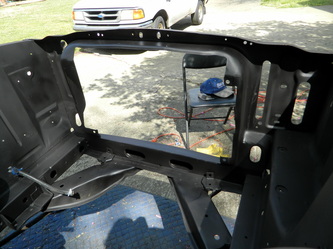
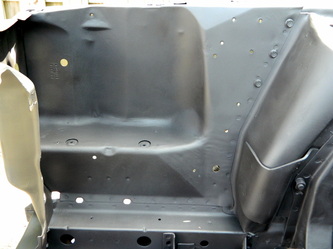
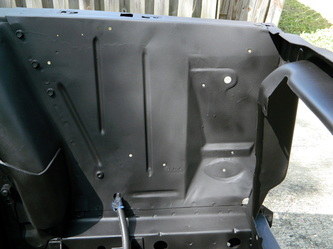
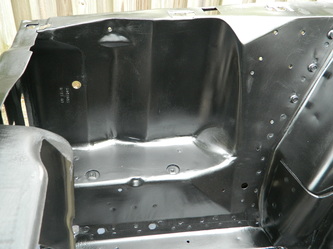
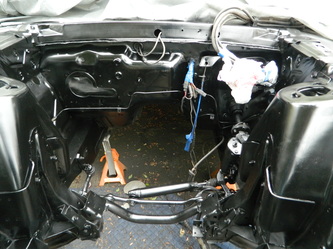
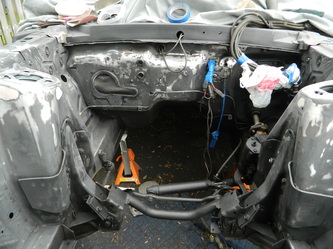
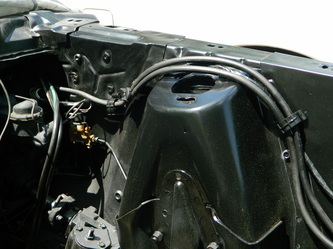
Finished cleaning up the engine compartment and then shot it with several coats of urethane epoxy 2K primer 3 hrs. It's feeling like im getting somewhere now.


apr 11, 2013
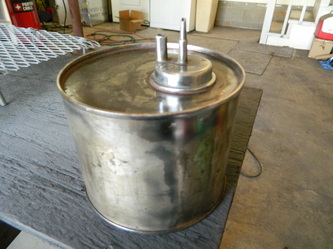
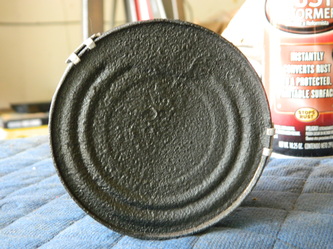
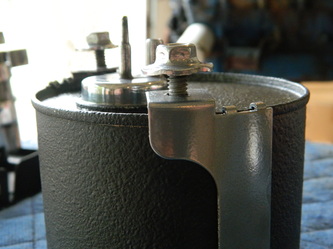
Today I blasted a few parts, then repaired the two cracks on the bottom of the vacuum canister with fiberglass, then coated the canister with rubberized undercoating and then chrome powder coated the canister brackets and some things on the starter. I didn't get a before pic on the starter or the trans crossmember that I did today, but imagine very rusty and crappy. 6hrs


apr 12, 2013
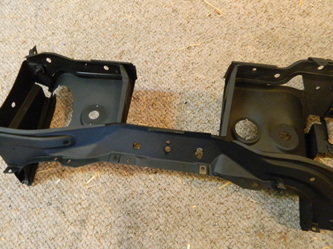
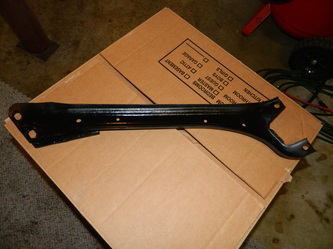
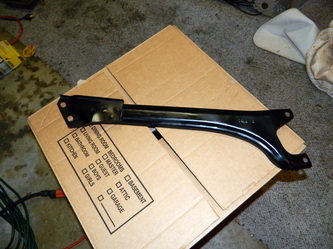
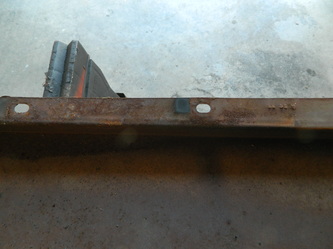
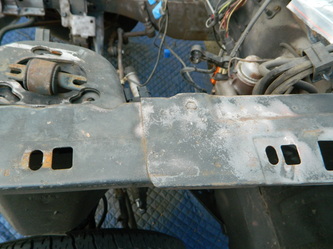
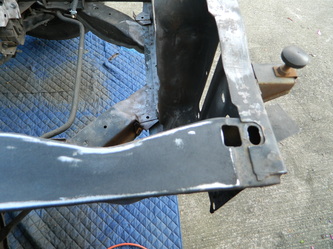
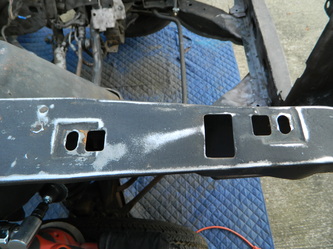
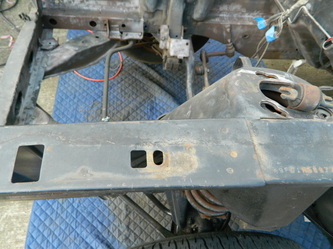
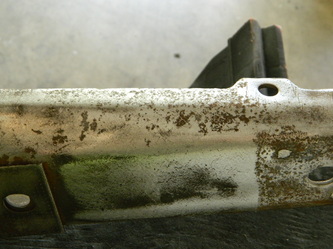
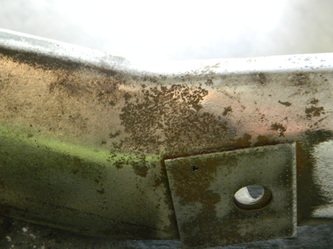
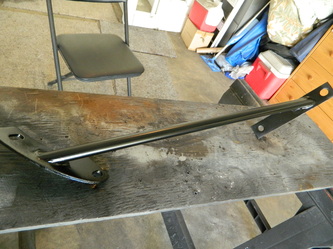
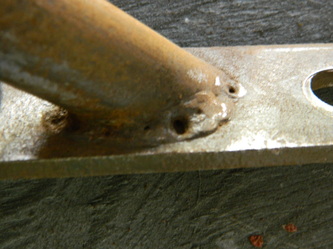
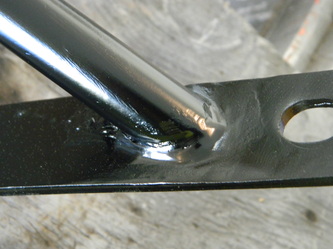
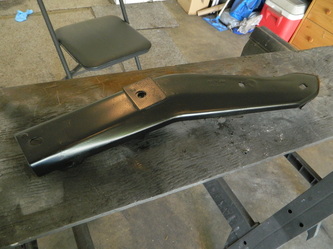
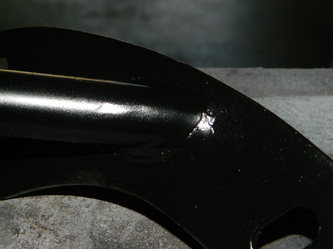
I took it a little easy today..been working too much on this lately. Today I stripped and painted the two front frame horns and bumper braces. I also welded up a couple of weld voids on the bumper braces. 4 hrs


apr 15, 2013
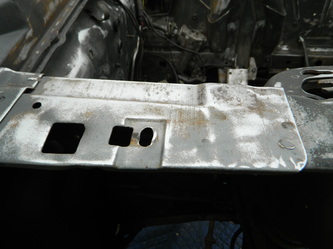
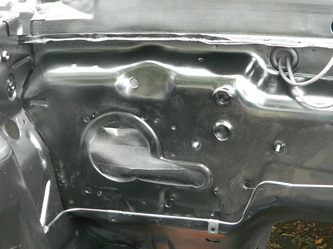
It's Monday and time to get back to work..today I filled a few spot welds in the engine compartment, finish sanded the entire compartment and then painted it semi-gloss black. 4 hrs


apr 16, 2013
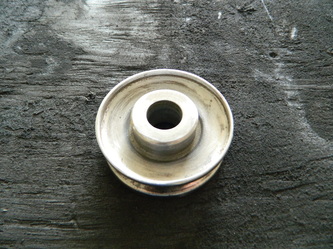
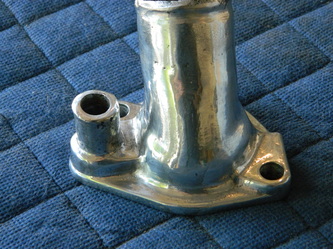
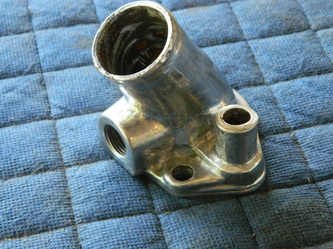
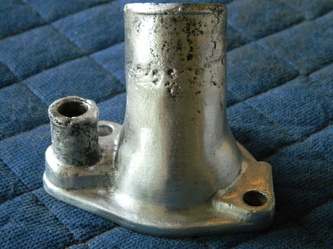
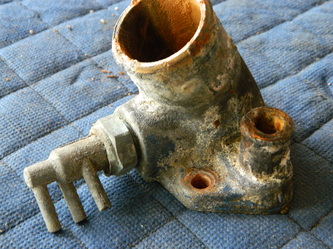
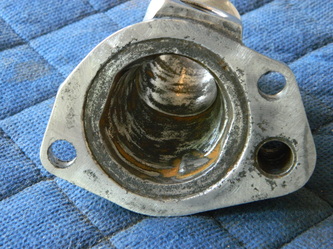
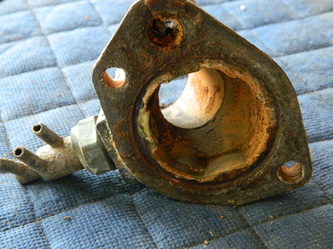
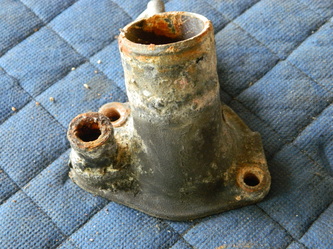
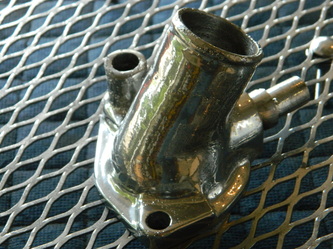
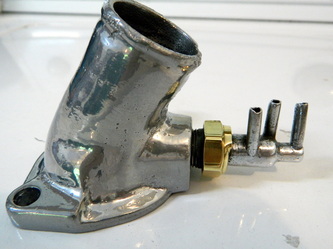
Today, I thought I would waste the day polishing and powder coating the thermostat housing..more work than I expected. 4hrs

apr 30, 2013
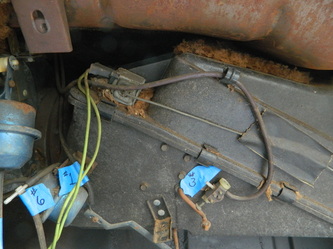
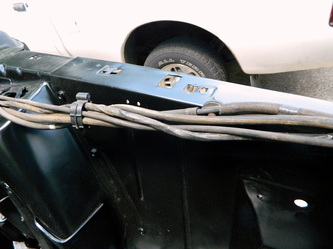
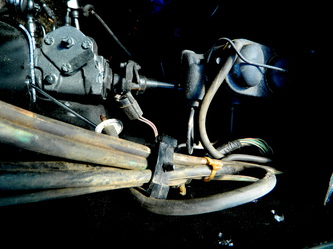
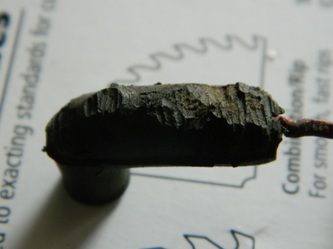
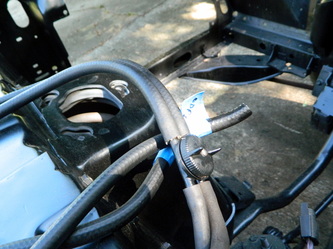
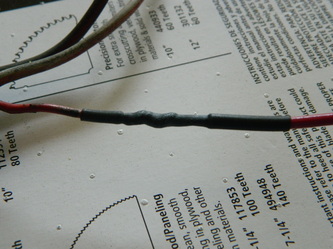
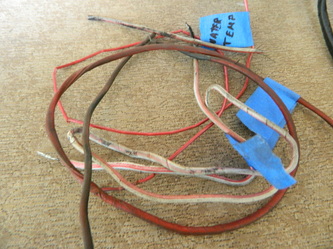
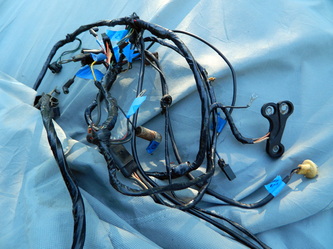
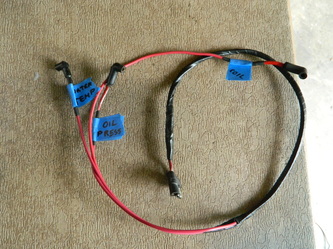
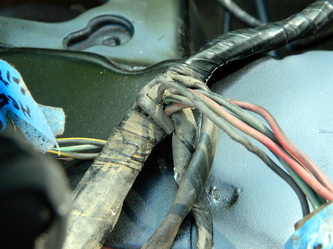
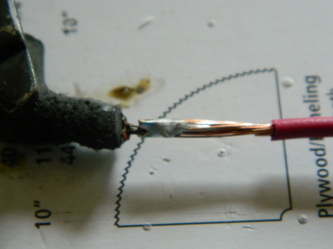
Last two days I have been cleaning wires and vacuum hoses, all turned out good except for the water temp and oil pressure sending unit wires and the positive lead to the coil, all of which is one harness. I need to replace some of all of those due to the insulation cracking in spots. It doesn't seem possible but I spent about 6 hrs on all of that.

may 01, 2013
For the last couple of days I have been dealing with the wiring harnesses repairing what the rats and old age have done. I think I'm ready, as far as the wiring, for the engine. I had to basicly rebuild the entire coil, water temp and oil pressure harness completely, doesn't look bad and saved $25. 2 hrs


may 02, 2013
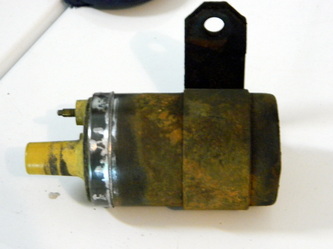
Last day to work before going to Memphis this weekend, I polished the water temp/vacuum port thingy that goes into the thermostat housing and blasted and painted the fender support brackets and the coil and bracket. 3hrs


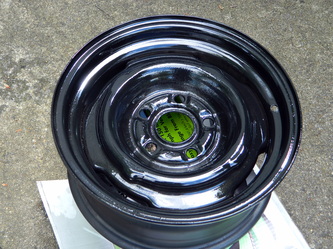
may 07, 2013
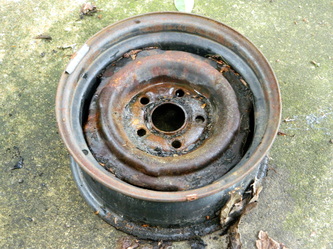
Back in town again, and today I decided to try powder coating a wheel, as a buddy wants me to do some wheels for him..so I had one old rusty one laying around. First I wire wheeled it then media blasted and then more wire wheel and then two coats of satin black then two clear on the outside surface. 4 hrs


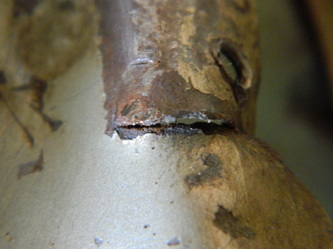
may 08, 2013
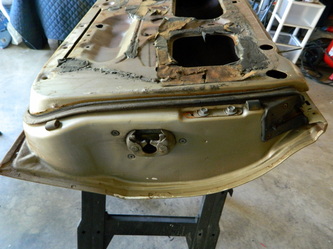
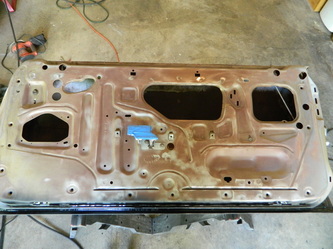
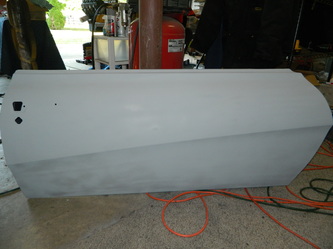
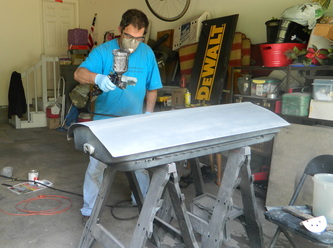
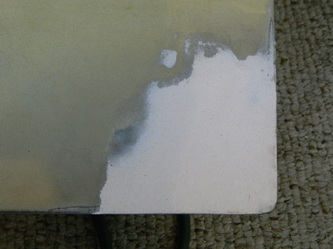
Today, I started working on the passenger side door. Removed it and began stripping and sanding, I got the entire inner side done as well as media blasting the actual inside of the door. I primed the inner side. There was a small crack on the end where the weatherstripping goes, I welded it up and ground it smooth and then filled it with bondo. However, I need to get some more POR15 for the inside to finish it up. Tomorrow I will probably begin on the shiny side. 5 hrs


may 09, 2013
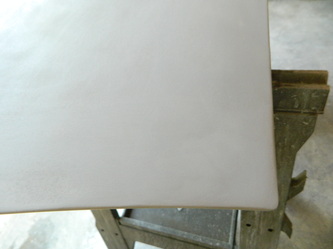
Sanded door down and now shooting primer on the outer skin also coated inside of door with rust converter and rubberized undercoating .2hrs


may 10, 2013
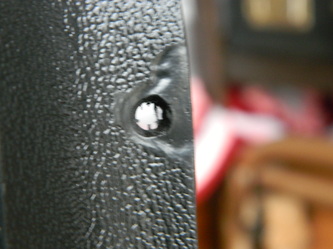
TGIF! its been a hard week, but got a lot done. Today, more door stuff, only on the driver door. The outside is better on this door but it still has lots of surface rust inside. One of the hinge bolts broke off, flush with the threaded plate that's not removable inside the door. So, I spent an extra hour first trying to ezy-out it out, and then just drilled it almost completely out and chased the treads with a tap. Not bad considering that this was only the 2nd bolt that has broken on this venture. Didn't feel like working another 3 hrs to prime and undercoat this one, so I called it a day at about 6 hrs.


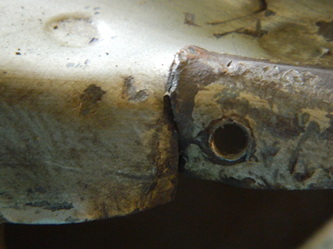
may 13, 2013
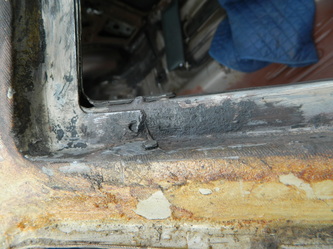
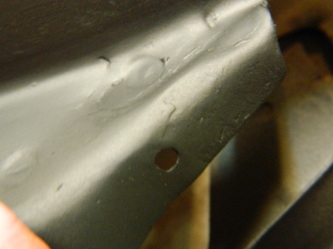
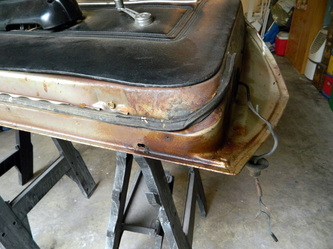
Back to work on the door..today I found a couple of rust pimples in the lower corners. After poking a couple of holes through the rust, I decided to cut both corners out and replace them. It went very well and both of them took about 4 hrs. I still have to do the final bondo sanding and then prime the outside. Oh, and I did rust converter and undercoating inside the door.


may 15, 2013
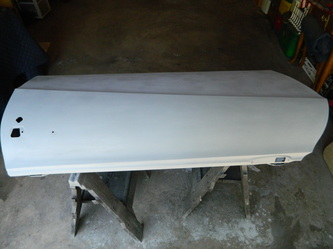
Finally finished the outside of the driver door. I kept finding little dings I had to fill. 6 hrs
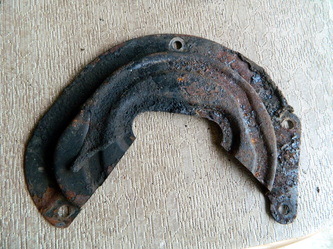
may 16, 2013
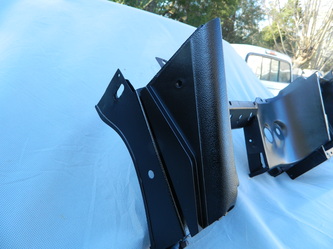
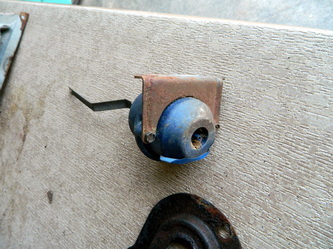
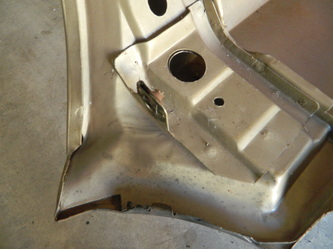
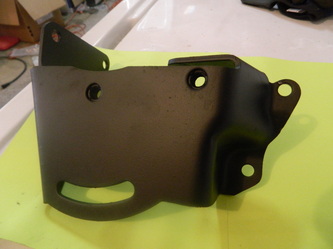
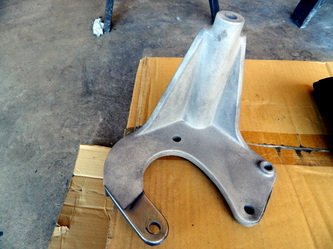
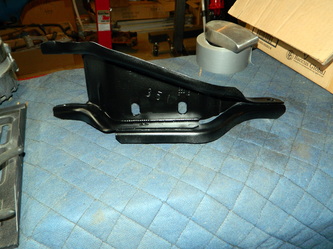
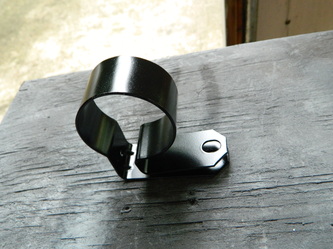
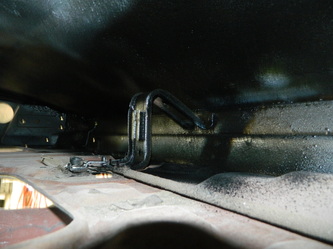
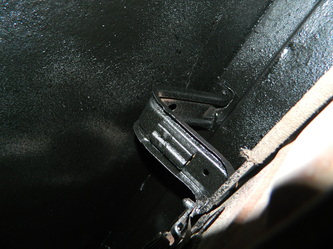
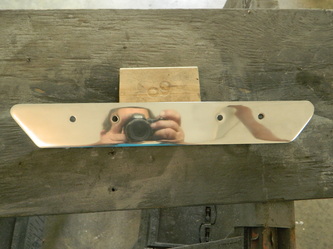
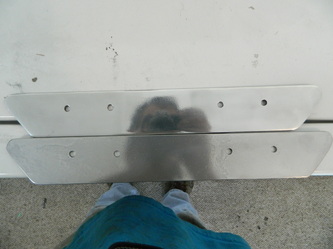
Since I have so little to do..(joke) I decided to try to fabricate a tower brace setup like TCP makes. I figure I can dupicate it for about $50. This is the first piece that mounts on the firewall. 2 hrs

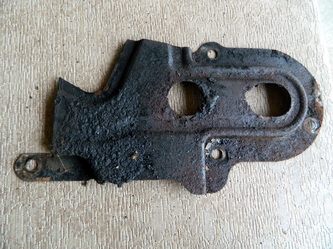
may 17, 2013
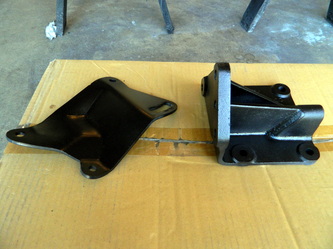
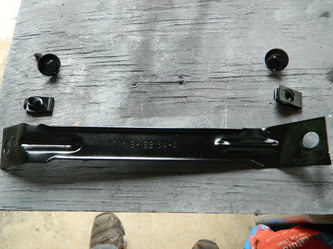
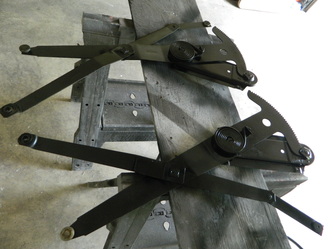
Made the lower version of the firewall support bracket and powder coated it chrome instead of polishing it, and cleaned up both door window regulators and painted them. 4 hrs
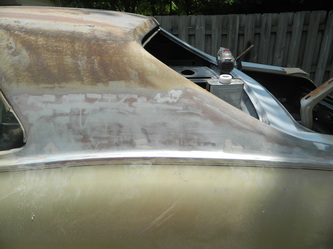
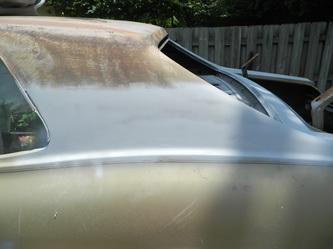
may 20, 2013
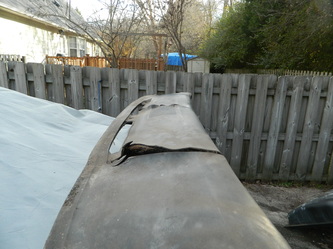
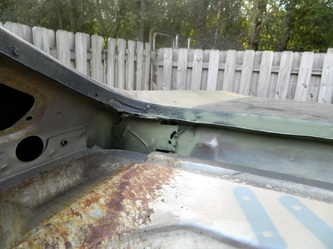
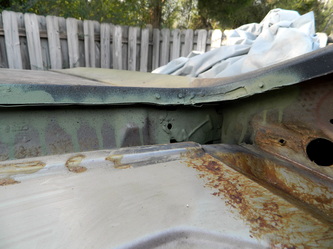
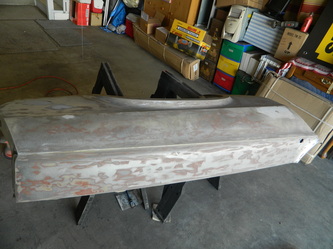
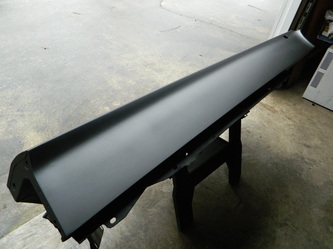
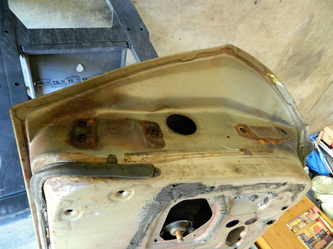
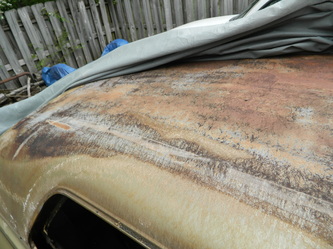
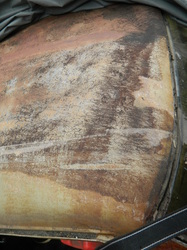
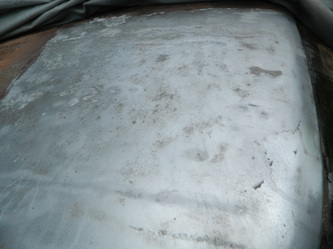
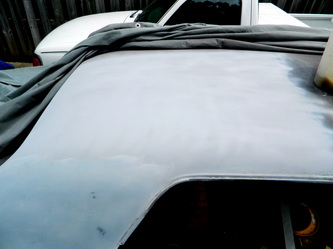
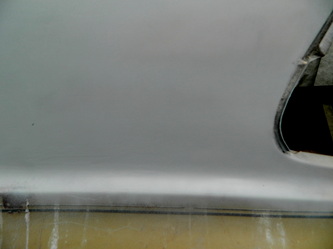
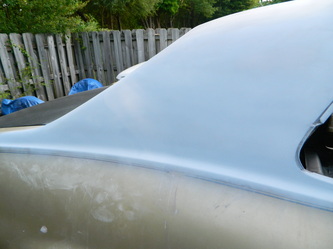
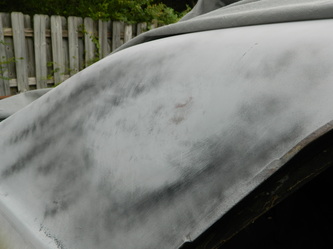
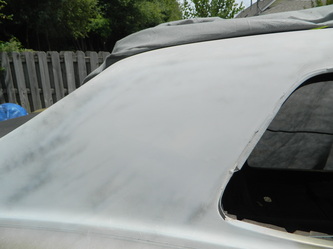
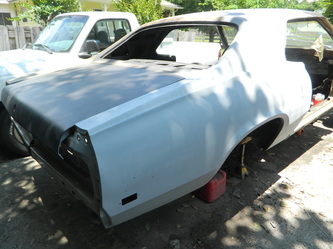
Today, I started working on the top, removing the vinyl top glue and some surface rust. Just doing about a 1/4 of it at a time. There was a slight dent/crease near the windshield which I worked on for probably 3 hrs trying to get it perfect. After about 6 hrs total time I sprayed some primer and a little semi gloss black on it to see how well I did..not too good. I'm afraid I will have to work on it some more. I only put like 1/16" of bondo on it but just having issues with blending it right. Oh well..I'm not perfect I guess.

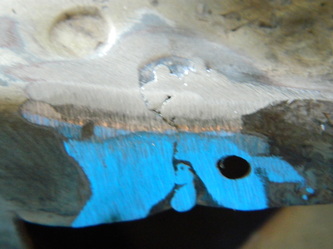
may 22, 2013
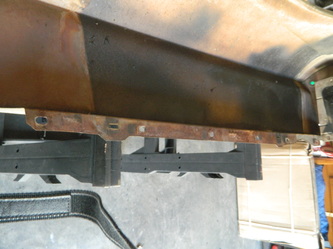
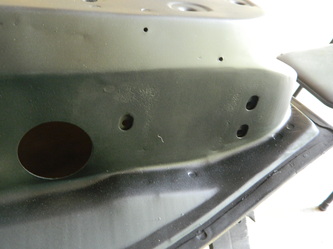
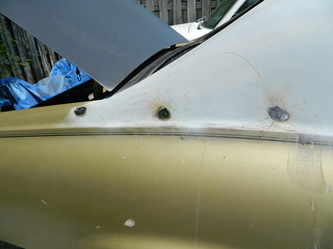
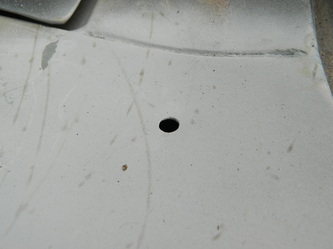
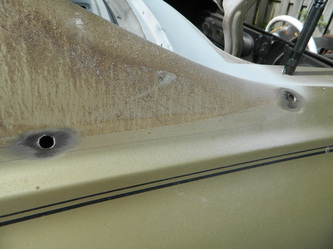
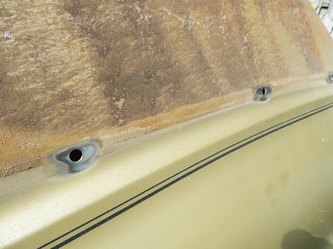
Body work is not fun...oh well somebody has to do it and looks like thats me. Finally finished the back of the passenger side of the top, and then filled one of the mounting holes for the vinyl top, since I'm not going to have a vinyl top. To fill it I used a pop rivet washer in the hole and then welded it all up. it took almost an hour just to do one and there are 4 per side. total time today was 6 hrs

may 28, 2013
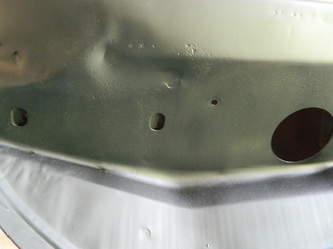
I'm back..today I did three more of the vinyl top trim holes..so far just welded and smoothed them out..later today I will bondo and prime them. just 1 hour yea! one more hour and they are done. Now there are 4 more smaller ones on the trunk and 4 more like these on the other side.
may 30, 2013
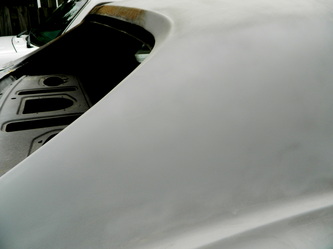
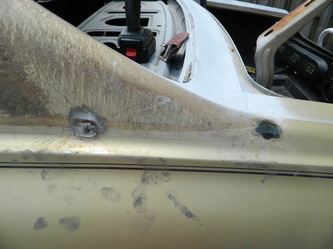
Today I addressed a low spot dip in the sail panel about where the quarter panel attaches to the top. I have a feeling that since this car had a vinyl top, they weren't as picky with the body work. I also welded up one more of the holes. I think I have 9 left.. 3 hrs


may 30, 2013
Today I addressed a low spot dip in the sail panel about where the quarter panel attaches to the top. I have a feeling that since this car had a vinyl top, they weren't as picky with the body work. I also welded up one more of the holes. I think I have 9 left.. 3 hrs


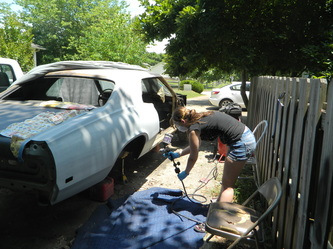
June 3, 2013
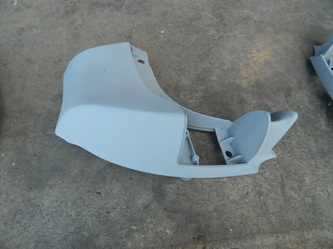
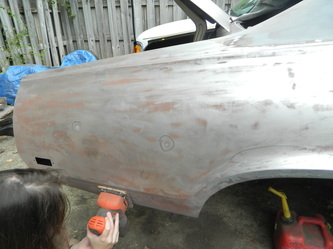
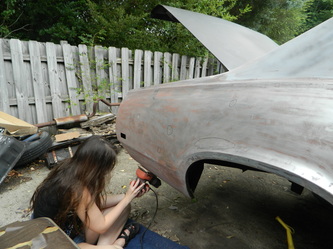
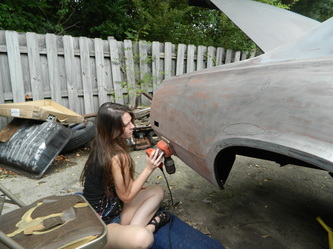
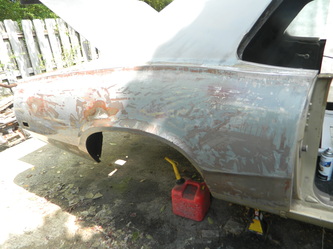
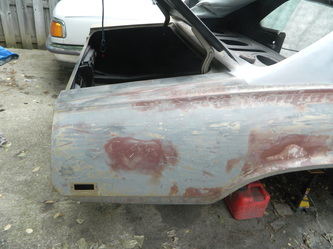
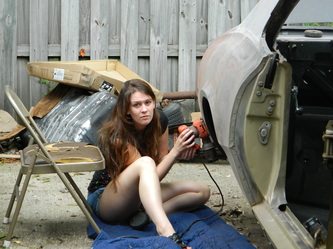
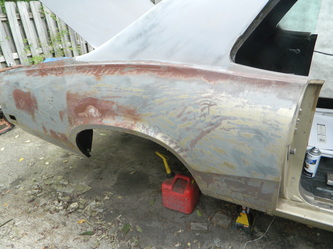
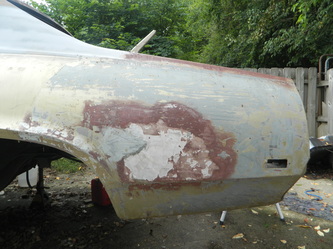
Today I had a special guest..my daughter Rene' is here staying with me for a couple weeks from Savannah, so I put her to work. We stripped and primed the right quarter panel. 4 hrs


june 24, 2013
Been on vacation for almost two weeks..so today I welded up the vinyl top holes along the back above the trunk using a penny to back up the opening. I had heard of using a piece of copper for this before, but had never tried it. It worked very well..thanks for the tip Mike!
june 25, 2013
Man it is hot out there! Managed to finish filling the weld spots and fixed a tiny rust spot. Back in high fill primer. Still need to do a final surfacing and primer. It doesn't look like much..but it took 2 hrs.
june 26, 2013
Another hot day..finally finished ALL of the vinyl top trim holes..yea! Now all that is left is stripping the left rear quarter panel and half of the top. I could probably finish up all of it and be ready to paint in two months. only worked 3 hrs today

june 28, 2013
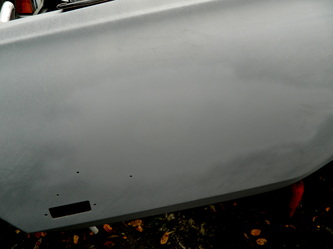
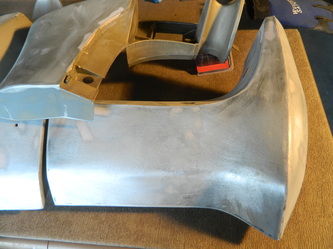
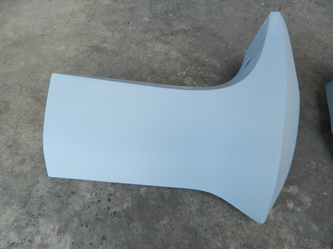
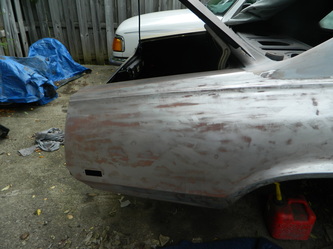
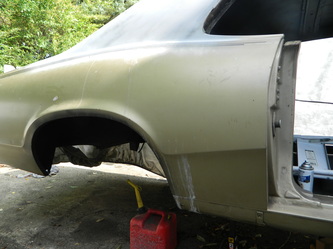
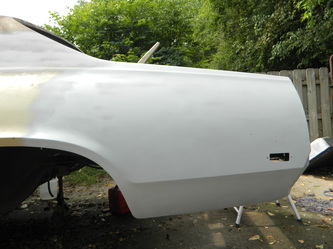
Ok, so I braved the heat once more and stripped the left quarter panel and then hit it a few times with some 80 and 100 grit on the DA sander and shot a protective coat on it until I can address the minor imperfections. BTW the repair on the quarter panel looks like a factory job..as the bondo is only 1/16" thick. only 2hrs


july 03, 2013
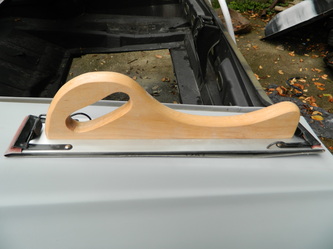
It's been a while..been busy with a Cadillac project I picked up. I picked up a long board body sander at Harbor Freight, something I have been needing for quite a while. Even though it's about to come a flood..I ran out and spent 1 hr filling and long boarding two small dips. I'm sorry that all I can show is body work, it's just as boring as it looks.